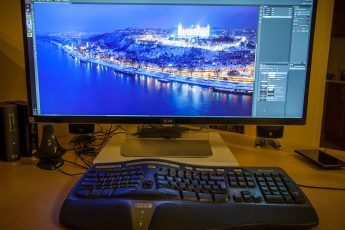
When I was writing the 11 tips for Lightroom, I also thought to include how one works with 32-bit files in Lightroom. But as this is a little bigger subject, in the end I decided to give it a separate blog post. So here it is.
Lightroom is a great photo editing too, and since few versions ago, it can also edit 32-bit tiff files. If you remember my What is HDR post, 32-bit files can contain a huge dynamic range, so being able to edit them directly can create some very nice results.
Of course, same as with all the different ways of editing, it’s not perfect, and does not work well for every photo. But it’s an interesting technique and I suggest you give it a try.
So how to do it?
1. Merge the files in Photoshop
Yes, you still need Photoshop (or Photomatix Pro or other program that can create 32-bit files), as Lightroom can edit 32-bit files, but can’t create them. So first, once you select the files you want to merge, I would suggest correcting chromatic aberrations and lens distortions. You can do this also alter, but the results are not so good.
After that, select all the brackets, right click on one and choose Merge to HDR in Photoshop. Once you do this, all the files will be exported into Photoshop and the Merge to HDR dialog will open. Here you will probably see the 16-bit version, but that’s not what we need. Change to the 32-bit mode and just confirm (in the case you need to remove ghosting, choose also that option).
The file will be opened in Photoshop in 32-bit mode, and can be saved as a 32-bit tiff file from there.
2. Merge the files in Photomatix Pro
Another option to create a 32-bit tiff file, is to use Photomatix Pro. Just exporet the files you want to merge from Lightroom, or use RAW, and open them in Photomatix. What you need to do, is check the Show 32-bit image and choose merge. In few seconds, you will see the 32-bit file, which you can save as 32-bit tiff.
You can also find a Lightroom plugin from Photomatix, that does this step directly and you never have to leave Lightroom. You can find it here: Merge to 32-bit Plugin
3. Edit the 32-bit file in Lightroom
Once you have the 32-bit tiff file, you can import it back into Lightroom. You will see that nothing changes in the interface, and you can edit it as any other photo. The only change that is there, is that the Exposure slider goes from -10 to +10 instead of -5 to +5.
You will notice, that you can go really to extremes with all the sliders, and still you get a lot of detail and very little noise. That’s because, where Lightroom normally tries to works with information, that is not in a photo. But with the 32-bit file, there is just much more of it there.
So from here you can use any of the tools available in Lightroom, to get the result you want. But before you start, I suggest playing a little with the Exposure, and find a good start in that huge dynamic range. For some photos it can happen, that you will start with a completely dark or white photo, so just move the slider up/down until it’s ok.


