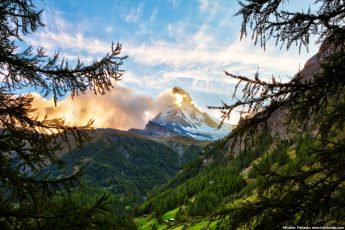
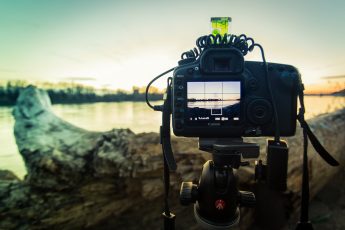
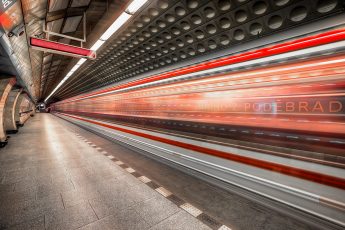
If you have ever worked with Photoshop, you know what blending modes are. One just can’t get around them. If you haven’t, the blending modes are different options how a layer can behave, in the relation to the layers under it. There are many blending modes, varying from very useful, to not so much. And in this post, I will go through some of them, through the ones I think are most useful when editing photos, and what I use them for.
Soft light
Probably the most useful blending mode of them all. Based on the top layer, it either darkens or brightens the bottom layer. There are other that do the same (Overlay, Hard light), but this one creates the softest effect, which blend the most with a photo. It’s very useful when sharpening the photo (using the high pass filter, as 50% grey has no effect), creating glow (just copy layer, blur and choose soft light), dodging and burning (create new layer, set it to soft light, and paint white where you want to dodge and black where you want to burn) and more. Just duplication the layer and setting it to soft light will add you a lot of contrast and color to a photo. Just tweak it with the opacity slider :)
Difference
I don’s use Difference directly as a tool to edit a photo, but it helps in a certain situation. What id does, is to show you the color/brightness difference between two layers. It there is no difference, it is just black. This can be very useful, when trying to align two layers manually. Just set the top layer to difference, and immediately you can see if you are aligned or not. Then just move the top layer with the arrow keys, until you only see a small difference. That will always be there, if you try to align images with different brightness. But you can see on these screenshots, what the difference between aligned and not aligned photos.
Color/Luminosity
These two are a pair, each doing the opposite of the other. The color will show only the color of the top layer, luminosity only brightness values. This is great when you wan to use only one, but not the other. For instance, in these examples, I applied a strong Color Efex tonal contrast on the duplicate of the bottom layer. Once, set to color, it only added saturation. But the second one is more interesting, just set to luminosity, it will add the detail, but the color will not be affected (of course it will be a little different, as you change the brightness).
This is also very useful, when you apply contrast to a photo. You probably noticed, that adding contrast, will also make a photo more saturated. To correct this, one can change the contrast layer to Luminosity, and then it will only affect the contrast.
Multiply/Screen
A second set of inverse modes. What both do, is to multiple the color of the top and bottom layer. The difference is, that screen inverses the colors first. So if you use Multiply, the result will be always darker, if you use screen, it will be lighter. In editing, I tend to use this in two ways. One is if I just want to darken/brighten the image by one exposure stop. I just create a new curves layer, and set it to Multiply/Screen. I of course than also can tweak the curve, to get exactly what I wanted.
The second is in combination with luminosity masks. Just duplicating a layer, putting a brights luminosity mask on it, and setting the blending mode to Multiply. This will very nicely darken all the bright areas, and also add to their color. This can create very nice effects on clouds and the sky. Of course one can also do the opposite with dark’s mask and Screen mode.
Lighten/Darken
And a last series. Again doing the opposite to each other. Both compare the top and bottom layer. The lighten, will always choose the brigher pixel from each, and use that. The darken, will always choose the darker. In the example, I combined a HDR result with one of the original exposures. This is actually exactly how I use this blending mode. Once you have a HDR, and you want to give it a little more natural feel, you can use this. For instace, if you have white objects in your photos, just use the exposure where they look the best, and use Lighten as the mode. They will be replaced, as in HDR white is usually darker, but other parts of the photo wont be affected.
You can of course tweak all the blend strengths by changing the opacity of the top layer, and also by using layer masks, and painting the effect just where you need it.
Feel free if you have any question about any of this :) And if you can’t find the blend modes in Photoshop, here is a screenshot of where to look for them, and the photo with no modes applied to compare.


