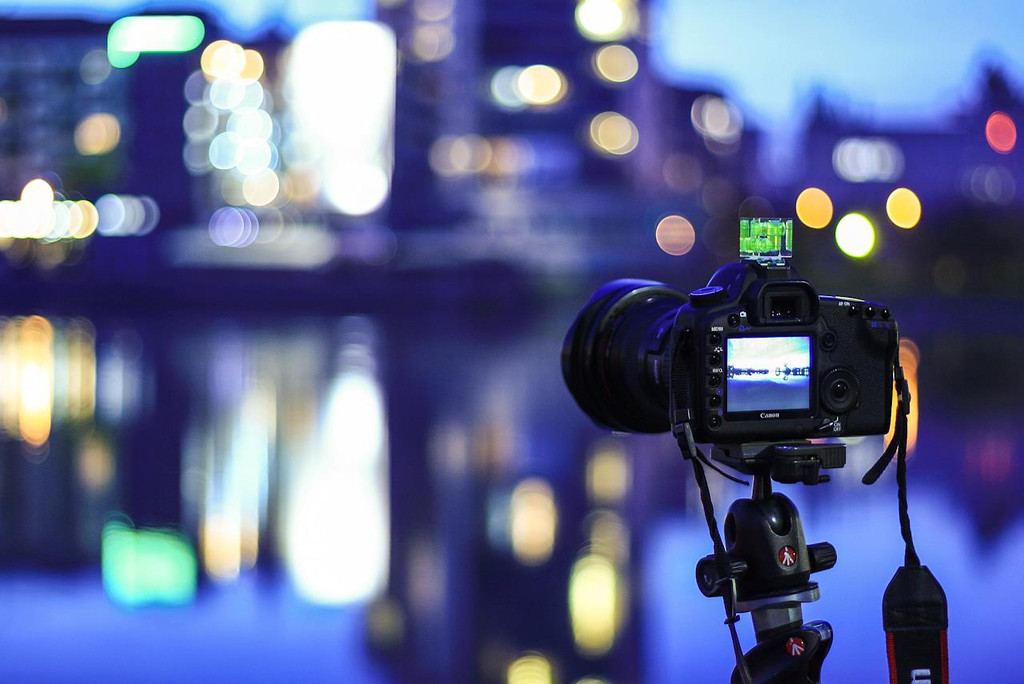
There are so many different cameras and so many modes one can set on them. But not many of those are on each camera and even less are useful for HDR. So today, I will look at those main one (or I should say, the one you should use) and how they work together with HDR. All other modes, the ones I don’t mention here, like night photo, scenery, portrait and so on, are really only for people not interested in photography, as using the basic modes, will give you much better control and results than those.
Program mode – P
I would call this beginner mode. As each photo setup consist from the aperture, shutter speed and ISO setting, this one sets two of those for you. The only one you can change is ISO. As I said, it’s great for beginners and for snapshots. One should leave this mode as soon as possible. This mode is not at all suitable for HDR bracketing, as it will change the apperture in between shots, and so change the DOF (depth of field). You will not be able to blend photos like that, as parts that are sharp in one exposure, can be completely out of focus in another one.
Shutter priority – Tv (S)
Shutter priority has a little more specialized use that the other modes. From the three settings you set up two, ISO and shutter speed. This is useful when you want to archive a particular length for your exposure. For instance you want to freeze the action, so you use a short exposure. Or you want a nice soft water, so you use a long one. The camera always adjust the apperture automatically, so you get the exposure time you need (be careful, as the camera may adjust to the closes available, as there is not such a huge variation in apertures as in shutter speeds). This mode is not usable for HDR, as again, the aperture is changes, and so the DOF.

Aperture priority – Av (A)
Next one, Aperture priority, is an opposite to the Shutter priority. Here you can change the Aperture and ISO, and the camera adjust the shutter speed for you. This is probably the most useful mode in photography in general and also in HDR. As the aperture never changes, the DOF stays the same for all exposures and you can use the Automatic exposure bracketing in the camera, to get an exposure series automatically. It’s also great for hand-held shots, as you can set up a bigger aperture and so shorten the exposure lengths. If handheld you can also turn on auto-ISO, as that when combined with exposure bracketing, will bump up the ISO instead of taking a longer exposure ans so give you a better chance for a sharp photo.
Manual mode – M
As the name already suggests, here you set up all three values, the shutter speed, the aperture and also ISO. This mode give the most control, but also requires a little more time to set up a shot. One can use the Manual mode for HDR series, but only when setting every shot manually, or using a separate way to take the photo. Here I mean ways like using a promote or Magic lantern firmware. If you are only using the internal exposure bracketing, the manual mode is not the best, and you are better off with Aperture priority.
So what to take from this? If you are begging in Photography, go for Program mode, but try to move to Aperture priority as soon as possible. If you are starting with HDR, go for Aperture priority and if you are trying to get more control and use advanced tools, go for Manual mode every time :)


