How to upload a 360 photo to Facebook
 If you ever tried to upload a 360 photo that you edited on your PC to Facebook, you may have run into a problem. Facebook will jut not recognize the photos not take by dedicated 360 cameras they support as 360 photos. So it will be just shown as normal photo, in it’s flattened state.
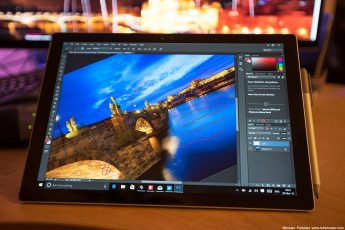
Instead, you want it to be a nice 360 photo in which you can look around, like here:
But the solution here is quite simple. So here is what you need to do:
What to do?
1. Prepare you image
The image has to be in the 2:1 aspect ratio for it to work. If you created a proper 360 photo, it should already be in it :)

2. Open it in an exif editor
You can use any editor of your choice, but for this I will use the online service https://www.thexifer.net and just do it through their website. So load the image and choose eXif.me button.


3. Change the make and model
Here you have to update the make and model information for something that Facebook supports (here is a list of supported cameras). Let’s use Ricoh as the make field and Ricoh THETA S as the model. This combination worked great for me. Once done, scroll down and choose Go.eXifing. This will return you back to the previous page, where you can download the image with the changes.


4. Upload to Facebook
Now when you try to upload this photo to facebook, you will notice the small globe in the corner of the photo, and also the text will mention 360 photo instead of just photo. You still have to choose the default view, so hover your mouse over the photo and click the paintbrush icon, change the view for what you want, and click save (make sure the Display as a 360 photo is checked). Now you can share your post.


And that’t how you get your 360 photo on Facebook.