


Oloneo Photoengine
I use multiple approaches and programs for my HDR processing and blending. One of my favorites is also the Oloneo Photoengine. As all HDR programs go, the results vary from photo to photo, but there are some points that make this one of the best programs to blend you photos. Except the last part, this review is also about HDRengine, which is a part of Photoengine.
Speed
This is the fastest blending program I ever used. You can see all the changes you do on the photo in real time, and once they are done, you can directly save the photo, without any additional time needed for processing.
Sharpness of result
A lot of HDR programs can remove a lot of sharpness from the photo. In my experience Photoengine leaves most of the sharpness in tact. The only way I can get more, is if I blend the photos manually in Photoshop.
Easy to use
This is my favorite thing about Photoengine. As I don’t really use presets that much, I really like that I’m able to get my result by using only one slider. Just by using the TM Strength I can get the result I need maybe 90% of the time. The rest of the time I only add more contrast and maybe change the white balance.
Single Image processing
Oloneo Photoengine doesn’t care if you put in one photo or multiple, it will treat them all the same, and you can use all the tools in both situations.
Other HDR editing features
Among other notable features, is the Natural HDR mode, which will make your photo more realistic (especially it will remove over-saturated colors), Detail strength, which will add a lot of detail, and I think should be used very lightly and complete set of tools needed to correct the colors or colorize your photo. All this tools are great if you don’t plan to continue your edit in Photoshop, but I don’t use them that often.

Photoengine vs. HDRengine
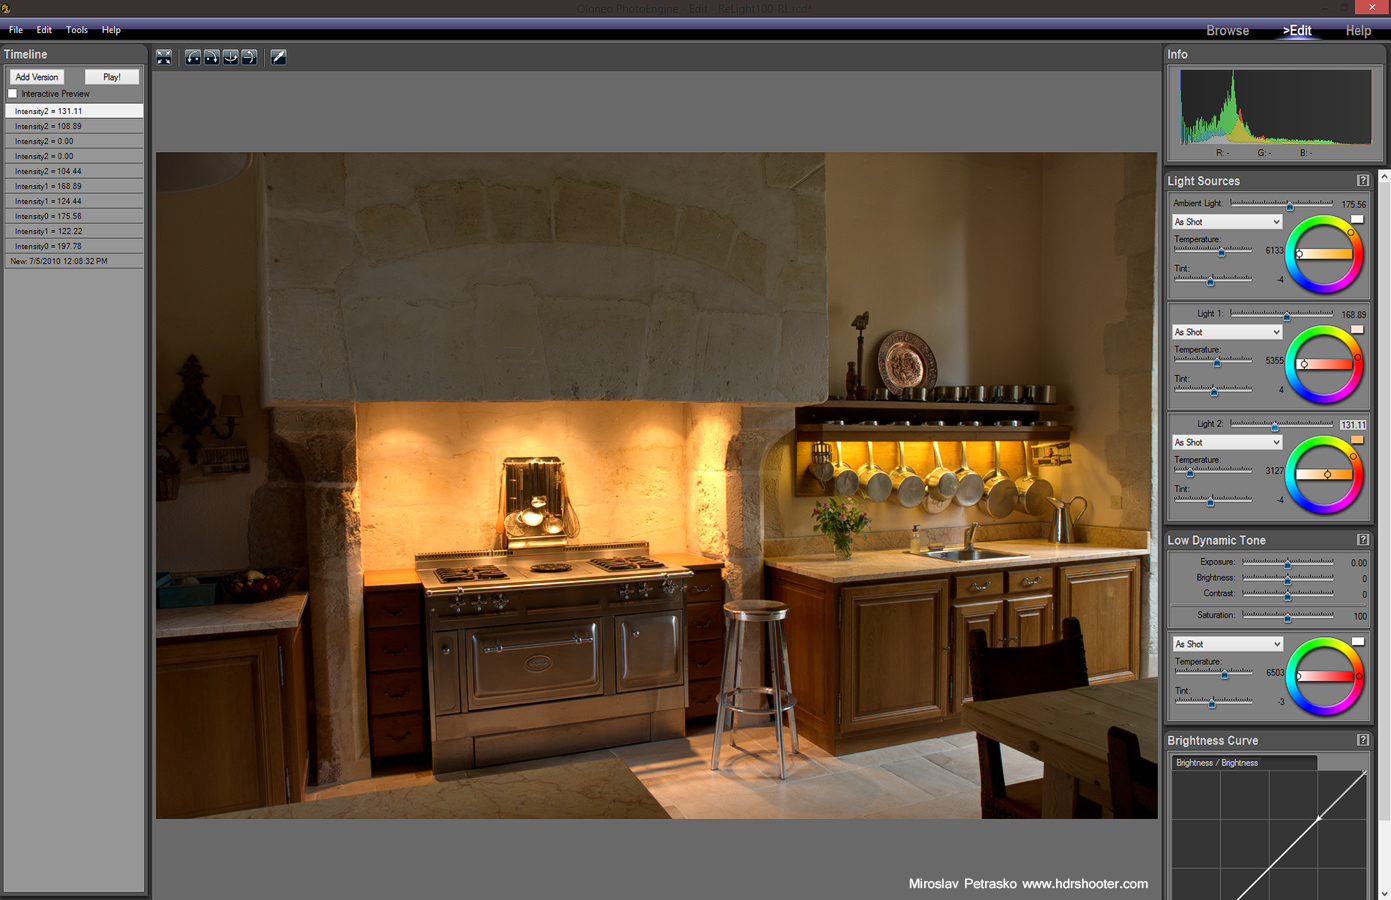
There is a second program from Oloneo, called HDRengine. All I mentioned until now is the same also for HDRengine, as that includes the same HDR editing parts. The difference between these two is, that Photoengine also includes two additions parts. They are HDR Relight, where you can combine photos of the same scene, with different light sources turned on. You can then control each light individually to create a final photo. The second addition is HDR DeNoise where Photoengine uses multiple photos of the same scene, taken with the same settings, to remove noise. This is different than normal noise reduction, and the results loose no detail in the process.
There are few things I don’t like about Photoengine. I don’t like the way the file browser works, where you have to browse for the folders, instead just going up and down in the tree structure. Also if they included the double click on the setting name to reset it, would make the work much faster. Additionally in the blending, with some photos the algorithm can create halos or a bright stroke around the dark areas. As I said, it’s not perfect for all the photos, but no program is.
Overall I highly suggest you give this program a try. It’s one of the simplest ways to start with HDR and also creates one of the most natural feeling results from them all.
For more information about Oloneo Photoengine and HDRengine, please visit the Oloneo site.
View all my other reviews here.
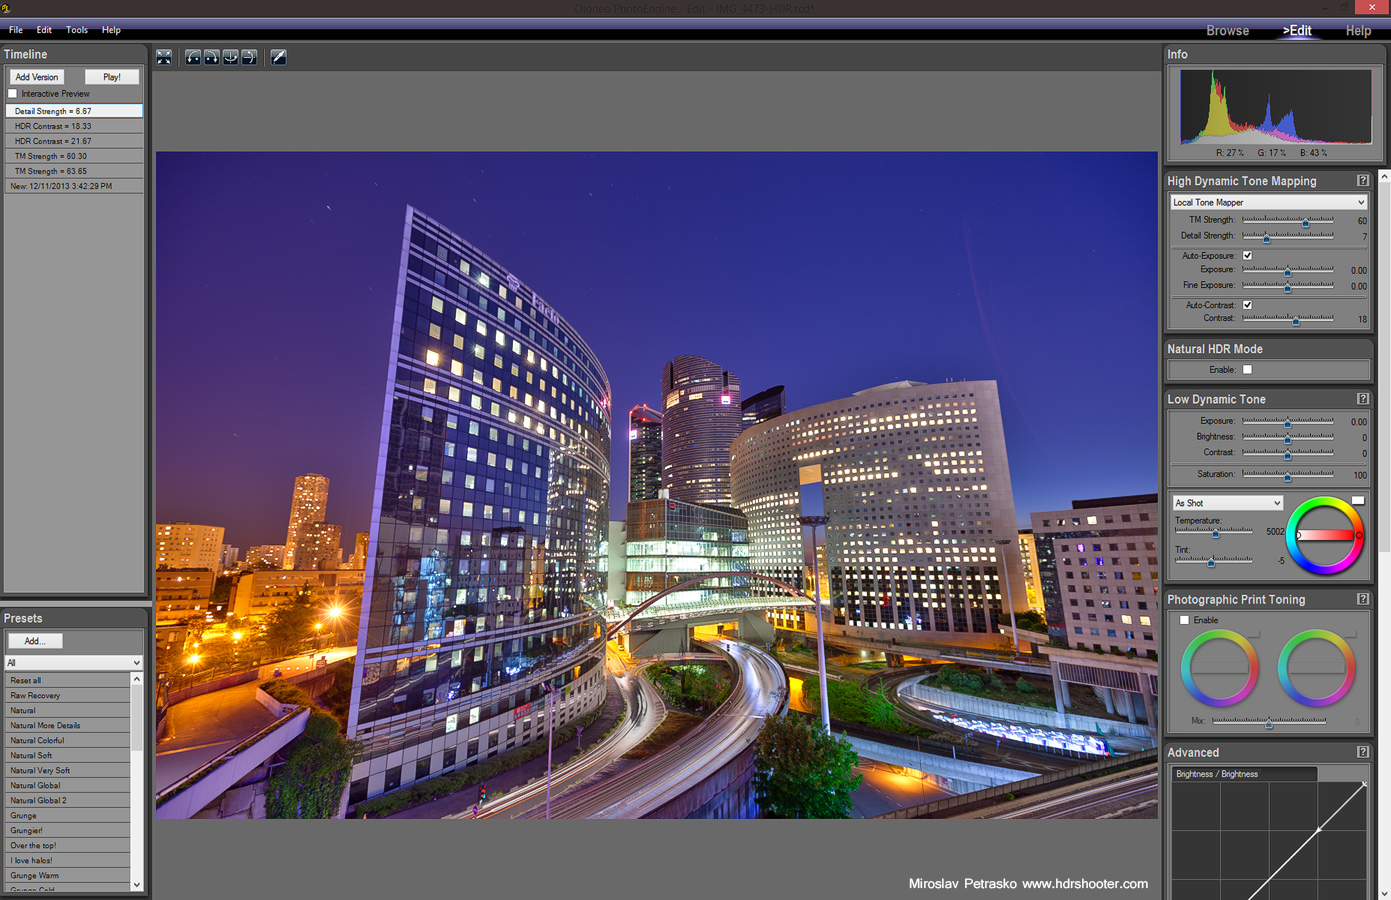
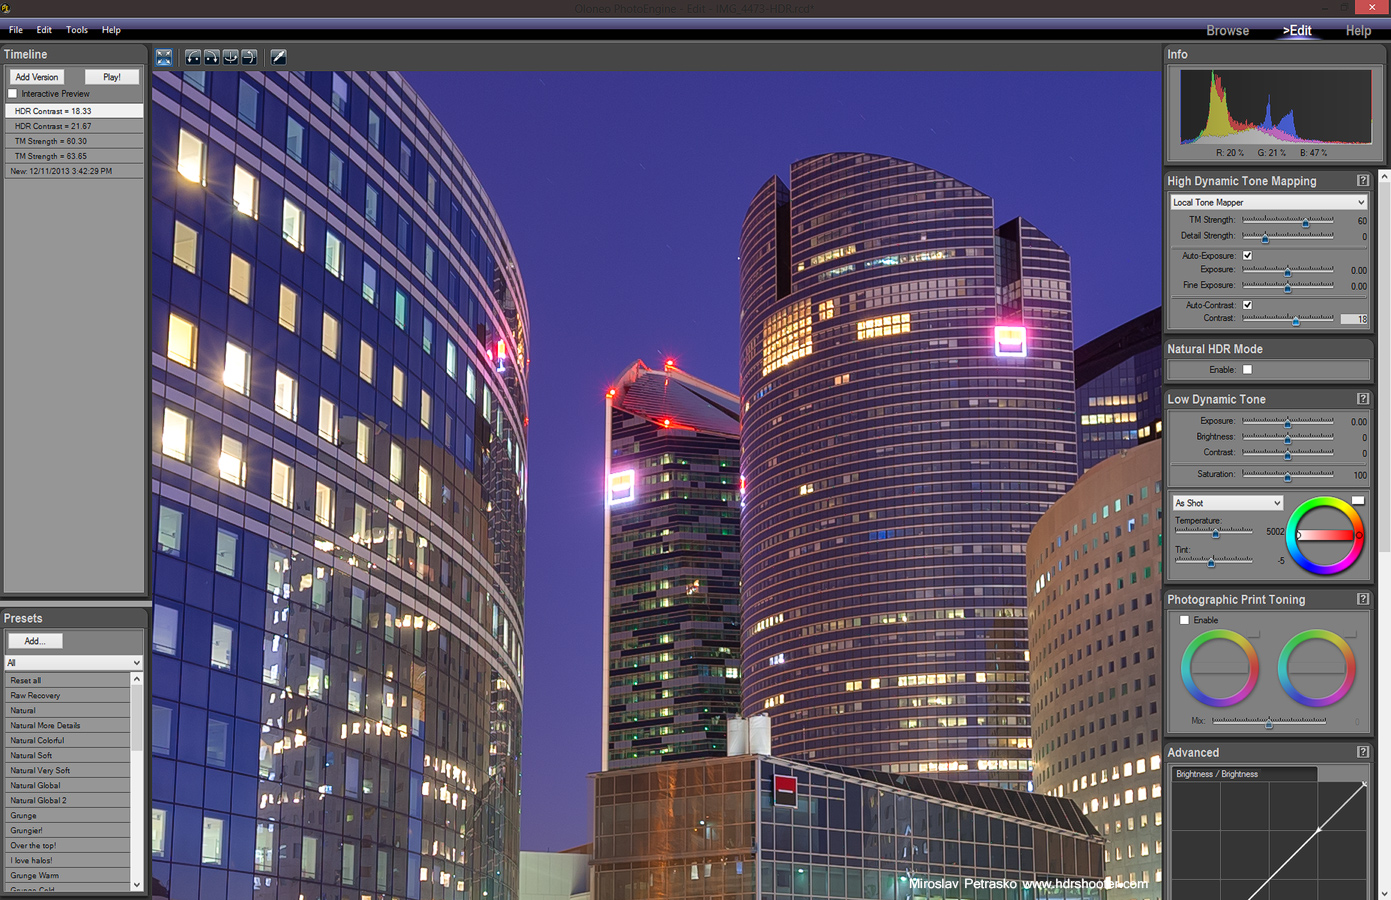
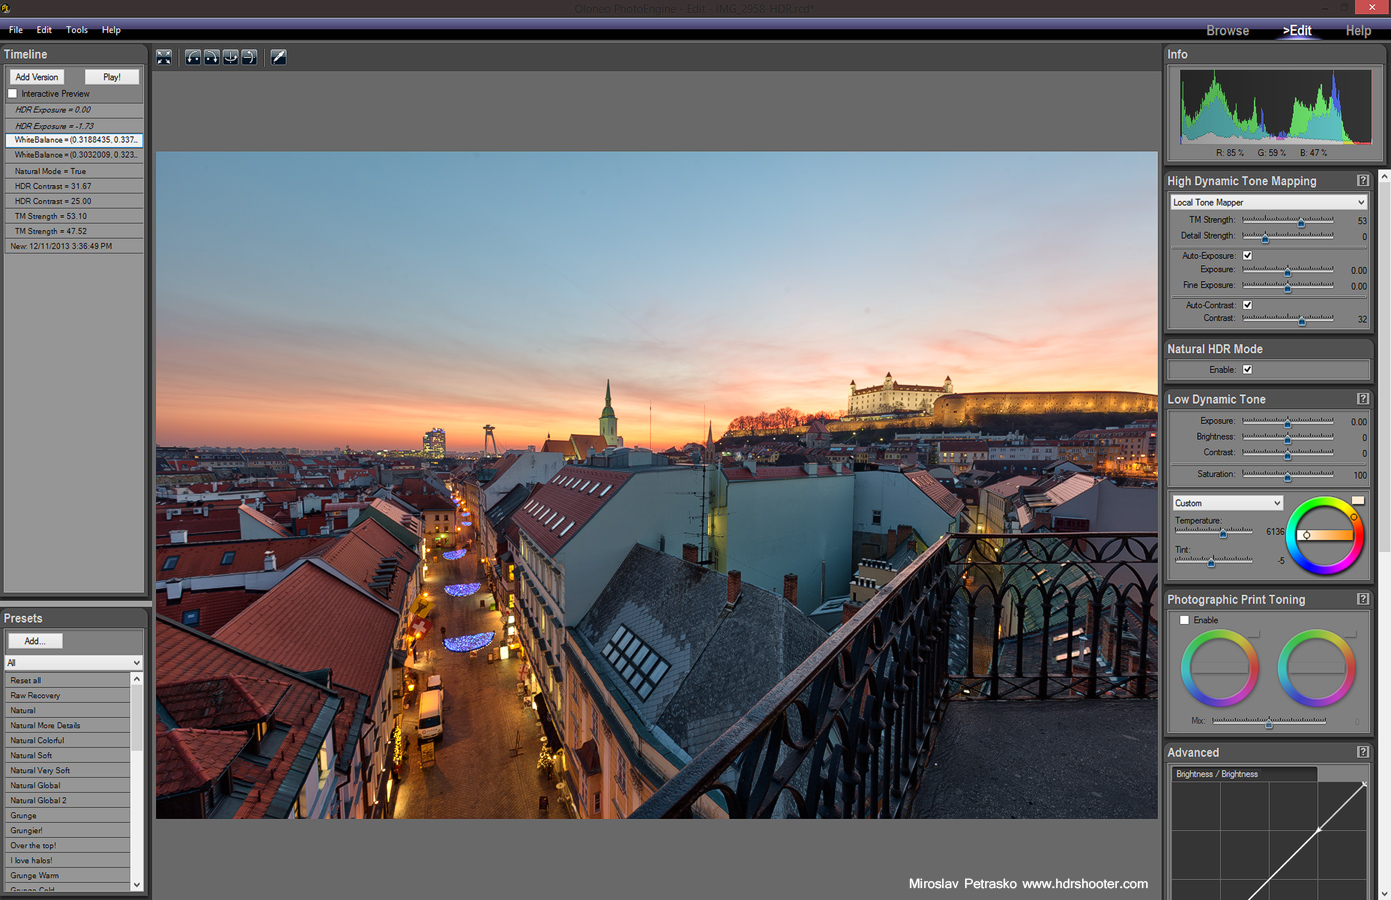
And here are few photos where I used Oloneo Photoengine for the initial HDR blending.


