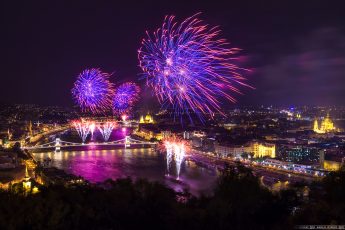
And it’s Monday again, so a new process post for you. Today it’s a little more complicated shots, as I used different techniques here.
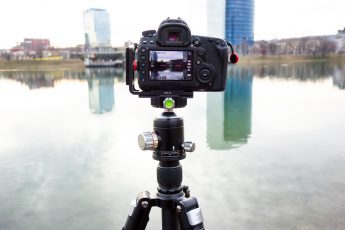
So here goes. To take this shot:

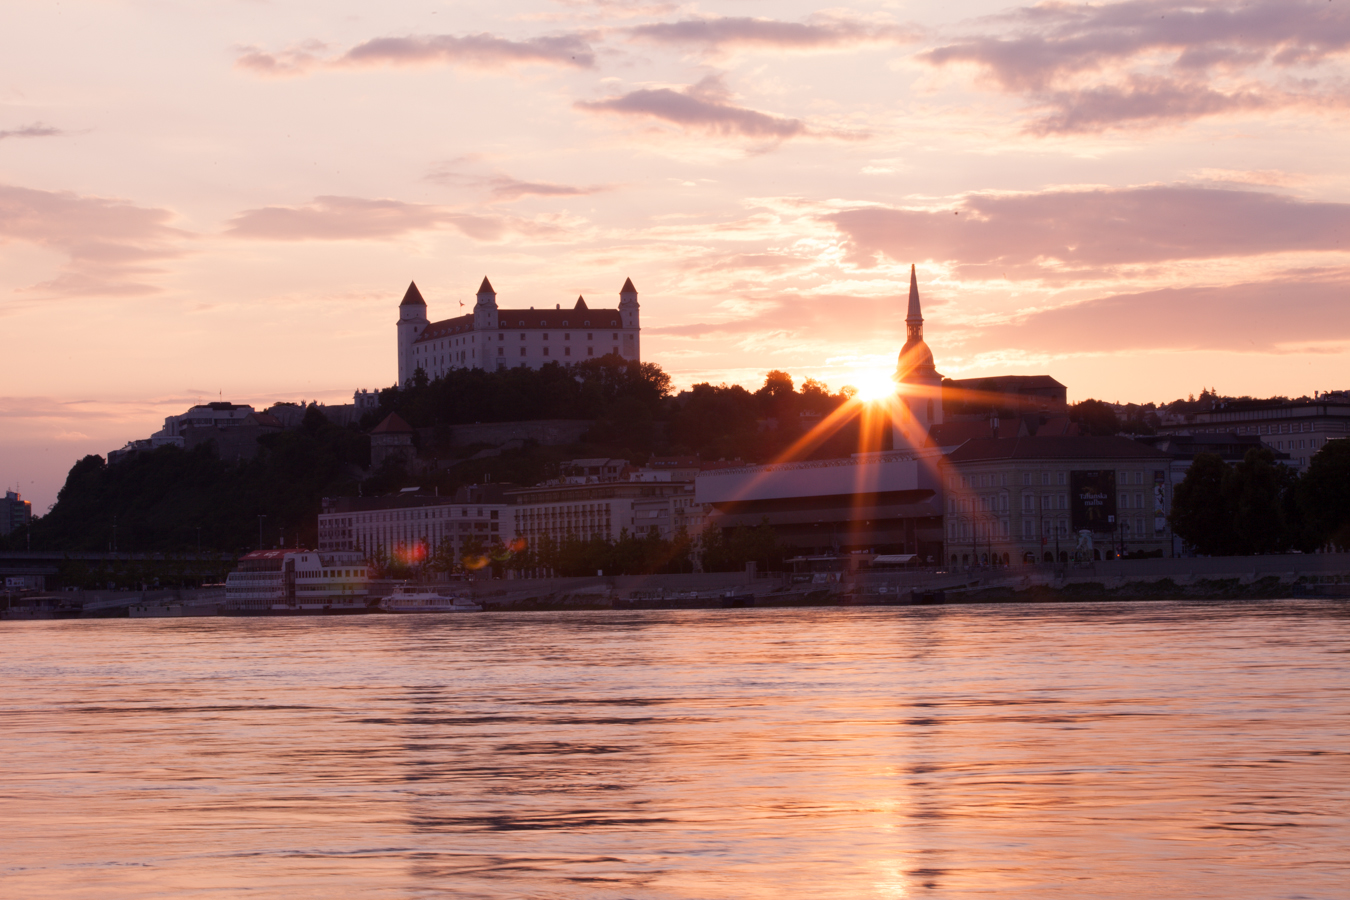
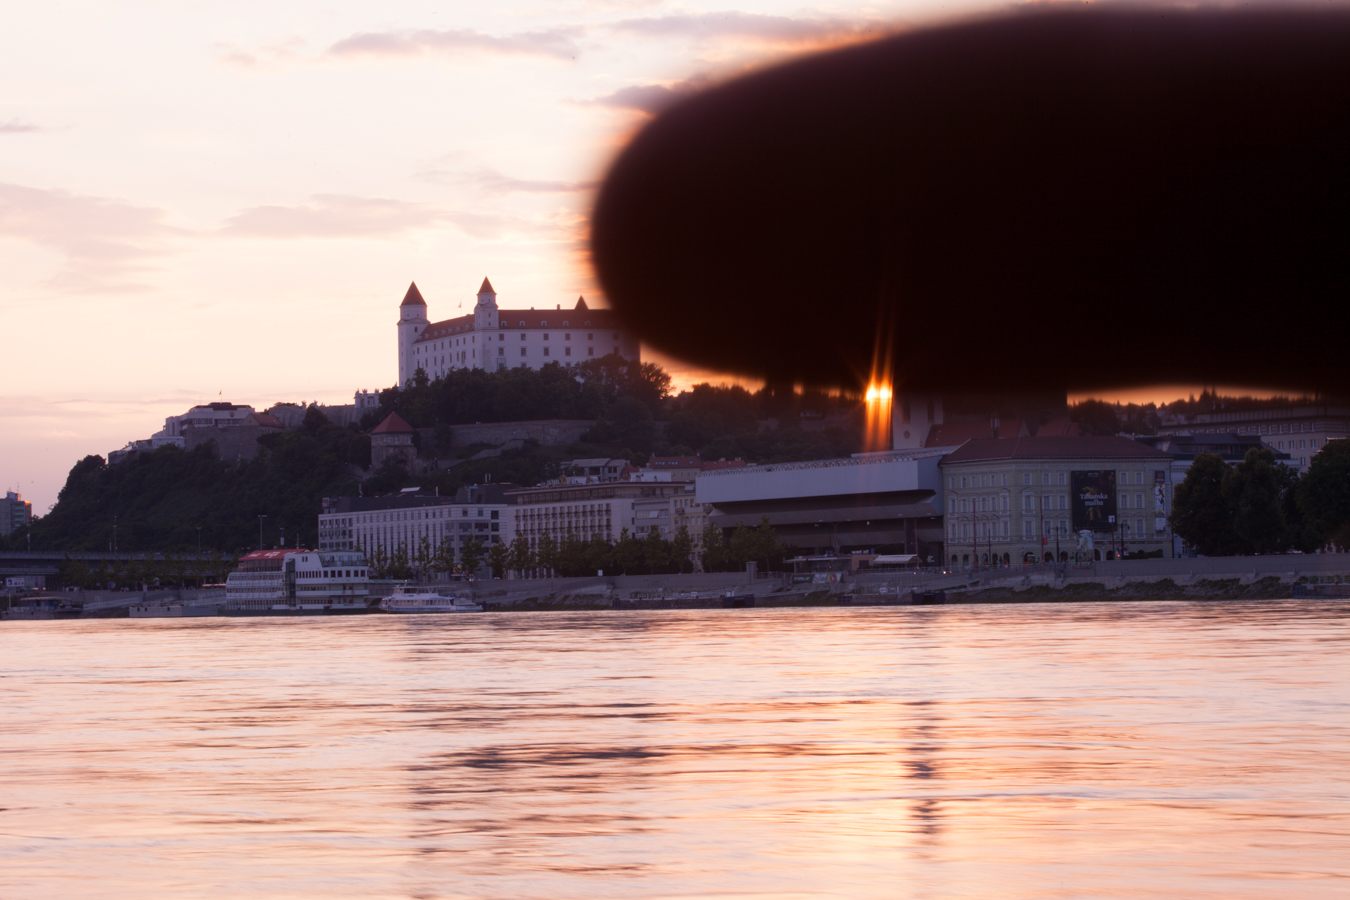
I did the following. I took two series of 6 exposures. One normal, and one with my finger in front of the lens, to block the sun. At first I combined the original photos in Oloneo Photo engine to get this:
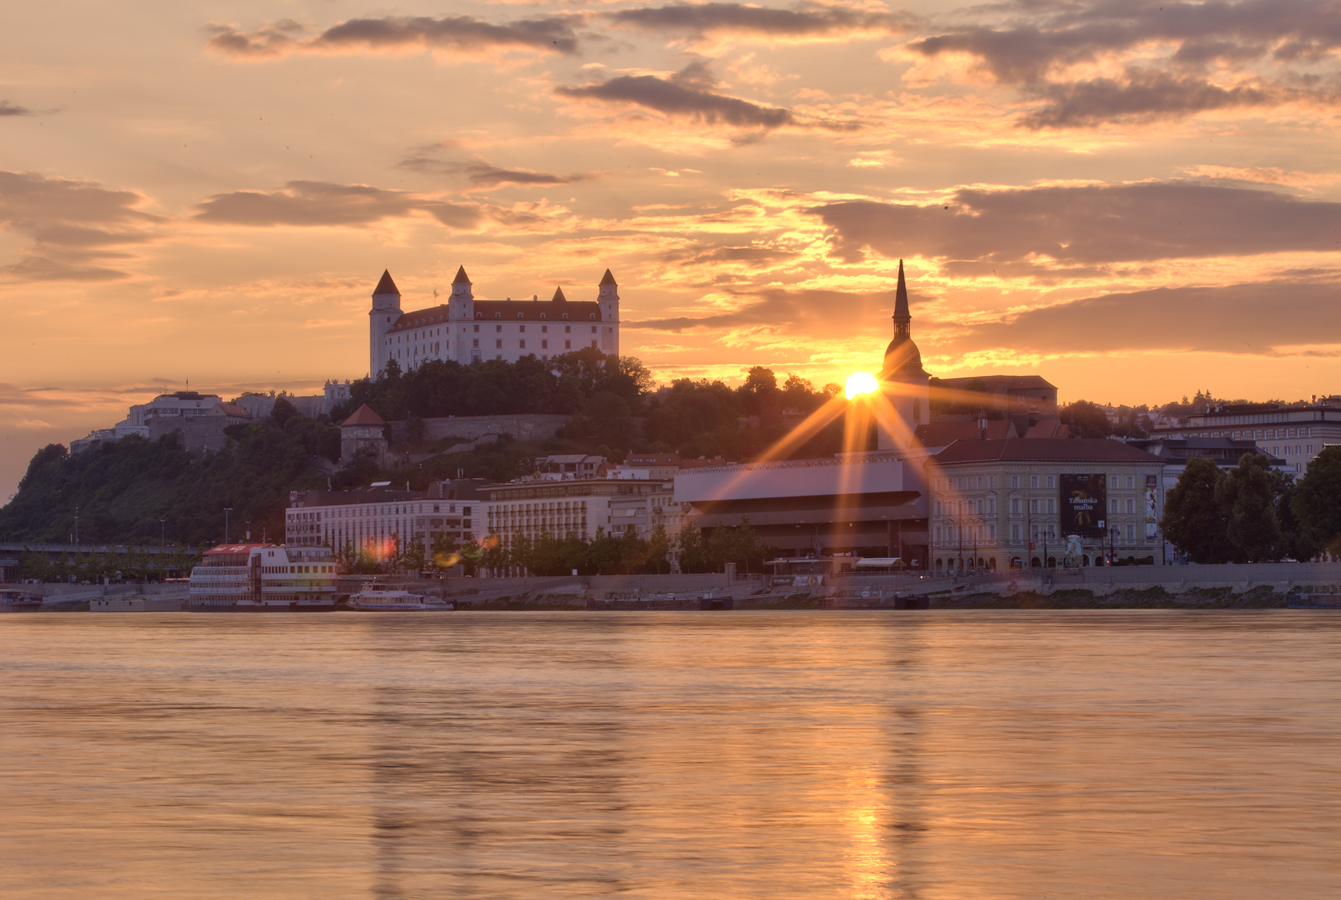
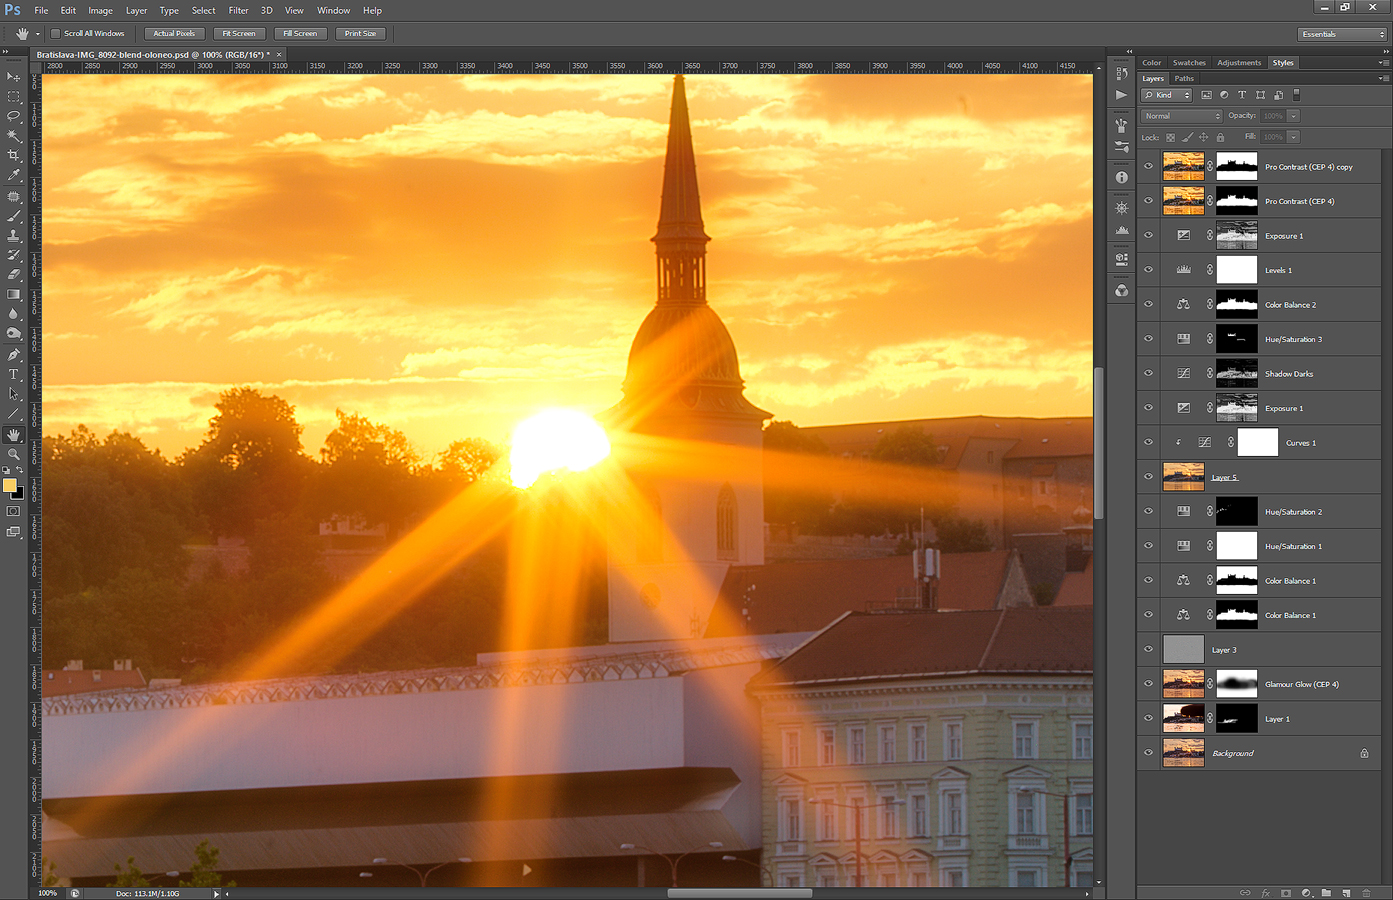
after that I used Photoshop to blend it with original shots, and to correct the colors. So the layers I used, from bottom up, were:
1. Oloneo blended image
2. +1EV exposure from a second series, where I held my finger in front of the sun, to remove flares
3. Color efex glamour glow, used only on the clouds
4. high pass to add more details
5+6. separate color balance for the sky and the castle to remove the purple tint
7. added saturation to yellows
8. corrected colors on the trees newar the castle
9+10. added glow using a bluerd layer
11+12. brightened the dark areas to even the image
13. removed color cast from the whites on the castle
14. more color balance on the buidings, they were still too purple
15. added more blacks to the image
16. more brightening to the dark areas
17+18. Color efex Pro contrast, used more on the building and only a little on the sky
Continue to the full post, to see the original 0EV from both series.


Hi, can u tell me how u make glow?? I understand that u make layer with gausian blur then u change the blending mode for soft light but why u need layer with curves?? rgrds Sebastian
The curves layer is set to screen mode and applied only to the blurred layer. That’s so the layer is one stop lighter and the final result is not so dark.