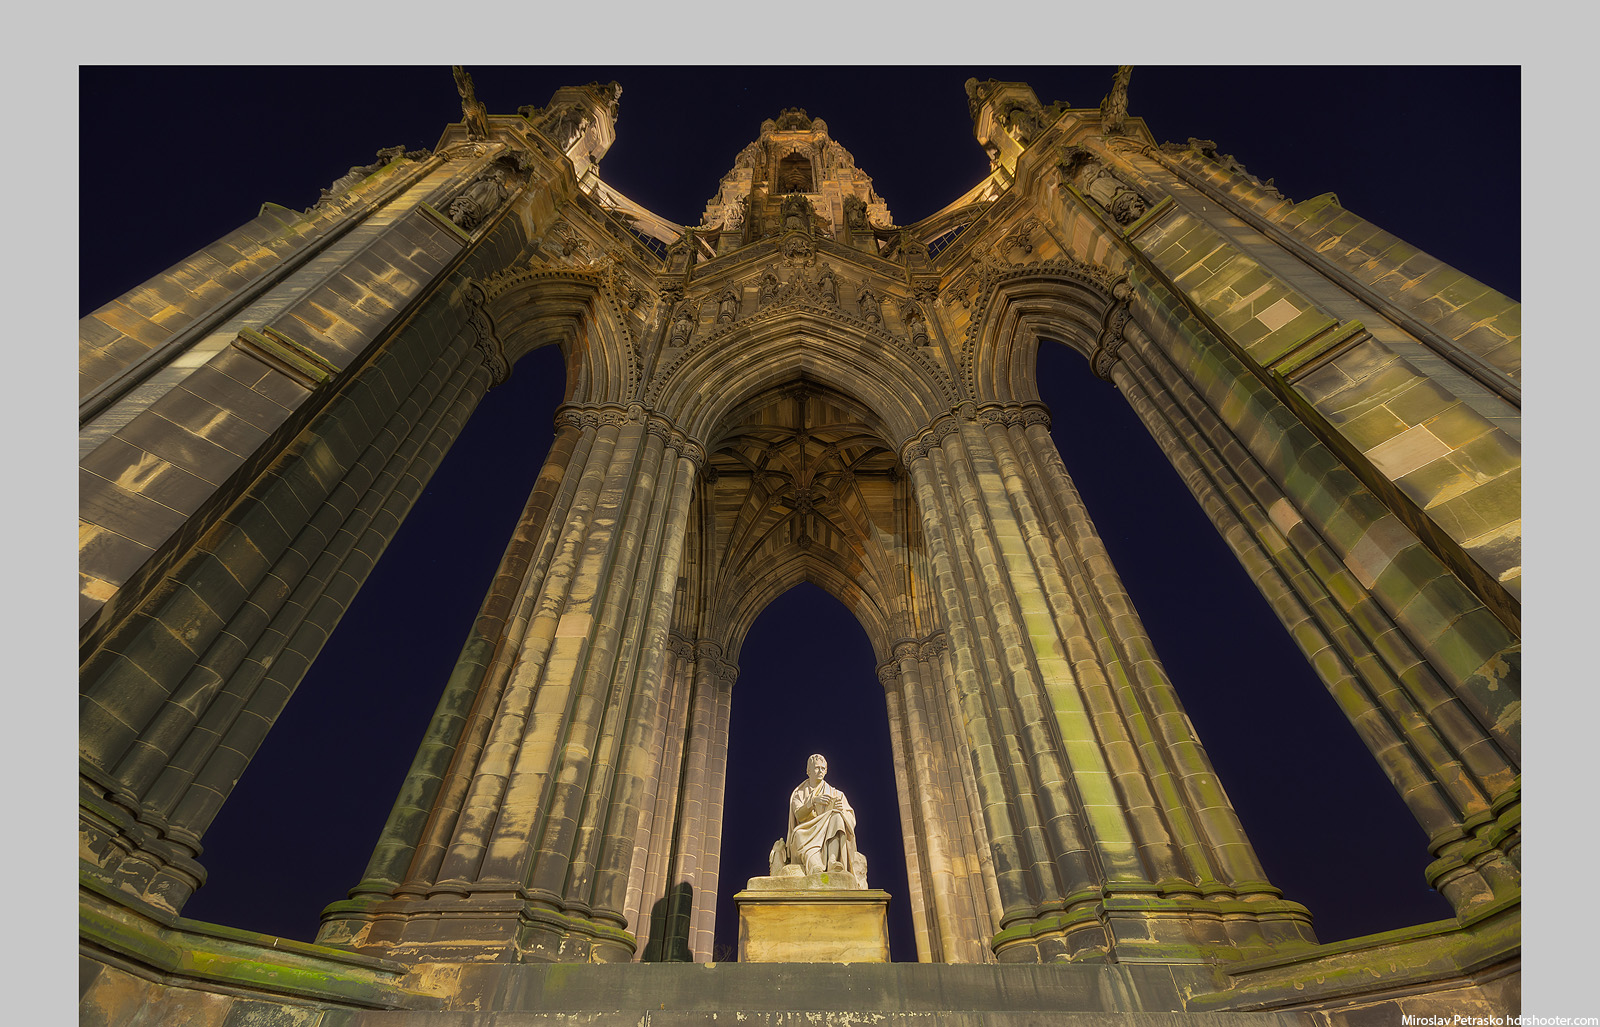
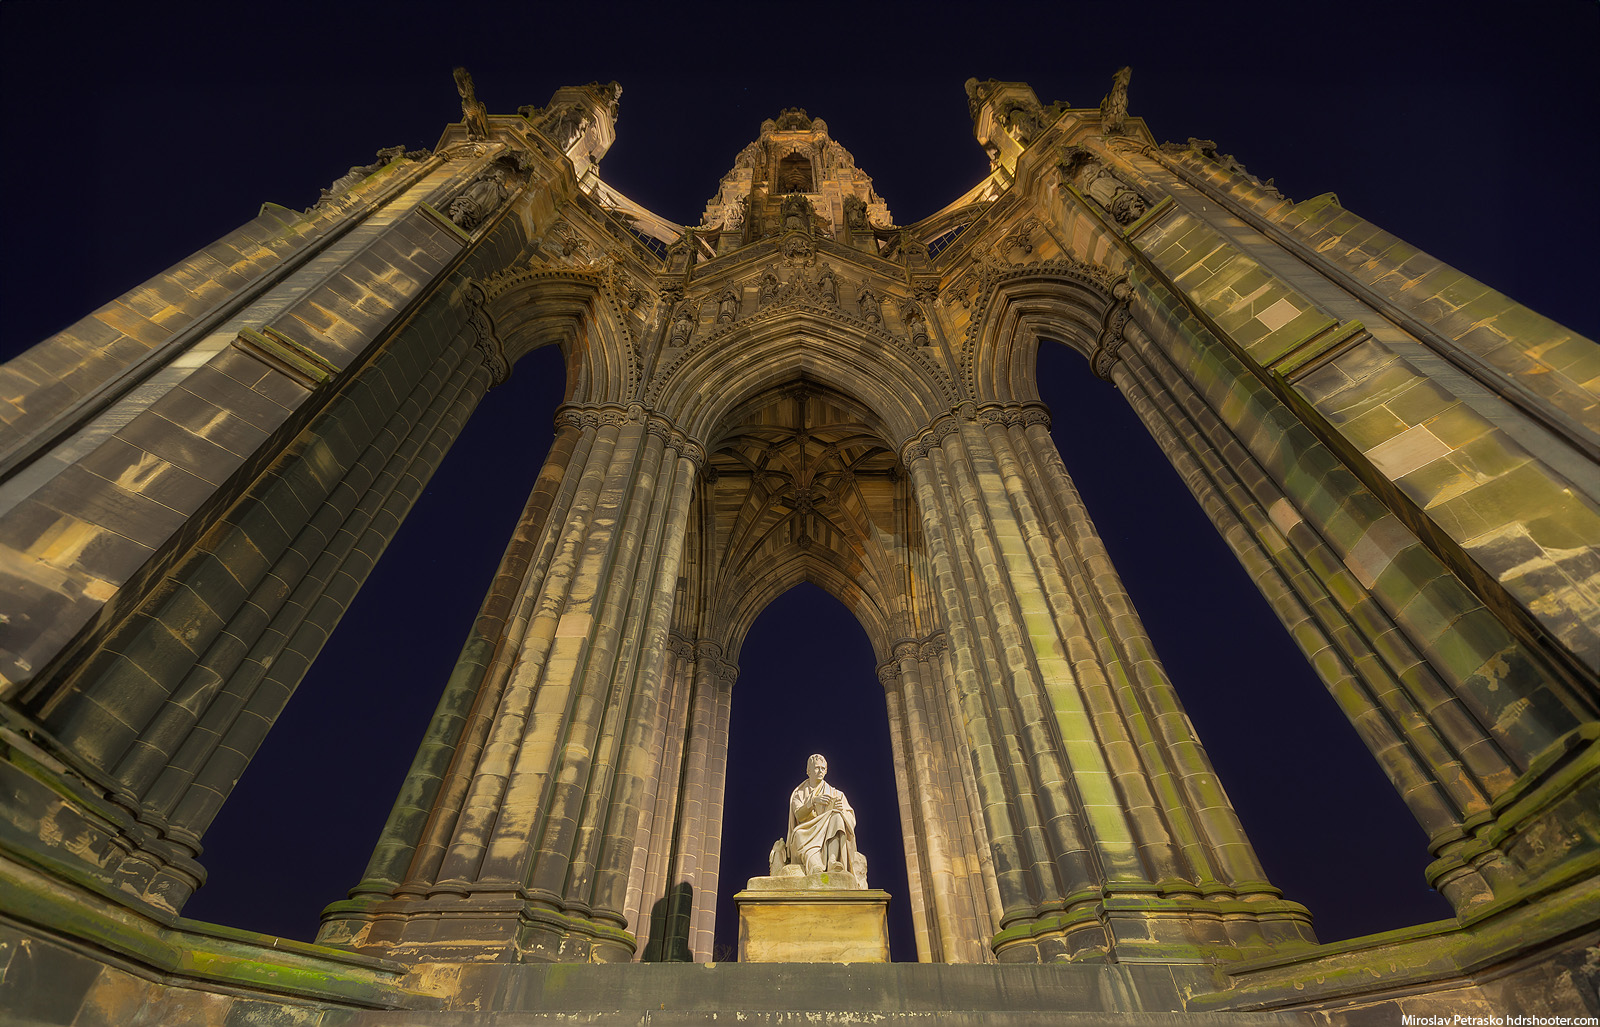
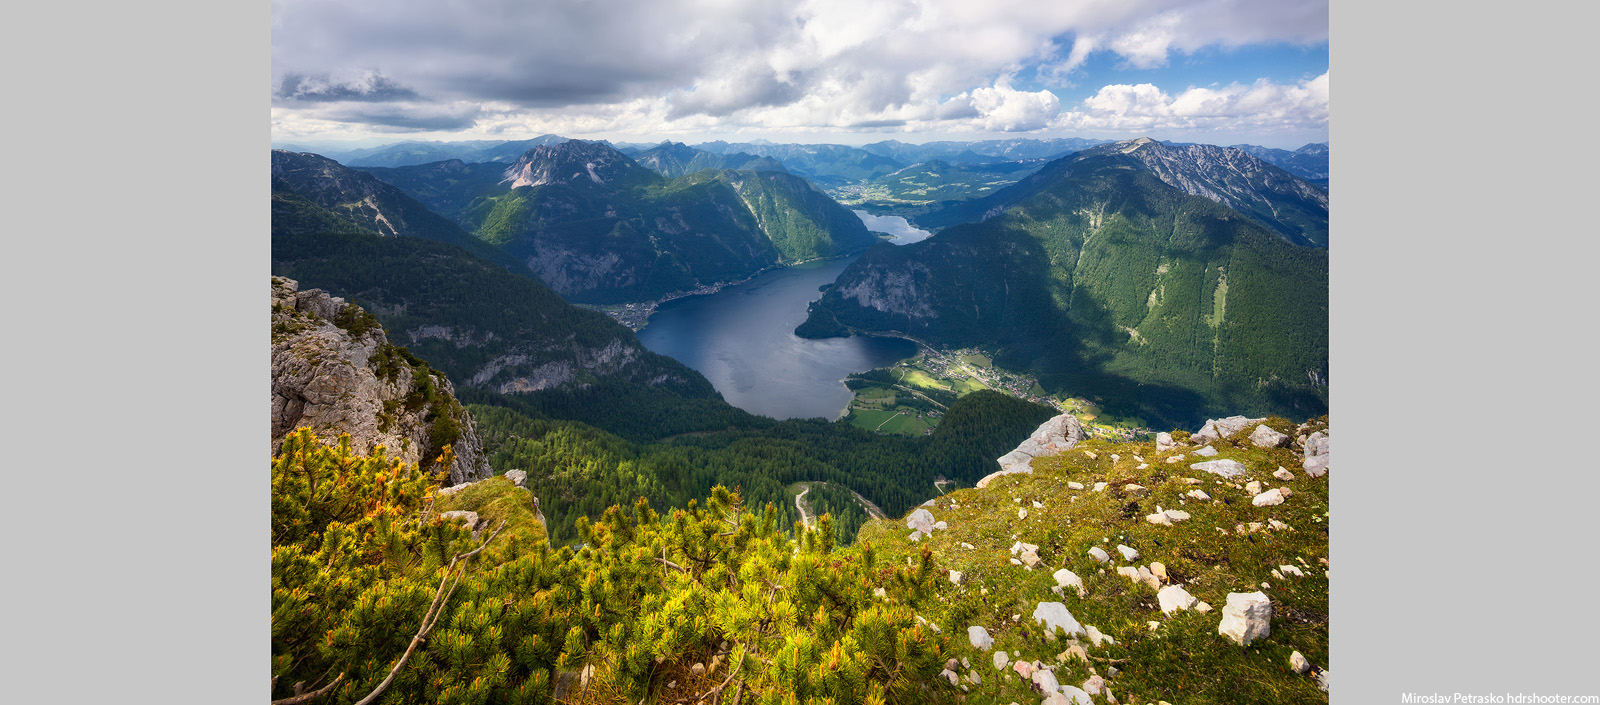
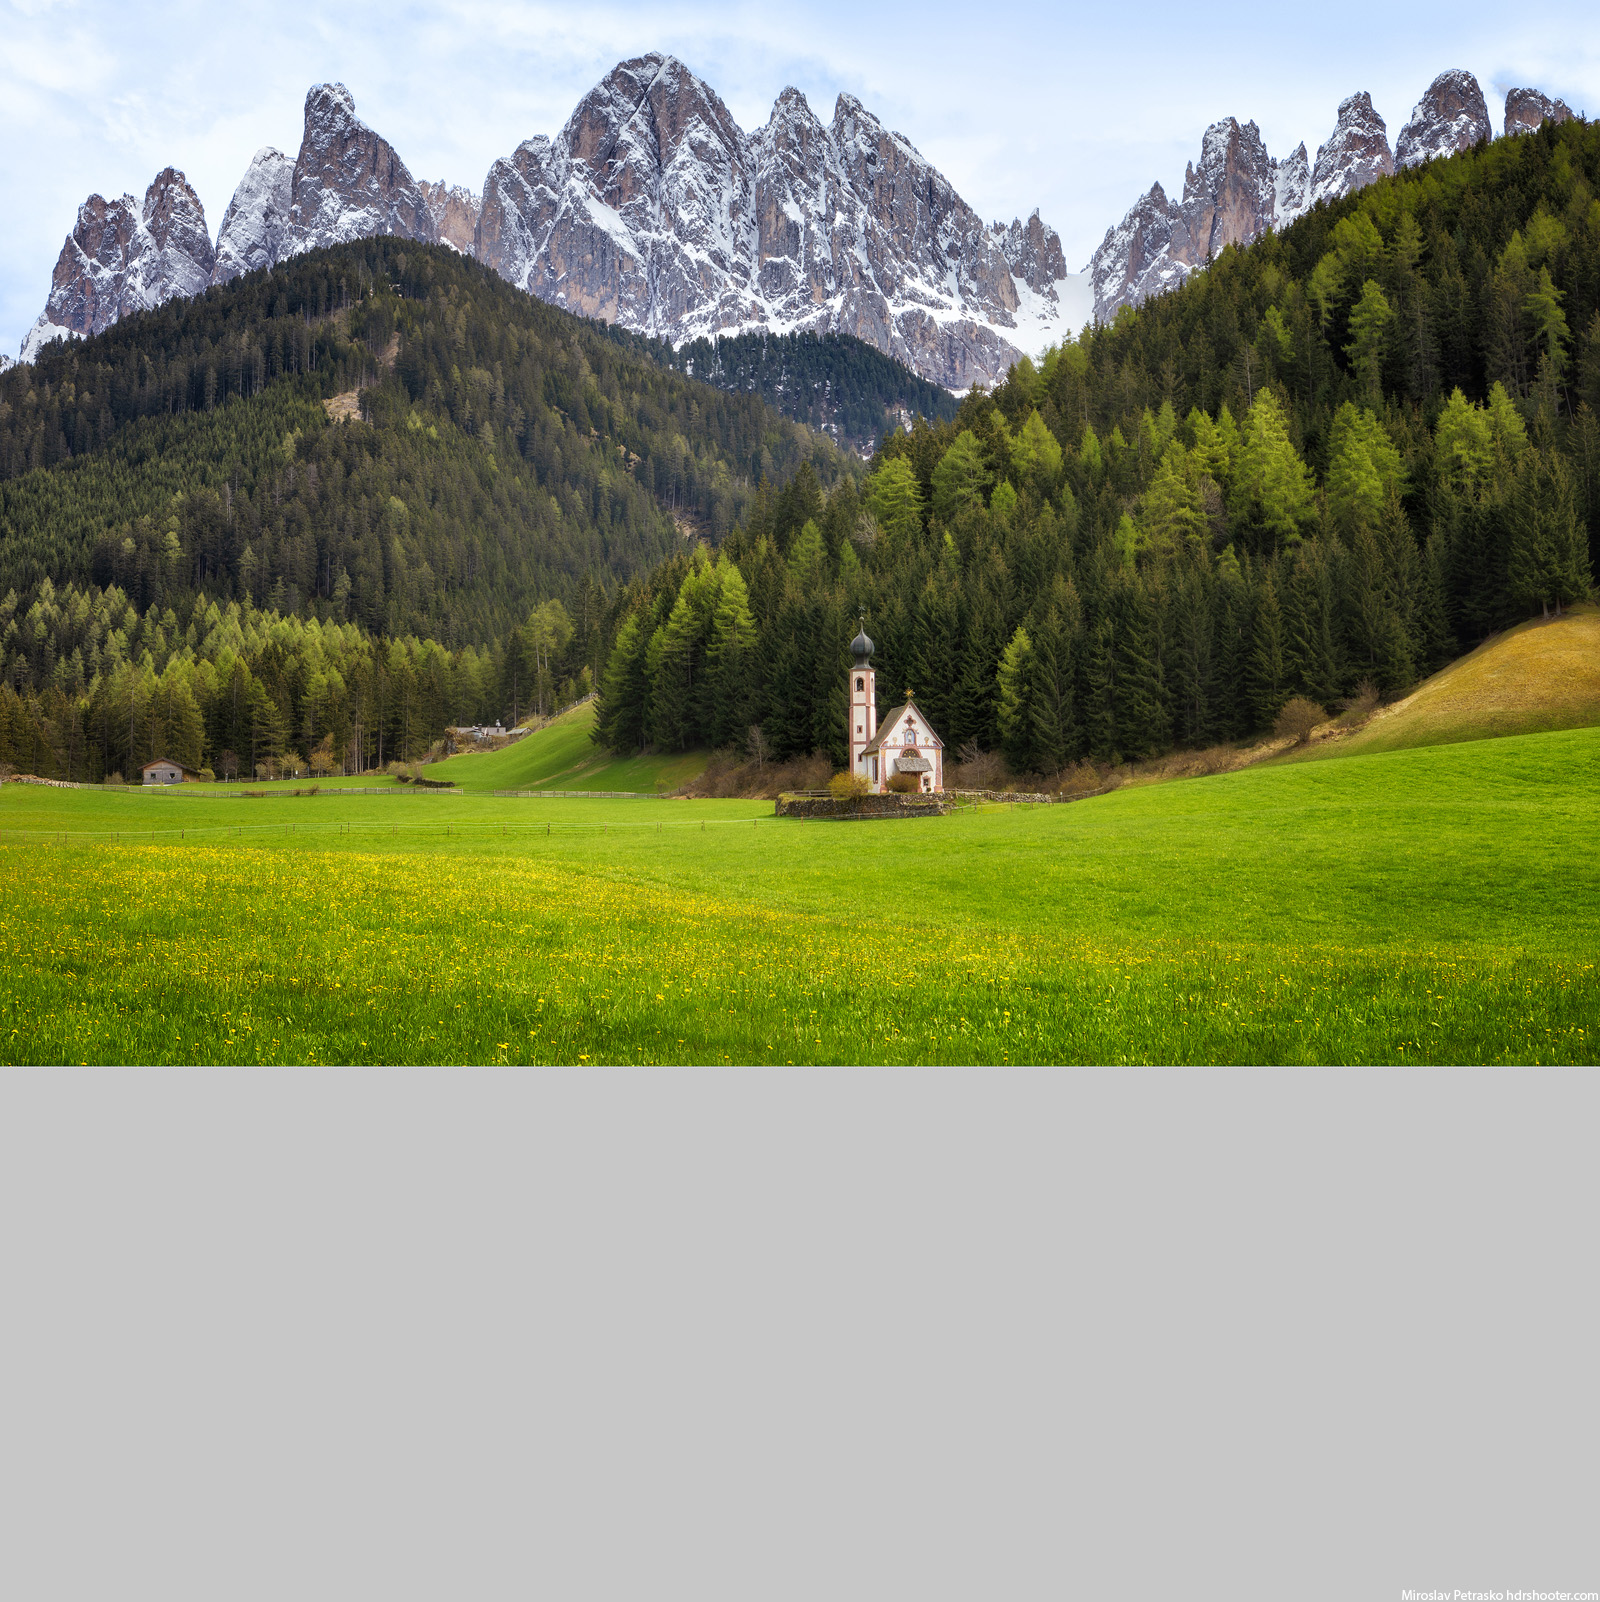
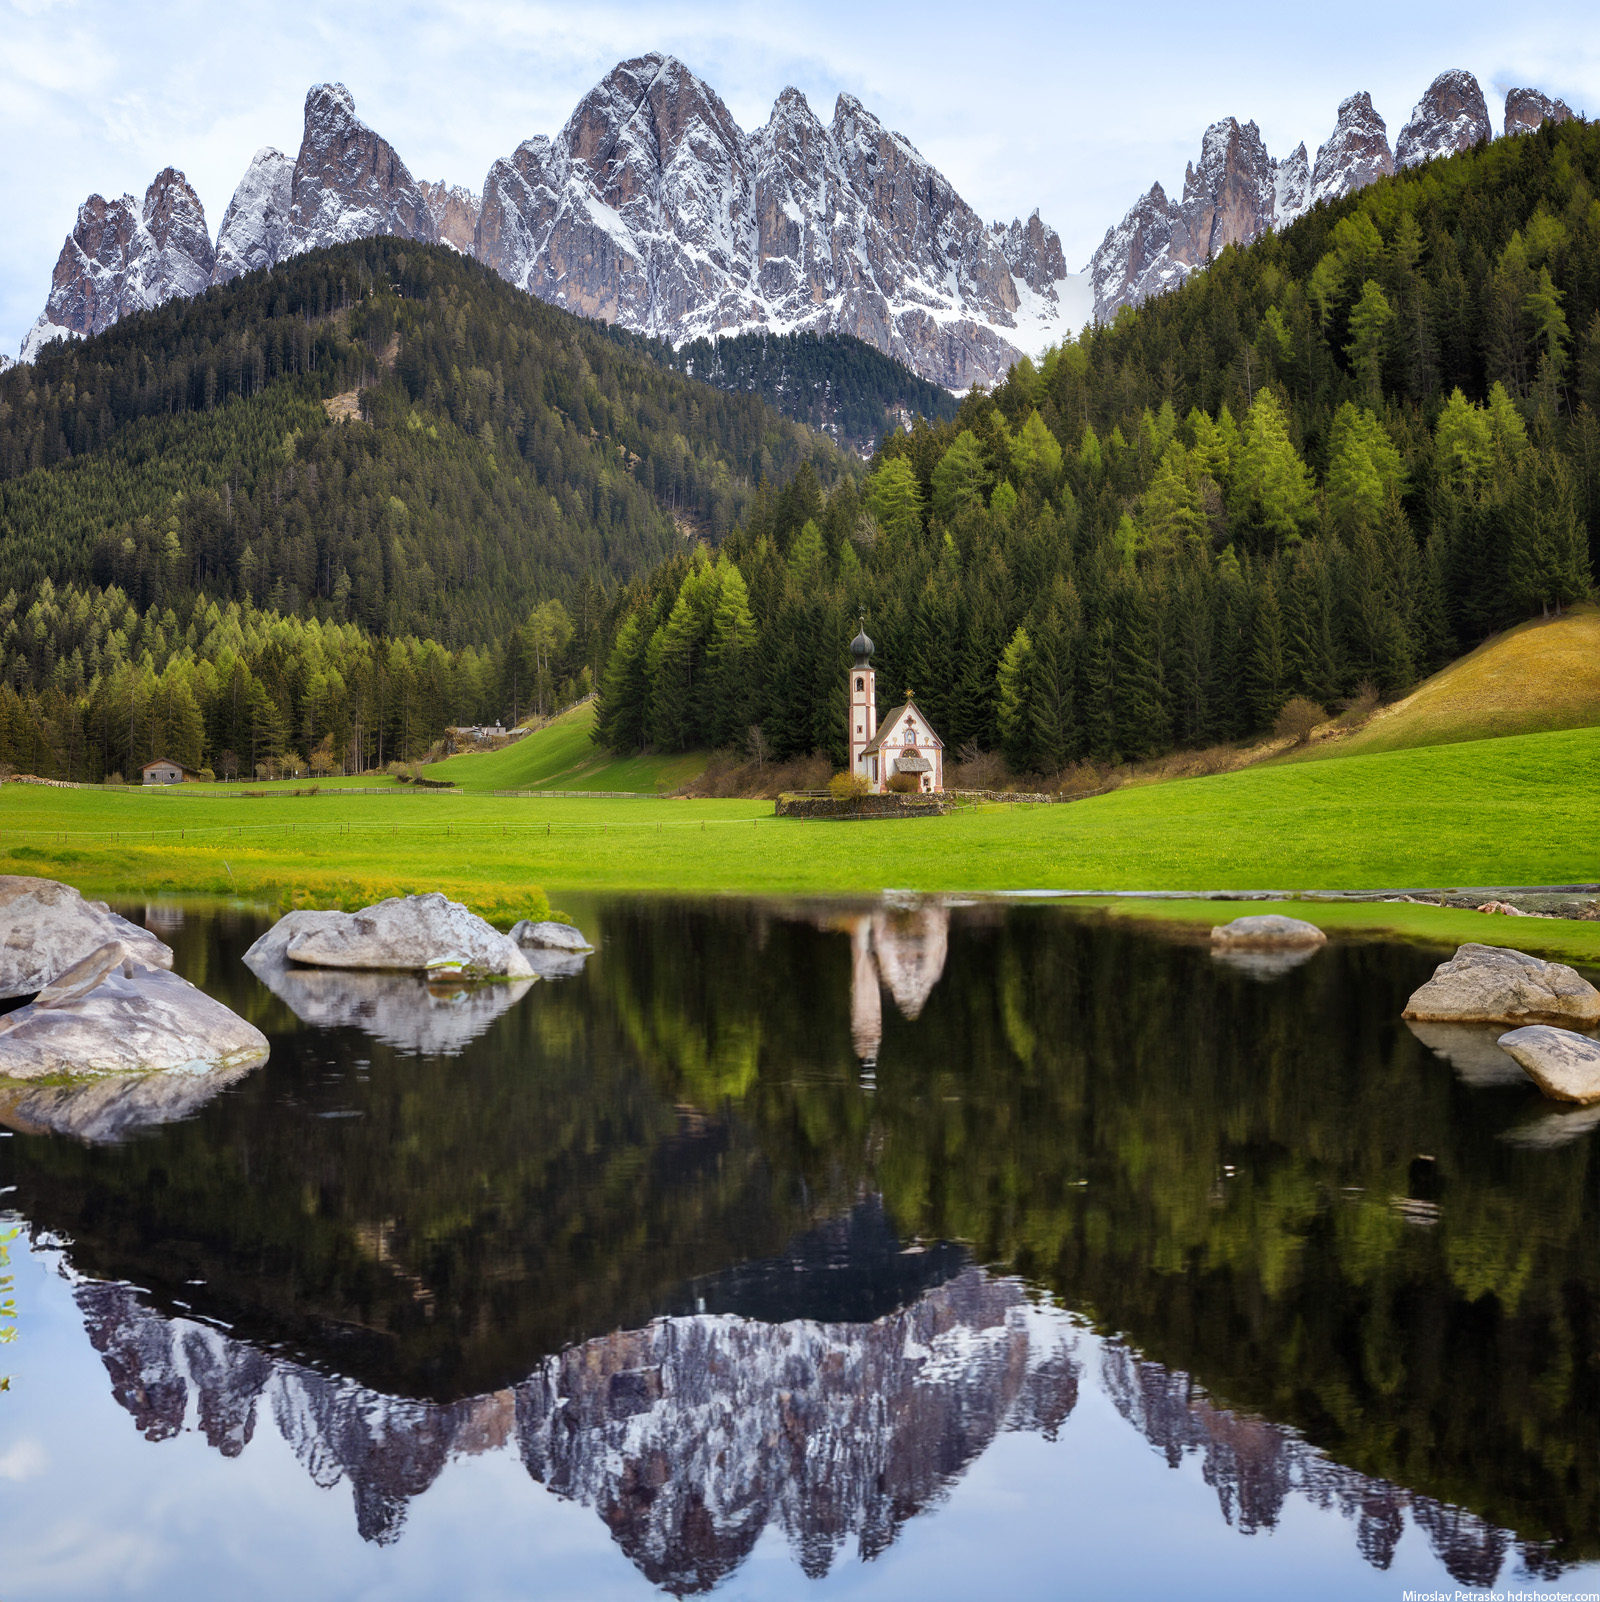
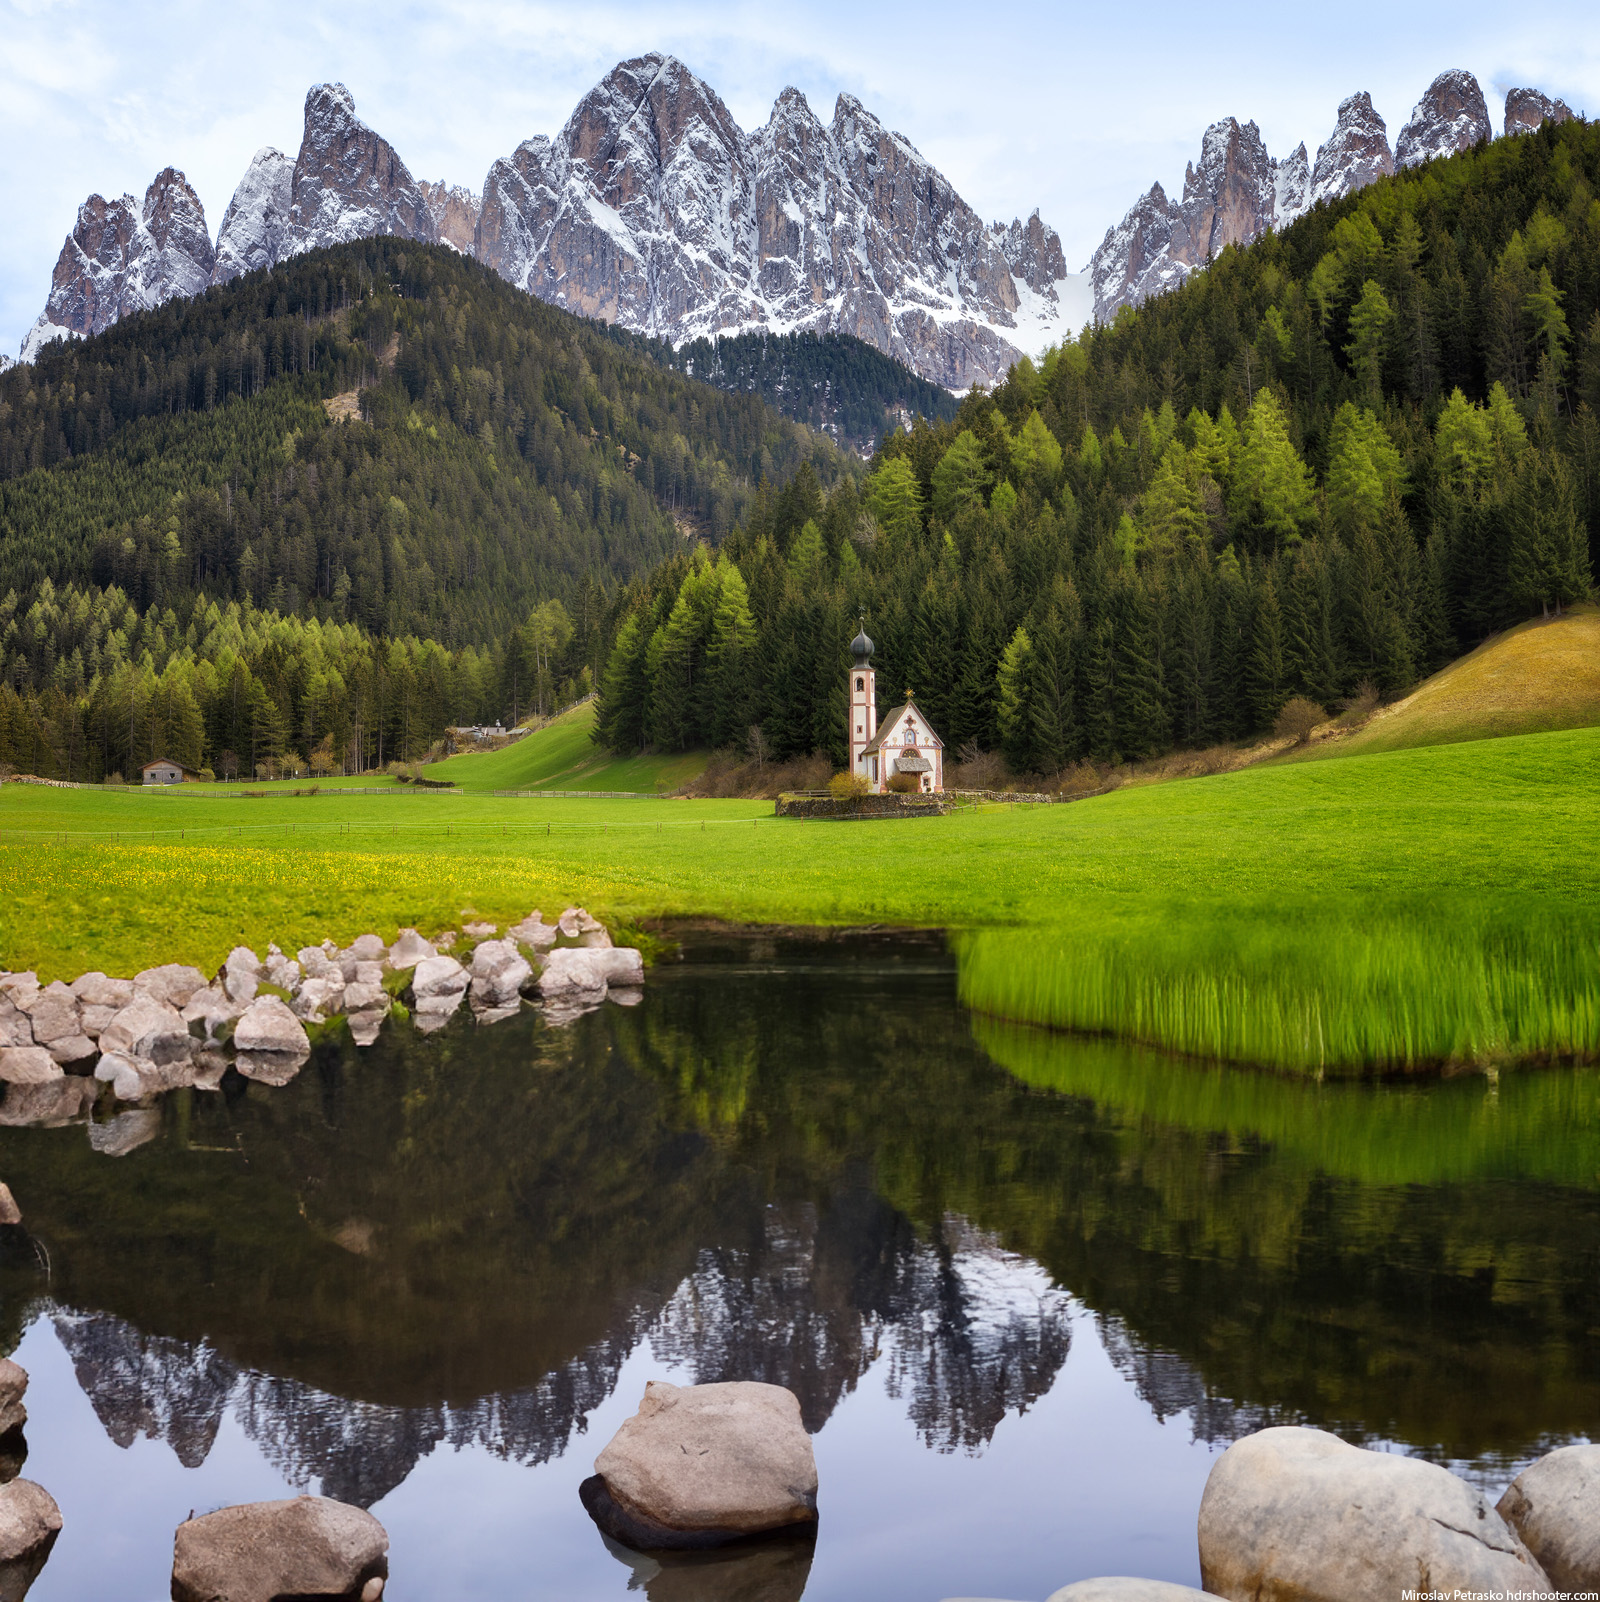
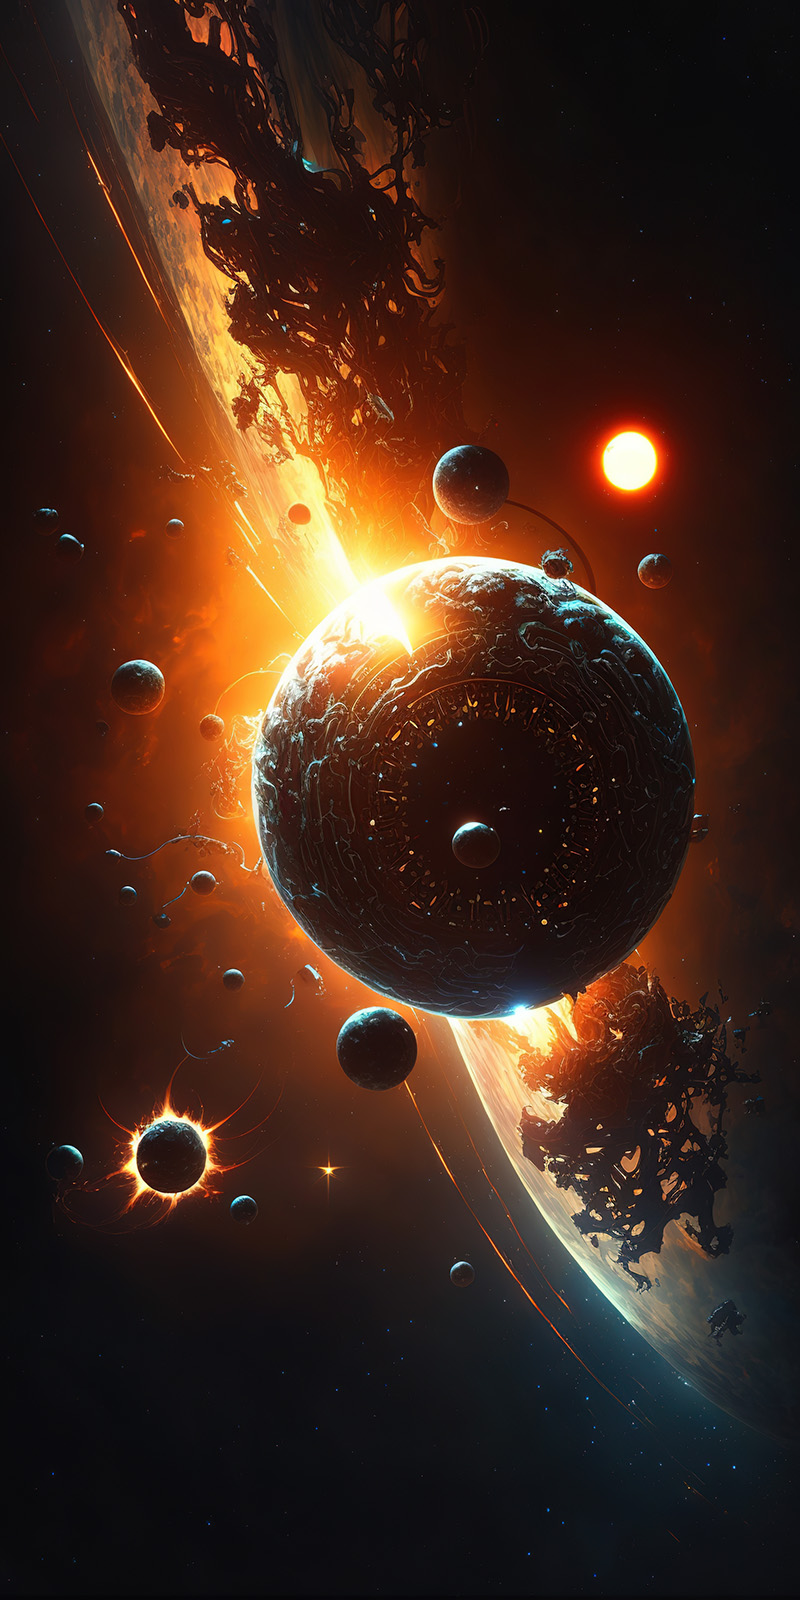
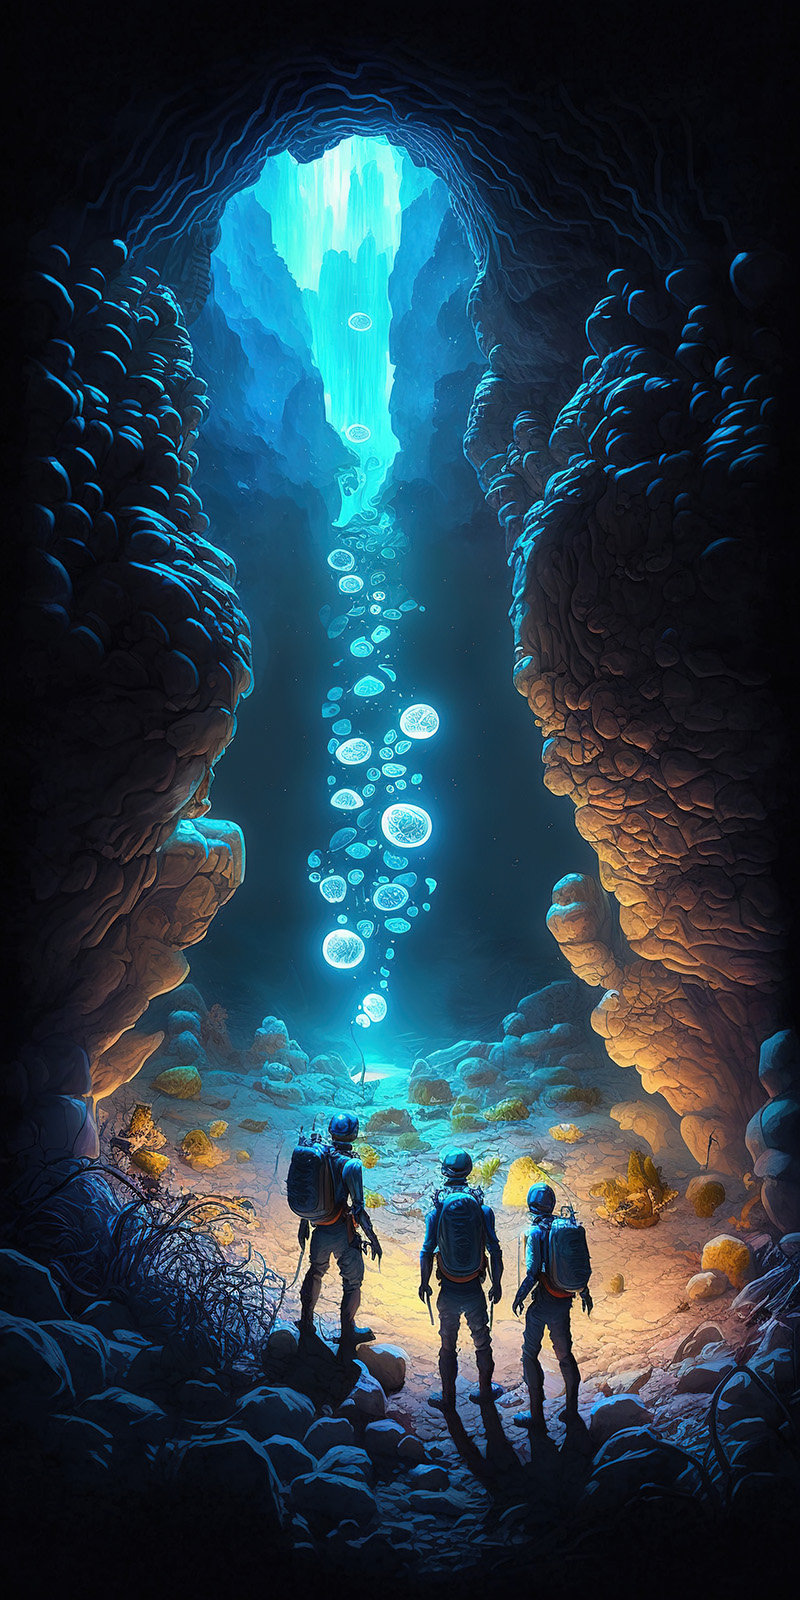
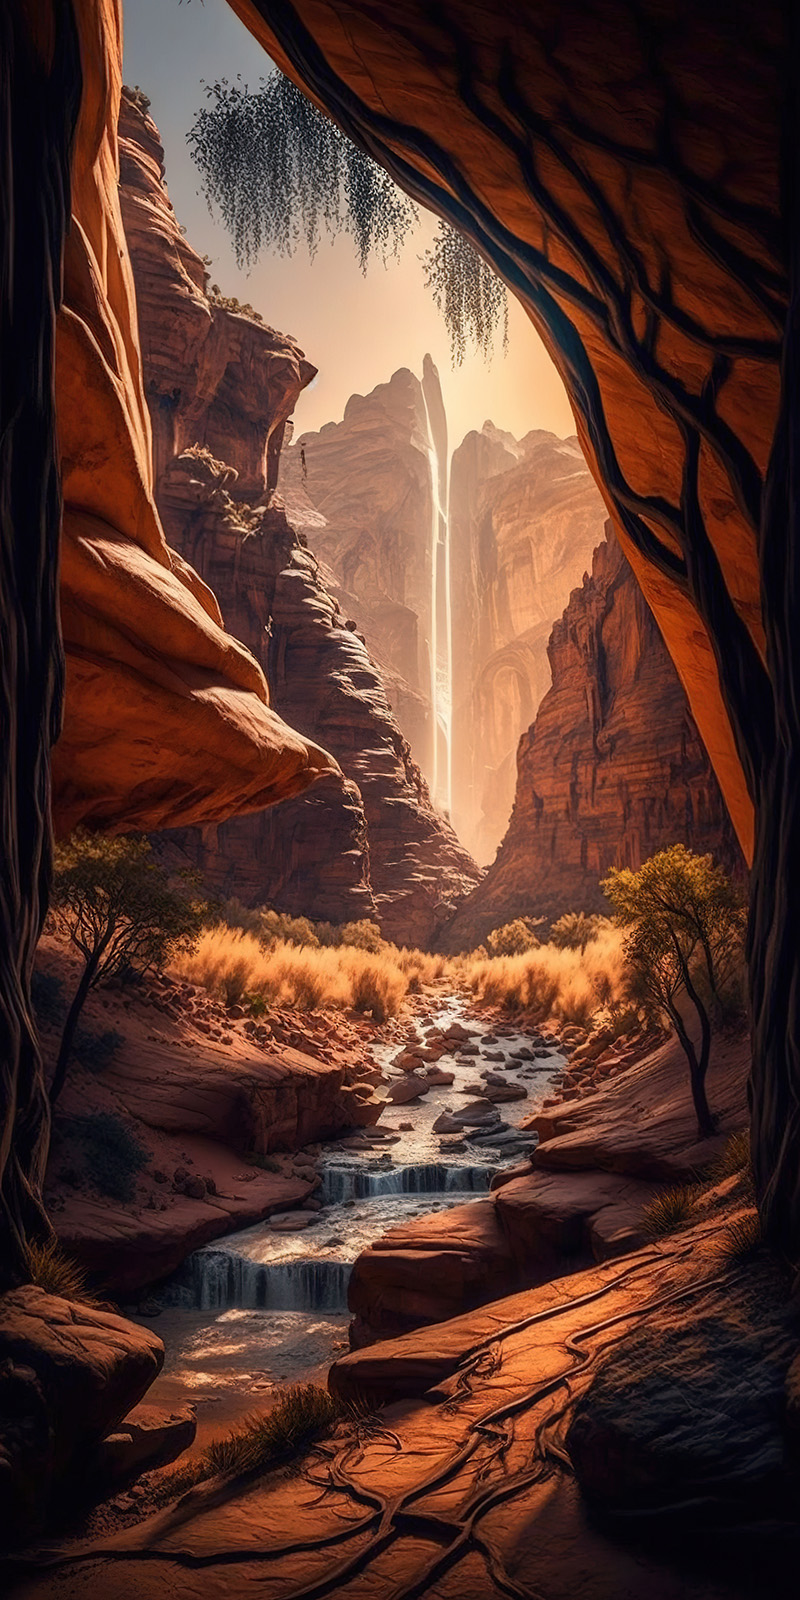
Photoshop Beta with Generative Fill

Recently Photoshop released a new Beta version, that now also includes Generative Fill. This is an evolution of the content-aware tool that was there for a long time, but this time it uses AI image generation to create the fill.

I have been playing with it since it was released and today will take a look at the most prominent uses, for me as a photographer. So it will be the removal of objects, canvas expansion, and object generation.

Photoshop Beta

Using Generative Fill is easy. You just select a part of your image and a small popup shows up. You select Generative Fill, and in the new popup, if you want, you can add keywords. But it can be also left bland. Once you confirm by selecting Generate, Photoshop will create three versions for you. You can then view them, or regenerate the result. Then, you can another part of the image, even the just generated parts, and continue.

Removal of objects

This one is the most interesting part for me, as a photographer. It is not that easy to get rid of things in a photo, and one has to use many different techniques. This makes things much easier. The only issue is the quality of the result. While it looks good, the resolution is just lower and there is a loss of detail. If you compare it to a traditional way, of creating multiple exposures and then blending them (as shown here). But that technique is not always possible, or you just do have time to wait.

I can also imagine this helping a lot with problems like burnout highlights and lens flares. When you miss this when taking the photo, it’s hard to fix.

Here I edited one of my photos from Paris, where I removed all the people waiting in front of the Moulin Rouge. What do you think?

original
Generative Fill in Photoshop Beta - removed objects

Expanding the canvas with Generative Fill

Another use I can see is expanding the canvas. There could have been many reasons why you could not capture all that you wanted. Something in the way, the lens not wide enough, people standing around, small space to shoot from, or something else. Photoshop Betta using Generative Fill will give you multiple options and the results are quite impressive. From what I saw, having a transparent background sometimes gives better results. Also expanding already existing photos gives better results than trying to add new elements to photos. It just looks more natural.

Here first is an example of the Scott monument in Edinburgh, where I could not move further away from it, due to a road. Generative Fill nicely expanded the photo, giving the monument more space in the shot.

original
Generative Fill in Photoshop Beta - expanded

Or a bit different example with a photo from the 5 Fingers in the Austrian Alps, where using the Generative fill, I change a simple photo into a panorama. But yeah, the loss of quality is visible. I included two different versions here, but you can regenerate the result as many times as you want.

Generative Fill in Photoshop Beta - original
Generative Fill in Photoshop Beta - expanded

Generating images

The last option where you can use Generative Fill is to completely create new elements for empty or existing images. As mentioned you can continue selecting part of the image and so adding more elements to it.

Here, I took the initial image from Santa Magdalena in Italy, and at first I selected the bottom part, and used Generative Fill with the keywords “pond reflection” to create the bottom part. Then I selected a few areas around the newly generated parts and with the keyword “rocks” added a few rocks to make it more interesting.

I did try to add a few other things, like horses or a bench, but the results were quite bad. It just did not blend into the image at all.

original
Generative Fill in Photoshop Beta - AI generated

Overall, the results are impressive, especially with removing of objects and expanding the canvas. If you just want to add something to a photo, the results are a bit of a hit-and-miss, and you will have to try multiple times to have a usable image. But this is still in beta and with the progress of AI image generation in recent months, I think this will get better really soon.

Have you tried Generative Fill in Photoshop Beta? What do you think of it?

AI-generated

I did not though creating images using AI would be so much fun. Just entering what one wants to see and getting a result. No limits to one’s imagination. Too bad there is no way to specify things like composition at all. But probably in the future. The results are not really always what I imagined.

Mobile wallpapers

While experimenting I created quite a few that are very suitable for mobile phone wallpapers, all 1:2 aspect ratio, 2000x4000px. Should be good enough for almost all phones available. They especially look good on OLED screens. Since there are a lot of them, I decided not to post them directly here, but in a separate gallery on my portfolio page. You can find them here.

Mobile AI generated wallpapers

Master Exposure Blending series now free

A while ago (actually quite a long while ago) I created and started selling a video tutorial series about HDR editing and luminosity masking. After a while, I decided to upload it whole for free, but somehow never got to doing so. But that changes today.

Content

The series includes over 2 hours of video, covering these toppics

Master Exposure Blending1. Welcome
2. Preparing brackets in Lightroom
3. Working with layers and layer masks
4. Luminance masks explained
5. Creating luminance masks
6. Blending two exposures
7. Blending multiple exposures
8. Using Oloneo Photoengine
9. Using Photomatix Pro
10. Blending panoramic photos
11. Adding glow

I don’t go through the edit from start to finish on the provided photos, I rather focus on the blending technique of the images, which is the main subject of these videos.

Additionally, you can download all the videos and also the RAW files I’m using (28 in total), so you can try all the edits also for yourself.

Head over to the Master Exposure Blending page to get them now!

download free hdr tutorial

AI-generated art

I have been playing around with AI-generated images in Midjourney recently, and I thought I share some with you. I wont be doing that mostly on this blog, as I would like to keep to photography here. But there is a new category under wallpapers here, AI-Generated wallpapers, and I also created a new Twitter account @hdrshooter-ai, where I will be sharing them. Feel free to follow me there.

Don’t forget to check out other available wallpapers:

32:9 and 4K walllpapers

And for the wallpapers I already shared, you can get them here. There are some in 32:9 (3440×1440) and standard 4K 21:9 (3840×2160) resolution.

AI-generated wallpapers 3440x1440
AI-generated wallpapers 3840x2160
AI-generated wallpapers 3440x1440

Wallpapers update

Time to update the wallpapers section today. It’s been quite a while since I added new ones there :)

Don’t forget to check out other available wallpapers:

New super ultra-wide walpapers

New ones for the super ultra-wide selection. Again from a few different spots, this time it’s London, Cesky Krumlov, Bratislava, and the Austrian Alps. If you would like a wallpaper version of any of my photos, feel free to leave a comment. Will do so in the next update :)

Super ultra-wide wallpapers 5120x1440px
Page 1 of 1161234102030... Last »
FREE EBOOK!!!
Subscribe to my newsletter and get a free Capturing fireworks ebook. 
Subscribe