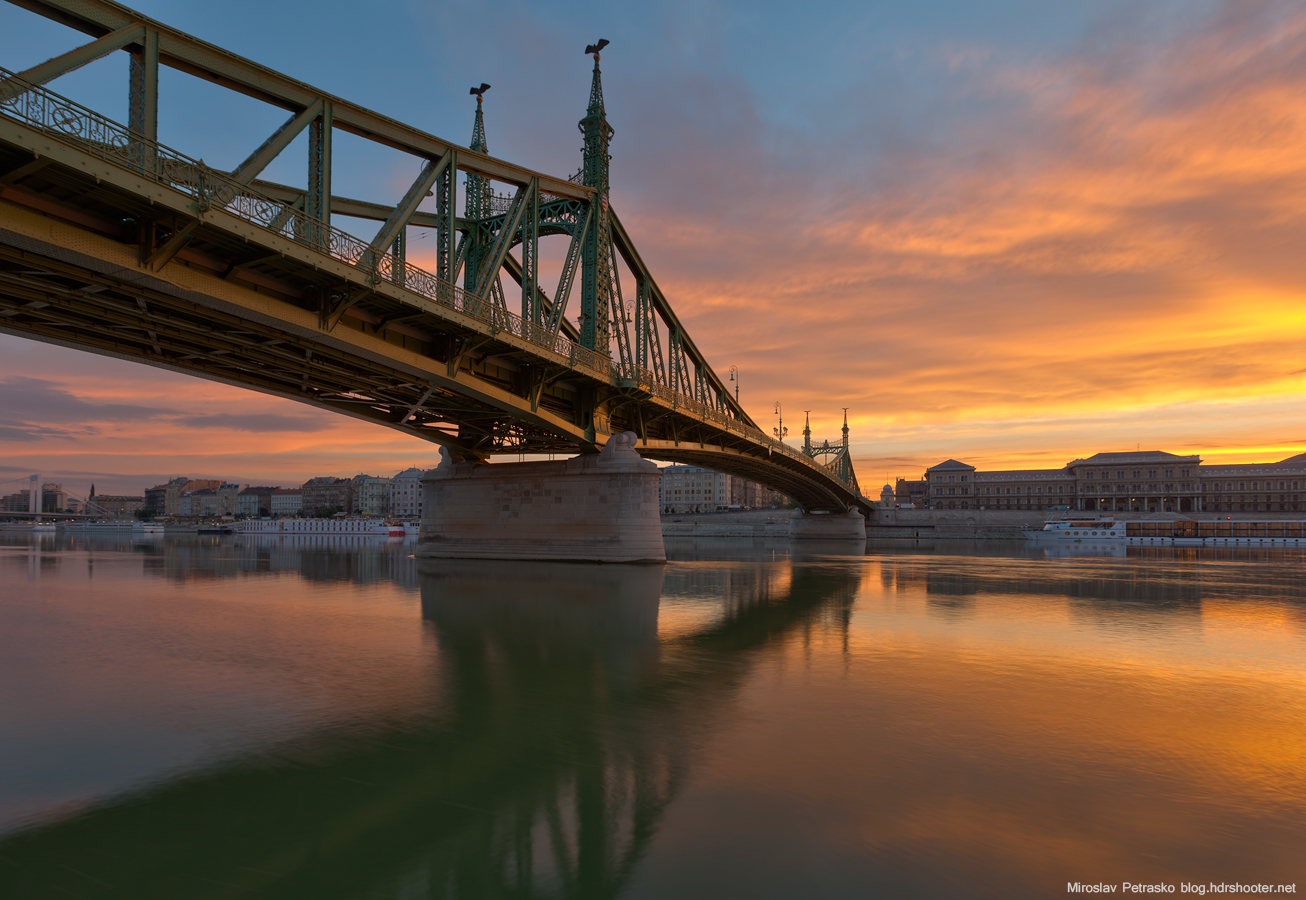
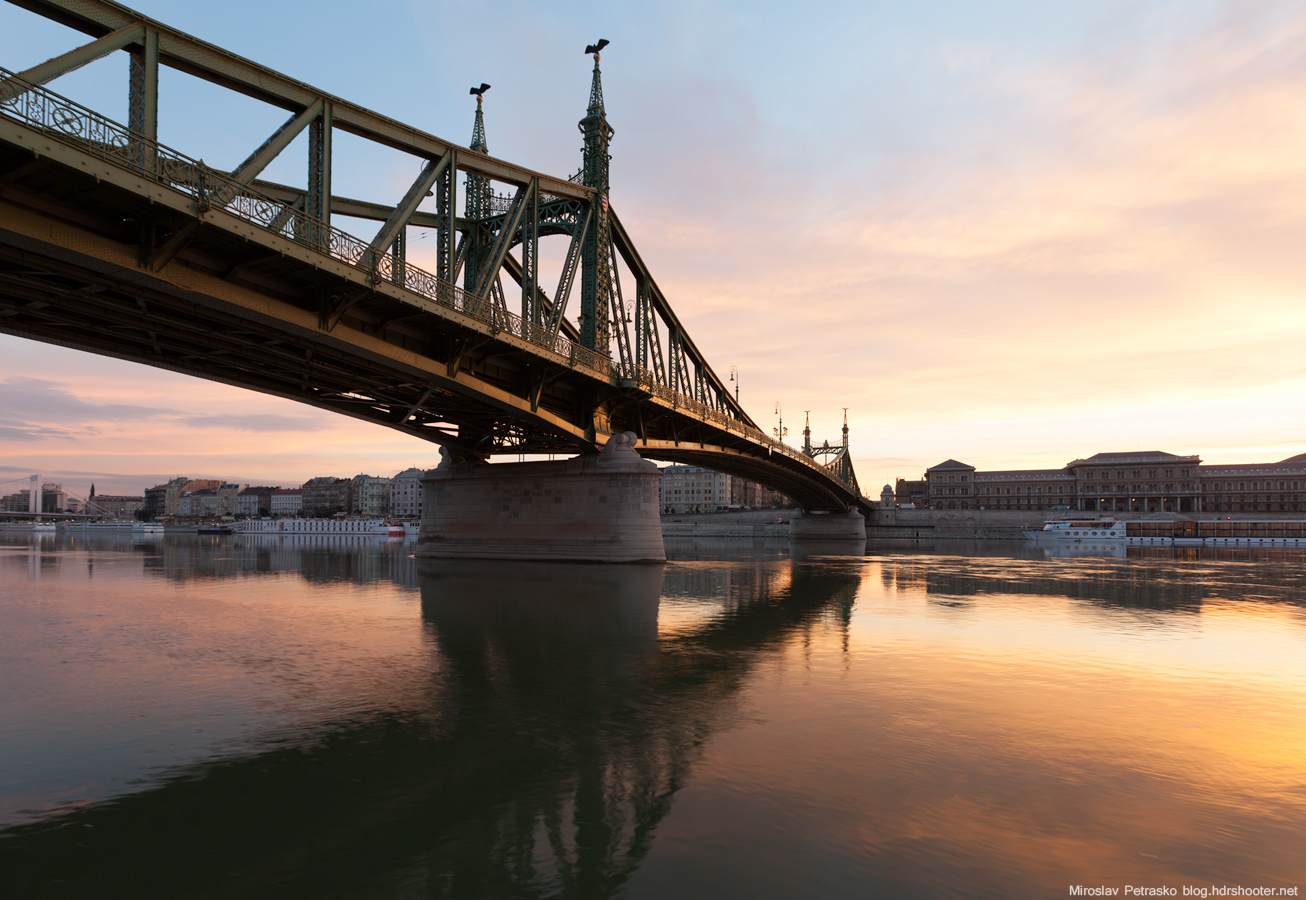
Another tuesday, another process post. Today I chosen a photo from budapest, where I managed to keep a nice realistic feel to it.
So lets get to it. To get this final shot, I did the following:

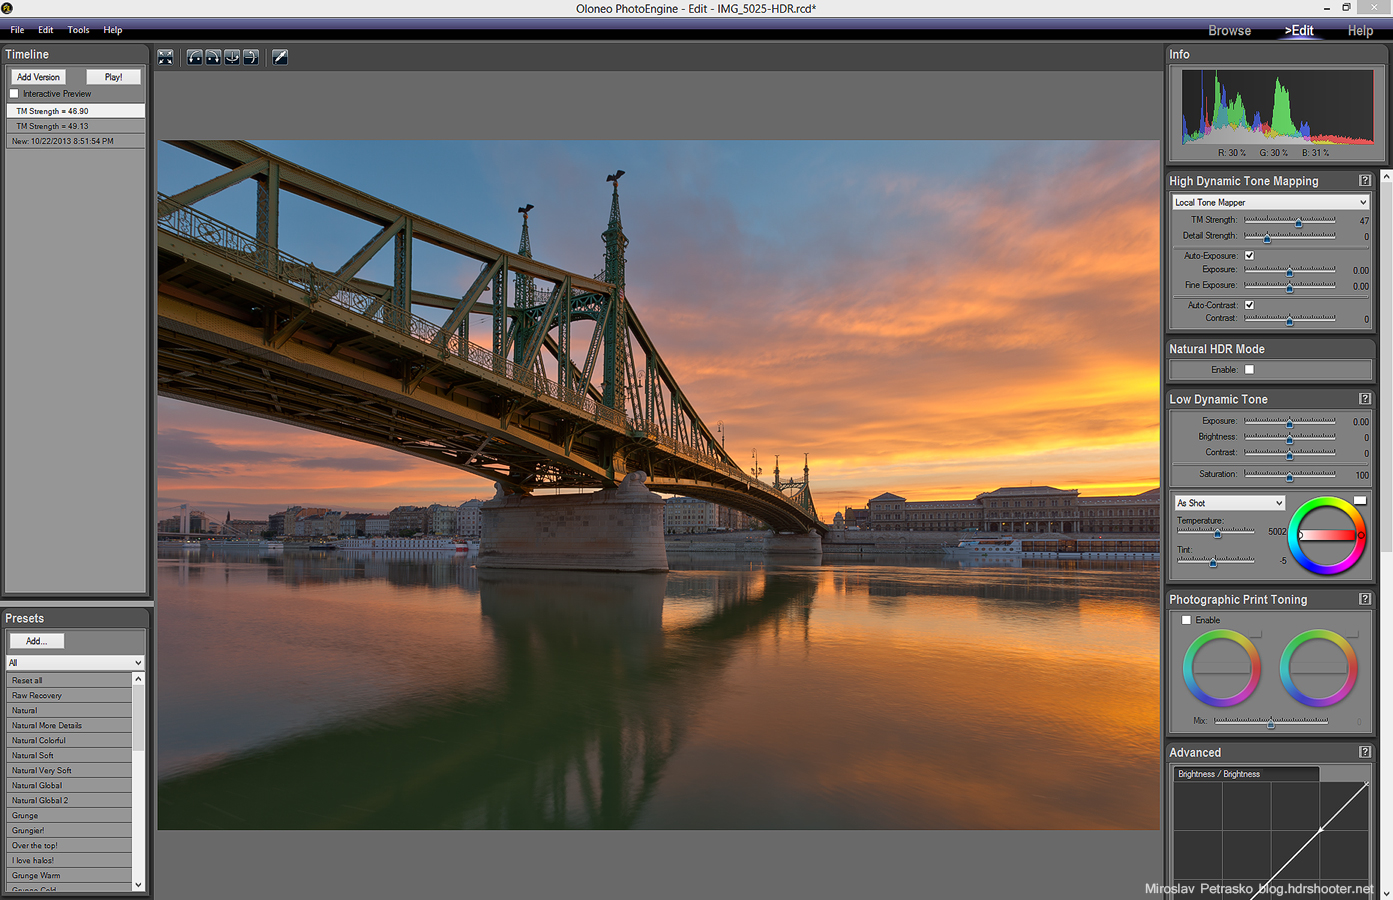
I merged all the files in Oloneo Photoengine, where I only changed the strength.
From there I loaded the HDR result with the original brackets into Photoshop and I did the following edits (numbered from bottom up):
1. The result from Oloneo Photoengine
2. +2EV exposure to brighten few parts of the bridge
3. -1EV to bring donw the brightness of the water a little
4. -2EV to darkend the sky a little
5. Color efex Pro contrst, to get more detail in the photo (and only on 60% visibility)
6+7. Added glow to the photo (view my glow tutorial) but I removed it from the darkest areas, as it made them too dark
8. added even more brightenss to the darkest areas
9. added contrast to the basic midtones
10. removed the blue color cast from the ships
11. darkened the sky a little
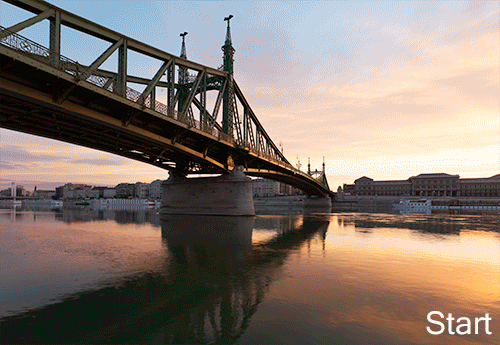
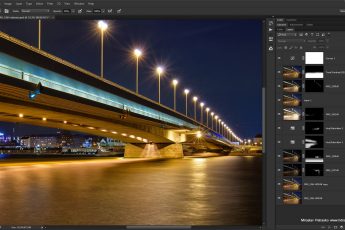
and thats all. I tryed to put all the stages into a gif, but it looks a little boring, but still maybe some of you will find it intersting. And here is the Photoshop screenshot.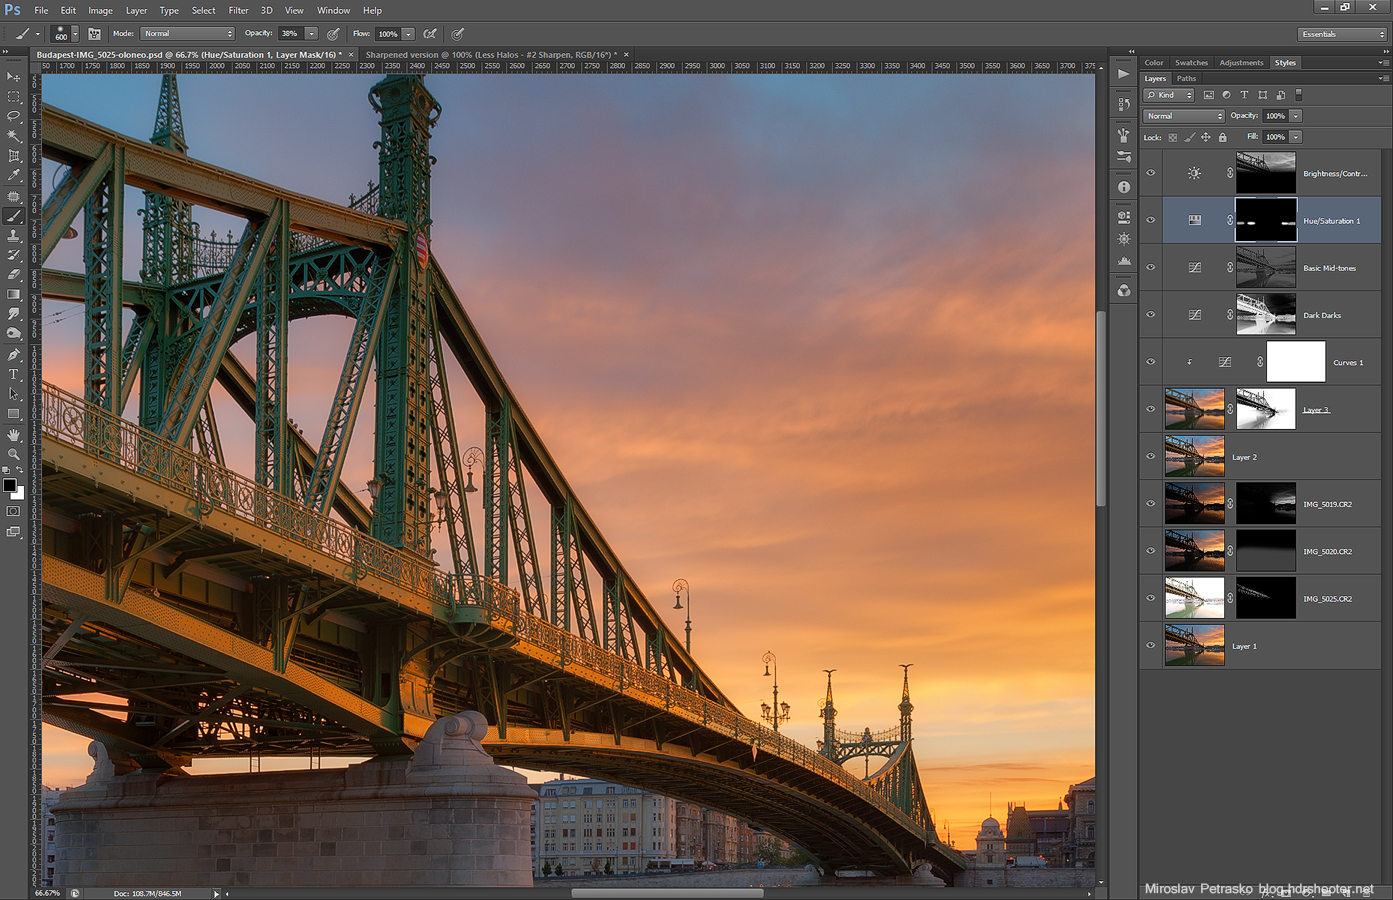
Please continue to the full post to see the Oloneo Photoengine result and the original 0EV exposure from the camera.
The Oloneo Photoengine result:
0EV shot from the camera:


Leave a Comment