A week passed and we are again at the process Tuesday post. And as I’m currently hawing the contest and raffle where you can win Oloneo Photoengine, I thought I show you a photo which I edited mostly in Oloneo Photoengine. And I’m including a special tip today :). So here goes.

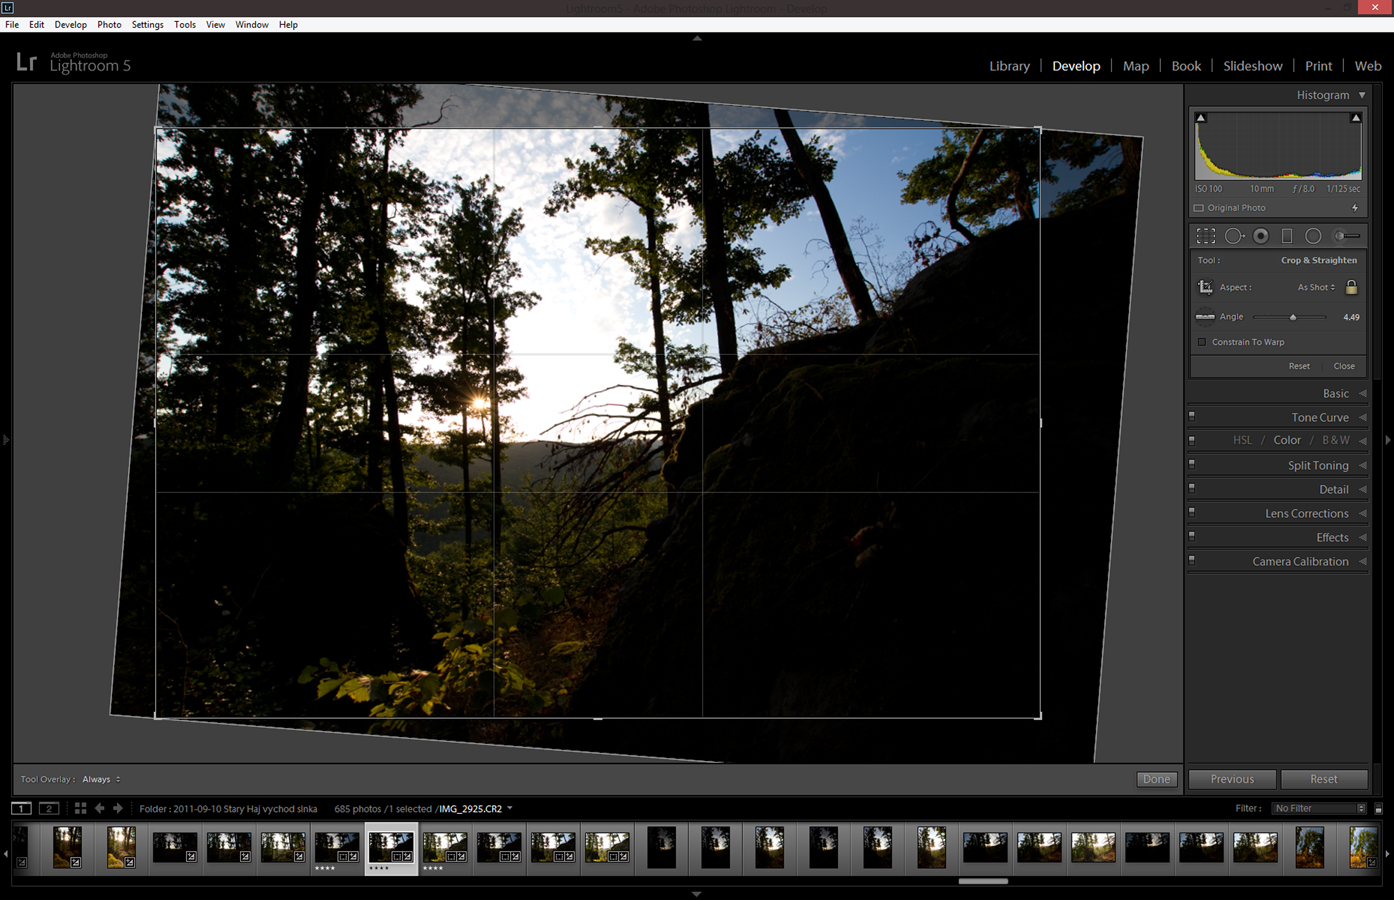
I took this photo two years ago, still with a Canon 7D (my 450D that I had at that time had a broken shutter :)). That’s also why I used only three brackets, as that’s all I could take then. So as usually I started in Lightroom. I corrected the horizon here and also did a little noise reduction.
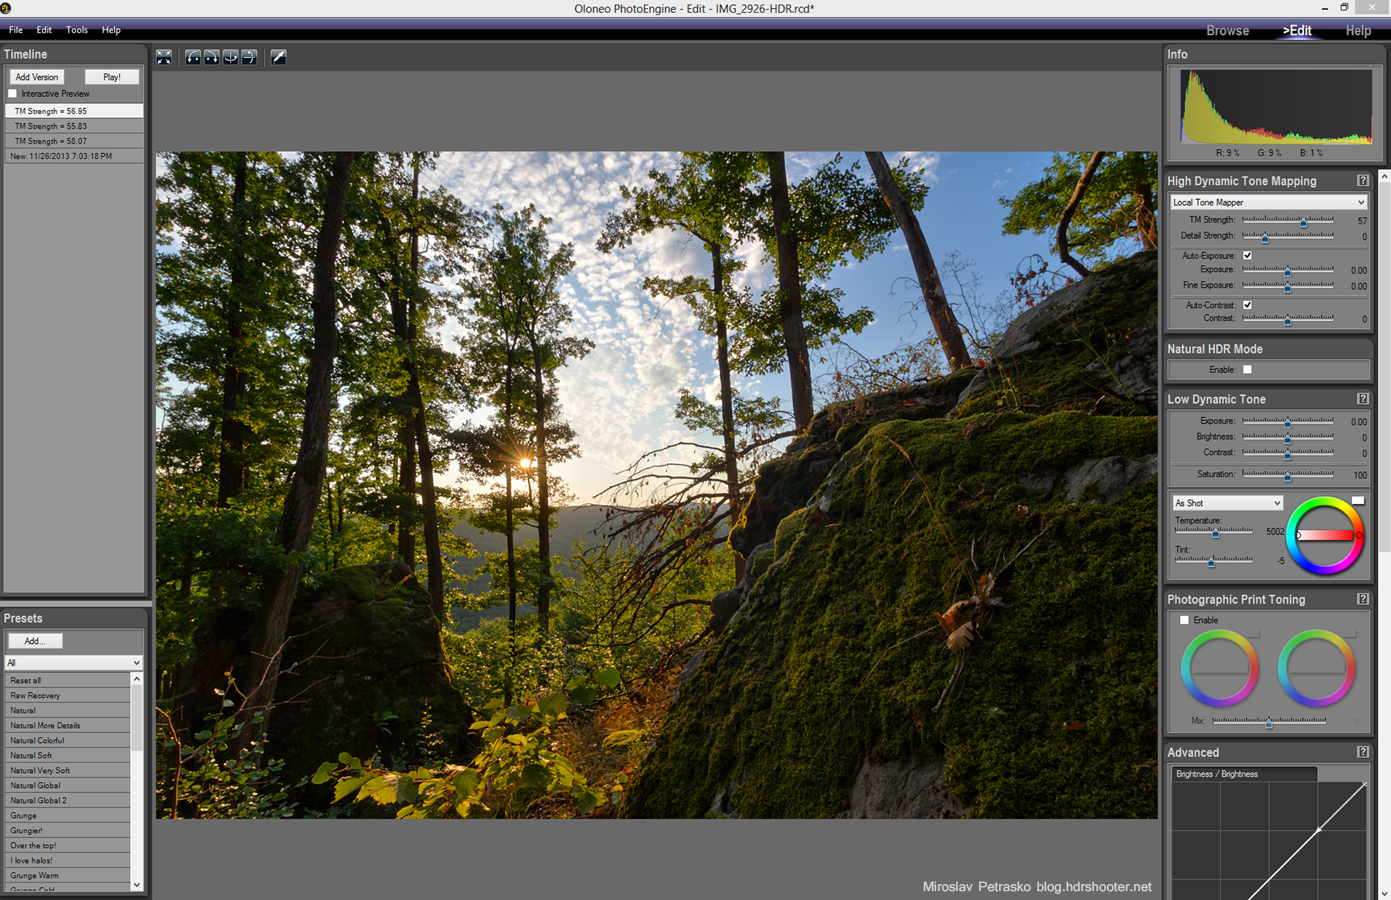
From there I exported all three brackets as 16bit Tiff files and loaded them into Oloneo Photoengine. Here I merged them and as you can see, I had to move only one slider to get the look I wanted (the TM Strength). It created a very nice blend, and also opened the shadows more that it was on the original brackets.
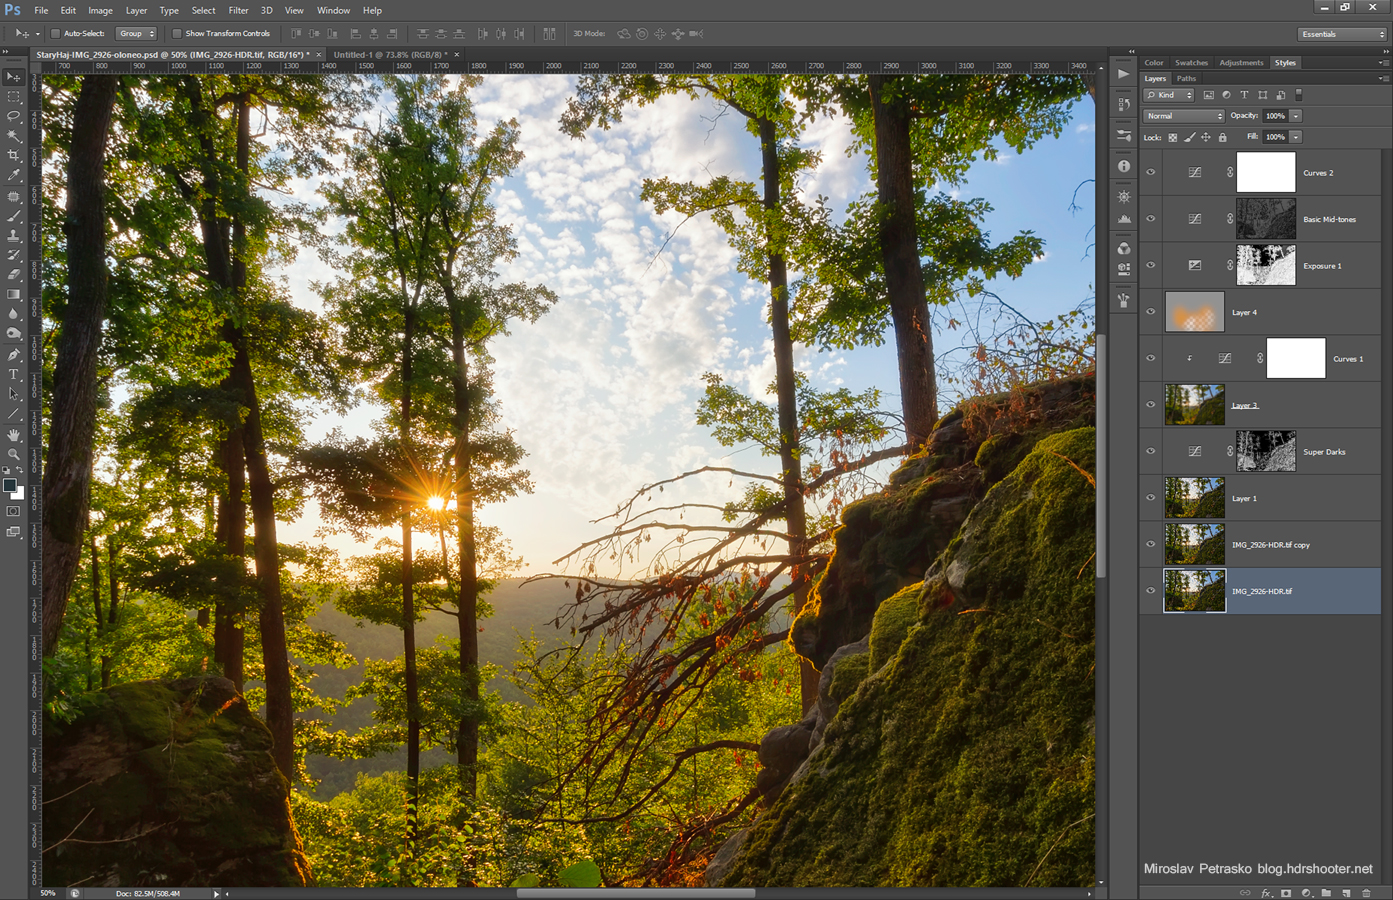
My next step was to load this result into photoshop. I haven’t used any original brackets here, as there was no need to blend any parts from them. I then did the following edits on it (layers numbered from bottom up):
- the result from Oloneo Photoengine
- I removed lens flares from the trees on the right
- did more noise reduction
- brightened the darkest parts of the image
- added glow (view my glow tutorial)
- brightened the glow
- changed the color of the sunlight (I will explain this in a moment)
- brigtened the overall photo with an exposure adjustment, but not in the brightest areas
- added more contrast to the basic midtones
- added a little contrast to the whole image
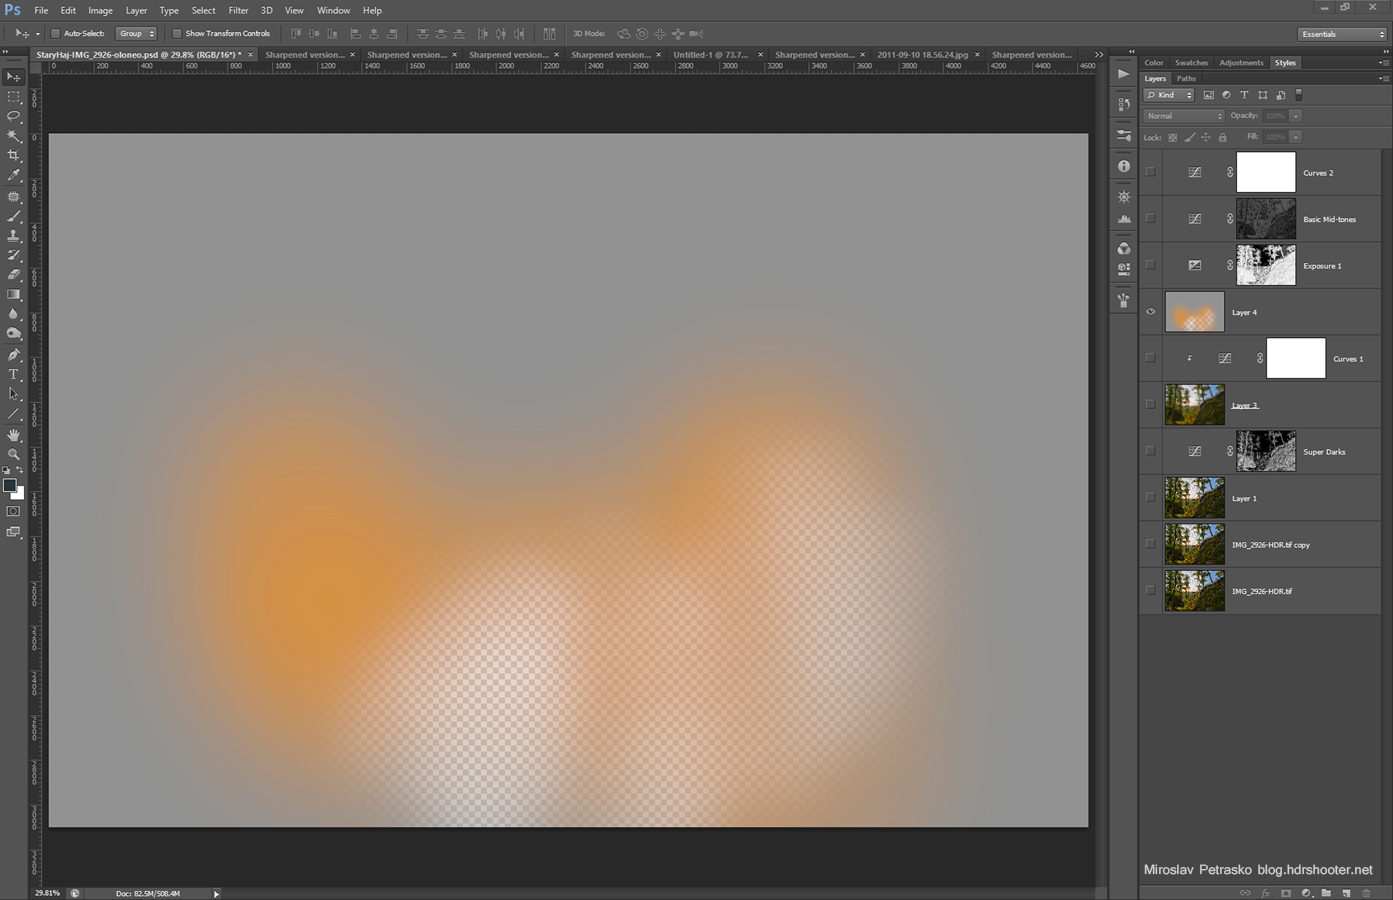
And now for the point 7, where I mentioned I changed the color of the light. A lot of times when I have a photo with the sun in it, I want to have the surrounding area to have a nice yellow/orange glow to it. Same here. The green color was nice, but I wanted more. And to get this I did the following:
- created a new layer
- filled it with 50% grey (shift+backspace and select 50% grey and confirm :))
- set the blending mode to soft ligt, this will make this layer invisible for now
- picked a color from the sun, something nice and warm
- chosen a big soft brush, with around 20% opacity and started painting around the sun, the more away from it, the less brush strokes
- just change the opacity of the layer if the effect is too strong
And that’s it. Looks really great if you need more sun glow, or if you trying to change a color of a certain part of the photo. Here is this layer from this photo, shown without the blending mode selected and at full opacity. I used it in the end at 33% opacity, and as you can see, I also deleted parts of it.
And that was all. To see the original 0EV exposure and the Oloneo Photoengine result, please continue to the full post.

