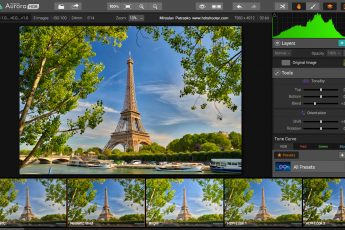
For today I chosen one of the more straightforward edits I did recently. As always, first the finished and the original 0EV exposure. As you can see, I needed only to get detail in the shadows and get the colors I wanted.
 Finished photo
 Original photo
I started as usual in Lightroom, correcting the chromatic aberrations, lens distortion and the horizon line.
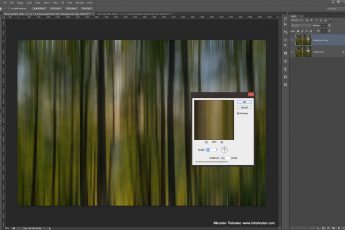
 All exposures
 Lightroom edit
I synced the settings and exported all files as 16-bitt Tiffs to be loaded into Oloneo Photoengine. There I only changed the strength and contrast and saved the result. In Photoshop I then did the following edits (layers numbered from bottom up):
1. Oloneo Photoengine result
2. +1EV exposure, to recover the colors as the combined image was too red
3. Color balance to tone down the red even more
4. Color Efex Dfine for noise reduction
5. I still felt the image was too red, so I pushed the red hue a little more towards orange
6. Color Efex Pro Darken/Lighten center to create a vignette
 Photoengine edit
 Photoshop edit
And that’s all I did with this image. To find out more on how I edit, check out the guides and before after categories on this blog, or check out my video tutorial series here:


Leave a Comment