There are many ways one can combine photos into panoramas, and while Lightroom does not provide many advanced features, it’s one of the easiest and fastest ways to do so. So today I will show you how to combine panoramas in Lightroom, and what to do to get best results.
So of course you first need to find the photos you want to combine into a panorama and have them imported into Lightroom (either use the File/Import dialog, or just drag and drop them o Lightroom when in Library view, and it will open automatically). To choose multiple photos, hold down Ctrl and click them one by one, when done, switch to the Develop module.
Creating a panorama
To make the panorama blend better, we need to remove vignetting from the photos, as that is not done automatically, and if kept, it can cause uneven color, and shadows, mostly in the sky. To do so, scroll down on the right side until you get to Lens Corrections, and check by Enable Profile correction. In case your lens is not automatically recognized (for instance, like me, you are using a reduction on your camera), you have to choose the profile manually. So choose Profile under Lens corrections, and there, choose the maker and type of you camera. I would suggest also checking Remove Chromatic Aberrations at the same time.


Btw. if you photos are crocked, don’t bother correcting this here. Lightroom will use the whole photo for the blend anyway.
Once this correction is applied, we need to synchronize it to all other used photos. Hit the Sync button in the bottom right, make sure that all values are checked, and than hit Synchronize. Now the photos are ready to be merged. Right click on one of them, either the big preview, or in the bottom photo strip (or you can go under Photo/Photomerge), choose Photomerge and choose Panorama.


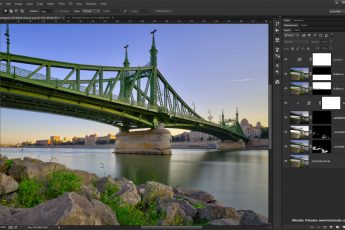
The Panorama Merge Preview dialog will open. Here you can choose what kind of projections you would like (auto works mostly fine), if you would like to crop the result, and if you would like to apply Boundary warp. We will take a look at these in a moment. Once done, choose Merge.
The finished panorama will be loaded back into Lightroom, right next to the last of your selected photos (in few cases, I seen it appearing at the end of the photo strip). You now can select it, and continue with the edit.


There is one great thing about this result, and that it is still in RAW format (dng to be exact). So you still have all the dynamic range as you had in your files from the camera, you still can change the white balance, and so on. So you don’t really have to bother with doing any edits, except for the few corrections, on separated photos, and you can do it all on the finished panorama.

Please note, that this is not the best solution for HDR panoramas. In my experience, if I try to merge a set of brackets, lets say the 0EV series, and then another set, let say the +1EV series, the results will not line up perfectly, and you can’t use them as the source for tonemapping. For that, you can have a look at how to do it in PTgui or Autopano Giga.
Settings
Let’s go back to the settings in the Panorama Merge dialog. First you can choose the Auto select projection. This works fine most of the time, but not always. So better solution, is to choose the projection yourself. The selection is based on what photos you are trying to merge. The spherical projections, will try to put the photos on the inside of a sphere. This is best if you did a multi-row panorama, where you moved horizontally and also vertically while taking photos. The Cylindrical projection is best for one row panoramas, where you moved only in one direction. It will try to project the panorama on the inside of a cylinder. The Perspective projection is a special one, where it will only do perspective corrections on all the photos and so will try to put them together. The Perspective projection will sometime produce no result and you will be prompted to choose a different one.
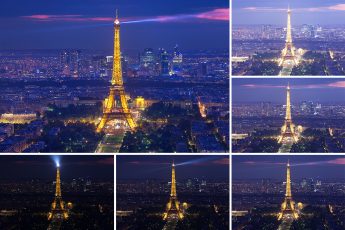
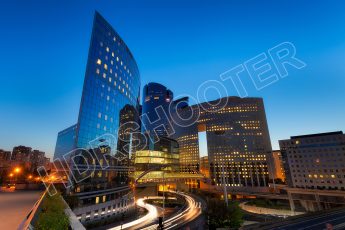
This is and example, where exactly the Perspective projection works the best. From the two photos combined here, the bottom one was taken leveled, so without a perspective distortion. The top one was taken while looking up, so with huge perspective distortion. Ligtroom, will correct the top one, and so it’s able to merge them together.


Auto Crop will crop the picture so there is no white space around it. You can use it, or you don’t have to. Even if you use it, you still can open the crop tool later in Lightroom, and re-crop the image, as either way, it saves the whole image, not just the cropped part.

The last point is the Boundary warp slider, but since I wrote about that one recently, you can find more in this Boundary warp article.


Leave a Comment