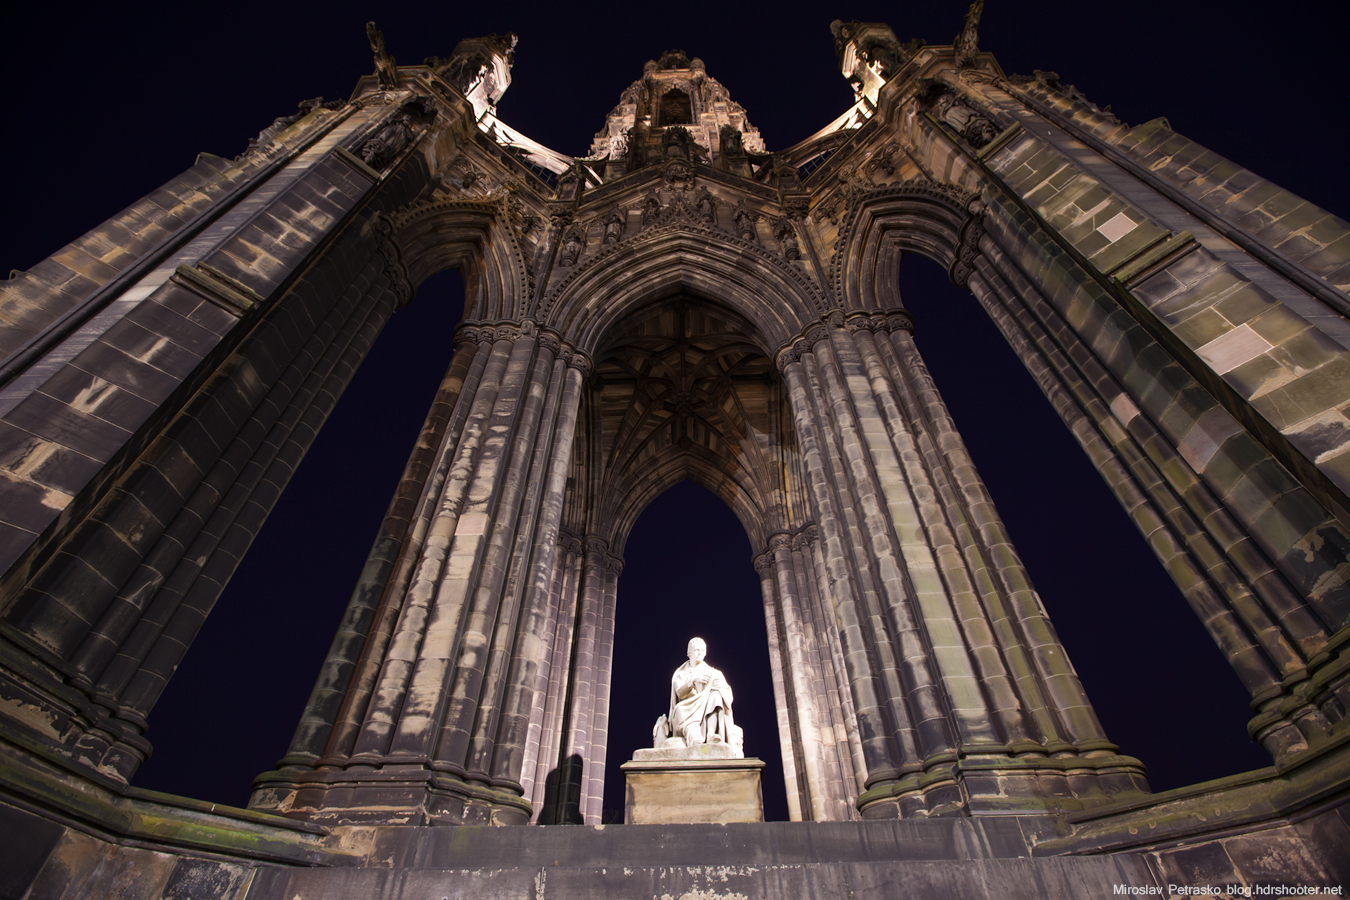
Another tuesday, another process post. For today I chosen a photo of the Scott monument in Edinburgh, Scotland. So to get to this photo, I took 5 photos.

I loaded all the RAW files into Lightroom, where I corrected the white balance first (you can see on the original photo that it has a strong purple cast).
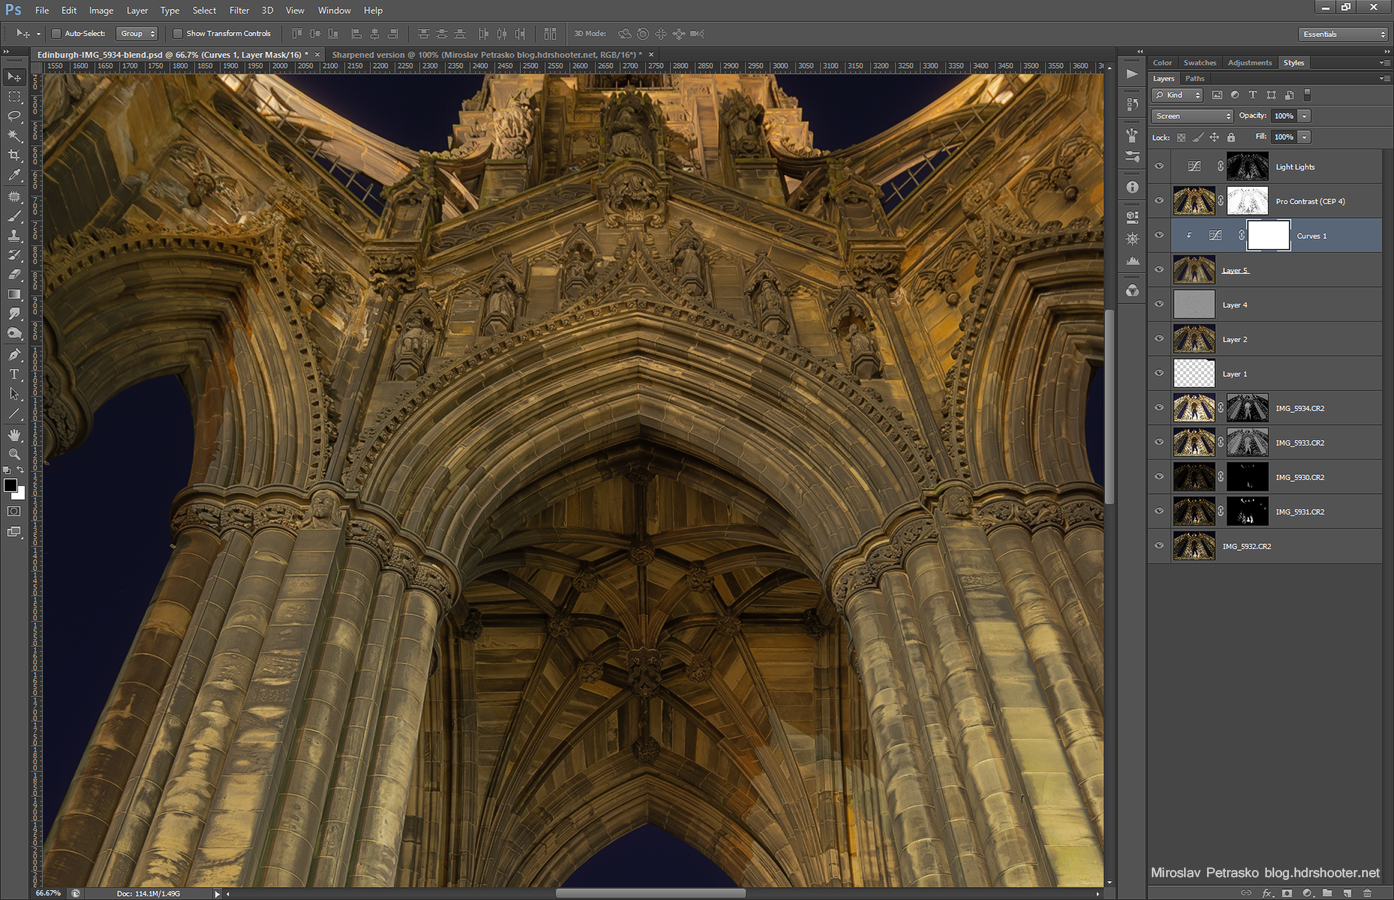
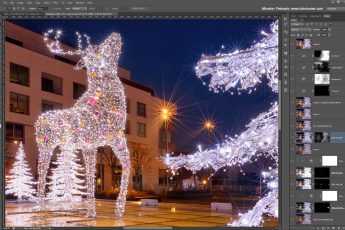
After that I exported all files into Photoshop and did the following steps (layers numbered from bottom up)
1. 0EV exposure
2. -1EV exposure, used luminescence masks and darkened the statue in the middle and few other bright spots
3. -2EV exposure, used to darken the statue even more
4. +1EV exposure, brightened the overall photo
5. +2EV exposure, brightened the sky more and few other areas
6. content aware fill to create a small part of the missing sky, which was lost due to lens correction
7. corrected a light glow around the statue, this sometimes happens when there is a huge difference between dark and light areas
8. added details using the high pass filter
9+10. added glow, check out my Glow tutorial to see exactly how
11. Color effex pro contrast to pull out more detail from the photo
12. darkened the brightest areas a little
And that’s all.
Continue to the full post to see the original 0EV exposure.


Leave a Comment