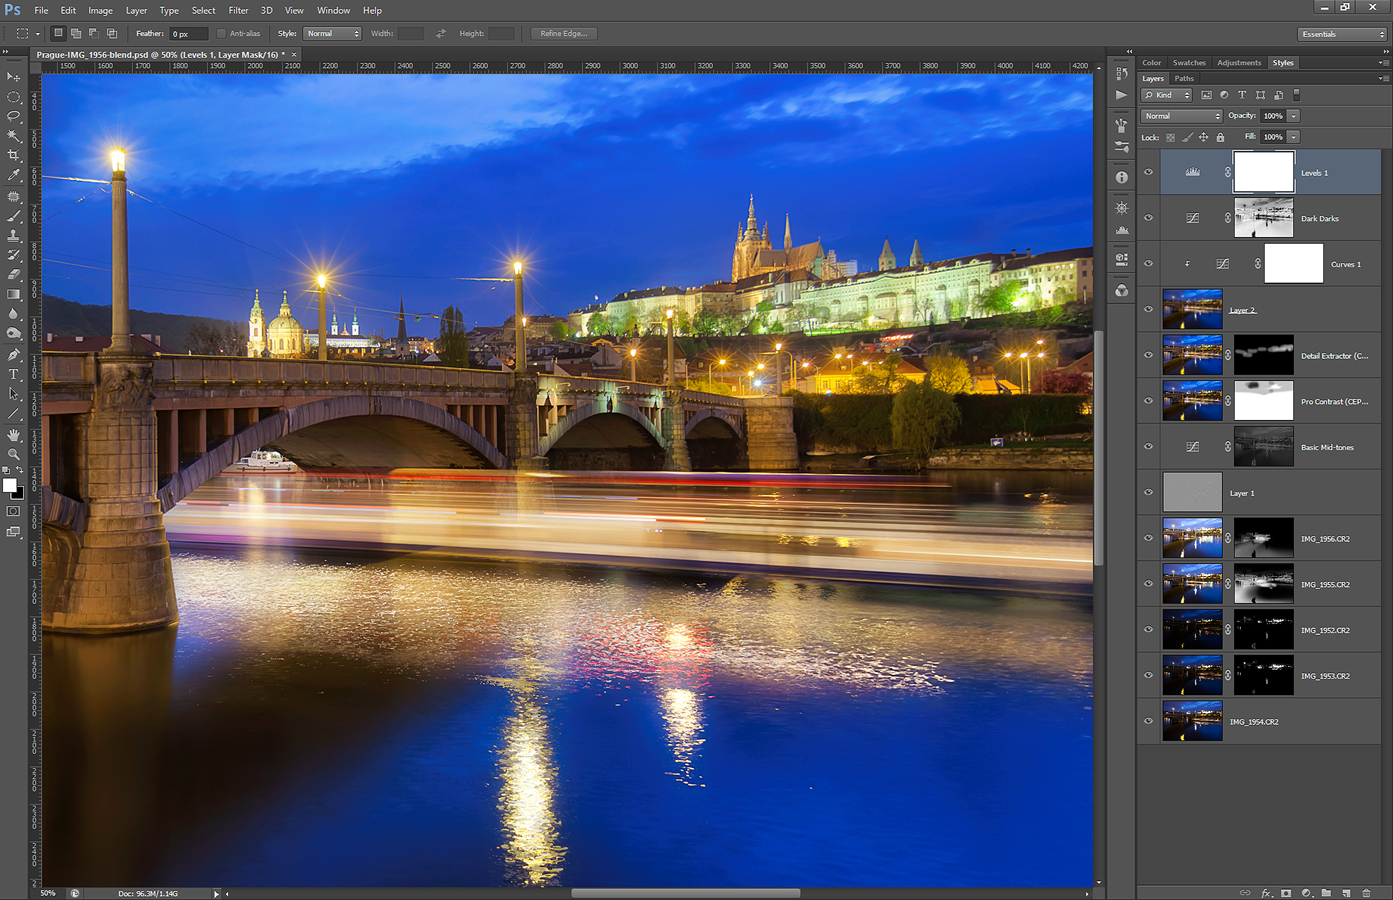
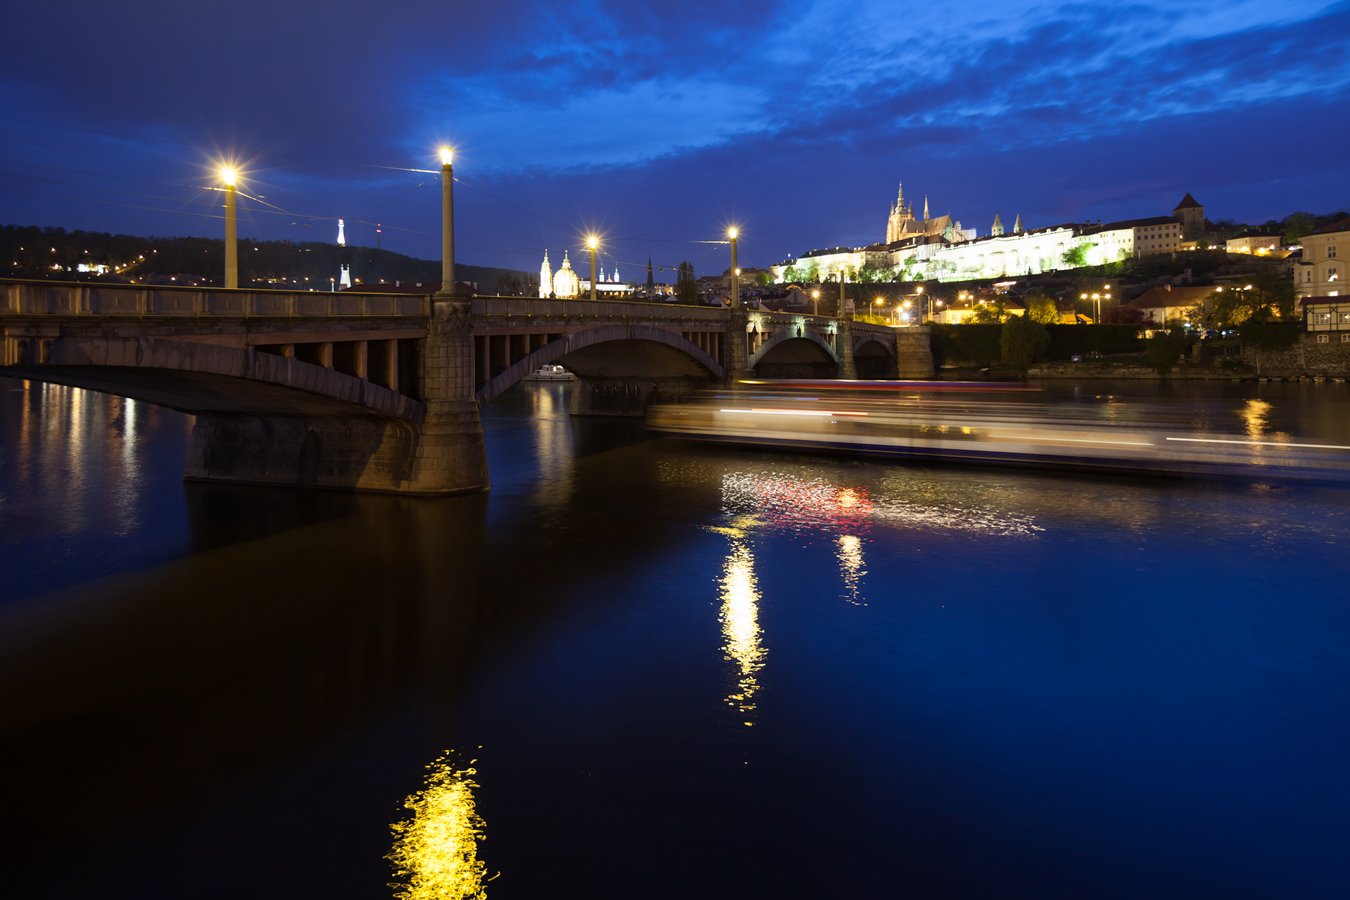
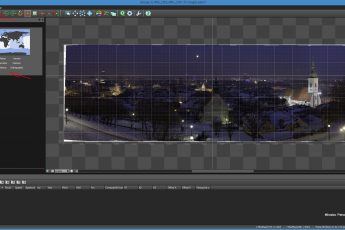
And another process for a shot for you. This time it’s a blue hour photo from Prague. So to get to this result:

I did the following steps in Photoshop (numbered from bottom up)
1. 0EV exposure used as base
2+3. -1EV and -2EV exposures used to darken the lights and castle
4+5. +1ev and +2EV exposures used to brighten the foreground and to merge the lights from the passing ship
6. added detail using a high-pass layer
7. added contrast to the basic mid-tones
8. used Color Efex Pro contrast to give more local contrast to the image
9. used Color Efex Detail extractor to add more details to the buildings
10+11. blurred layer used to add glow to the image
12. brightened the dark areas of the photo
13. darkened the mid-tones using levels a little, to recover contrast
Continue to the full post to see the original 0EV image.


Leave a Comment