How the week passed quickly. And again we have here another Tuesday and another process post. Today I chosen a very recent photos, as a lot of people liked it. So here goes.
To get this photo

I started as always in Lightroom, where I applied lens correction, removed chromatic abberations and applied a little noise reduction.
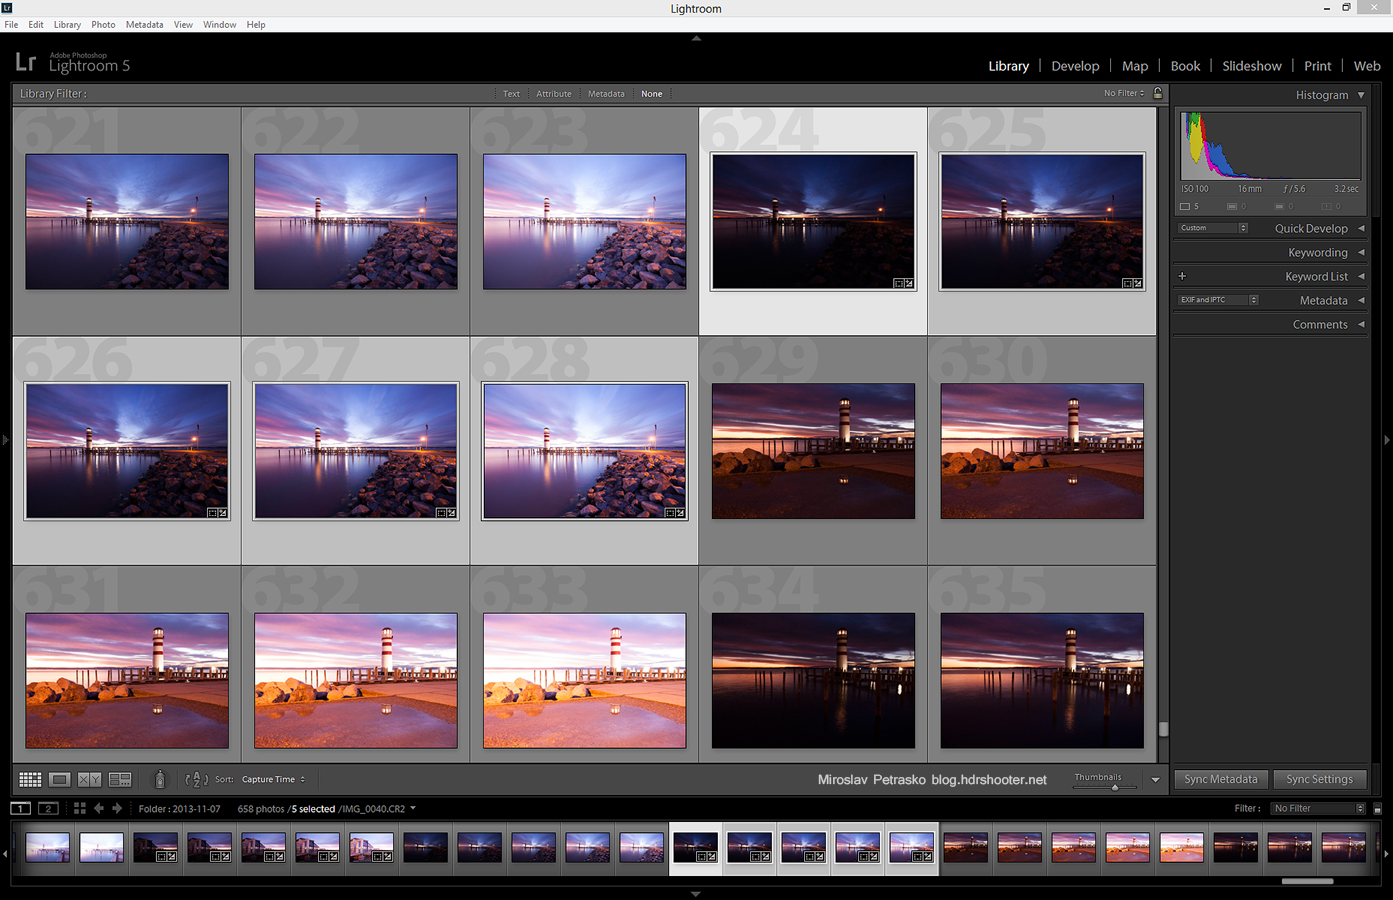
After that I loaded all the brackets into layers in Photoshop. I used the following layers (numbered from bottom up):
1. 0EV exposure
2. +1EV exposure to brighten the foreground
3. +2EV exposure to brighten the foreground even more
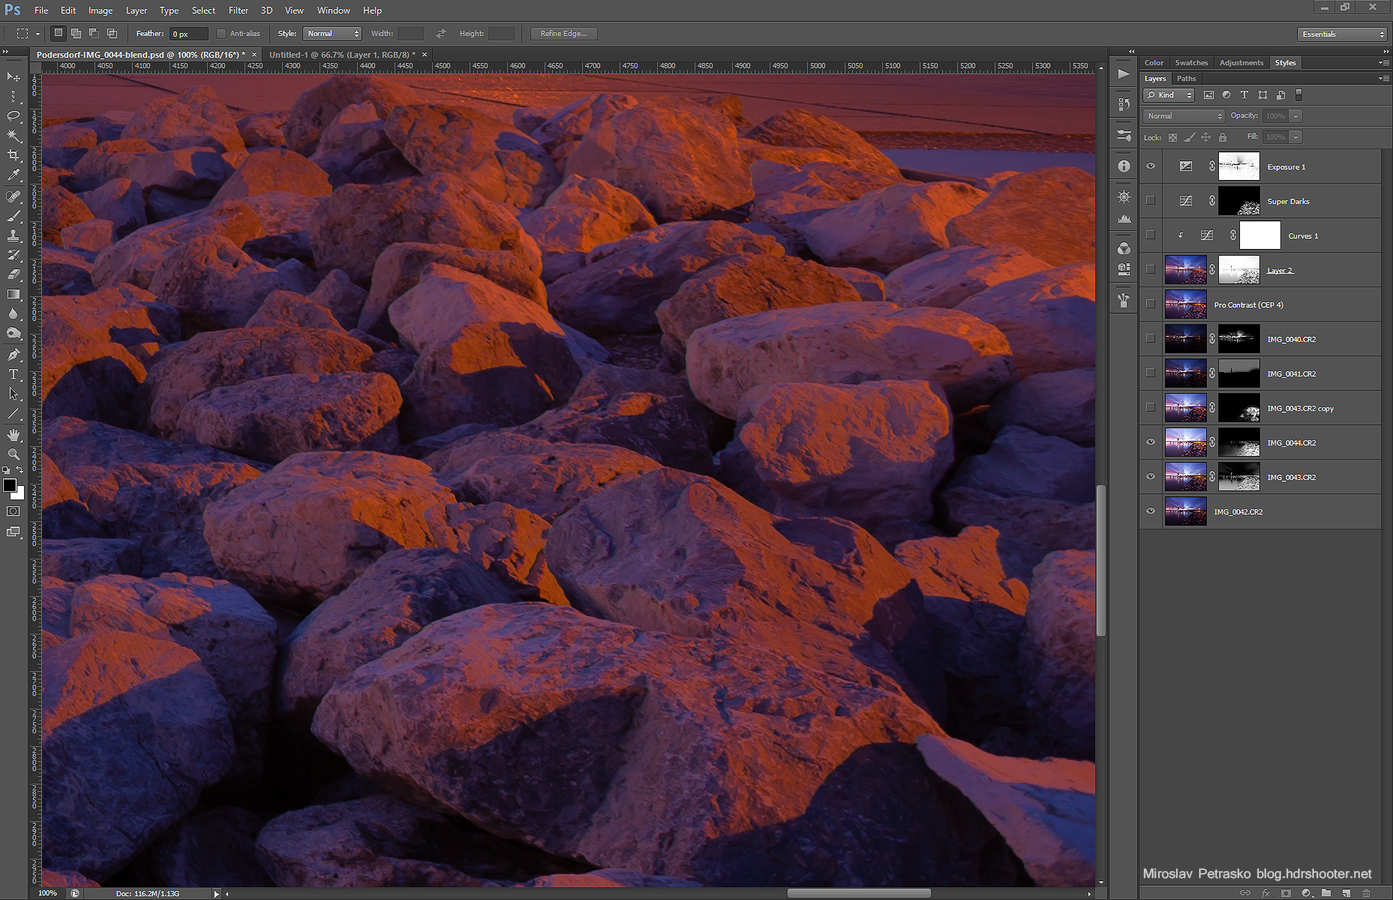
4. +1EV exposure once more, to recover few areas. I’m including here a screenshot of what I had to correct. Blending can make colors look grey, and this has to be corrected.
5. -1EV to darken the sky
6. -2EV to darken the brigtest parts of the sunset
7. Color Efex Pro contrast to add more structure and local contrast to the photo
8+9. aded glow (check out my tutorial on this) but I removed it from the darkest parts of the image, as they got too dark
10. brightened the darkest spots on the rocks
11. brightened the whole photo by adding a little bit of exposure
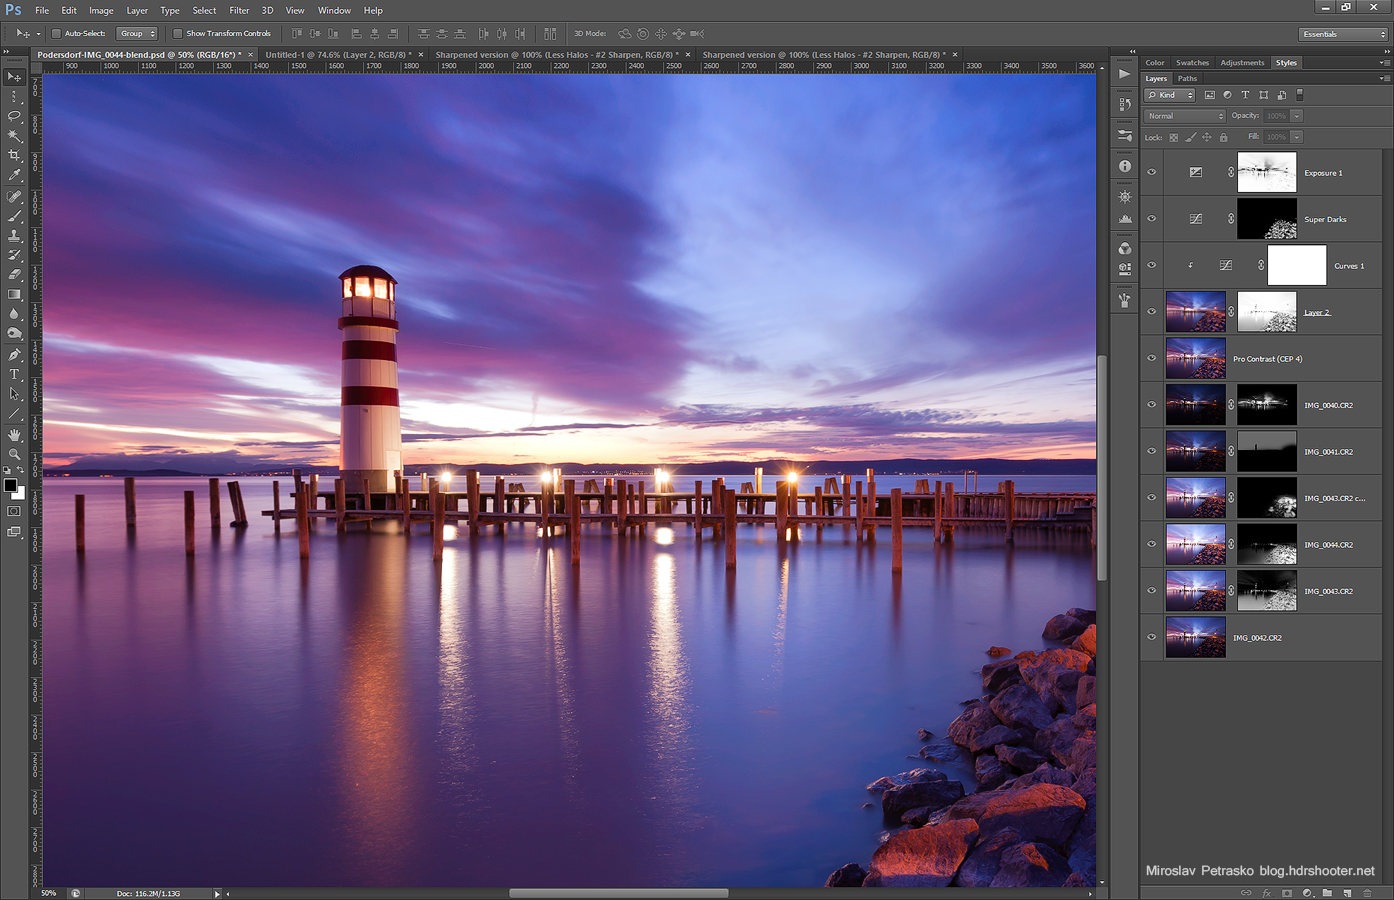
And that was all.
Please continue to the full post to see the original 0EV shot.

