And another week has passed, and almost another year. It feels like only yesterday I added my first processing post to the blog. And there are already so many of them. But another Tuesday, another one for you.
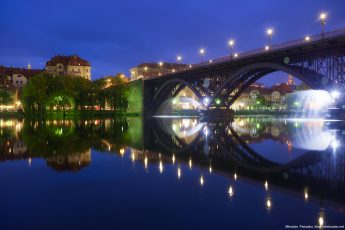
For today I chosen this very foggy photo from Prague, taken late at night. I used multiple applications to edit it, and I will show you all the steps I took in them. So to get this final photo, I took the following steps:

As always I started with Lightroom. I corrected the horizon line, lens distortions, chromatic aberrations and added a little noise reduction. After that I exported all the files as 16-bit tiff files.
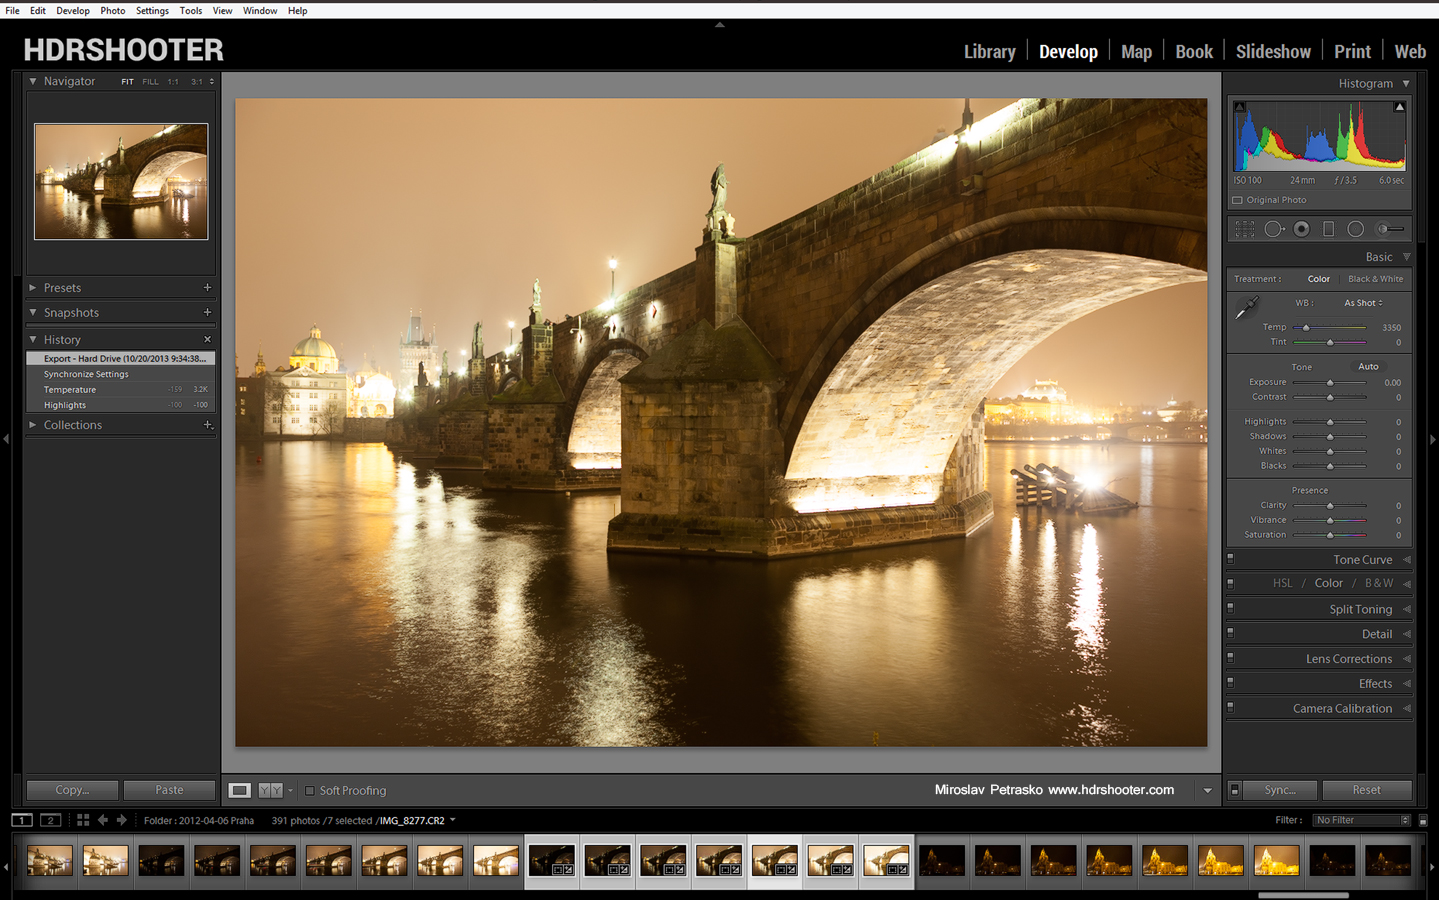
I opened them all in Oloneo Photoengine, where only with changing the TM strength, I got this result. My next step was to load all the original files, together with the HDR into Photoshop for further edits.
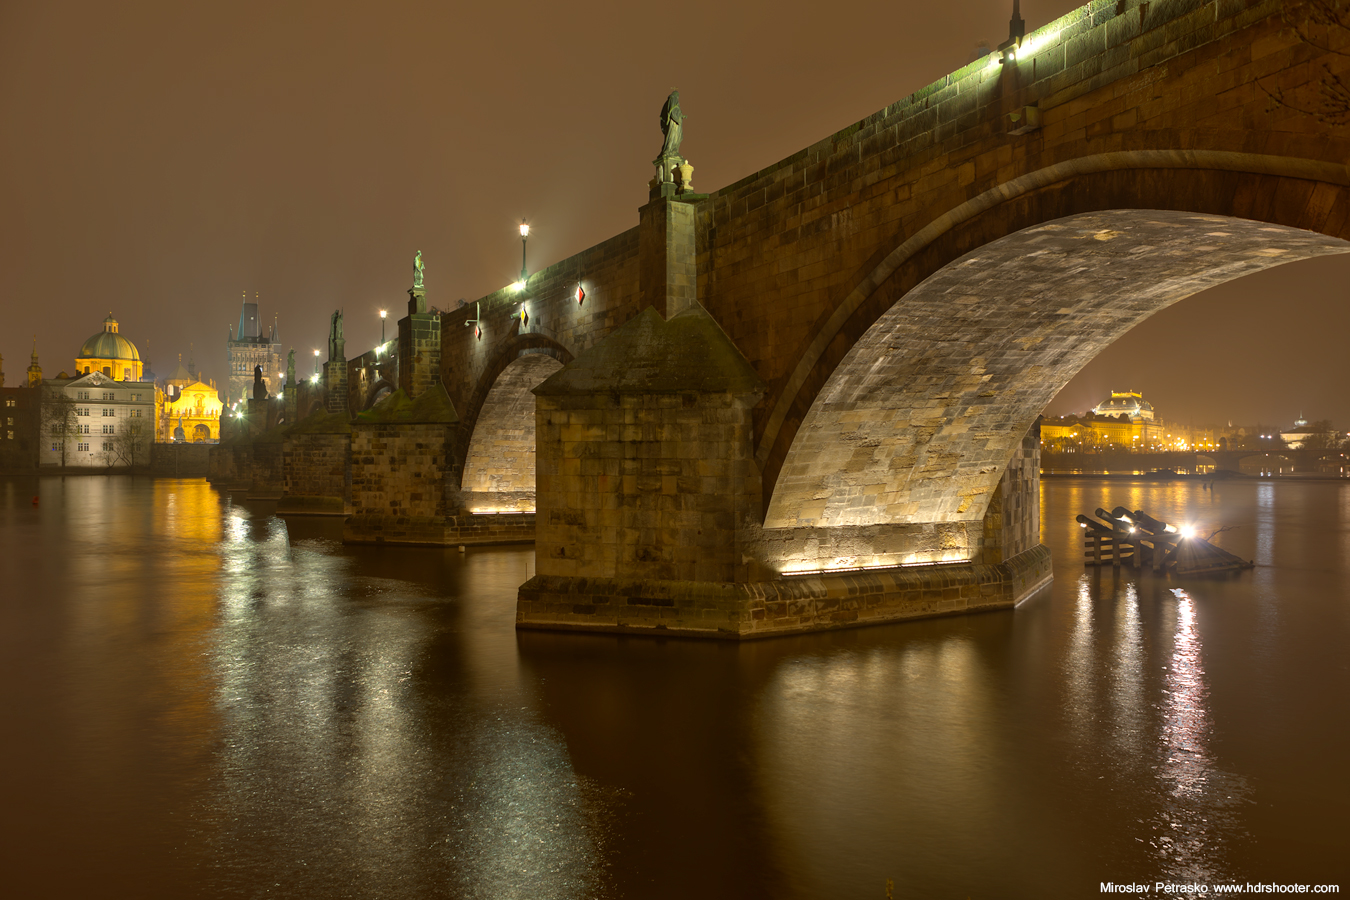
In Photoshop I did the following (layers numbered from bottom up):
1. Oloneo result
2+3. I brightened the water in the 0EV exposure and blended it into the HDR photos.
4. -2EV exposure to darken few bright spots
5. A little bit of Color Efex pro contrat, to add more detail
6+7. Added more glow to the photo
8. Color Efex Darken/Lighten center to add a vignette
9. Brightened the darkest areas of the photo
10. Overall color balance, -15 in all channels
11. In this layer I removed all the people that were on the bridge
12. Added more contrast to the basic midtones
13. High pass sharpening
14. Used Color Efex tonal contrast to add more detail to the bridge
Btw. You can find my review of Color Efex here.

And that’s all. Please continue to the full post to see the original 0EV shot, or to the original post to see the camera info. Feel free to ask any questions and to share this post (or any other) further :)


Leave a Comment