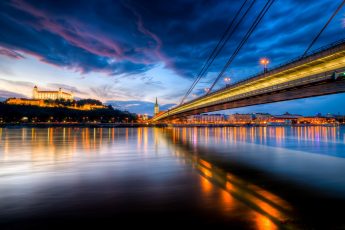
I hope you all had a great start into the new week, and as almost each Monday, let’s look at one of my photos, and how it was edited. For today, I have for you this blue hour shot, from the Kuchajda lake in Bratislava.
As you can the photo was quite OK already from the start, it just needed to brighten the shadows and get a little more color into it.
 Finished photo
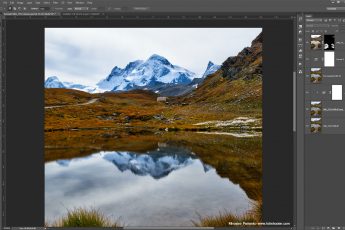
 Original photo
I started with 5 exposures in Lightroom, where I only did the basic tweaks. I removed lens distortions and chromatic aberations. Then I exported all the file as 16-bit Tiff files and continued in Oloneo Photoengine.
 All exposures
 Lightroom tweaks
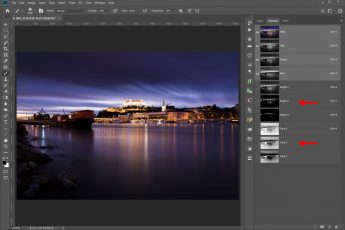
There I just changed the strength and contrast and saved the result. I loaded all the exposures and Photoengine result into Photoshop and did the following edits (layers numbered from bottom up):
1. Oloneo Photoengine result
2. +2EV exposure, from which I brightened the middle part
3. Color effex pro contrast on the whole image, but toned down a little on the sky, as it created a shadow on the top part.
4+5. Added glow to the photo.
6. Color balance on the middle part to make it warmer.
7. Added contrast to the bottom part of the image.
8. High pass sharpening to add detail to the photo.
9. +2EV exposure again from which I manually blended the light stars around lights.
10. A little more contrast in few areas, especially on the buildings
 Photoengine tonemapping
 Photoshop edit
And that’s all I did with this image. To find out more on how I edit, check out the guides and before after categories on this blog, or check out my video tutorial series here:


Leave a Comment