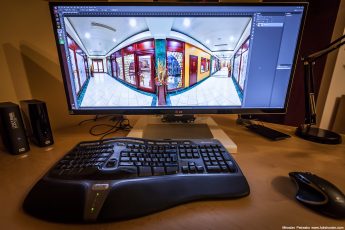
As it is snowing like crazy in Bratislava today, I decided to show you how I edited one of my recent snowy photos :) So let’s take a look at it.
 Finished photo
 Original exposure
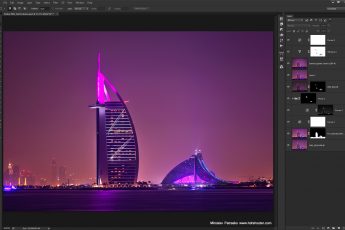
As you can see from the original photo, I had a lot to correct. I started with Lightroom, where I changed the white balance, opened the shadows, brightened the whites, added a lot of contrast and clarity to recover detail. From there I exported the image in Photoshop and did the following edits (layers numbered from bottom up):
1. Lightrom edit
2. Removed noise as I didn’t wanted to make it more visible in further edits
3. Color effex tonal contrast to get more detail, but brushed it out on the statue as that made it too dark.
4. Retouched out one huge snowflake in the left area of the photo, it just bothered me there :)
5. Color effex detail extractor, to get more detail and texture in the statue.
6. Stronger noise reduction on the statue.
7. Levels to get more pure white areas in the photo.
8. Color effex tonal contrast once more on the sky, to make the snowflakes even more visible
9. Added more overall contrast.
10. Desaturated the banners in the background.
11. Added more saturation to the text, to make it more dominant.
 Lightroom tweaks
 Photoshop edit
And that’s all I did with this image. To find out more on how I edit, check out the guides and before after categories on this blog, or check out my video tutorial series here:


Great tutorials as usual. The original image seems quite flat…it is amazing how you have managed to get the final image to pop like that.
Actually, snow photos tend to look very dull, as every camera tends to underexpose them, due to the huge amount of white :)
Hi Miroslav, I’m Cooky from China, I googled your blog and learnt a lot of your post-process skills for HDR photos. Last week I went to Luzern and took a spot based on your tutorial. It helps to to resolved my long time pain on the blur edge on my pics. That’s really helpful !! Thank you!! I have posted my sample pic on my blog http://eyestorm.lofter.com/ I’ll stay in Bratislava for the following 2 months, it not easy for me to stay close such a long time to a master. I hope I can get in touch with you to learn more from you. If you have the plan to take a spot, can you take me together?
Hi Cooky.. .sure.. we can go and take some photos :) Please add me on FB ( https://www.facebook.com/miroslav.petrasko ) and message me there and we arrange something :)