Double processing
With yesterday’s photo I mentioned that I used double processing, where I edited the photo twice and then blended the results. And I thought I show more about that. So today I will show you how exactly I edited that photo. So here goes.
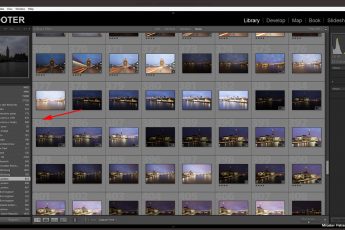
First since it is a panorama I combined the shots together in Lightroom. As you can see the result, the photo is a bit bland. That normal, as it’s an undeveloped RAW file. They tend to be quite bland.

I started with the first edit. Changed the white balance to make a more warmer photo, opened the shadows, darkened the highlights and added more vibrance. As you can see, the result was already quite nice. But since the lighthouse is white, the tweaks to highlights and shadows made it look dirty and too dark.

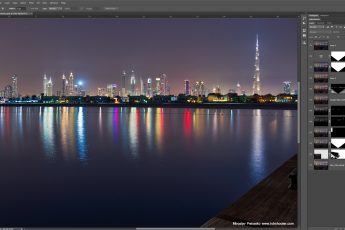
So here where the second edit comes in. First I exported this one into Photoshop of course. For the second one I focused only on how the lighthouse looks. I removed the highlights and shadow tweaks, and I added exposure until the lighthouse was as bright I as I wanted it to be. As you can see this edit is really overexposed in most areas, but that’s not a problem as it will be blended into the first one.

So when I had both, I opened both in layers, hidden the brighter one, used the want tool to select the sky, inverted the selection and painted over the lighthouse. Then I finished it with tweaking the opacity of the second layer, so it nicely matches the background.

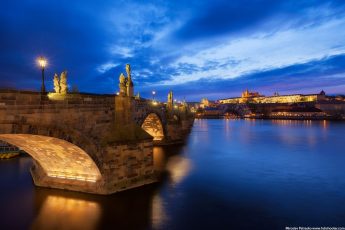
You can see the resulting photo in this post.
And that’s it :) You can do as many edits of a photo you want and then just blend them like this afterwards. In HDR this is used when doing a single RAW HDR, when you create multiple version of the same photo by under and over exposing it, so creating the other brackets needed. But that a quite ineffective approach. Rather edit the shot by focusing on the result you already want, but in just a selection of it.


Leave a Comment