


You can’t start doing anything with Luminance masks without first understanding masks in general. The concept of masks is very simple, but can give you problems, when you are only starting with them. So lets take a look at them.
Photoshop layers
Lets go from the start. Everything you do in Photoshop, you should do in layers. This means that all you modifications are stacked up onto each other and you are looking on them from top, seeing just whats on the top.
In Photoshop you can see your layers on the right side (by default), and there you can also find the new layer button in the bottom right.
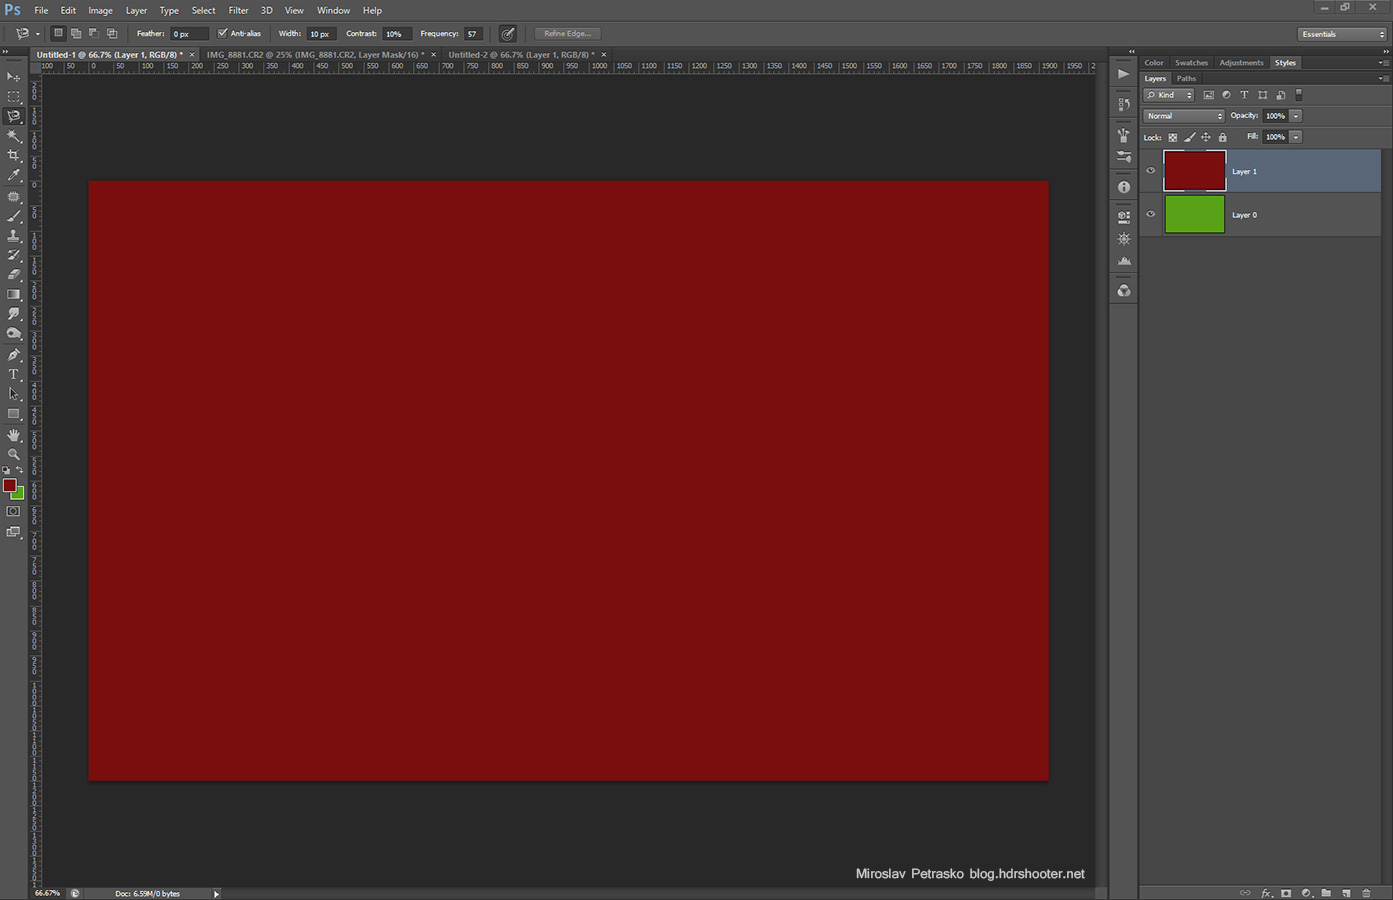
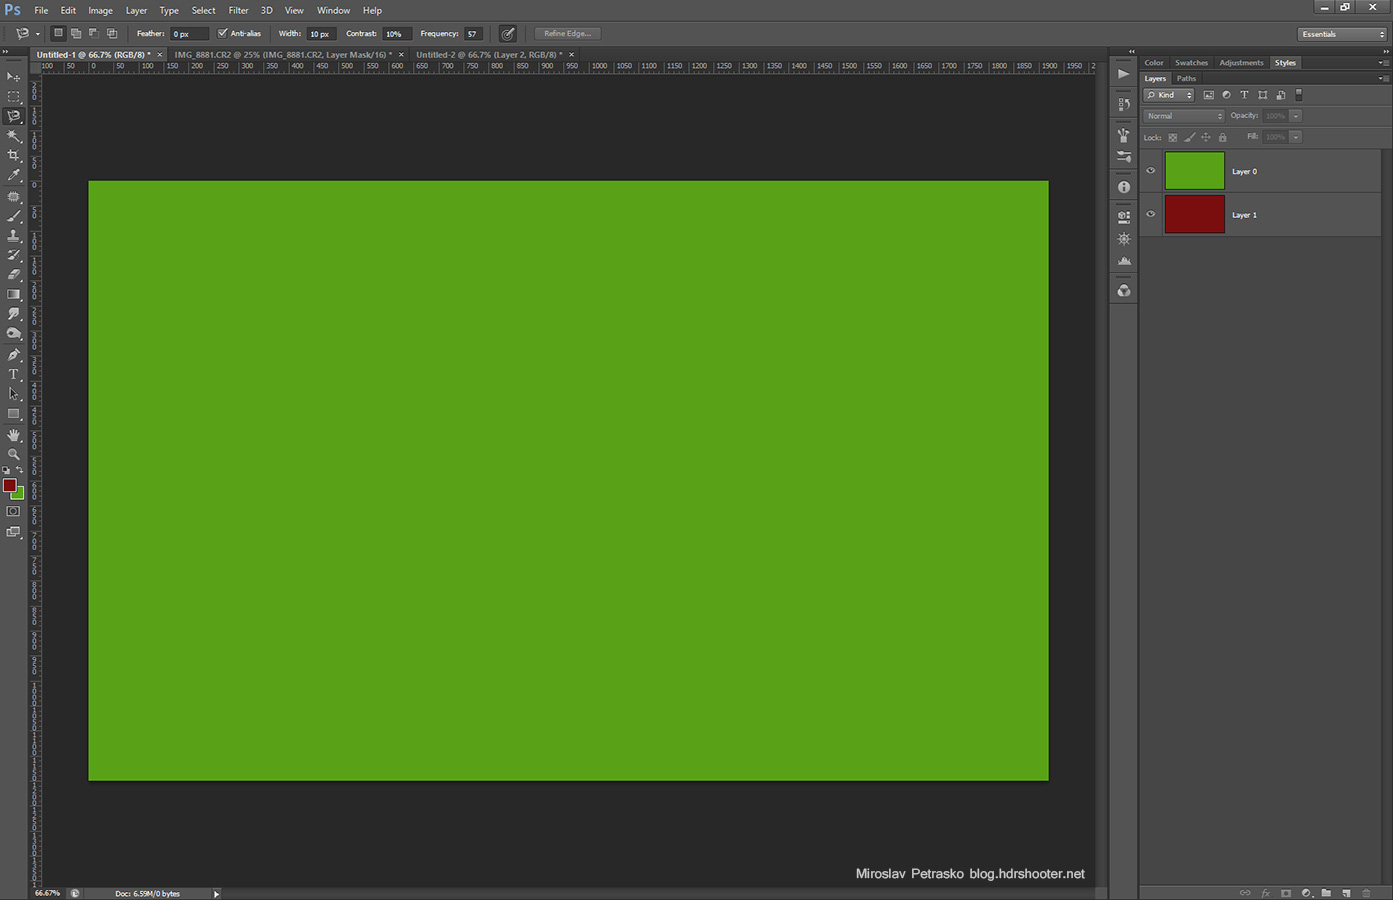
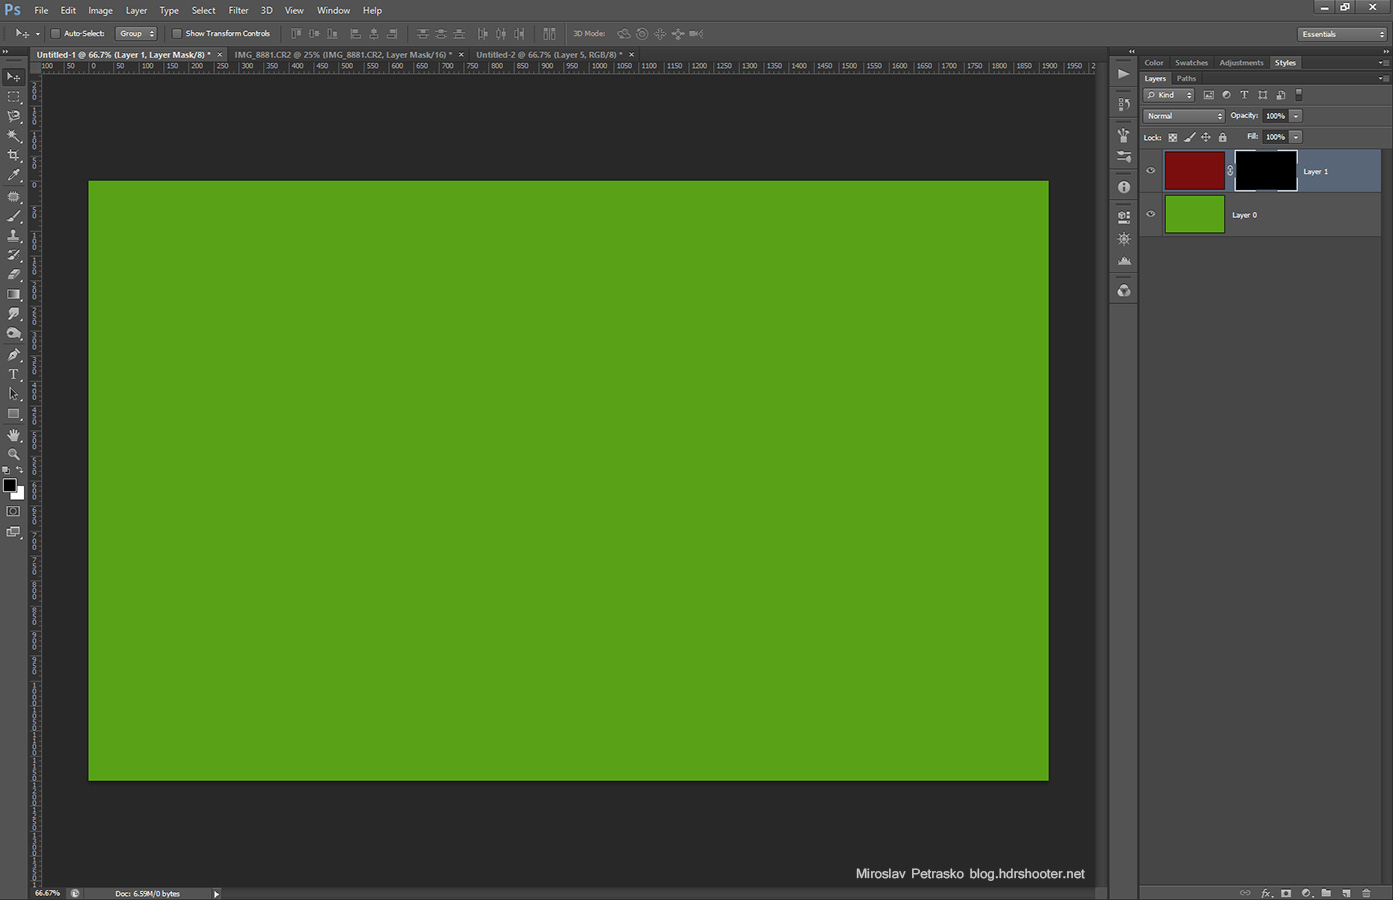
Let’t see how they work. If we create two layers, one filled with green and one with red, we will see that the image wee see is just the top layer, with the bottom one being completely hidden.
You can also move the layers around, and you will see that you always just see the top one (you can’t move the background layer, but if you double click on it, and confirm the dialog that opens, it will be changed into a normal layer).
Layer masks
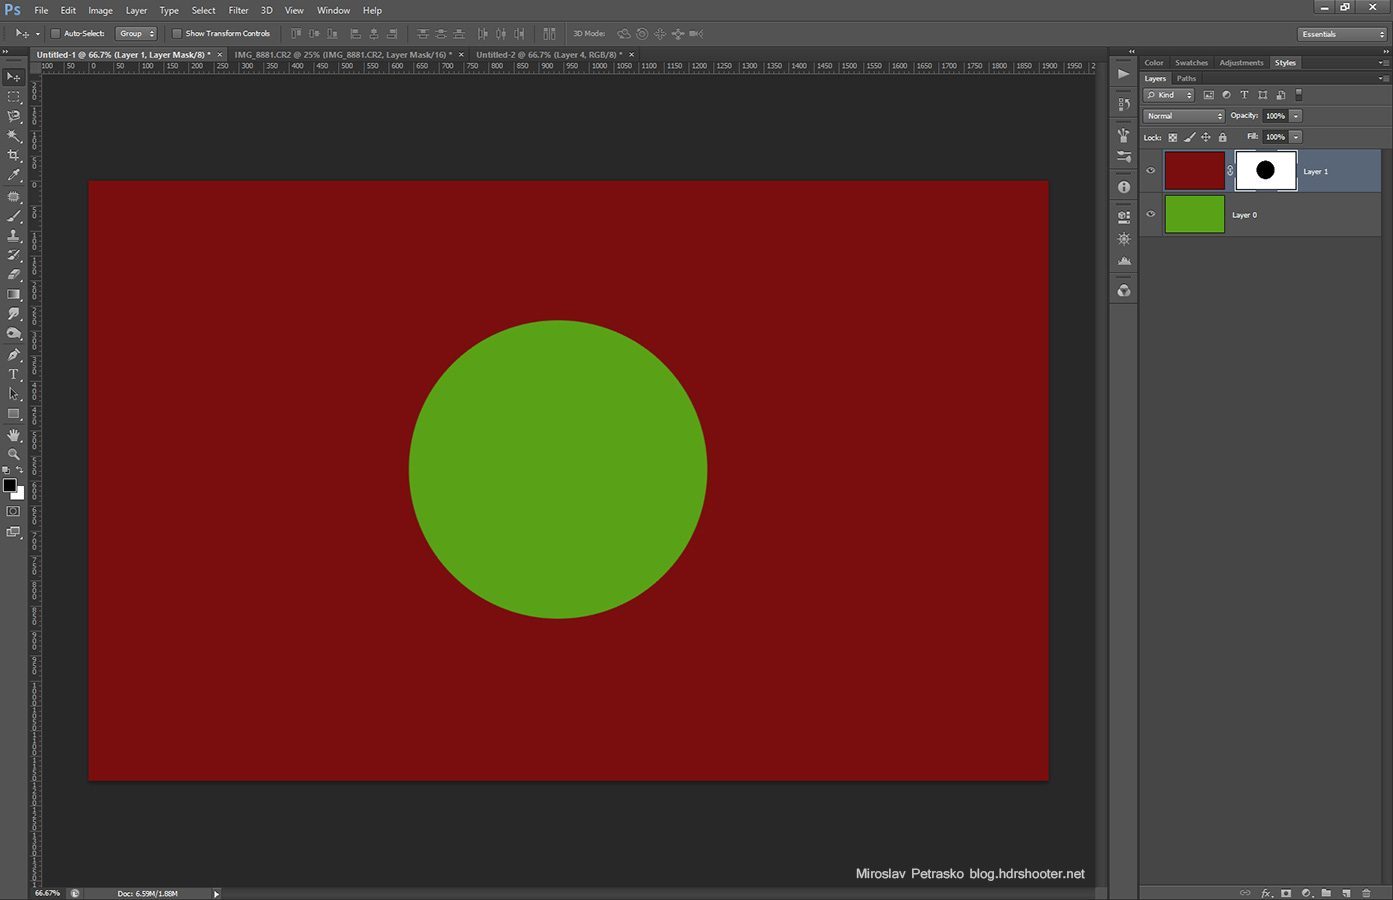
Sometimes you need to see more than just the top layer. And this is where the mask comes in. You can imagine them as templates, showing where the layers should be cut out. Lets add a mask to the top layer using the add mask button in the bottom right.
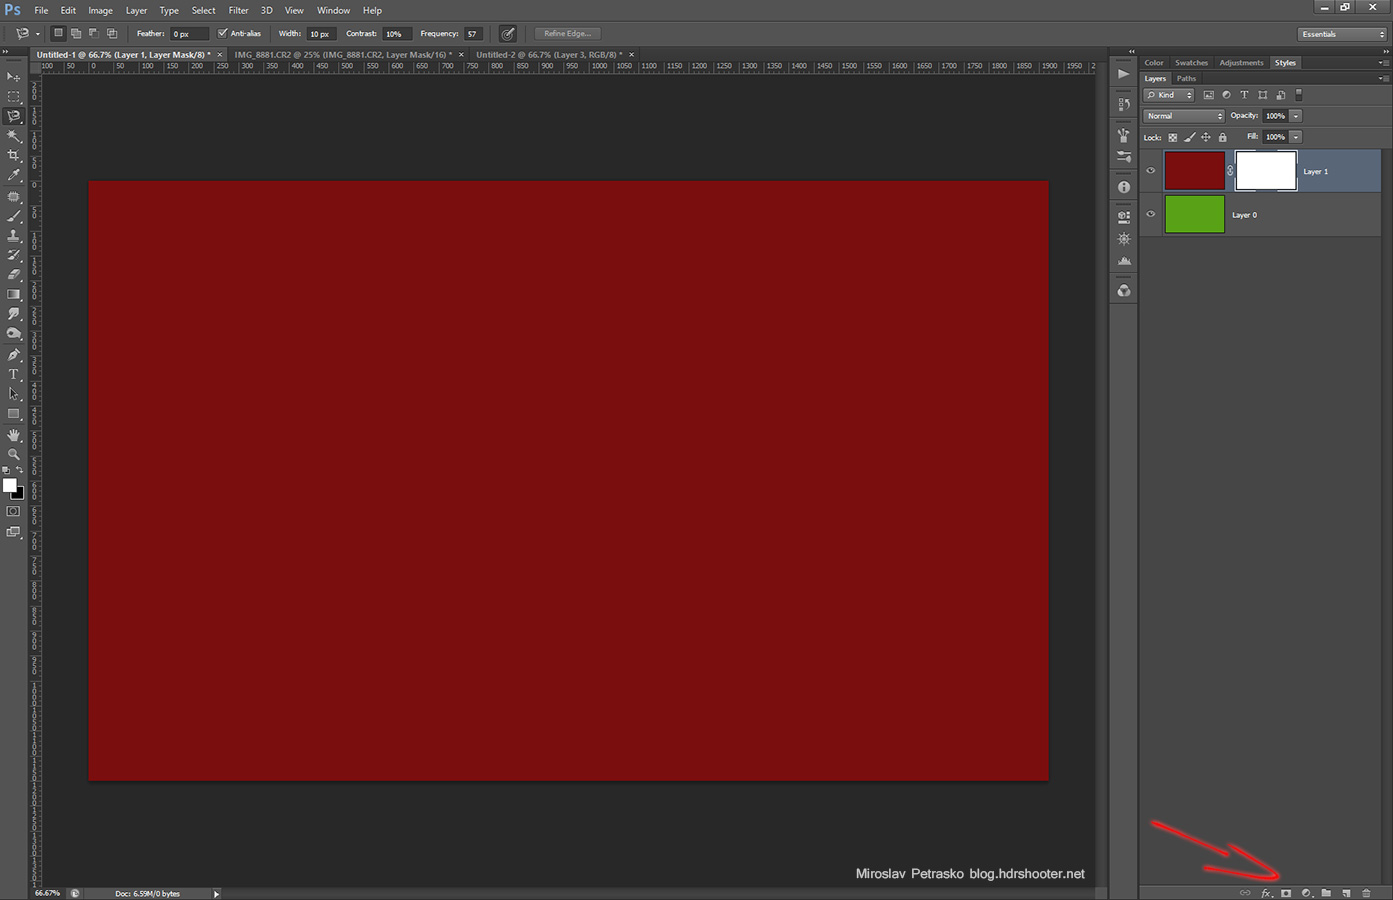
And as you can see, nothing changed. This is because the the mask is white. White means that it’s empty. If we stick to the cutting template, white means – nothing cut, black means – hole. If we make the mask completely black, we wont see the layer at all, as we cut out everything. To make your workflow quicker in the future, you can remember that if you hold Alt while clicking the add mask button, the new mask will be filled with black.
You can work on the masks the same way as on a normal layers. All the tools work there. When we take a brush and just make a big black dot in the middle, we will just see through the area that is black, and for everything else there is just the top layer. So it looks like we cut out a big hole in the top layer.
A little side tip. If you just want to see the mask, hold the Alt key and click on it. If you want to disable the mask, hold the Shift key and click on it. If you just want to select it, just click on it. A selection rectangle will be shown around it.
Gradual masks
Until now we only used a white and black masks. But what happens if we used a shade of grey? The top layer will be added to the bottom one, based on the brightness of the grey we used. The darker the grey, the less will be added, the brighter the more. You can also think of it like this. The closer the grey is to white, the less its see through, the more it is to black, the more it’s see through.
Here you can see the effect of white, different shades of grey and black. The darker the color, the more of the bottom layer you see.
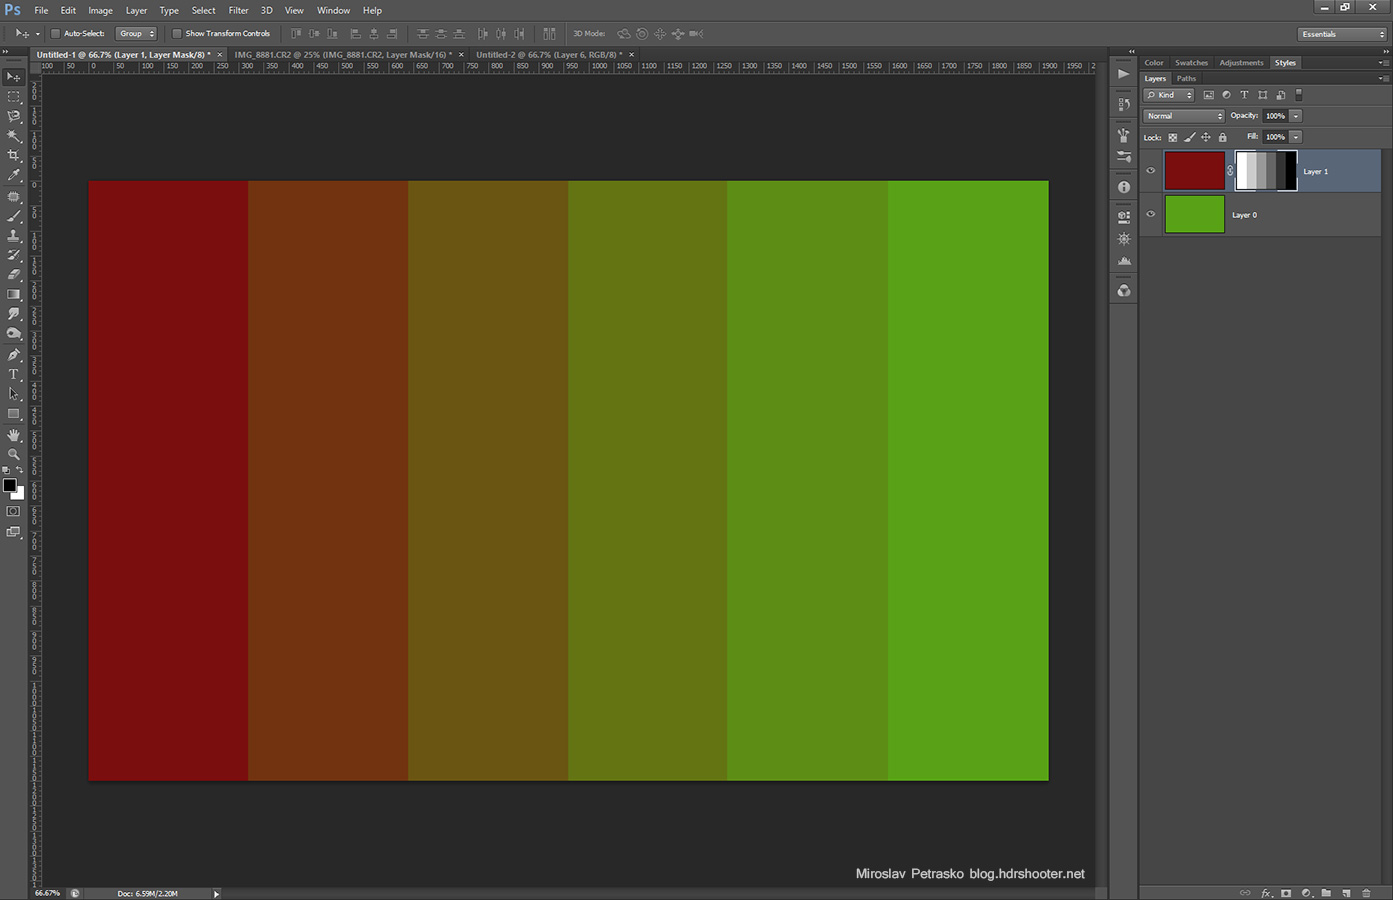
This graduation is great, when you need a soft transition between two layers. Using a gradient, or a soft brush here, will make the transition soft, more natural looking.
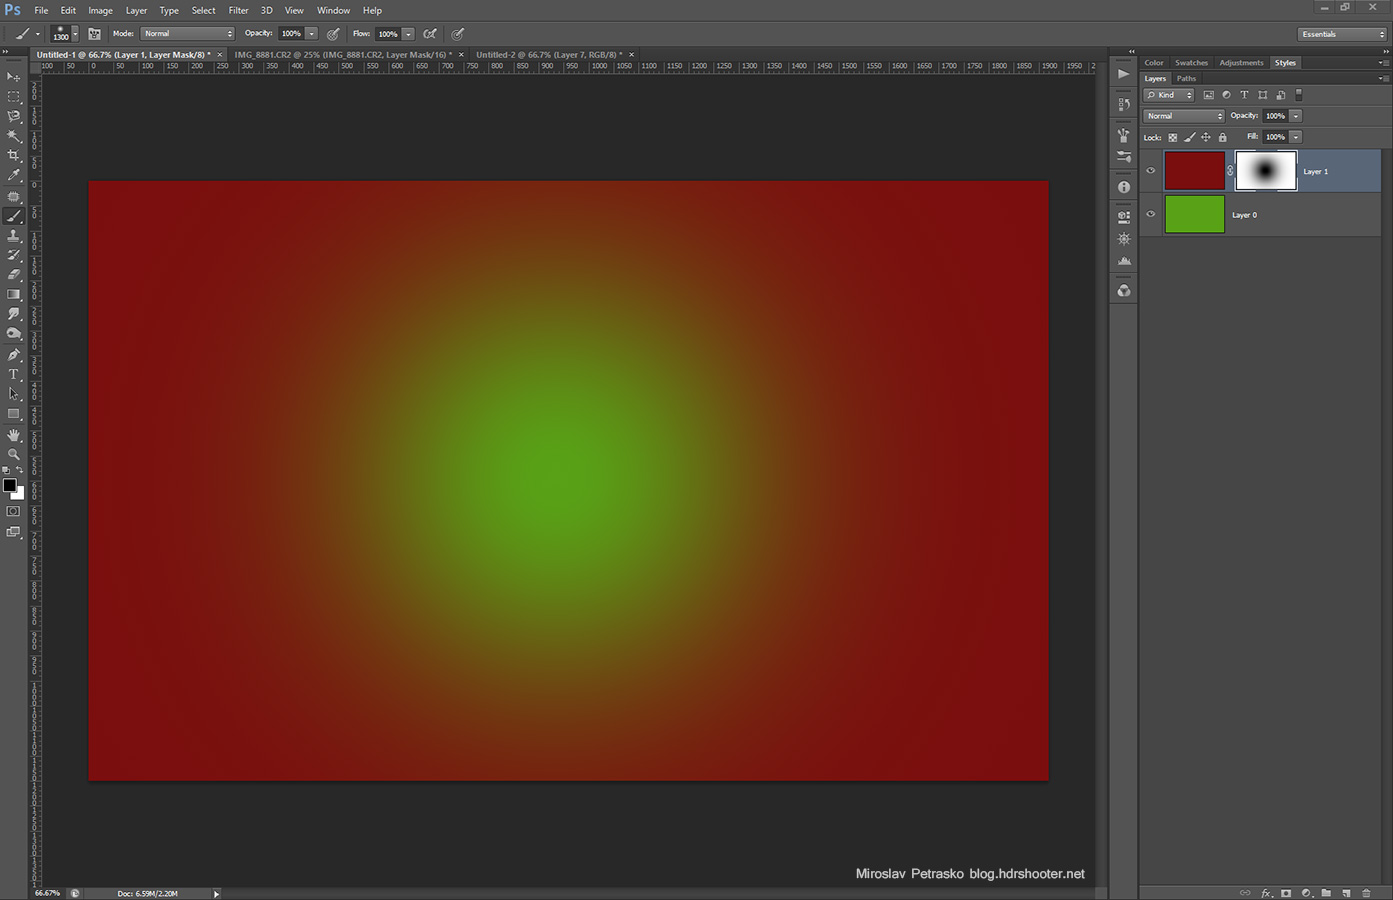
Image blending
Even with these basic masks, you still can blend you images. It works great for photos where you only need to replace a specific part, like the sky and don’t have any complicated structures.
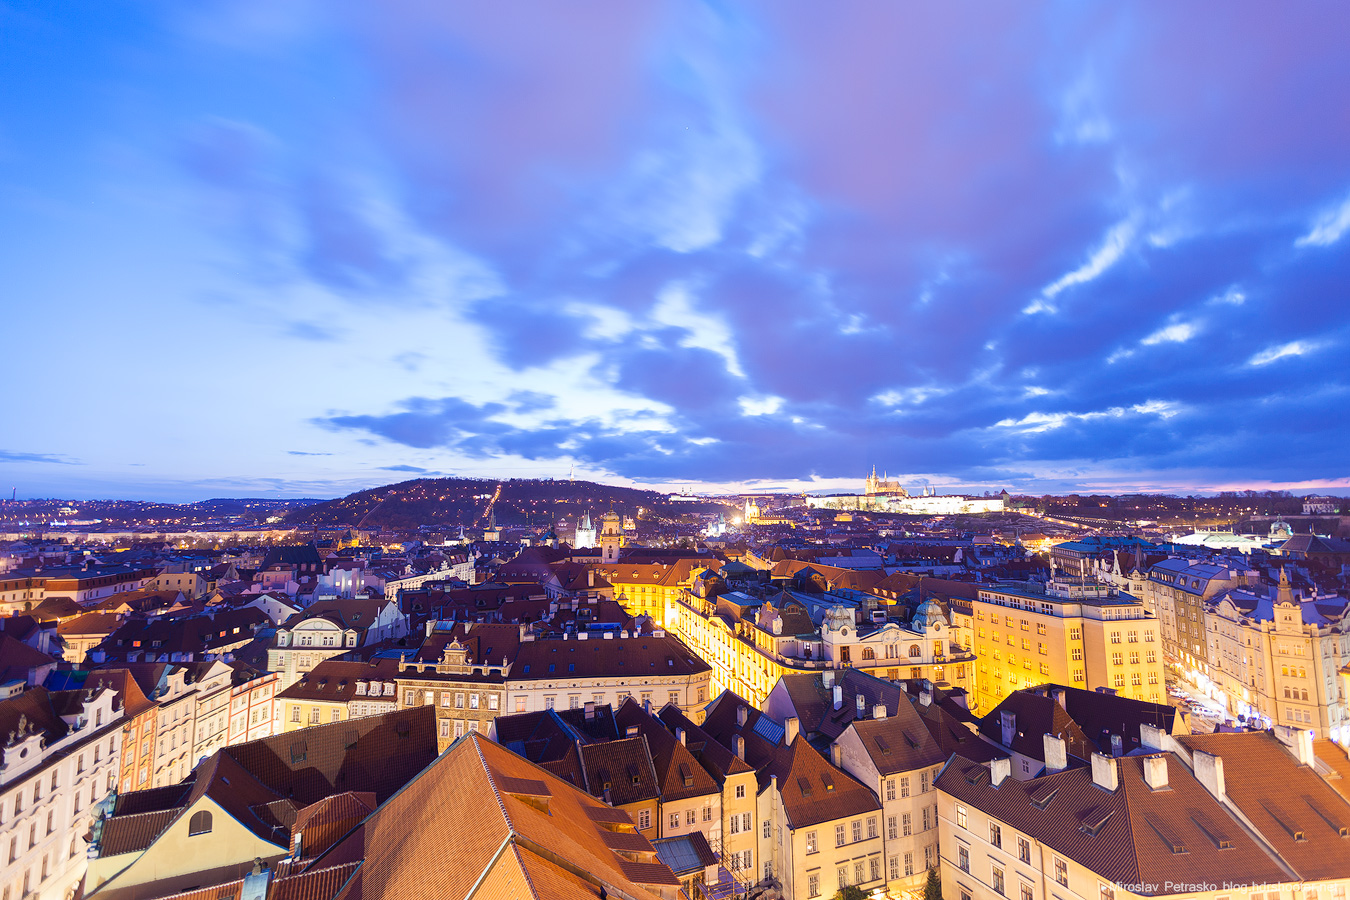
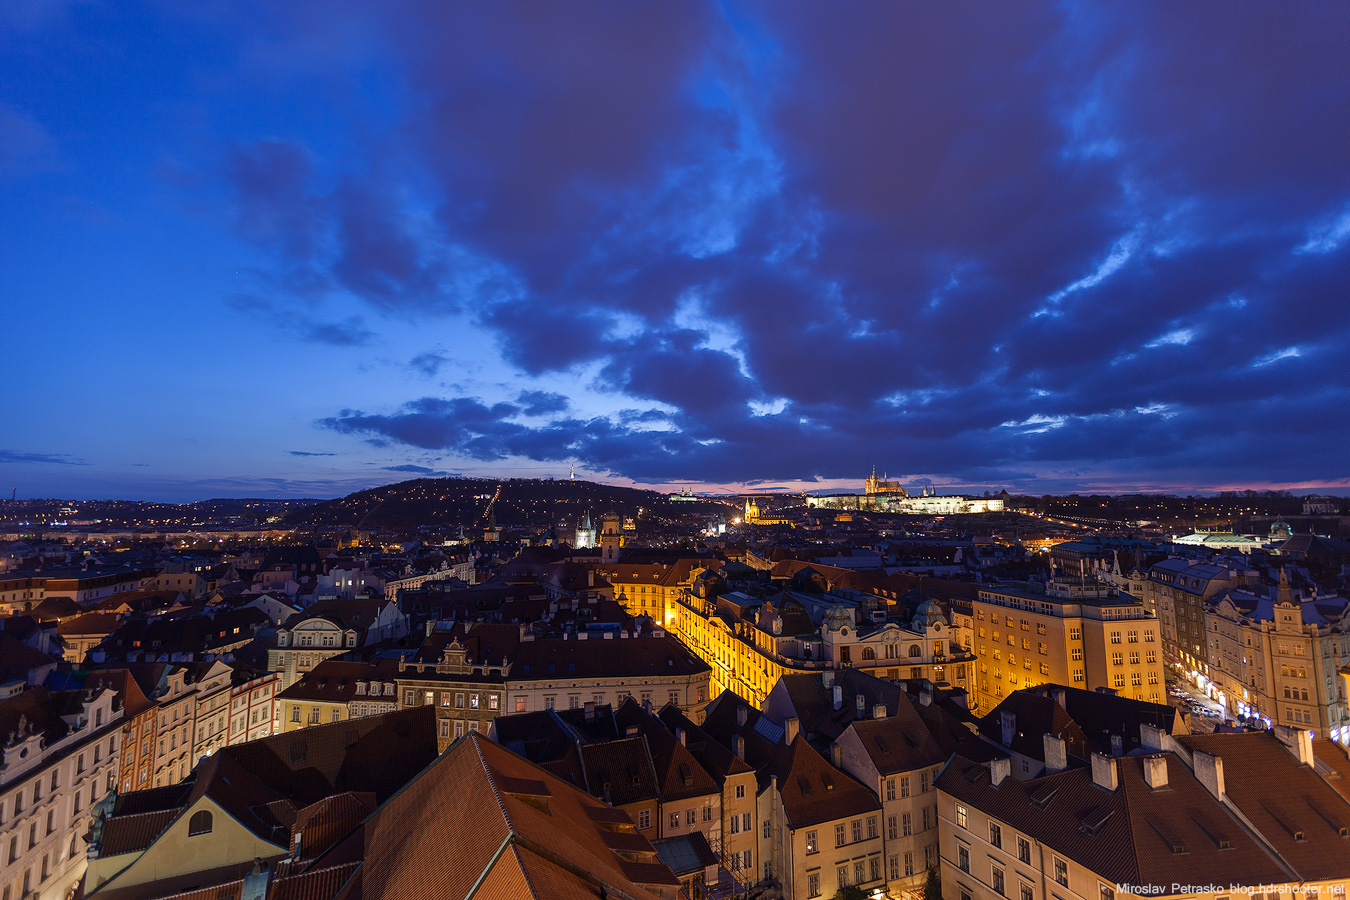
So let’t take these two photos as an example. Let’s say I like the sky from the darker shot and the buildings in the lighter shot.
 |
 |
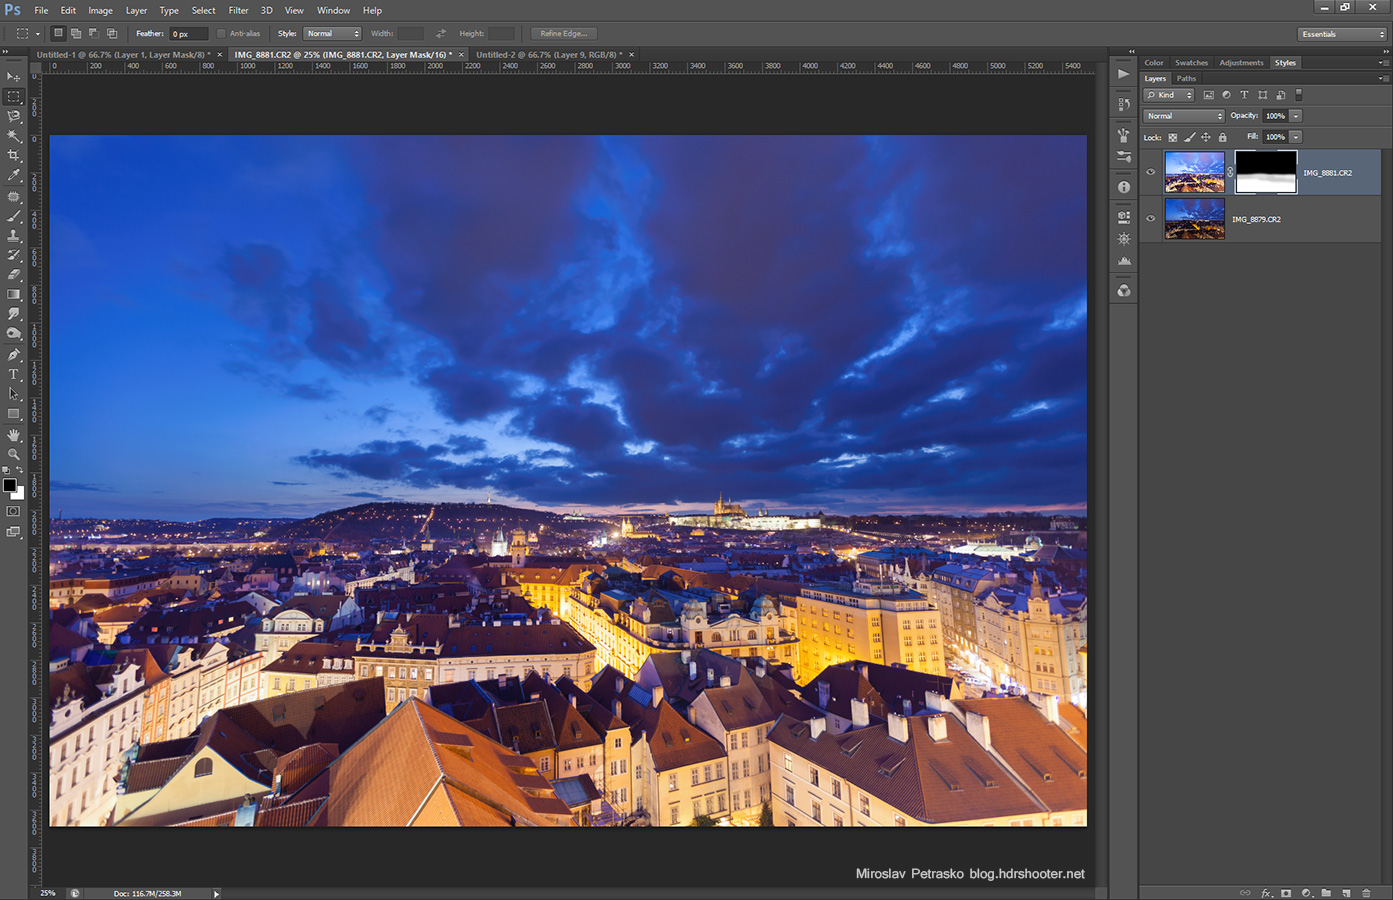
What I can do, is to load these two images into Photoshop, and move one into other, so I have them both in two separate layers.

Now if I add a layer mask to the top one, and start painting in it, revealing the bottom one. And since the horizon is quite straight, I can get a quite even blend here. If I go to much, I just switch the brush to white and remove parts of what I painted. Or I can change the transparency of the brush, to make it softer.
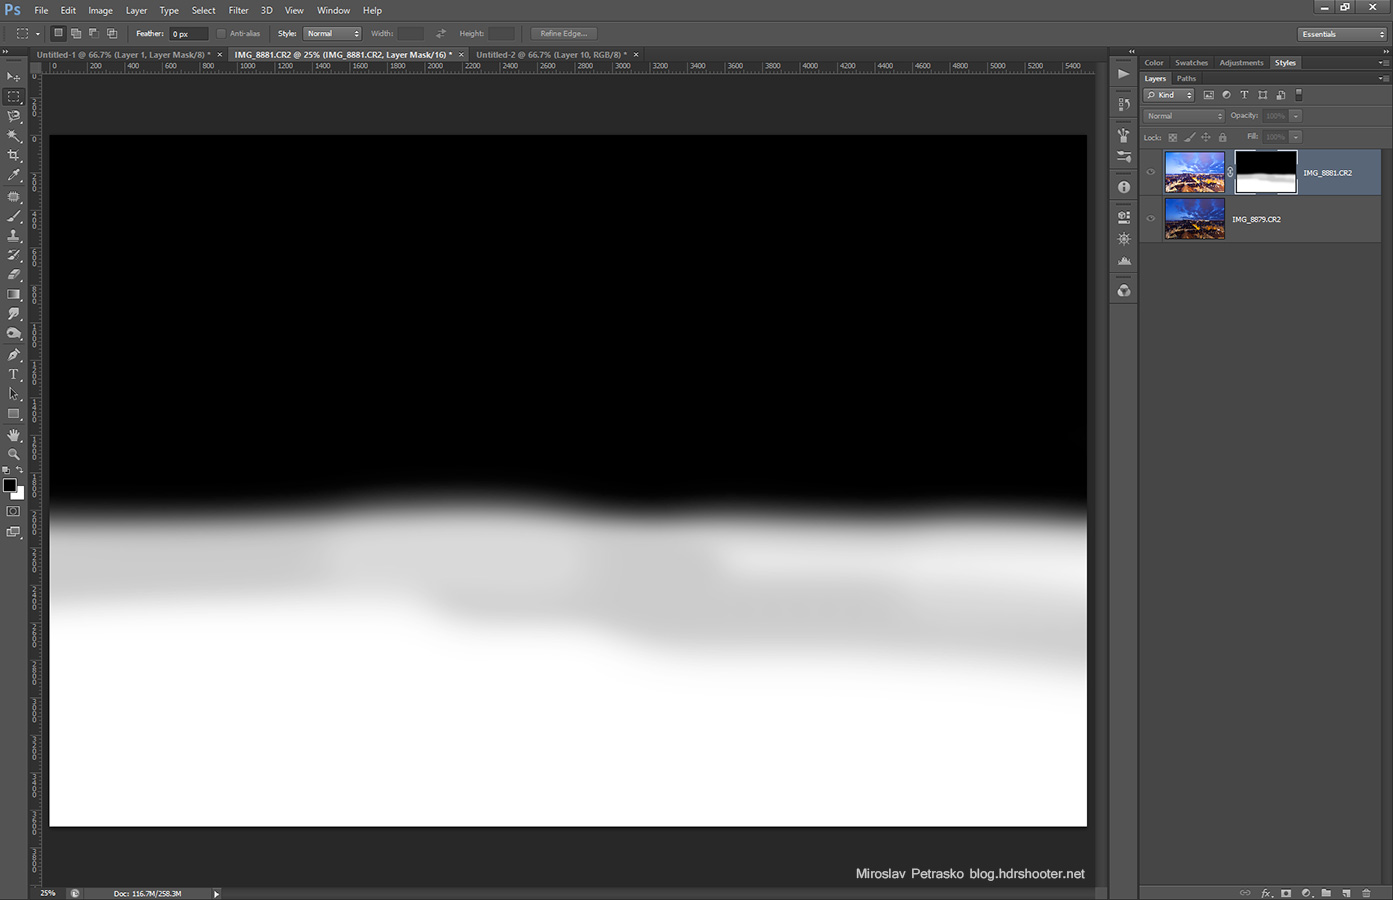
And here you can see the mask I used
You can also create a selection using any of the selection tools (lasso, magic want …) to limit where you paint. For instance here I could have selected the sky with the magnetic lasso tool, and paint after that, so I know I won’t paint over the buildings. Lumiance masks are an advanced way of getting these selections, and in the next part I will show you how to create them.

And that’s all about masks. I hope this made sense and if you have any questions, feel free to ask.


Where is the luminance mask tutorial, please? This is a great general introduction but doesn’t cover the subject that it is titled with…
Kind regards, Alan