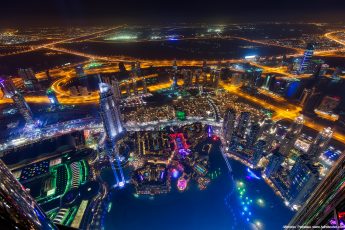
Today I have for you another photo process post. Today it’s a nice panorama from Paris

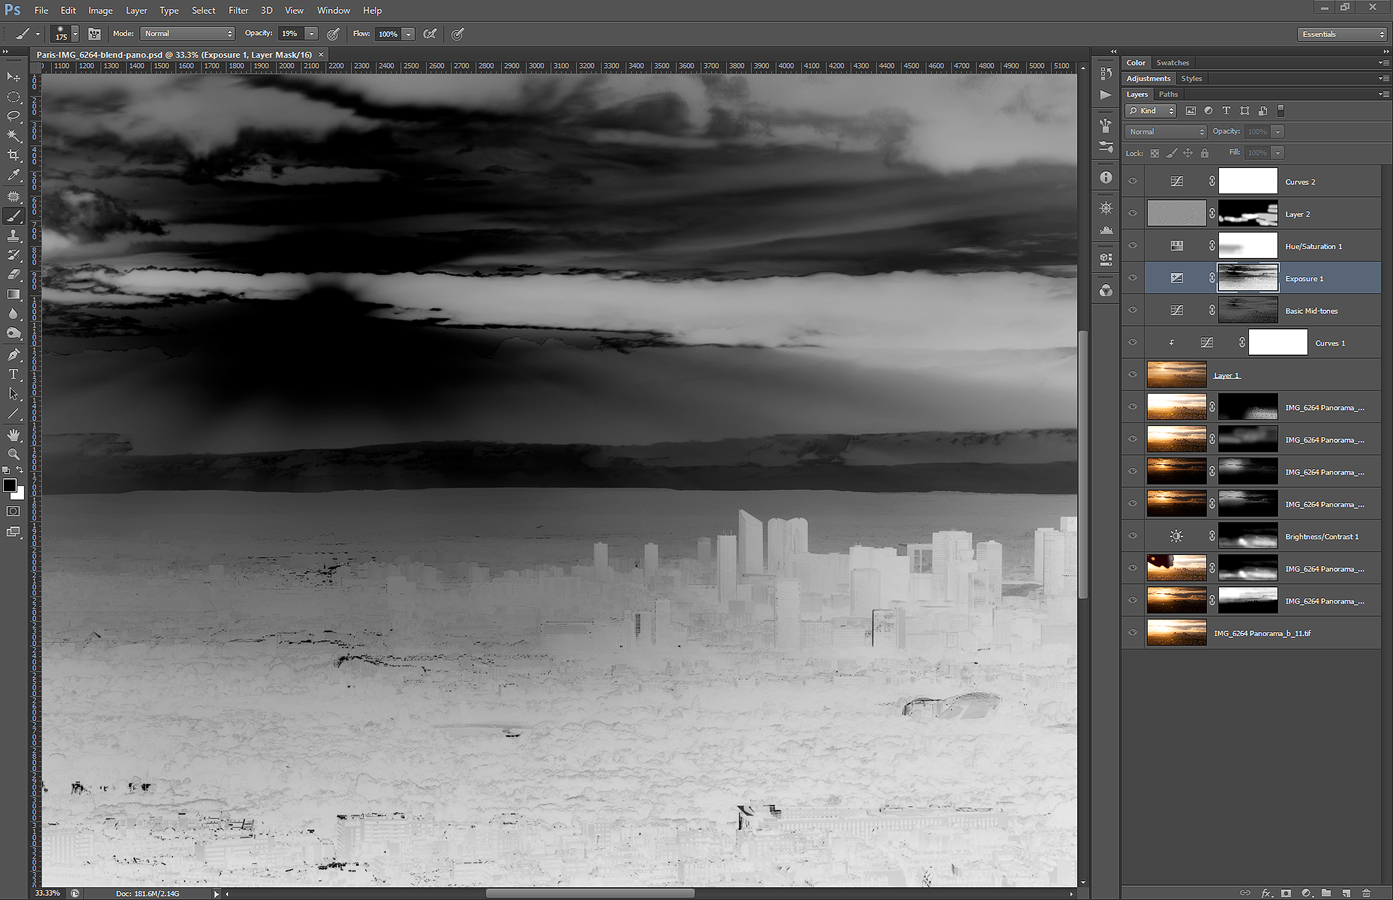
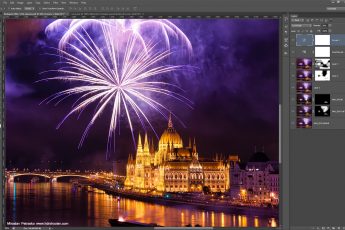
The luminescence masks can looks quite interesting sometimes. So I inluded a Photoshop screenshot of a luminance mask, that also shows what editing steps I made after combining the shots into panorama (you can see how I combine shots here: https://www.hdrshooter.com/guides/combining-photos-for-hdr-panoramas/). As you can see, I used only few layers and no plugins. All done in Photoshop. Recently I tend to go the route of fewer modifications as possible
But to the screenshots. The layers are (from bottom up):
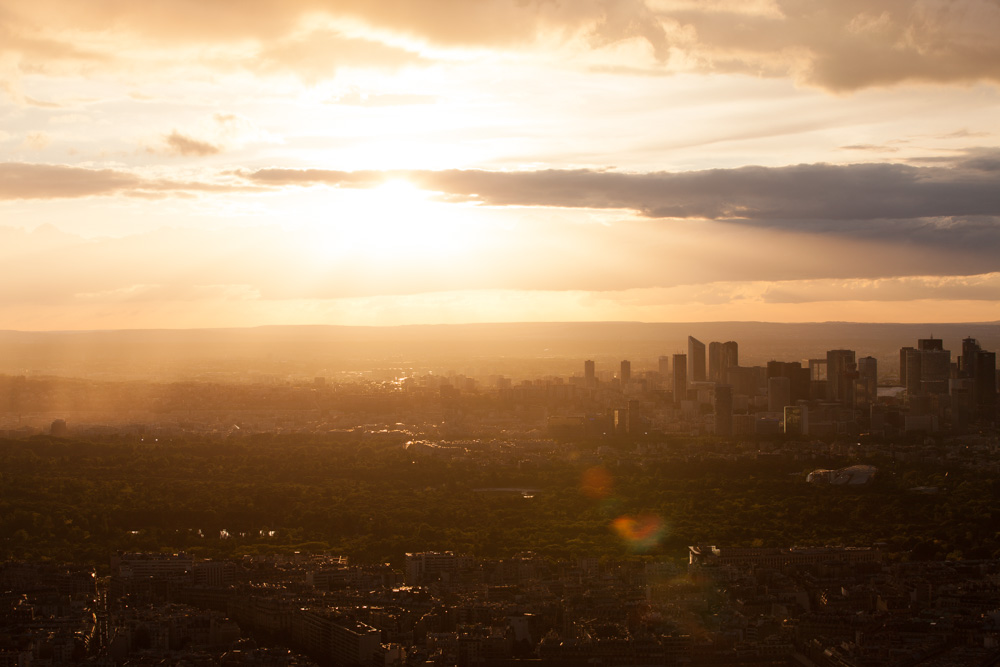
1: 0EV exposure as start
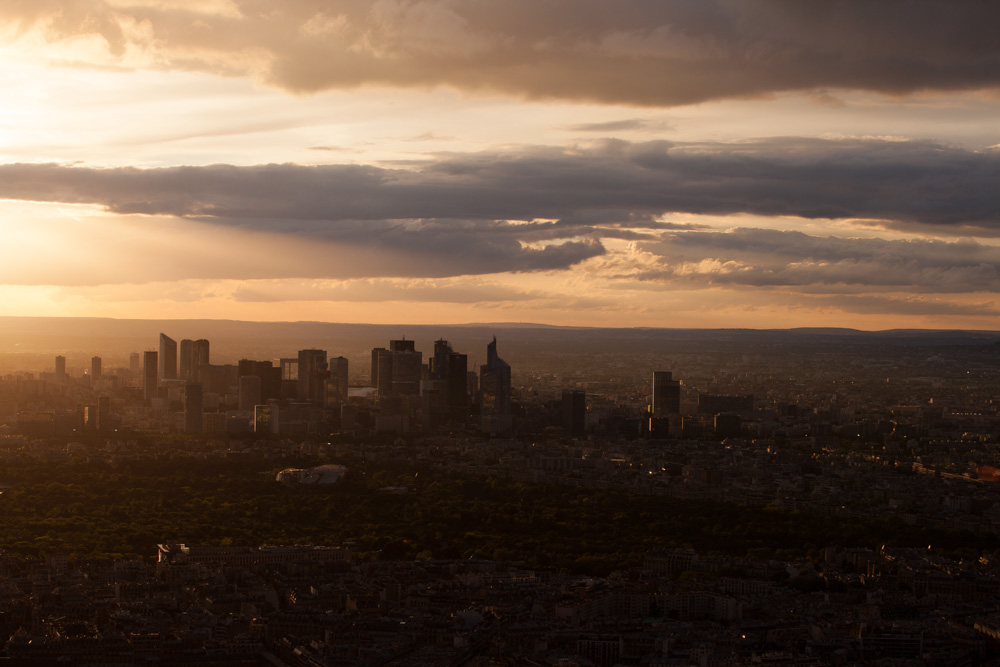
2: -2EV exposure for the sky
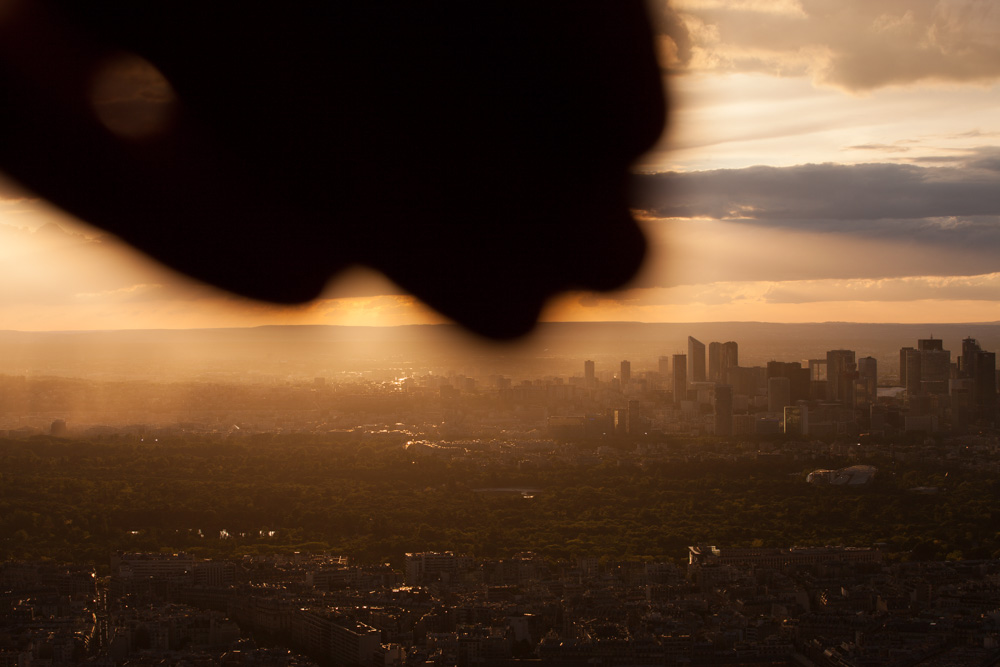
3 and 4: 0EV exposure from a second series where I held my hand in front of the sun, so I get no flares and I can blend that photo with the normal one + brightness modification for that layer
5 to 8: other exposures, to darken the sun and brighten the foreground, mostly manually painted masks
9 and 10: glow layer
11: added contrast to basic mid-tones
12: little bit of exposure to the dark’s
13: little bit of added saturation
14: high pass layer for more detail in the shot
15: a little bit of overall contrast
Not much sharpening here, as I do that after I re-size the photo.
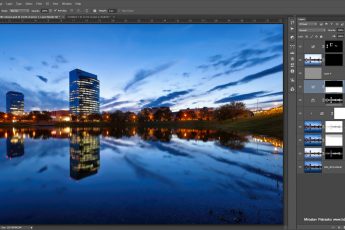
Continue to the full post to see the original photos I used.
You see that there are three 0EV photos. This is because it’s panorama from two shots and the third one was needed, so I will be able to remove the lens flares.


Outstanding job ! Absolutely brilliant, thanks for sharing !