And another week passed and again I’m have for you another process post. For today I chosen this view of the St. Martins cathedral in Bratislava. So lets get started.
My goal in this photo was to open up the surrounding of the cathedral, so it’s not just black and you see some detail there. So to get this final result:

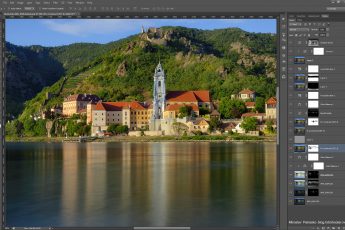
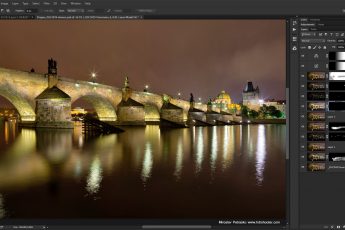
I first corrected the lens distortion and chromatic abberations in ligtrom. Then I exported all the 5 exposures as layers into Photoshop and continued from there. The layers I used vere (numbered from bottom up):
1. 0EV exposure used as base
2. -1EV exposure used to bring down the overexposed areas of the cathedral (I’m inluding here how the mask looks, so you can see what effect it has, if you don’t understand layer masks, check out this guide I written about them)

3. -2EV exposure, to correct few more overexposed areas
4. +1EV exposure, to brighten the overall image
5. +2EV exposure, to brigten few more parts and to add light trails to the road (again I’m including an image here, so you see how it looks)

6. added more detail using a high pass layer
7. I reouched out the small piece of the sky visible in the right corner, it just bothered me there
8. added 0.5 exposure to the whole image, except the brightest parts
9. Color efex pro contrast to add more local contrast to the image
10. color balance for the trees in the foreground as they were too red
11. Color efex Darkne/Lighten center to add a vignete to the photo
12. levels to add a little contrast
13. desaturated the oversaturated yellows
14. added glow (check out my tutorial on this)
15. brightened the shadow darks
16. made the image a little colder
17. darkened the extreme highlights

And that was all. I actually stopped after step 11 at first, but that added the few more tweaks, as I was not completly sattisfied with the result.
Please continue to the full post to see the original 0EV exposure.


Leave a Comment