As I mentioned in my Manfrotton Clamp review, there are a lot of places where you can’t use a tripod. There are even some where you can’t use a clamp. So what to do then? One of the possible solutions is to use a bean bag. And one of those it The Pod.

pod-1

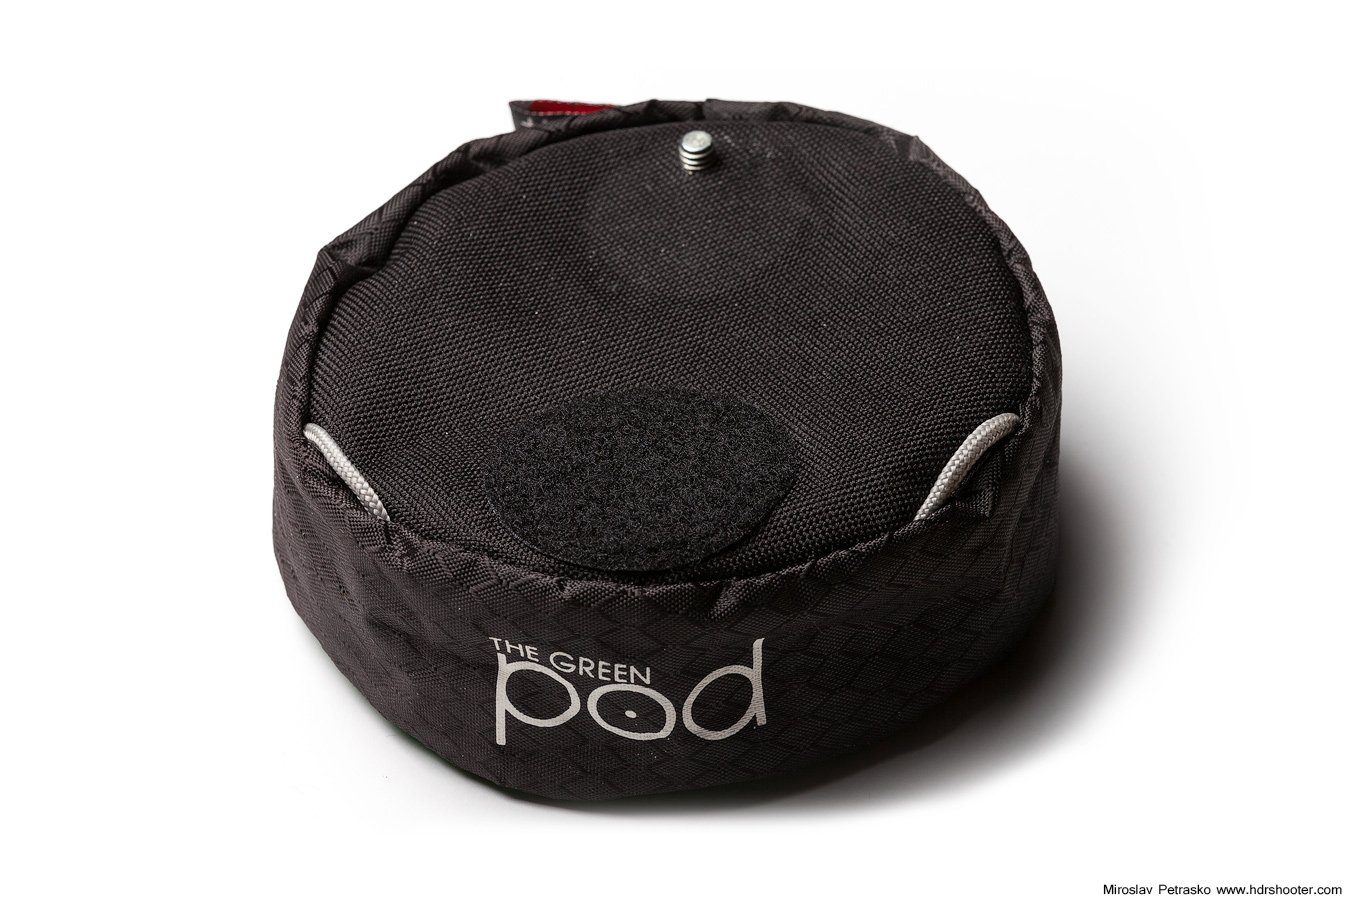
There are multiple versions of The Pod, but as I have the green one, I will write about that. They are mostly the same, just differing in size, color and the placement of the camera attachment screw.

pod-2
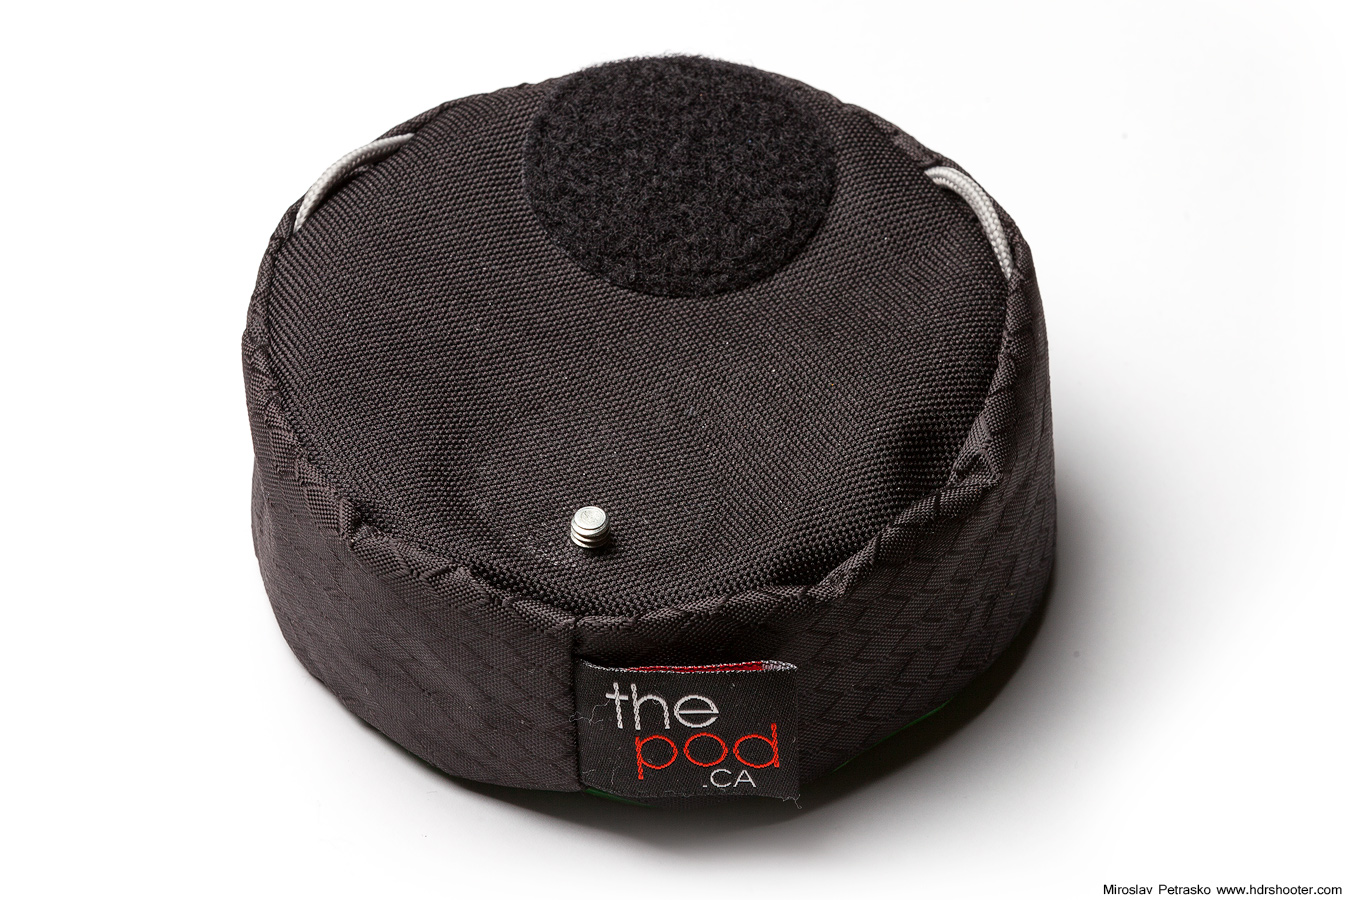
The Green pod from the back
pod-3
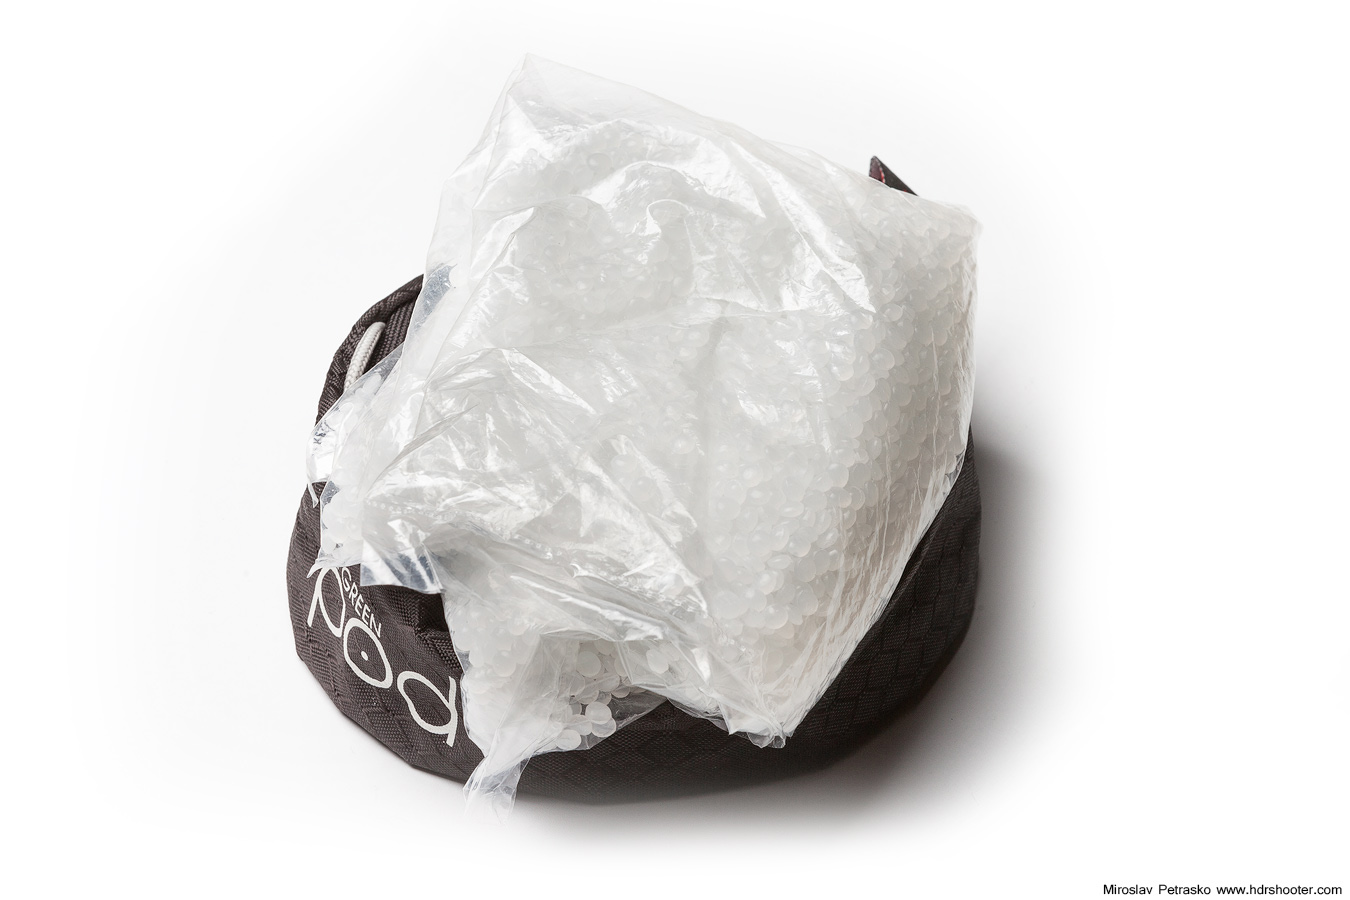
Whats inside The Green Pod


So how does it work? You just attach it to you camera, use the provided leash to also attach it to the lens and you are good to go. When you place the camera with The Pod onto something, you need to push down, so the beans fall into place and the camera stays stable. I tried this with my Canon 5D mark II with the Canon 16-35mm F2.8 lens, and I noticed no movement in the photos I took, even with the ones that were few seconds long.

pod-4

It’s a little harder if you wan the camera to point more up or down, but it still is possible. Of cores this is easier with a smaller camera. The green pod’s screw is also placed to the side of the pod, so you can use bigger DSLR’s with it. The green pod is also specified as the one for a DSLR camera with a zoom lens.

pod-5
pod-6

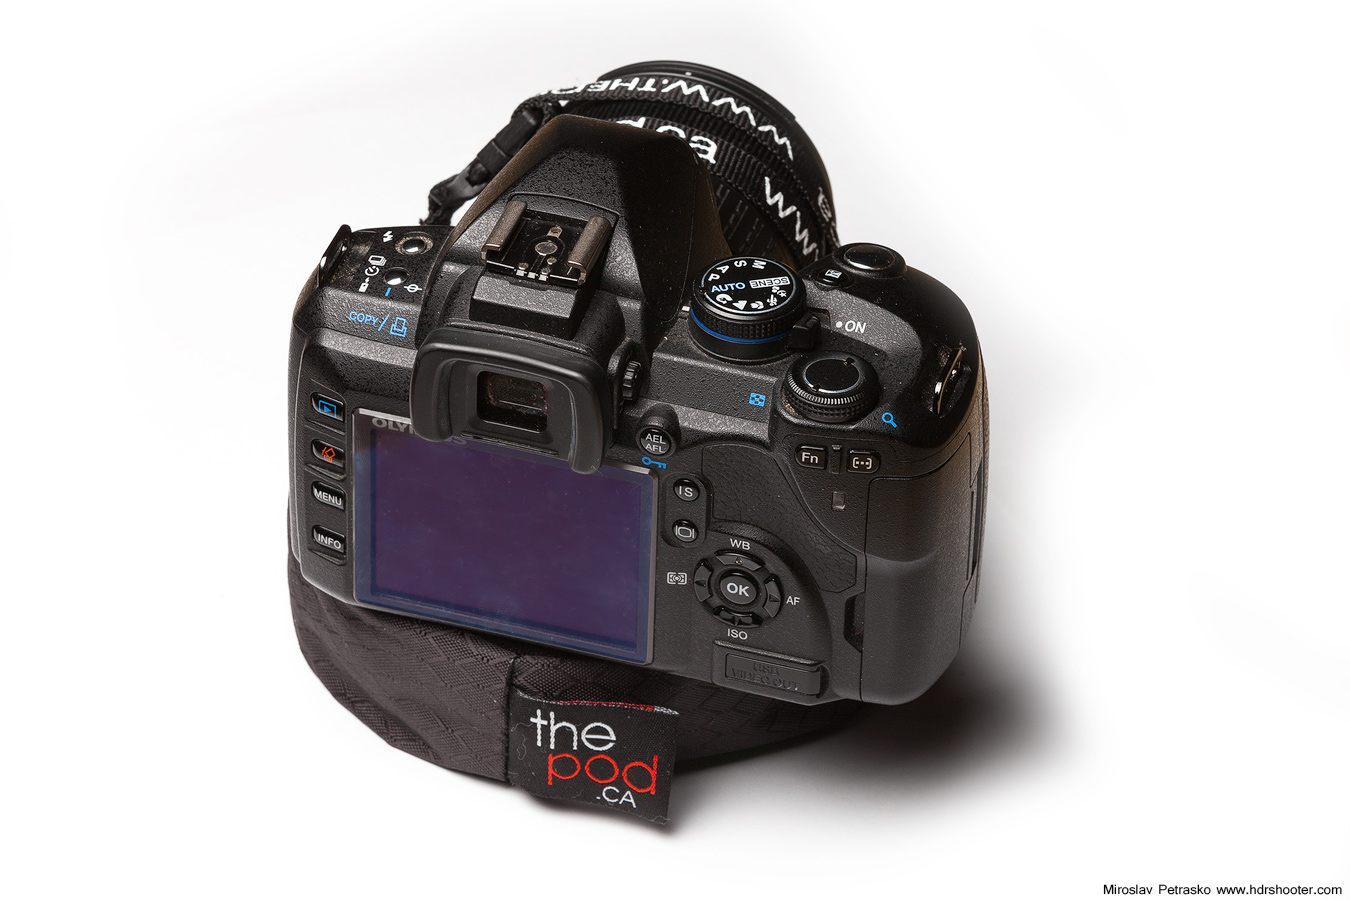
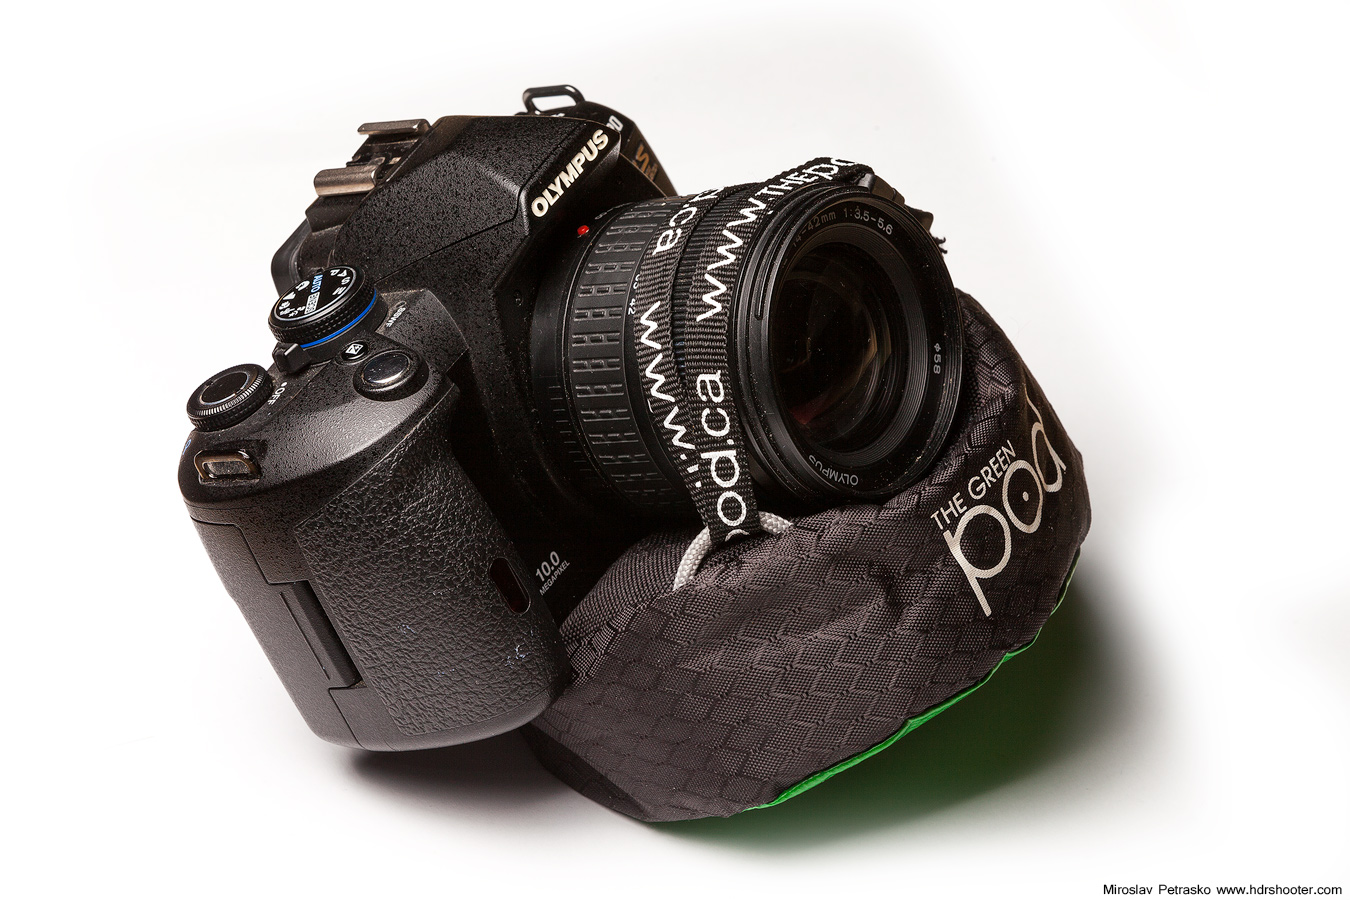
I used the pod few times in different places, and I got really good results with it. It’s simple to use, and no one will stop you for using it. You can even have it attached to you camera while you are not using it, as it is light and does not stand in the way that much. The only thing I don’t like about it, is that the screw is fixed in place into it, and when I screw it tightly onto the camera, it never was in the right orientation. So I had to loosen it a little and use the leash to hold it in place.

Overall this is a nice little addition to for any photographer. It’s also quite cheap :)

You can find more information on The Pods website.

View all my other reviews here.

Check the price:


Attach your camera almost everywhere

This review is mostly about the Manfrotto Super Clamp 035, but I will also include my thoughts on the Manfrotto 155RC Double Ball Joint Head as I use them together.

So what is it? The Manfrotto clamp is a great way to attach your camera or light to railings, signs or anything that fits in between it’s teeth. And once it’s closed you won’t be able to move it until you loosen it. You probably first break whatever its connected to, before you get the clamp loose.

clamp-1

Clamps like this are mostly used for attaching lights in studio photography. But as a landscape photographer you will also find a use for it. As there are many places, where tripods are not allowed, or they would just not be stable, you can use a clap to hold your camera. Or even in situations, where there is a heavy wind, the clamp can hold your camera much more stable than a tripod.

clamp-2Clamp fully opened
clamp-3Clamp fully closed


In my experiences, the Manfrotton Clamp holds very well. It can hold to a lot of things and you can’t move it at all while its tightened. I had my Canon 5D mark II on it, with the Canon 70-200 F2.8 lens, while it was hanging from a railing on top of a bridge and it didn’t move at all. You can see the size of it on one of the photos, compared to a double A battery.

clamp-4Inside of the teeth
clamp-5Clamp with the 037 stud


The clamp comes with a plastic part, you can place into the teeth, if you trying to attach it onto a straight surface, like a plank or a table. If you remove it, you can easily attach it to pipes. Based on how you order it (alone or in a set), it can come with a way to attach your camera, but can happen that you will need at least a stud for that. I got the Manfrotto 037 Reversible Short Stud. There are two ways you can attach it to the clamp. You either can screw it in directly into the clamp, or use the hexagonal quick release socket. Both work fine, but using the quick release socket is more secure, as the whole stud is inside the clamp. Of course you can attach a tripod head onto the clamp and then connect the camera to that.

clamp-6Double ball joint head
clamp-7Head with both balls in 90 degree orientation


You can also, as I, use the Manfrotto 155RC Double Ball Joint Head (there are also others). This one is made specially to be used with the clamp, and fits nicely into the quick release socket. It can be also bought together with a quick release plate. You of course can attach any quick release plate on top. As it is a double ball joint, it can be moved into multiple arrangements and it nicely works if you want the camera to be 90 degree to the clamp. The tightening handle is a little big on it, same as on the clamp, which makes the tightening easy, but it’s sometimes in the way. The ball joints hold together very tightly. It’s even hard to move them when there is no camera attached. This is great mostly, but sometimes it makes it hard to compose with the attached camera.
clamp-8
As I said, the clamp is mostly for special situation. It’s easier to just use the tripod, but when that’s not possible, the clap will give you the stability you need. With the 15kg payload it can carry, you can hang a lot from it, and it will be secure. Just take good care about what you connect it to.

clamp-9Clamp attached to a balcony railing
clamp-10Clamp attached to a railing on top of a bridge


Overall this is a good addition for any landscape and especially cityscape photographer. The only thing that stops me from having it all the time with me, is the weight. The clamp, together with the head weights almost 1kg, and that is something I don’t want to carry all the time with me. This is of course due to the material used. Almost everything is metal. Still, If you find yourself a lot of times in the situations where you could use a stable place for you camera, I suggest you give this a try.

You can find more information on the Manfrotto website.

View all my other reviews here.

MOO cards

I just got my new set of MOO business cards. This is my second set I ordered from Moo cards. The first set was used up very quickly, as everyone loved the look of the cards. Me too of course. I really like how you can have your own design on one side and a selection from you photos on the other. You don’t even have to upload the photos, as you can import them form Smugmug, Flickr, Facebook and other services. It so easy to create them.
moo-cards
To find more info, you can check out the MOO cards site. And I got this code “G2MSCG” for a 15% discount on first order of 50 business cards, so it maybe be useful for some of you :)

Btw. you maybe notice a different address on the card that the one of this blog. This is a part of a change for this page, and I will get to that when it’s actual :)

Photo categories

Recently I changed the way categories are shown in the sidebar, so if you miss them, they are still there. Just look for a drop-down under the social icons, with the caption Photos by location.

Bridge in Maribor

As the year ends, you will notice not so many photos from new locations. I just don’t travel that much around this time. The weather is just not so great. I will maybe have some new around the Christmas, but until than, most of my photos will be from places I visited earlier this year. So for today, another photo of this great looking bridge in Maribor, Slovenia.

This is a HDR from 5 shots, created in Oloneo Photoengine, finished in Photoshop.
Bridge in Maribor

FREE EBOOK!!!
Subscribe to my newsletter and get a free Capturing fireworks ebook. 
Subscribe