Before I started with HDR photography, I created a lot of abstract images in Photoshop. This page shows a lot of my works, but so its not just a gallery, I thought I give a little more background on how I learned to work with Photoshop here. I put images in between parts of the text, so this page looks a little more balanced :)


How I learned to use Photoshop

I started with Photoshop around 12 years ago (yes, the time passes by so quickly :) ). I’m completely sure if it was the 6th or 7th version of Photoshop, but I know it was before the CS one. I’ve been experimenting with it also before that, but newer take more time to learn more.

But than one year on the University, when I finally had a PC strong enough to run Photoshop properly (how this sounds silly now, doesn’t it) I started using it more and more, getting hang of the tools, techniques and shortcuts.

 
I looked at books about Photoshop at that time, but I found them all to be very boring. Each time after I tried to read one, I quit after few chapters. They just read as a manual and I don’t think that they are that helpful anyway. Even now, when it goes to editing, I prefer shorter eBooks, that deal with a certain subject, or go directly to the video.

But as I started, I found myself a simple way to learn, without it being boring. I started doing shorter Photoshop tutorials, few each day, each time from different categories. Just take a look at these two sources of some great easy tutorials, Deviantart and GoodTutorials. On both sites the tutorials are split into multiple categories, and I found the photo editing and drawing categories of Photoshop tutorials the best. And these are the tow sites I used at that time :)

 
The good things about these tutorials is, that you will have a result quickly enough to keep your attention, and you can try something new each time. Of course over time one needs a better explanation of some techniques/features, that one can’t find in such tutorials, but most things can be just learned by doing.

 
Another thing that helped me in the beginning, is that I started posting my results online quite soon. Of course not the results of the tutorials, but already my own creations. With the abstract art, I posted it to Deviantart, and later with photos to Flickr. Seeing positive (and even negative) reactions from people can motivate one to keep going and improving ones own skills. One just can’t take things personally, and continue with the work.

And not to be discouraged, here is a screenshot of a folder containing all my early attempts with Photoshop. Taken before I created these abstract art images and long time before my photos :)
Photoshop experiments
 

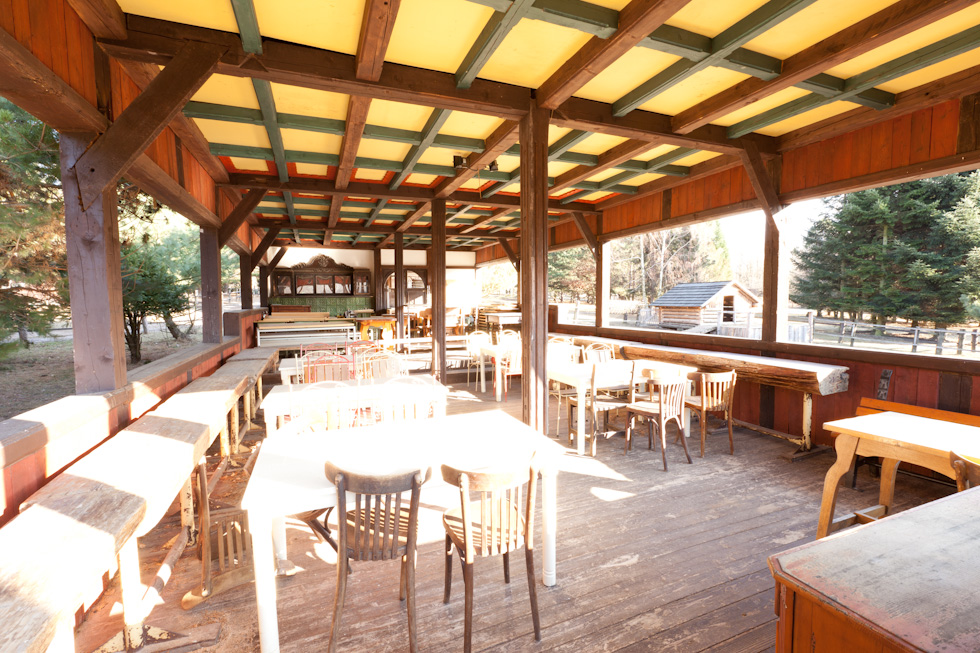
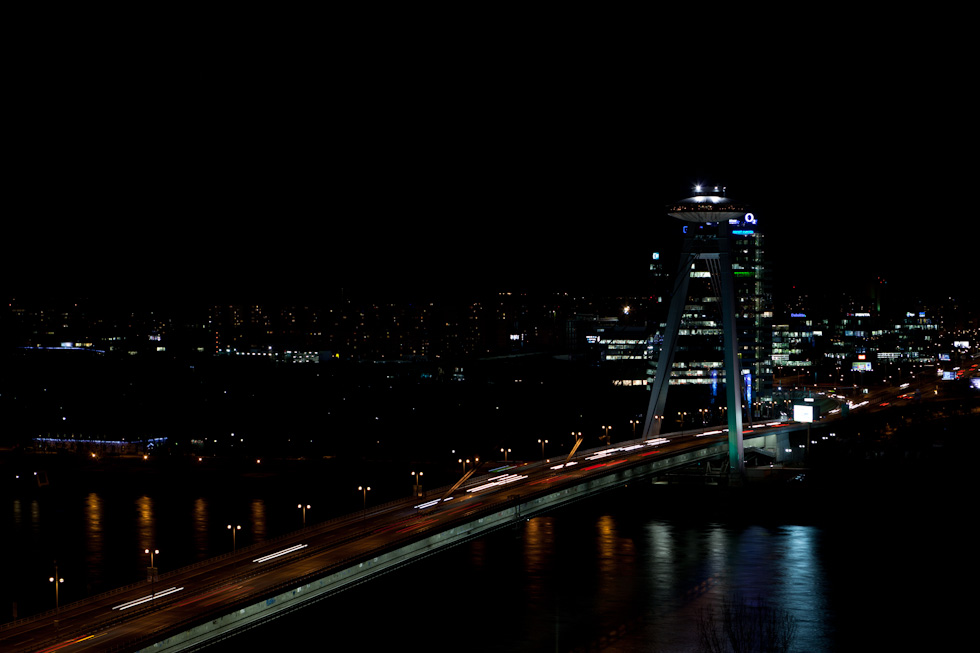
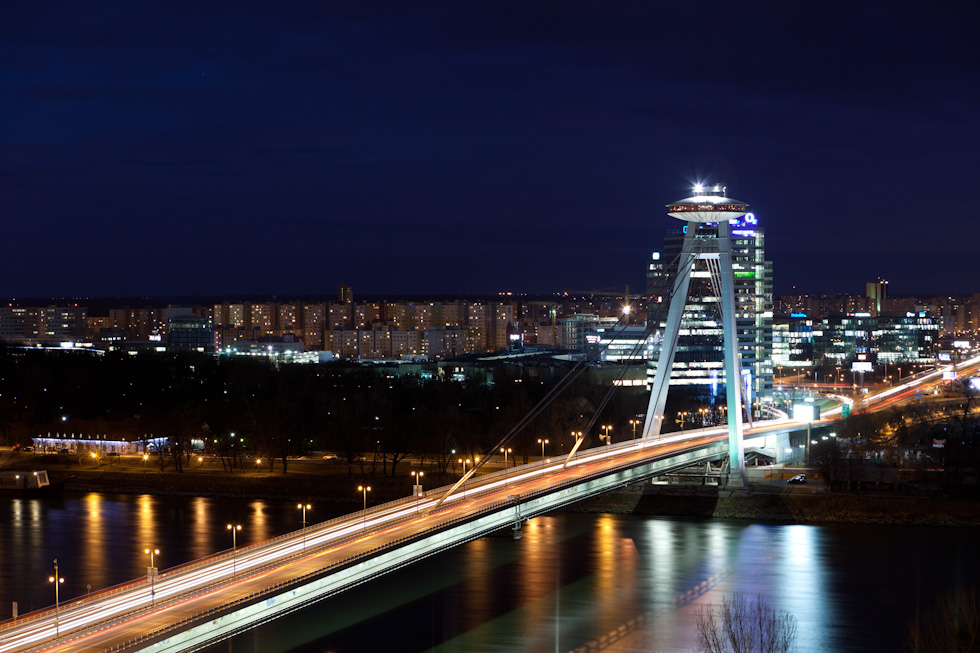
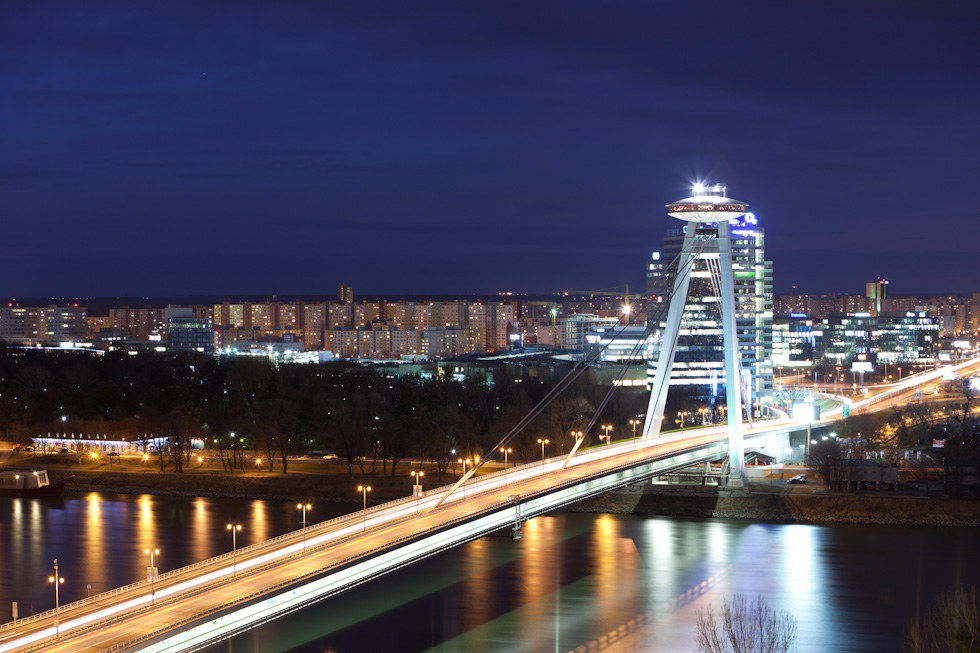
A gallery of my art experiments

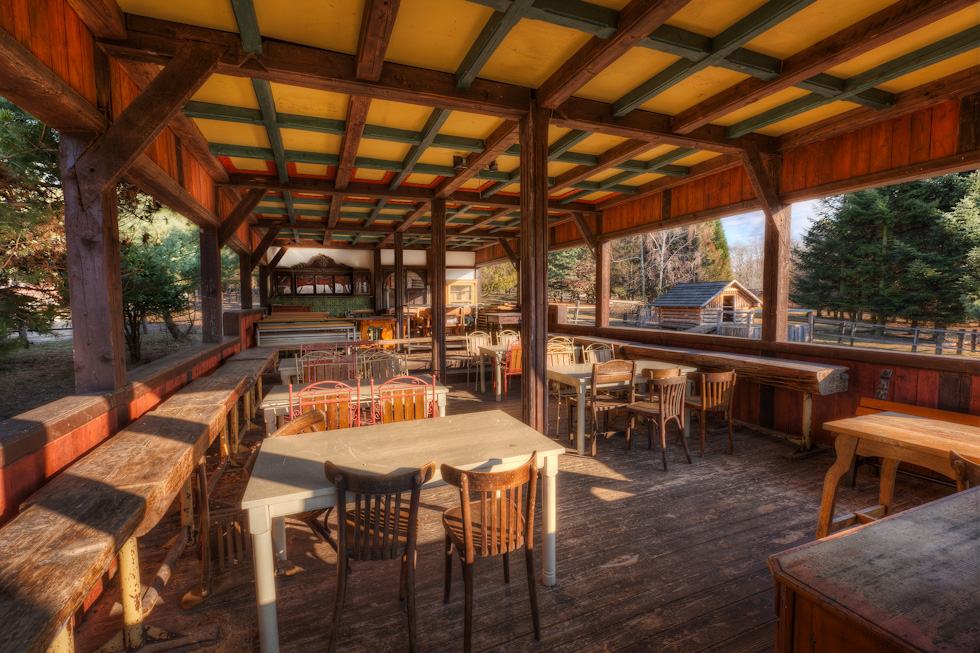
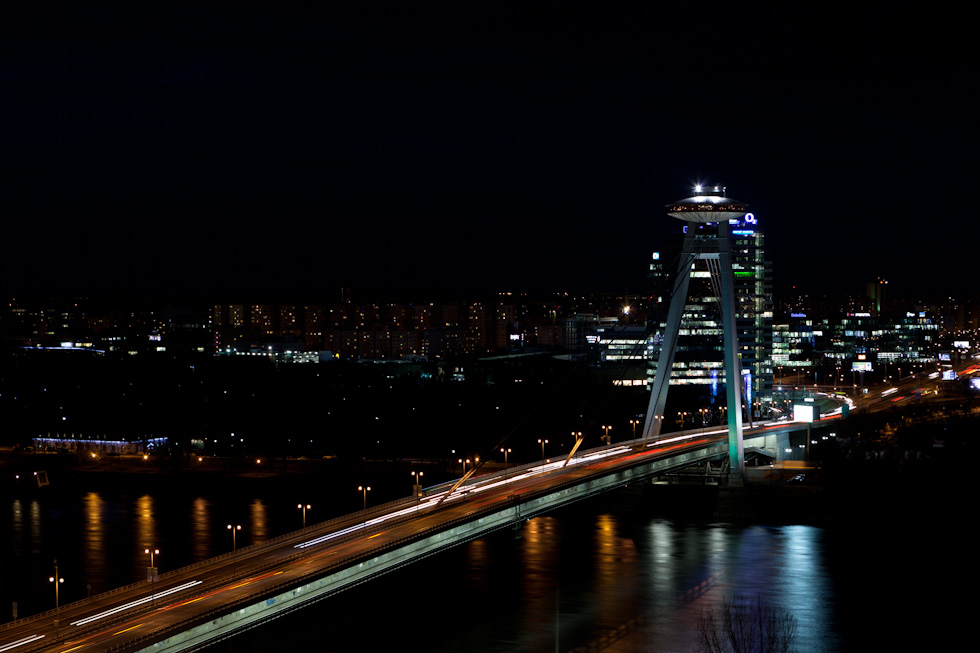
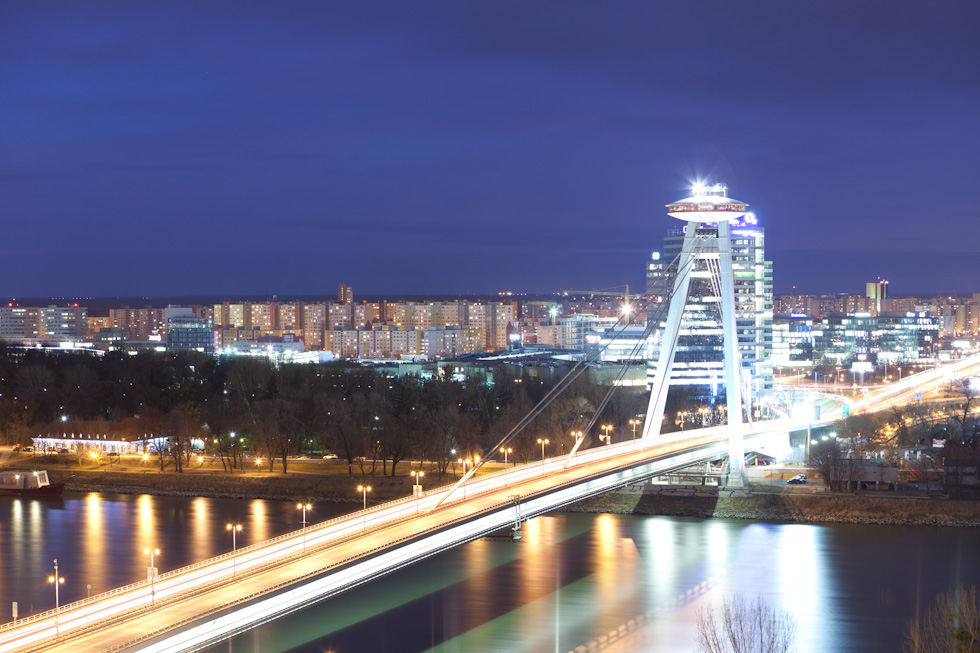
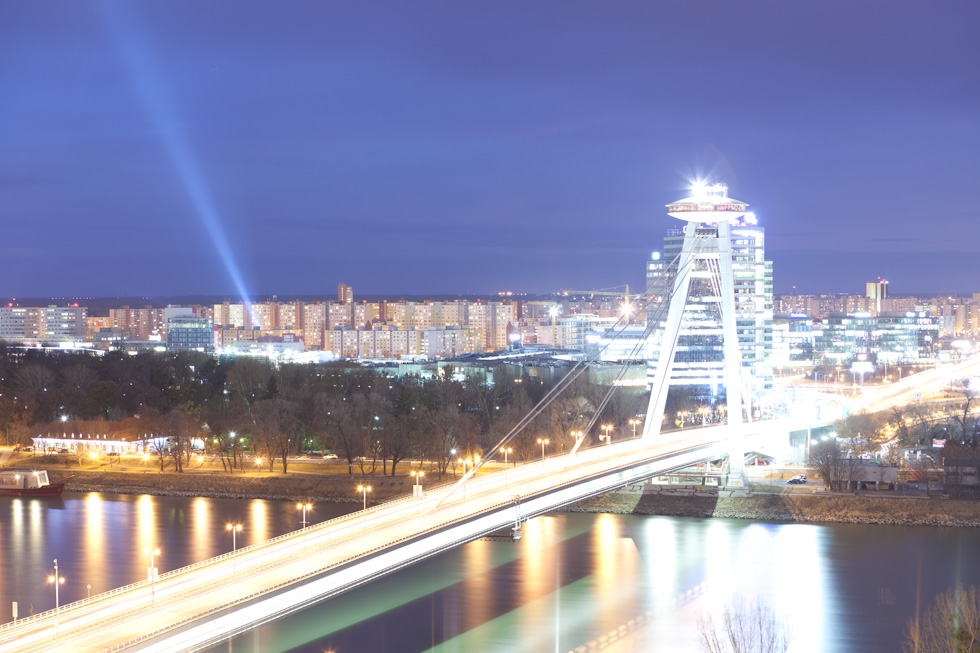
And here are few more of the images I created while learning (or better said, after I already learned something :)). There are few more images, which can be found on my already very old Deviantart page http://theodevil.deviantart.com

P

Bigger looks better

There is one thing about HDR’s different to normal photos. This is that the bigger they are, the better they look. The reason for this is simple. HDR photos have usually so much detail, that in a small view, most of it gets lost. And this holds true even more by cityscapes, like the one I’m posting today. So if you want to see it in the best way possible, I suggest clicking on the photo, to open the one stored on my portfolio page.

What gear I use

A lot of times I get asked, what I used to take a specific photo. So I created a page on this site, which includes all the gear I currently use. You can find it in the sidebar as My gear or directly here. Also each post you expand, includes a description of the used camera and lens under the photos.

Mountains in the distance

This is the view from the top of the Alcazar in Segovia. It really was just beautiful. After it was overcast the whole morning, the sky cleared and we had this beautiful view of the city. The view was great, but the light was horrible. The photos came out colorless, really boring. I edited this few times, until I was at least partially satisfied with the result. If you look at the comparison with the original 0EV shot, you will see what I mean.
Mountains in the distance

Last night in Madrid

This was taken the last night I was in Madrid. My friends decided to visit a gallery, but I preferred a place where I could take photos. This was again a scene like created for a HDR. The whole bottom part is very light, with the building and the base of the statue very bright. On the other side, the sky was dark, and the statue has no lights pointing to it. But with HDR I got both.

Last night in MadridThis was taken the last night I was in Madrid. My friends decided to visit a gallery, but I preferred a place where I could take photos. This was again a scene like created for a HDR. The whole bottom part is very light, with the building and the base of the statue very bright. On the other side, the sky was dark, and the statue has no lights pointing to it.  But with HDR I got both.Get more info about this photo on my blog https://www.hdrshooter.com

Last night in Madrid

HDR tutorial (ver. 1.0)

I have split this HDR tutorial into multiple parts. Now I’m adding the third part, with the others coming later. So at the end there will be all this:

What is HDR?

Let’s make it as simple as possible. HDR is a way you combine multiple shots, so you have no overexposed areas and detail in dark areas. That’s all you really need to know.

A lot of people think about HDR’s as these overdone, unnatural photos, which have nothing to do with reality. I call those photos with a “HDR look”. They can be created from any photo, and have really nothing much to do with HDR. I have seen good ones, and bad ones, it’s a lot about the viewers´ taste and preference. Also some of the HDR results, can be created without using the HDR technique. It’s again the photographers decision what he uses (like he can use a Canon or a Nikon camera, but the result is still a photo :) )

There is a certain aversion against HDR photos. But everyone should understand, that HDR is a technique, a part of the final photo. And it depend’s on the photographer, how the final photo looks. HDR on it’s own does not make a good or a bad photo.

I get quite a lot of questions, if my photos really are HDR’s. That’s because people expect that the HDR mentioned look from them. But that’s not my goal. My goal is to find the sweet spot, between artistic and realistic photos, so I like them.

Old Bridge

Why HDR?

Again, this is very simple. You can’t always set up your light sources. Especially when you only light source is the sun. HDR gives you the option, to capture all the available light and then expose all parts of the photo as you like.

It removes some limitations all current cameras have, and gives you more to work with in post-processing.

At the end it’s your decision. Same as with all photography techniques, starting with HDR is easy, creating a good looking HDR photo is quite hard. So don’t be discouraged, if you can’t get the results you want. It take time and practice.

Feel free to ask any questions and if you find some errors or problems with my HDR tutorial, please let me know.

So lets start with how to take your photos for HDR

And here are few examples of finished HDR photos:
The stunning view
St. Martin's Cathedral at night
Inside the Matthias Church
The blue sunset in Prague
Relaxx and enjoy the sunset

You can check the price for the Promote Control on Amazon StoreB&H photo or Adorama StoreFor more information please visit the Promote Control Website

Promote Control remote – Review

So I just got the Promote Control remote for my camera, and I decided to write down some experiences I had with it.  The decision to buy one fell quite some time ago, but I waited until I get a new camera, so I have it compatible.

I will focus on the HDR side of things, as that is my main reason for this remote.

In the oversize packaging  you get few thing. The remote, manual, remote to pc usb cable, remote to camera usb cable, carrying case, batteries and a neck strap. I also ordered the separate shutter button for my camera so I can use the long exposures. I immediately connected it to my camera to try it out. I seen few instructional videos, so I didn’t bother reading the manual. The first test was a complete failure. The remote could not find my 5D mark II.

So after little searching I decided to update the firmware. Updating to the last version had a partial success, the remote found my camera. But it still could not take the shots. So I updated once more to the latest beta firmware, which did the trick.

So once it worked I went out to take few test shot series. I have to say, it’s a pleasure to use, once you get the hang of it.  What you need to do is:

  • frame your shot and focus
  • have the lens on manual focus
  • have the camera on Manual mode
  • set the white balance (if you use AWB, it can happen that the camera changes it between shots, even if you shot in RAW, this makes things easier)
  • meter your scene (you can do this also in Manual mode, just change the exposure time until the camera shows you, that you have the right exposure, you don’t have to switch to Av for this)
  • enter the time into your remote and select the number of shots
  • start the sequence
For me this was just a little change, as I already am very used to focus my shots manually (so auto-focus is always turned off) and switch from Av to Manual mode is a small one. You can have the remote connected during this, or just connect it when you need it. It takes few seconds after it’s connected, to recognize the camera, but if you don’t disconnect it, it works instantly.

Sample bracket series taken during the day and the final HDR:

IMG_3890
IMG_3891
IMG_3892
IMG_3893
IMG_3894
IMG_3895
IMG_3896
Stupava-IMG_3890_1_2_3_4_5_6_tonemapped


When you take your shots during the day, the USB cable is enough. For night shots you should have the separate shutter cable. When the remote detects that the next shot will be longer than 30s, it will stop and asks you to switch into the bulb mode. You should really check your settings before you take a sequence like this, so you have the same aperture and ISO settings in both modes. And definitely turn off auto-ISO.

It’s great that the Promote shows you the times of the slowest and fastest shutter speeds. You don’t have to count in your head, if you are in the 30s limit, as now you have no limit. You can go as high as you need.  I suggest you set (setting 20 of 26), that you can turn on backlight while exposing. It’s nice if you are able to check how long you have to wait (especially by night shots).

If you have the shutter cable, you can also turn on mirror lock-up. I did this only with night shots, and only when I had a lot of time. It requires to turn this function in custom setting of your camera, so I will probably try to create a custom mode to use this.

Sample bracket series taken during the night and the final HDR (longest exposure 60s on bulb):

IMG_3547
IMG_3547
IMG_3547
IMG_3547
IMG_3547
IMG_3547
IMG_3547
IMG_3547


The Promote has many more functions, which I will describe here, as I try them out.  So for now:

Pros:

  • multiple functions on a single remote
  • allows for a staggering number of brackets
  • allows shots longer than 30s
  • easy to use (once it works)

Cons:

  • not cheap for a remote
  • for some functions 2 cables have to be connected to the camera
  • bulky, awkward to hold in hand
  • could’t find the camera, had to update firmware before first use

Conclusion:

It’s not cheap. It’s not small. But it’s great for taking HDR photos. If you have a Canon camera and 3 shots are not enough for you, you should buy it.

FREE EBOOK!!!
Subscribe to my newsletter and get a free Capturing fireworks ebook. 
Subscribe