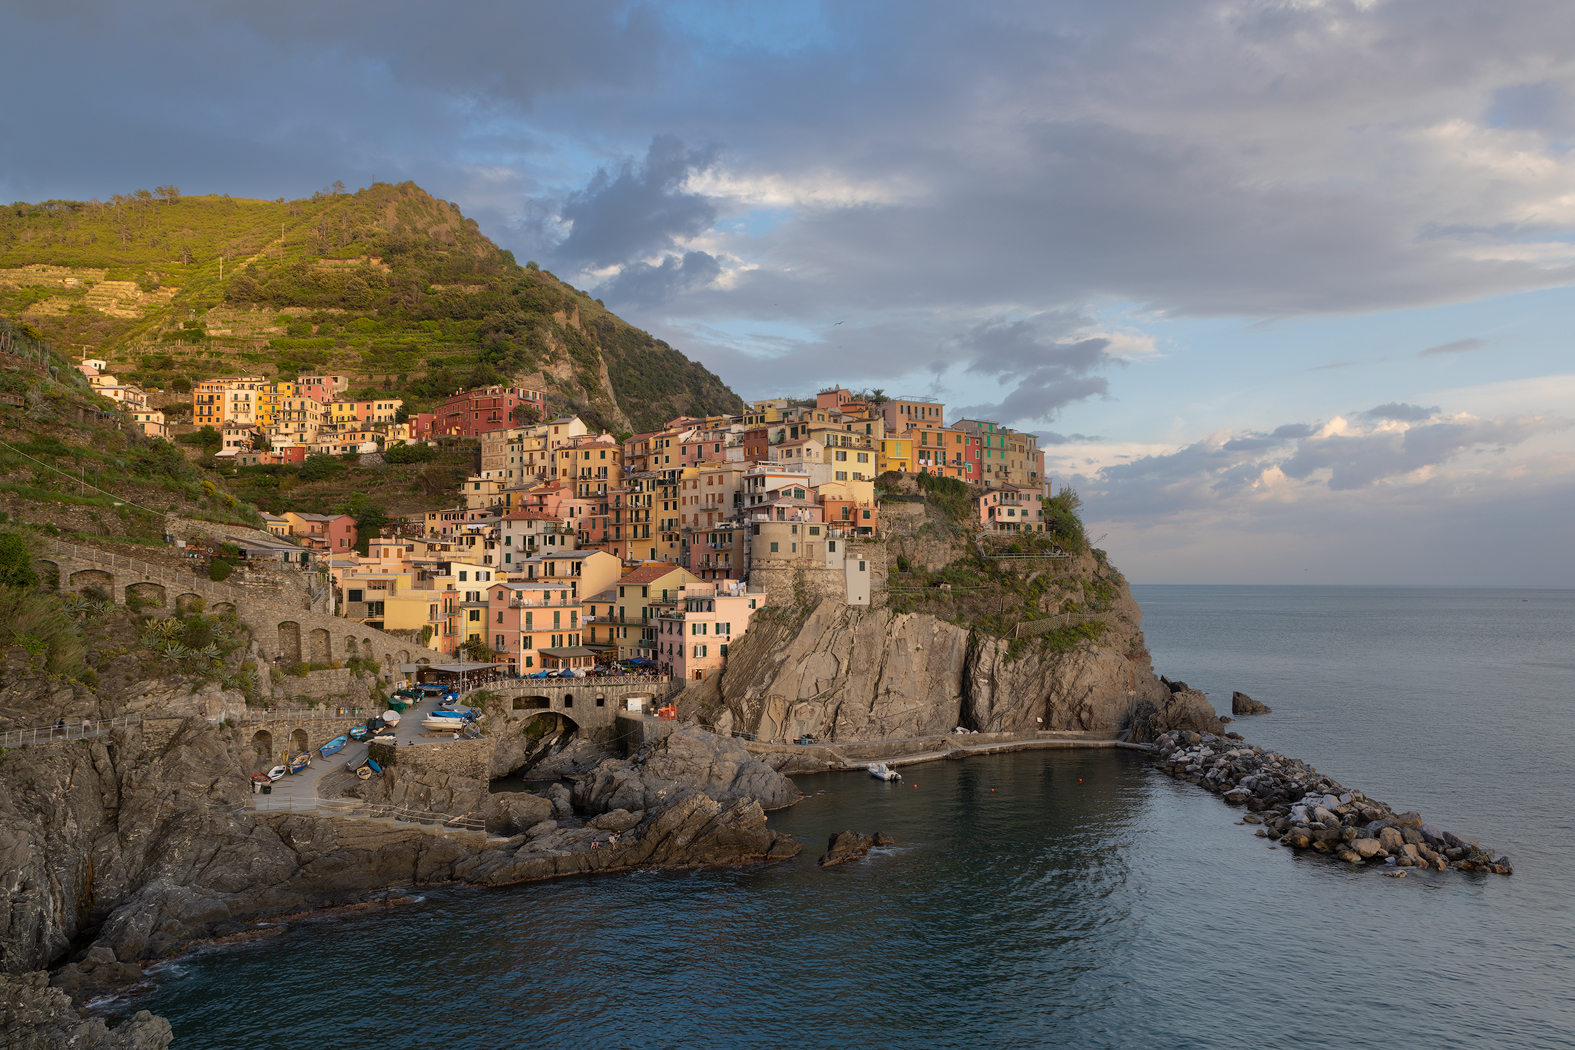
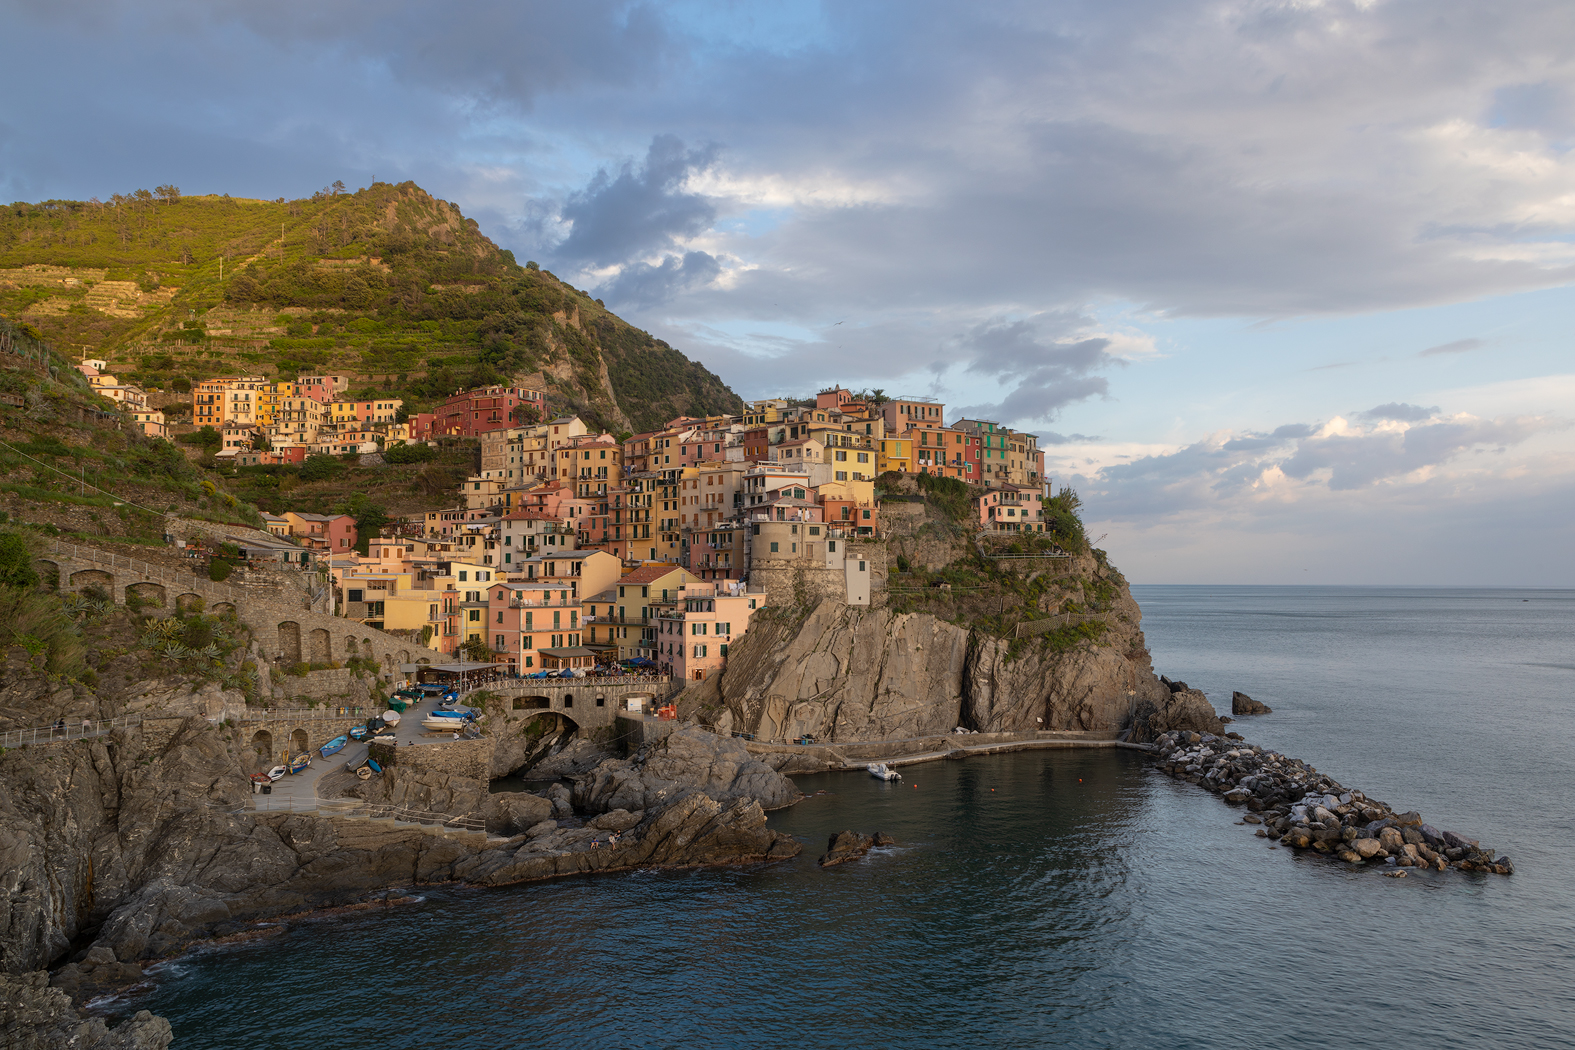
Cities in super ultra-wide wallpapers

Even more super ultra-wide wallpapers for you today. This time the theme is cities, and to be exact, there are two from Prague, one from Paris and one from Dubai. Together with these 4, there are now 32 super ultra-wide wallpapers available for download.

Don’t forget to check out other available wallpapers:

New wallpapers

And here are the new wallpapers, all in 5120x1440px for you to download.

Super ultra-wide wallpapers 5120x1440px

Luminosity masking

When I finished my series on luminosity masking, in the last one I mentioned a technique called exposure matching. And today, I will try to explain what it is and how it is done. I will presume here, that you have already seen my luminosity masking series as I will use techniques from it, and not explain them here.

Exposure matching

The idea behind exposure matching is to first blend two RAW images together using luminosity masking and then once this is done, go back into the RAW files, and edit them to look more similar. This will result in a photo blend, where all parts are used from the photo that is properly exposed, and also the transitions are clean and not visible.

This is done in Photoshop only, as one needs to use smart objects, to be able to return into the RAW files and edit them. Let’s look at this example on how this would be done with these two photos.

Example blend

1. Open the images in Photoshop as smart objects
You start with the RAW files. Select them and drop them inside photos. Adobe Camera RAW will open, and you can do some initial tweaks, like removing chromatic aberration and lens distortions. Make sure you have all the files selected on the left when doing so, that all the files have the same edits. Once done, click on the open objects button.

Photoshop will open the RAWs in separate files, so drag the layer from one file into the other file, so you have both in the same Photoshop file. You can then close the other one.

2. Blend them together
For this photo, we want to blend the sky from the darker exposure into the brighter one. So arrange the layers, so the darker is on the top. Hide it, add a black mask to it, select a Bright 2 mask, and paint in the parts where the sky is. Detailed explanation on how this is done, can be found in Blending photos using luminosity selections article here.

This is how the file looked once this was done, and how the mask looked like.

3. Edit the RAW files to make them similar
The blending looks fine, but you will quickly notice that the area around the blend lost contrast and it’s a bit grey. This is because when you blend together a dark and bright area, they will average into a medium grey one. So to fix this, we need to make the bright photo darker and the dark photo brighter.

What we don’t want to do, is to affect the areas of the photo, that we are using for the final photo. Let’s first look at the darker exposure, that was used for the sky. For this exposure, I opened the shadows completely. Since that was not enough, I also added a bit of exposure, and then toned down the highlights. This made the shadows even brighter, but had almost no effect on the sky. Now the photo looks much more similar to the blend we want to achieve.

Now we can look at the bright exposure. Here we do the complete opposite. Tone down highlights completely, and then lower exposure and open the shadows a bit. Again, we had very little effect on the dark areas, but we completely recovered the bright ones. Once this is done, we again have a photo similar to the result we want.

Before and after matching

Now let’s look at what the difference is here. This is the final photo before and after matching is applied.

Not much difference on first look, but let’s zoom in a bit.

Now you can see the change. The blend is much better and more natural. There are no grey areas, and the local contrast is restored. Now the photo is ready for additional edits.

Why use this?

You may wonder, why this is better than just recovering the shadows or highlights from a single photo. There are two reasons here. Firstly, you can’t recover them in every photo. Secondly, a sky that was properly exposed from the beginning, will look better and cleaner than a sky that was recovered. Same with shadows or any other part of a photo. A properly exposed area will always look better than one that was recovered.

New 4K wallpapers

My last wallpapers updates have been all for the super ultra-wide ones, so for today, let’s update the 4K ones. The new ones today are all from beautiful sunsets at the lighthouse on the Neusidlersee in Podersdorf, Austria.

Don’t forget to check out other available wallpapers:

Podersdorf lighthouse 4k wallpapers

And here are the 4 new ones. As always, these are available for download in 3840x2160px resoulution.

Podersdorf lighthouse 4K wallpapers

Do you keep your Photoshop files?

It’s a simple question. Do you keep your Photoshop (or other software, if you use that) files once you are done with photo editing? I do and I’m curious what other photographers doo. It takes quite a lot of hard drive storage to keep them, and I almost never need them. Let’s look at some reasons why to keep them or why not.

Takes too much storage

Ok, the biggest reason again, is just the size. I even had to switch to PSB from PSD files for my photos, as the PSD is limited to 2GB in size and most of my photos will not fit into that. And with adding more and more photos every day, this gets into terabytes over time. And of course, you have to at least double this, as one needs a backup all the time.

This became a smaller problem over the years, as the price for storage is going down all the time, and even 8 and 10tb hard drives are quite cheap now. Still, it’s a huge amount of storage, that you have to deal with.

You will almost never go back

I keep a full JPG version of my photos, a web-sized JPG version of my photos and a PSD version with all the editing layers. Do I ever go back and re-edit the PSD files? I can’t remember a time I did that. I could probably just flatten them and save that as a much smaller PSD, a TIFF or something similar.

Since they are also so big, they open quite slower, and a lot of programs can’t even show a preview of them at all.

https://photos.smugmug.com/Blog/i-crNvSVB/0/57cce14b/X2/files-X2.jpg

Always backing up RAW files

I, and I think you should too, always back up your RAW files. Being able to go back, and re-edit a file you took years ago, with new software and new techniques you learn is just great. But in this case, you would start from the beginning, with the RAW file. One would not go back to the PSD and try to re-edit from an already finished version.

You can see and show how you edited a photo

Probably the biggest reason I keep the files for myself. Here and there I show sometimes how a photo was edited, and in the past, I did that regularly on the blog here. But I stopped doing that, as in reality, you can’t really learn that much from that. One does not need to know how a photo was edited, but which techniques were used to do so. What works on one photo does not have to work on another.

In the end, I keep them, as I have enough storage to do so. But I have no real use for them or reason to do so. Maybe it’s just because I spend so much time working on them in the first place.

What do you do? Do you keep all the files or just get rid of them and keep the result?

Wallpapers

I’m slowly updating the wallpapers selection on the blog with more and more of them. And looking at the stats, seems you, the visitors, like them. So today there are again new ones, in the super ultra-wide selection.

Don’t forget to check out other available wallpapers:

Update to super-ultra wide wallpapers

And here are the new ones for you to download. No theme this tiem, just a random selecton.

Super ultra-wide wallpapers 5120x1440px
FREE EBOOK!!!
Subscribe to my newsletter and get a free Capturing fireworks ebook. 
Subscribe