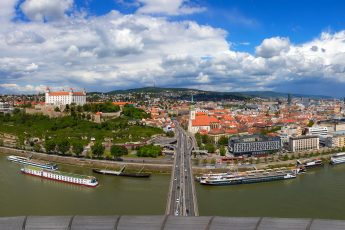
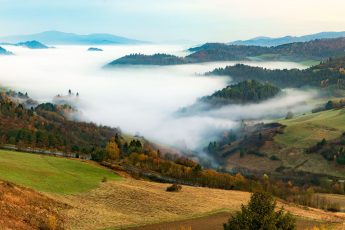
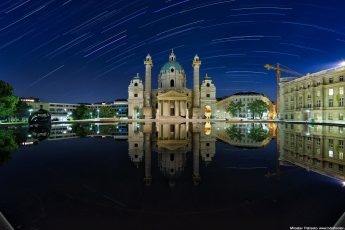
Sharpening photos
I got a question recently, how I sharpen my photos. And as this changed a lot over the years, today I will show you how I sharpen them right now. Maybe next week I will use something else. I always look for the best. But right now I use Raya Pro 4 panel for Photoshop, and I will show you how easy it is to sharpen using it.
Btw. for the next 24 hours, you can still get Raya Pro 4 panel with a huge 50% discount, that is only 22.50 USD for this great tool. Check it out on the official site here.
Sharpening with Raya Pro 4
Sharpening with Raya Pro 4 is very easy, and the whole procedure is only in few steps. Of course, you have to have Raya Pro 4 installed before you can do that. Please note, that this also resizes the image. The thing is, if you post images to the web, you should first resize it to the desired dimensions, and only then sharpen it. This will give you the best results.
- Open the image you want to sharpen
- Open the RP4 Actions And Filters panel. To do so go to Window/Extensions and select RP4 Actions And Filters
- Now in this window, you have a section named Sharpen And Resize For The Web. Under this, there are two buttons, By Width and By Height. You can use any of these to do the sharpening
- If you choose By Width, the number you put into the next window, will determine the width of the resized photo. If By Height, it will determine the height. I personally use height and the size I use is 1050px.

- A new file is created and you will be asked if you want to change the color space to sRGB. If the photo is for web, you should do that. On the web sRGB defaults to safe colors, and like that the photo will be properly shown in all web browsers.
- In this new file, you will have 4 layers. The base is not sharpened, and the three on top are Sharpened, Sharpened More and Extra Sharp for Larger Images. By turning the visibility of these layers on/off and changing their opacity, you can change how much sharpening you applied to your image.

I tent to leave the Sharpen layer and Sharpen more visible, then change the opacity of the Sharpen more to about 50-70%. In a few cases, I also used the mask to remove sharpness from a few areas, where it was just not needed.
And that’s it, your photo is ready to be saved and shared on the web.


Leave a Comment