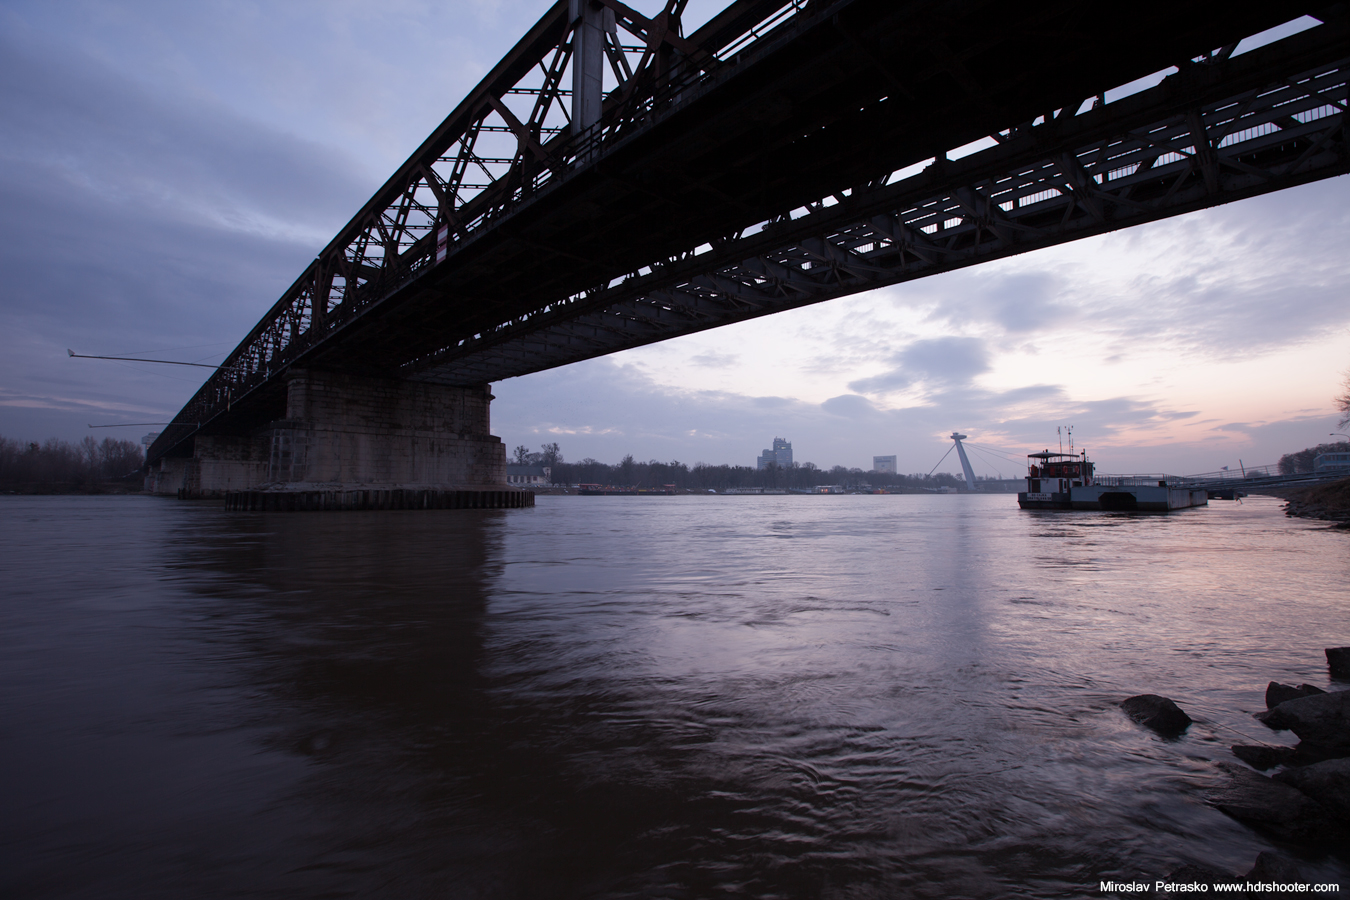
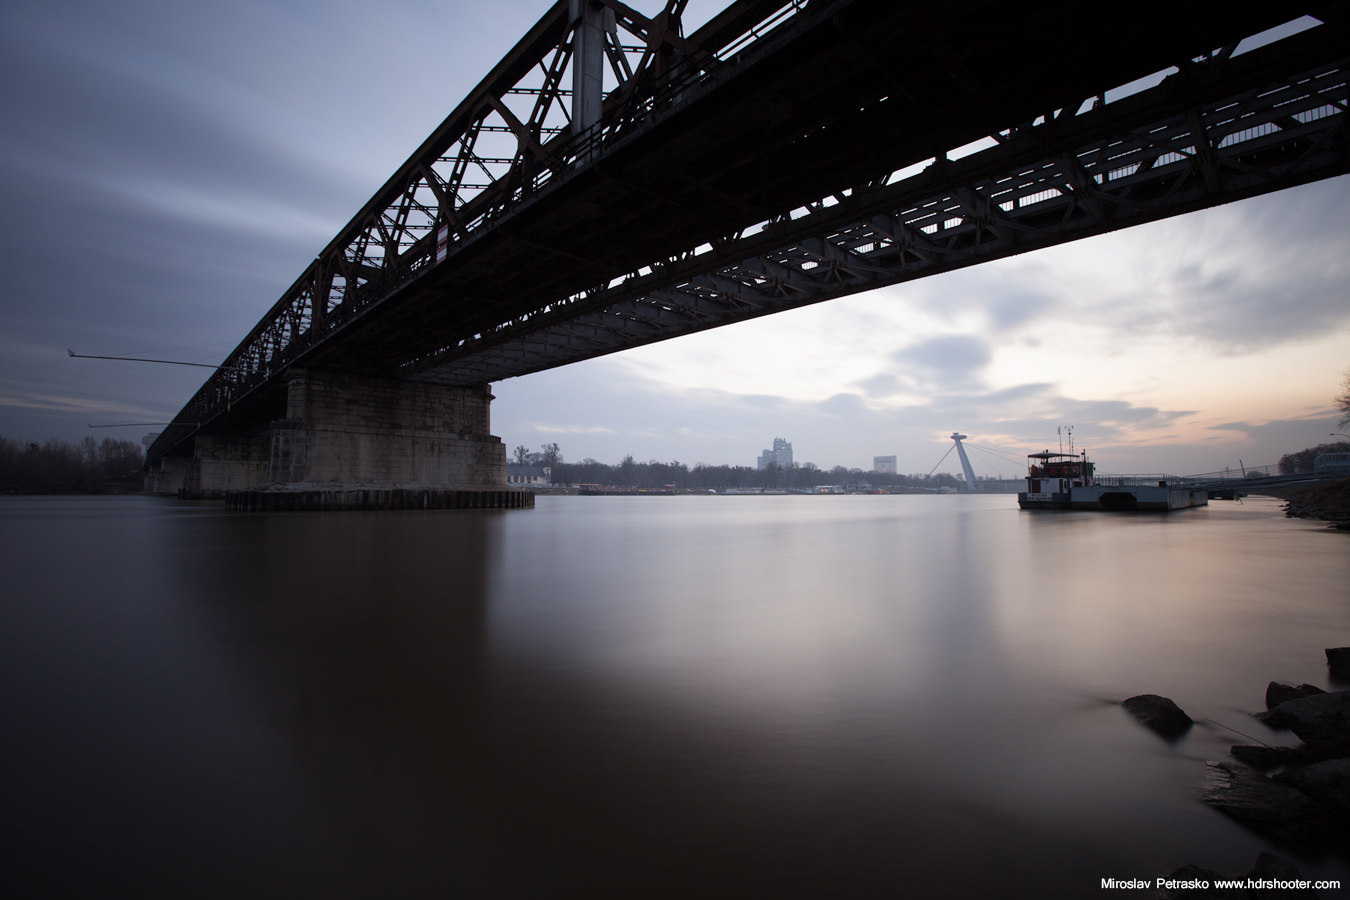
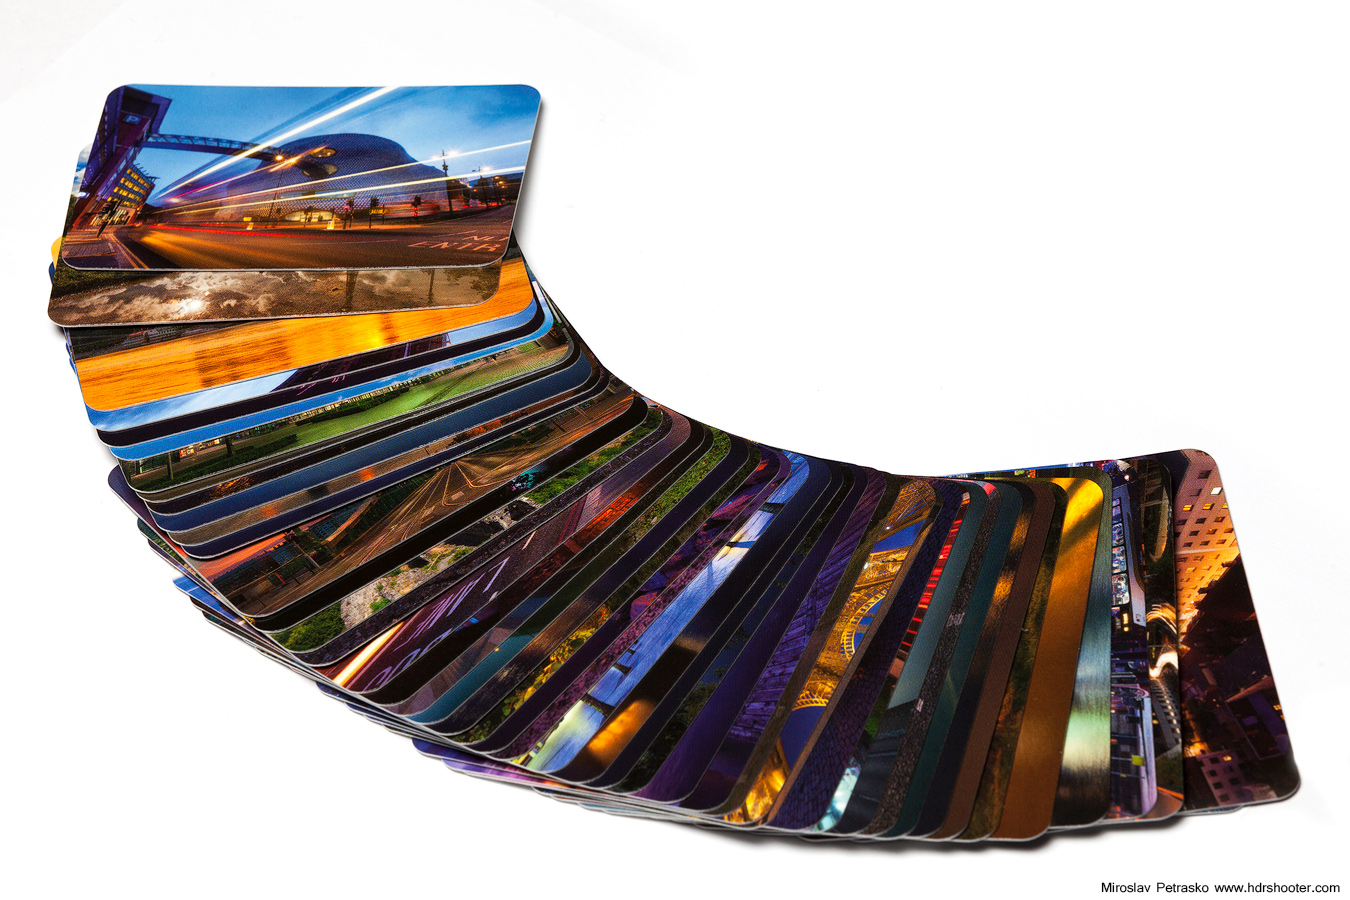
As every photographer, I use many memory cards. And I need to relay on them, so they don’t loose any of the files. File corruption is not something you want to encounter after a photo-shoot.

So in my opinion a good memory card, is the one you can’t say nothing about. It should just work, without you having to think about it. I’ve been using Kingston cards for a few years now (some of my cards are few years old). The thing I can say about them, is that they work. I never had any problems with them.
cf02
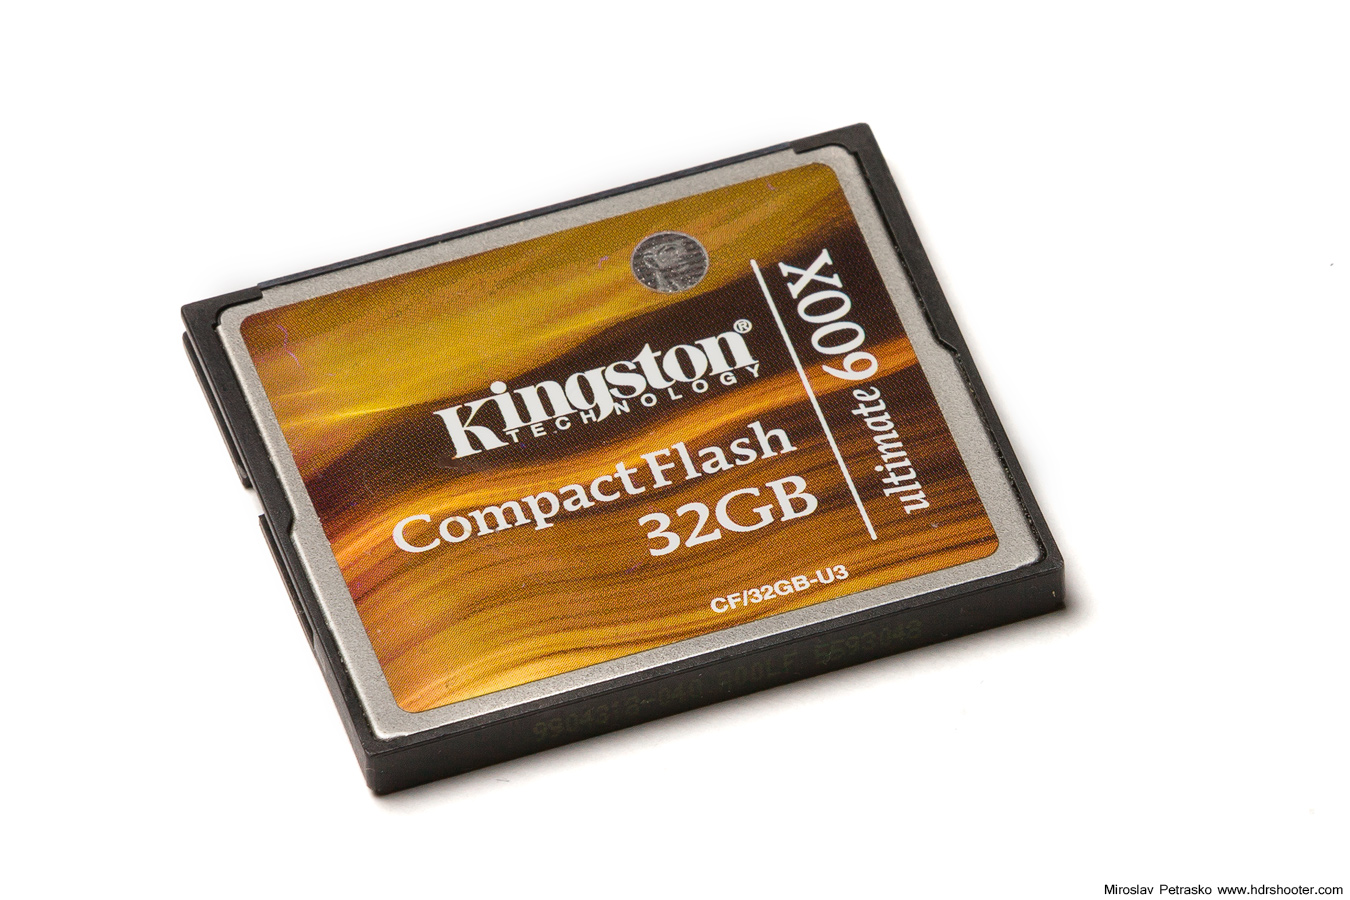
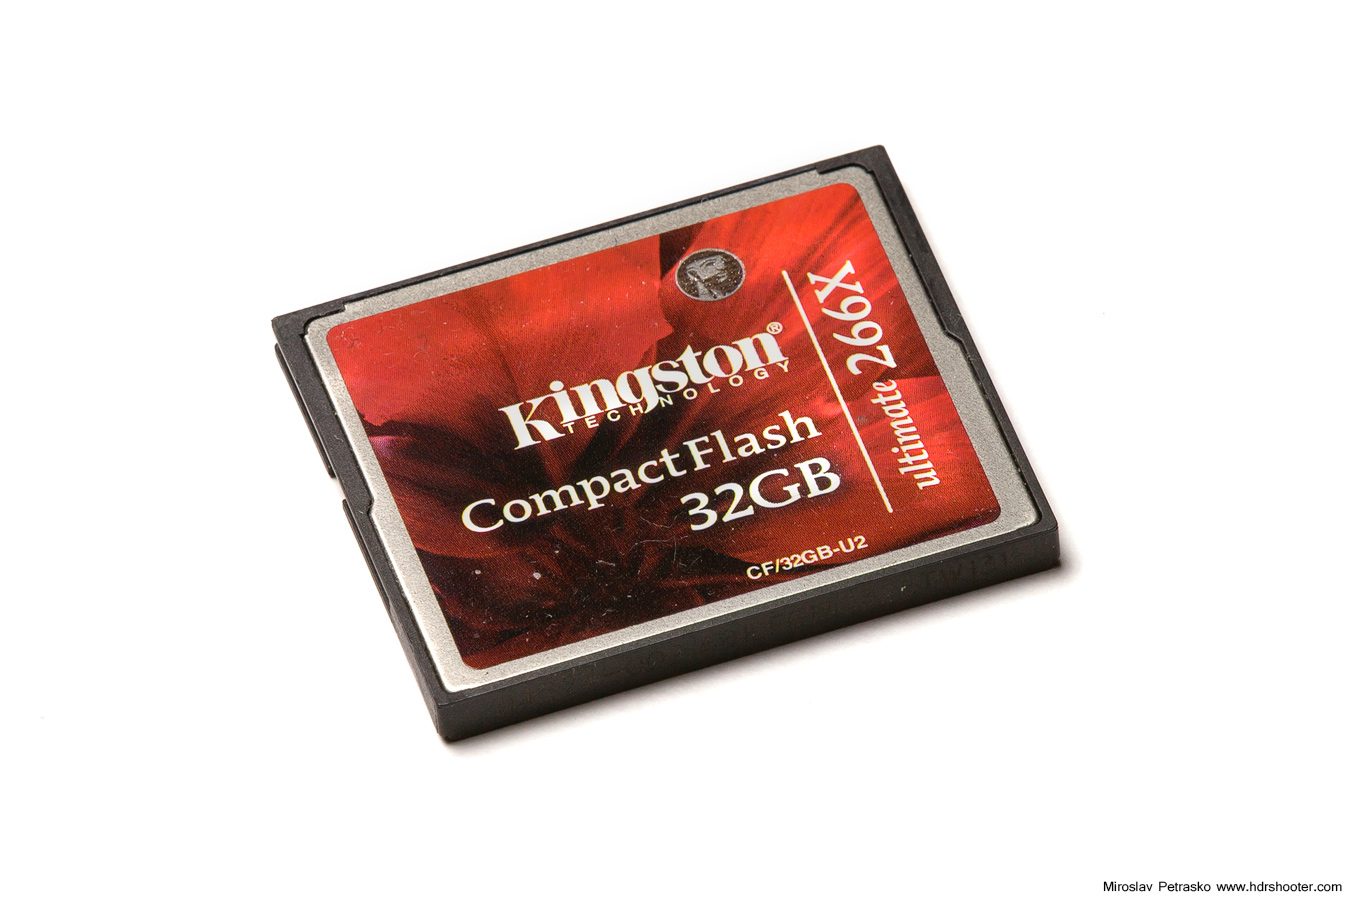
I don’t even use the fastest cards. I have no need for that. As a landscape photographer, I almost never do a quick series of shot in a row. They are also quite cheaper than the fastest ones on market and so I can have more of them. Most of my cards are also of the slower type, the 266x, the only one I have of 600x I bought for when I shoot at events, but I never noticed any difference either. Really I don’t care what the transfer rate is. The buffer of the camera can handle a 9 bracket exposure, and until you set for another one, it safely saved to the card.

cf01
cf03

Overall I’m very satisfied with my Kingston CF cards. All of them have been formatted hundreds of times, and also filled to maximum. And with the price being 30-50% of a comparable Sandisk card, it’s hard to suggest a different one.

View all my other reviews here.

The last item I got from the Kickstarter campaign of Peak Design was the POV kit. But as I had no use for it, I had no way to test it out. But recently I got the GoPro camera, so it immediately became useful. The POV kit is a addition to the Capture clip from Peak design. On it’s own it can’t be used. The purpose is to attach a GoPro camera or a compact camera to the capture clip.

povkit01

You get a lot of small parts in the POV kit. Some are specific for the use with a GoPro, some for the use with a compact camera. For the GoPro you can also choose to use the arm to attach it, or attach it dirrectly to the quick release plate.

povkit11
povkit12

You will also get a small pad, that should be used if you want to have additional padding and stability, when you attach the Capture Clip to a backpack strap. You also get a second set of longer screws for the Capture clip (needed when you use the pad).

povkit02
povkit03

Here you can see the setup for a GoPro and a setup for a compact camera. I like the one with the arm more, and that’s how I’ve been using it all the time. It easier to move the camera when connected to it.

povkit04

It’s a shame that there was no second screw included, as a setup where you use the arm for a compact camera, is not possible. I put it together only because I had additional screw from the GoPro package.

povkit05
povkit06

Connecting a GoPro is very easy, and after a few days of use, I liked to used the POV kit more, than the default mounts of the GoPro. The quick release on the Capture clip is just much more versatile (you can put it in any orientation) and is much more easier to release with one hand, than the GoPro releases.

povkit09
povkit10

Also attaching the Capture clip to a backpack strap, and so having the camera right there for a nice POV view, is very easy. I just wished that they would include an option, where you could rotate the arm in the quick release. My backpack has only one strap and it goes across my chest, so if I connect the Capture clip on it, the camera is not leveled. I have to put it on crooked, to level up the camera, but it’s not the best solution.

povkit07
povkit08

Overall this does exactly what it’s supposed to do. It’s a simple addition, but if you use the Capture clip and the GoPro camera, this can combine these two very nicely.

For more information, please visit the Peak design site.

View all my other reviews here.

Topaz Adjust is another very popular Photoshop plugin, used to enhance the look of photos. Similar to Nik Color Efex Pro, it’s a huge set of presets, but different to it, here are all the presets done using the same set of adjustments. And there are quite a lot of those.

You can either start by choosing one of the presets, or jump directly into the specific adjustments. There are split into three categories: Global Adjustments, Local Adjustments and Finishing Touches.
Topaz-Adjust-01

Global adjustments are the once you will use the most here. You can use Adaptive Exposure to balance the images tonal values and to add more color and local contrast. You can use the Details sliders to give you photo a crazy amount of detail. Similar you can use the Color adjustments to add more color. Topaz adjust also supports adaptive saturation, which is similar to vibrance in Lightroom.

Under local adjustments you can find adjustments like burn or dodge. It is debatable if this is useful. If you are using this plugin from Photoshop, you can do the same directly there, if you are using it from Lightroom, maybe then they are more handy. You can also selectively brush out the effect from the photo, but I think using Photoshop layers for this is much easier.

As finishing touches you can add a Vignette, Grain, Warmth, Border and more. This are all classic adjustments, that can be done in many different ways, but if you are unfamiliar with advanced adjustments in Phtoshop or Lightroom, this can make your work easier.

Topaz-Adjust-02

The most unique feature of Topaz Adjust is the Adaptive exposure. It can pull out a lot of detail and tonal range from a single exposure, so you can even fake a HDR look with it. But if you do, I really suggest you tone it down later in Photoshop. The results of Topaz Adjust are usually quite strong and very prominent in the photos. You can think about it as, if you can recognize the used filter from the look of the photo, than you have overdone it.

Here are few of my favorite presets from Topaz Adjust 5:

Dramatic:

Adds a lot of drama to the photo. If blended properly, it will bring out detail and local contrast in the final photo.
Topaz-Adjust-03

Photo pop:

Probably the most useful preset. Adds a little color, contrast and detail. Makes the photo “pop”. Can help a lot of photos to stand out. The effect is usually very subtle, but noticeable.
Topaz-Adjust-04

Mild detail:

This is similar to unsharp mask in Photoshop, or structure in Nik Viveza. Adds a lot of sharpness and small details.
Topaz-Adjust-05

Overall the Topaz Adjust plugin can create stunning results. But if you want to use it, use it gently. I really advise blending its results with the original images.

For more information, please visit the Topaz Adjust page.

View all my other reviews here.

You can check the price for the Hoya ND 400 filter on Amazon Store and B&H photo. Just don’t forget to take into account what size you need :)

There are many different filters one can use in photography, and most of them can be simulated, or replaced by using HDR or blending. But there is one that can’t. And that’s a Neutral Density (ND) filter. So what is it? A ND filter is actually just a very dark piece of glass. The only function is to block a certain ammount of light, so forcing the camera to take a longer exposure. And that actually all it does.
hoya-1
You use a ND filter in different situations, but it’s mostly used when you want to do long exposure photography (moving clouds, silky water, blurred moving people in day shots) or you want to use a big aperture during the day (like 1.8 or similar).

There are different strengths of ND filters, depending on how much light they let through. Some of them are even variable. The Hoya ND400 is one of the stornger filters, and lets in very little light. It actually lets in a 1/400th of the available light. That means that looking with your eyes, it looks completely black. It’s designates as a 9-stop filters, so it doubles you exposure time 9times (e.g. if your time was 1s without the filter, with the filter it will be 1*2*2*2*2*2*2*2*2*2=512 seconds. So as you can see, with this you can take really long exposures.

hoya-2
hoya-3

How good the filter is, is determined by multiple points. First is color cast. That is how different the color of the final photo through the filter is, comparing to the photo without the filter. Most ND filters create a green or purple color cast and the Hoya ND 400 is not different here. The color cast is not the strongest, but you still can see a green one on the photos.

hoya-5
hoya-4

Additionally the ND filter introduces more vignetting, chromatic aberrations and softness into your photos. With the Hoya ND400 I noticed all of those, but always the change was wery weak, mostly negligible. You can see the problems only when you really look for them.

I actually had an accident with my filter. While taking photos in Paris, the filter got loose from the lens and fallen onto a rocky road. There it split into all its parts, but luckily the glass was not damaged and In few minutes I could put it back together, and it’s still fully usable. I only had to clean it afterwards.

Overall I like this filter. There are better out there, but not at the price point of this one. If you trying to get into long exposure photography, this can be exactly what you need. If you use also different type of filters, like ND graduated, that you should probably get a filter that is the same as all your other filters (e.g. if you use any of the available systems like Cokin or Lee)

View all my other reviews here.

And here are few photos I took with the filter:
Paris sunrise
Illuminated by the Sun
White fluffy clouds

Even in this digital age, it’s still good to have a business card for you page/photography business. I just looks more profesional. Even more when you are dealing with people representing big companies, where having one is a must. But if you are photographer, the cards should also reflect this.

moo-7

That’s why I like the Moo cards. The print quality is very nice. They arrive little black box for storing. There are many types to chose from, but my favorite are the Business cards with rounded corners and the mini cards, which are only half the size of the normal business card.

moo-5
moo-6

The thing I like the most about them, is that you can have a different photo on each card. Of course only on one side, with the other one being on all the same. Like this you will also have a small portfolio with you at all the time. This makes your cards very personal and unique. You can have multiple cards with the same image, or each one with a different one.

moo-8

Also creating the cards is very simple. Moo has an online editor for this, where you can create one side by editing text or uploading an image version (I usually create this in Photoshop, as it’s easier for me). It of course reminds you few times to check for errors or if you are missing something :)

moo-1
moo-2

Adding images to the other side is also very easy. You can upload them from your PC, but even simpler is to import them from your Facebook, Flickr, or like me, from you Smugmug portfolio. You just choose the photos you want and them check their placement on the cards. One can create a full set of 50 different cards in a matter of minutes.

moo-3
moo-4

Moo cards also saves your projects, so you don’t have to finish them all at once. Also you can order a project and than at any time reedit and order again. The whole process is very simple and quite straightforward.

I personally use their UK site, but they have few more over the world. The delivery was always very fast, and usually sooner than they predicted.

Overall I’m very satisfied with Moo cards. I got a new set of business cards recently, and when I use up those, I will be definitively reordering :)

To find more info, you can check out the MOO cards site. And I got this code “G2MSCG” for a 15% discount on first order of 50 business cards, so it maybe be useful for some of you :)

View all my other reviews here.

Page 9 of 13« First ...891011... Last »
FREE EBOOK!!!
Subscribe to my newsletter and get a free Capturing fireworks ebook. 
Subscribe