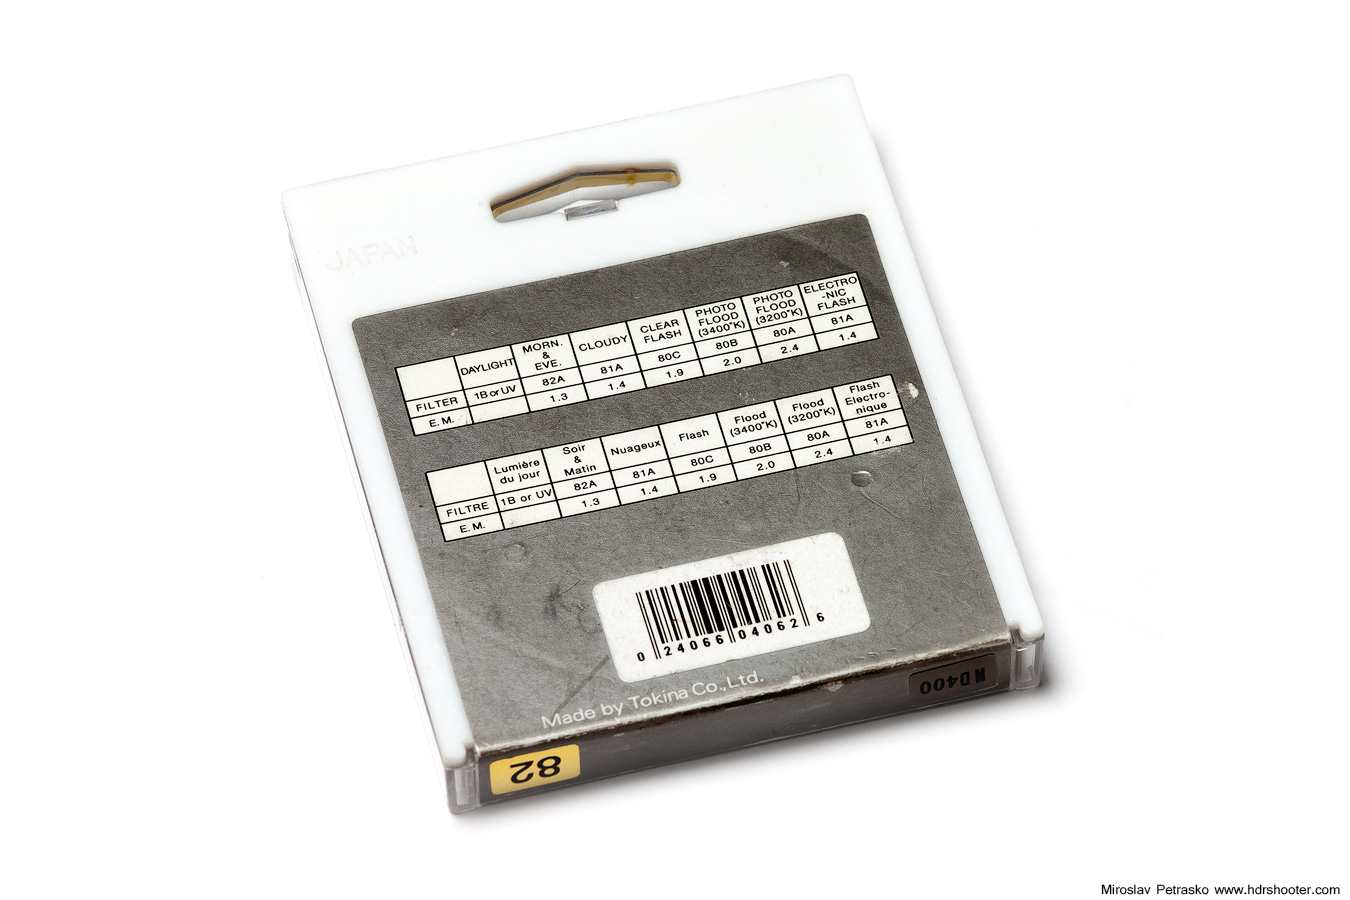
You can check the price for the Hoya ND 400 filter on Amazon Store and B&H photo. Just don’t forget to take into account what size you need :)

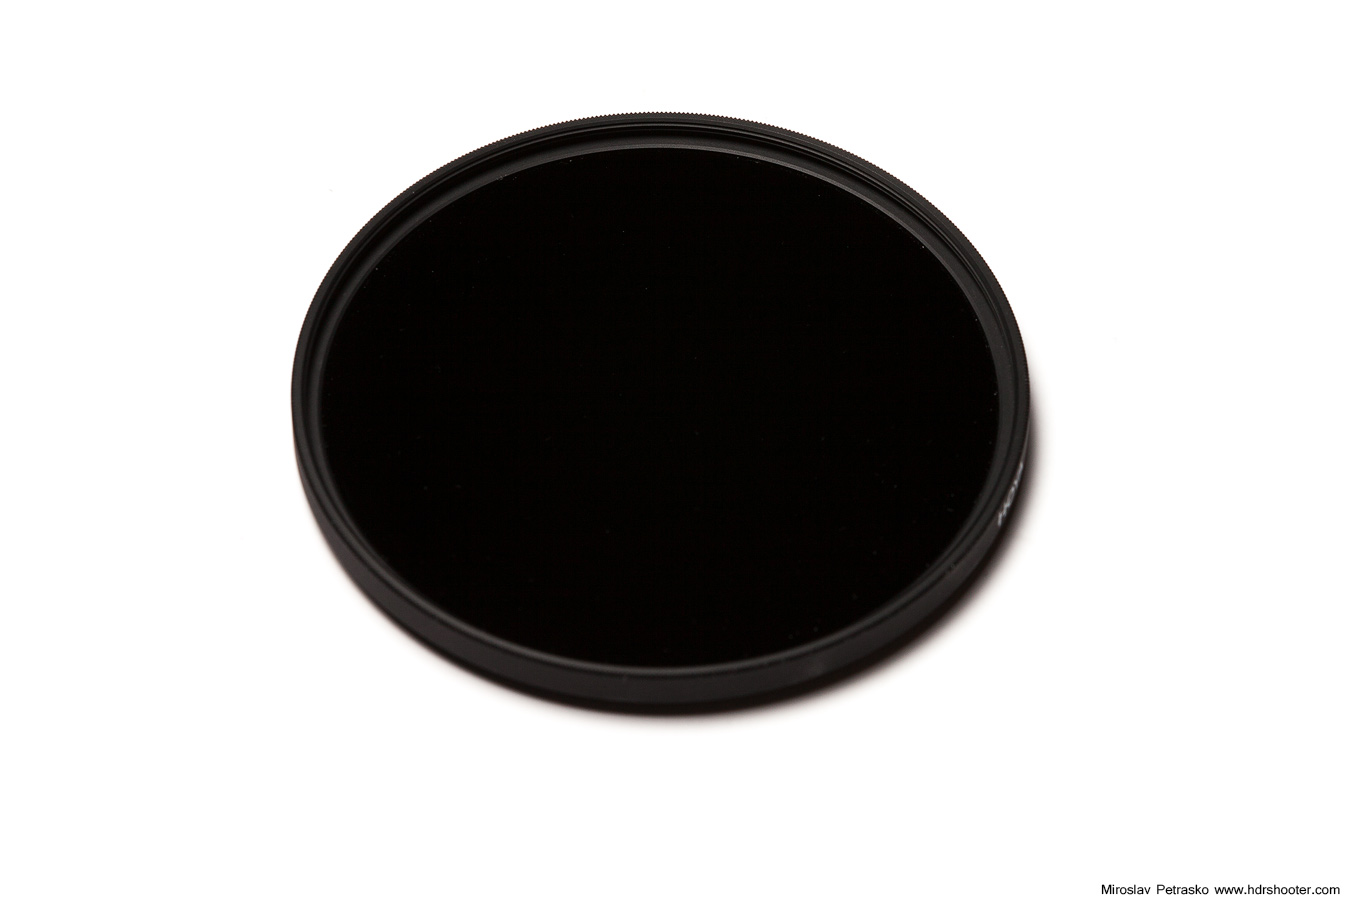
There are many different filters one can use in photography, and most of them can be simulated, or replaced by using HDR or blending. But there is one that can’t. And that’s a Neutral Density (ND) filter. So what is it? A ND filter is actually just a very dark piece of glass. The only function is to block a certain ammount of light, so forcing the camera to take a longer exposure. And that actually all it does.
hoya-1
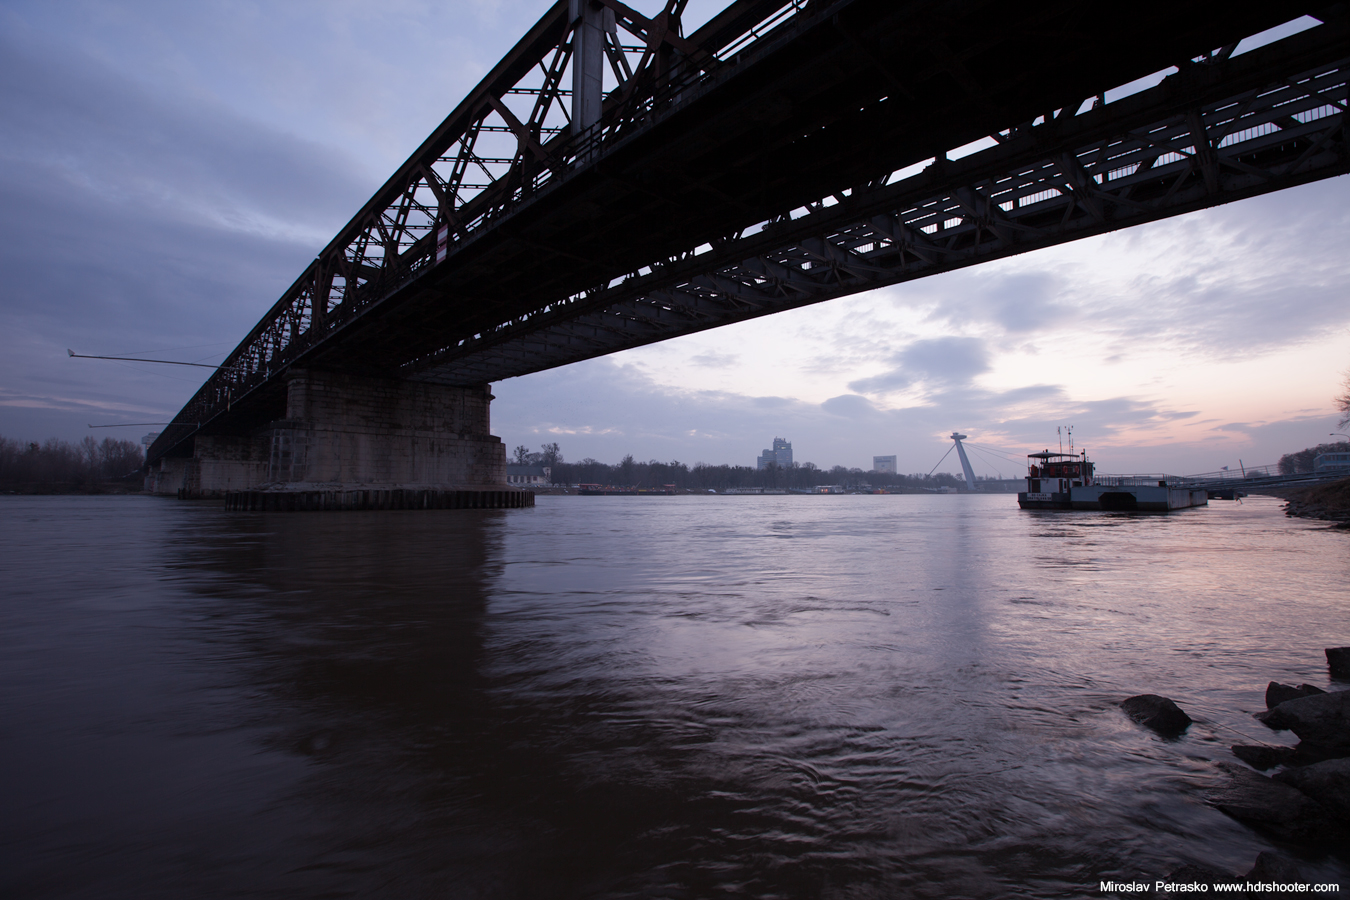
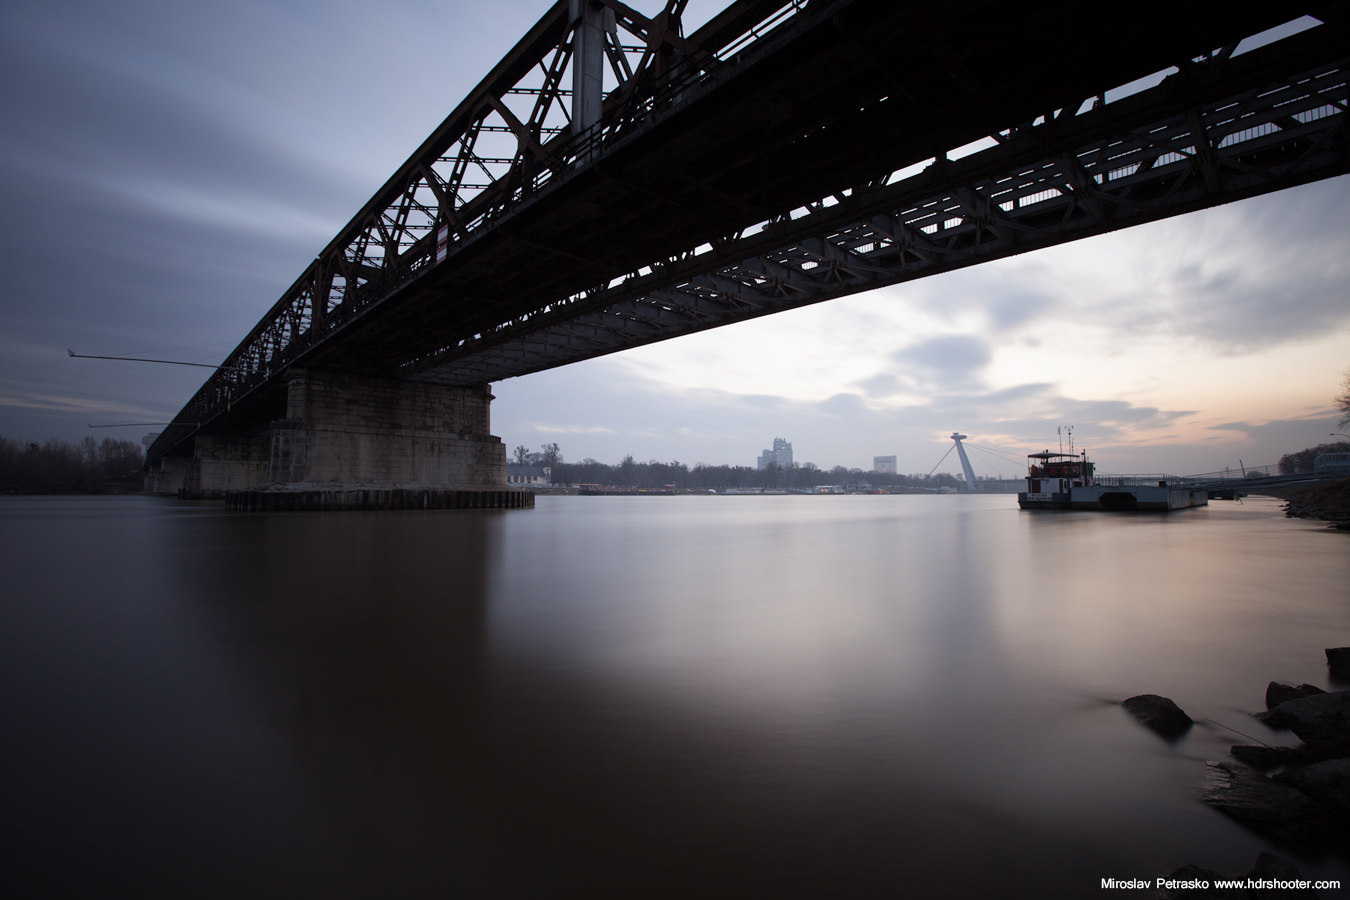
You use a ND filter in different situations, but it’s mostly used when you want to do long exposure photography (moving clouds, silky water, blurred moving people in day shots) or you want to use a big aperture during the day (like 1.8 or similar).

There are different strengths of ND filters, depending on how much light they let through. Some of them are even variable. The Hoya ND400 is one of the stornger filters, and lets in very little light. It actually lets in a 1/400th of the available light. That means that looking with your eyes, it looks completely black. It’s designates as a 9-stop filters, so it doubles you exposure time 9times (e.g. if your time was 1s without the filter, with the filter it will be 1*2*2*2*2*2*2*2*2*2=512 seconds. So as you can see, with this you can take really long exposures.

hoya-2
hoya-3

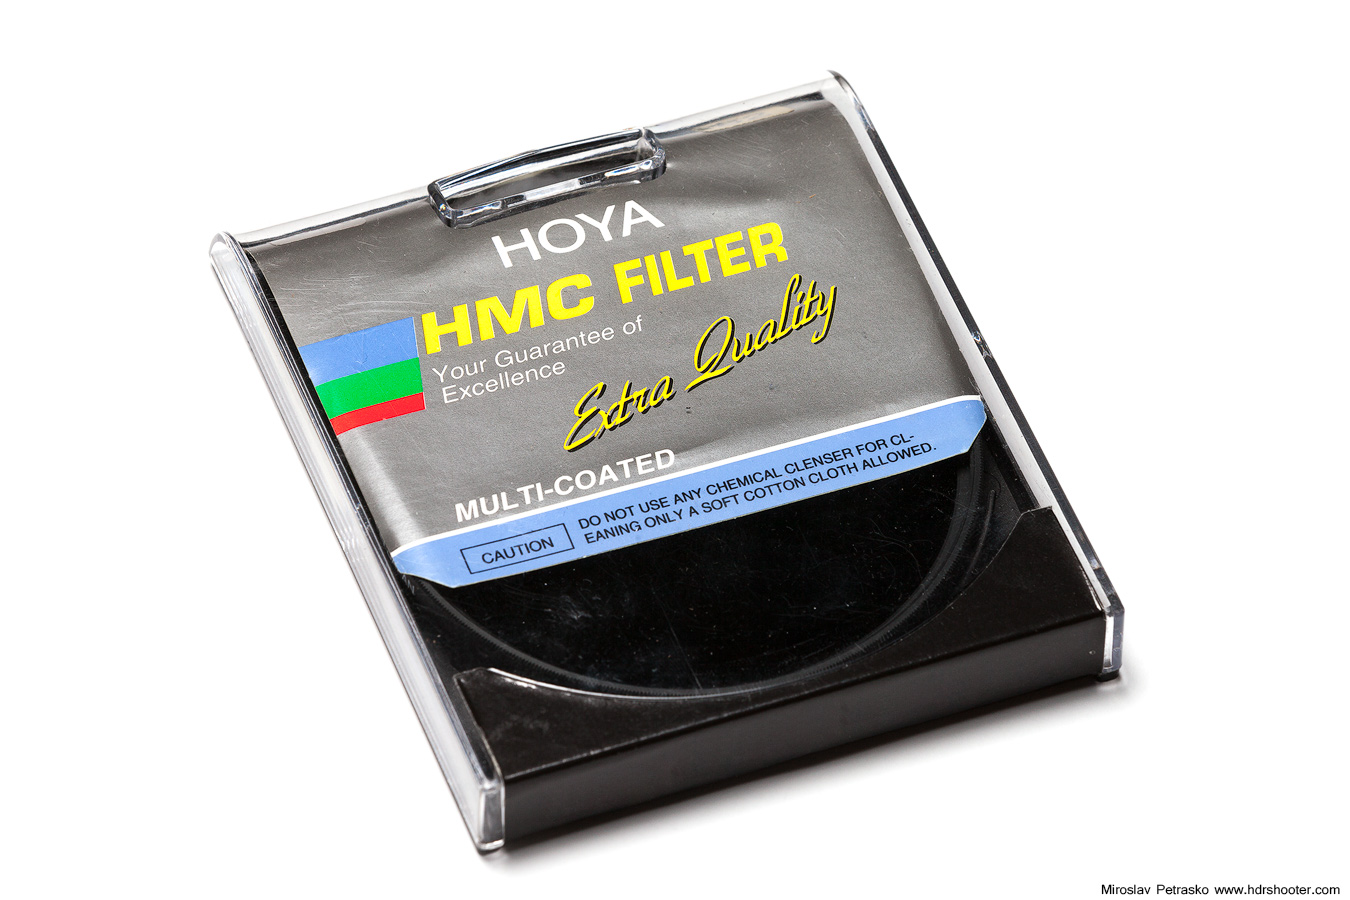
How good the filter is, is determined by multiple points. First is color cast. That is how different the color of the final photo through the filter is, comparing to the photo without the filter. Most ND filters create a green or purple color cast and the Hoya ND 400 is not different here. The color cast is not the strongest, but you still can see a green one on the photos.

hoya-5
hoya-4

Additionally the ND filter introduces more vignetting, chromatic aberrations and softness into your photos. With the Hoya ND400 I noticed all of those, but always the change was wery weak, mostly negligible. You can see the problems only when you really look for them.

I actually had an accident with my filter. While taking photos in Paris, the filter got loose from the lens and fallen onto a rocky road. There it split into all its parts, but luckily the glass was not damaged and In few minutes I could put it back together, and it’s still fully usable. I only had to clean it afterwards.

Overall I like this filter. There are better out there, but not at the price point of this one. If you trying to get into long exposure photography, this can be exactly what you need. If you use also different type of filters, like ND graduated, that you should probably get a filter that is the same as all your other filters (e.g. if you use any of the available systems like Cokin or Lee)

View all my other reviews here.

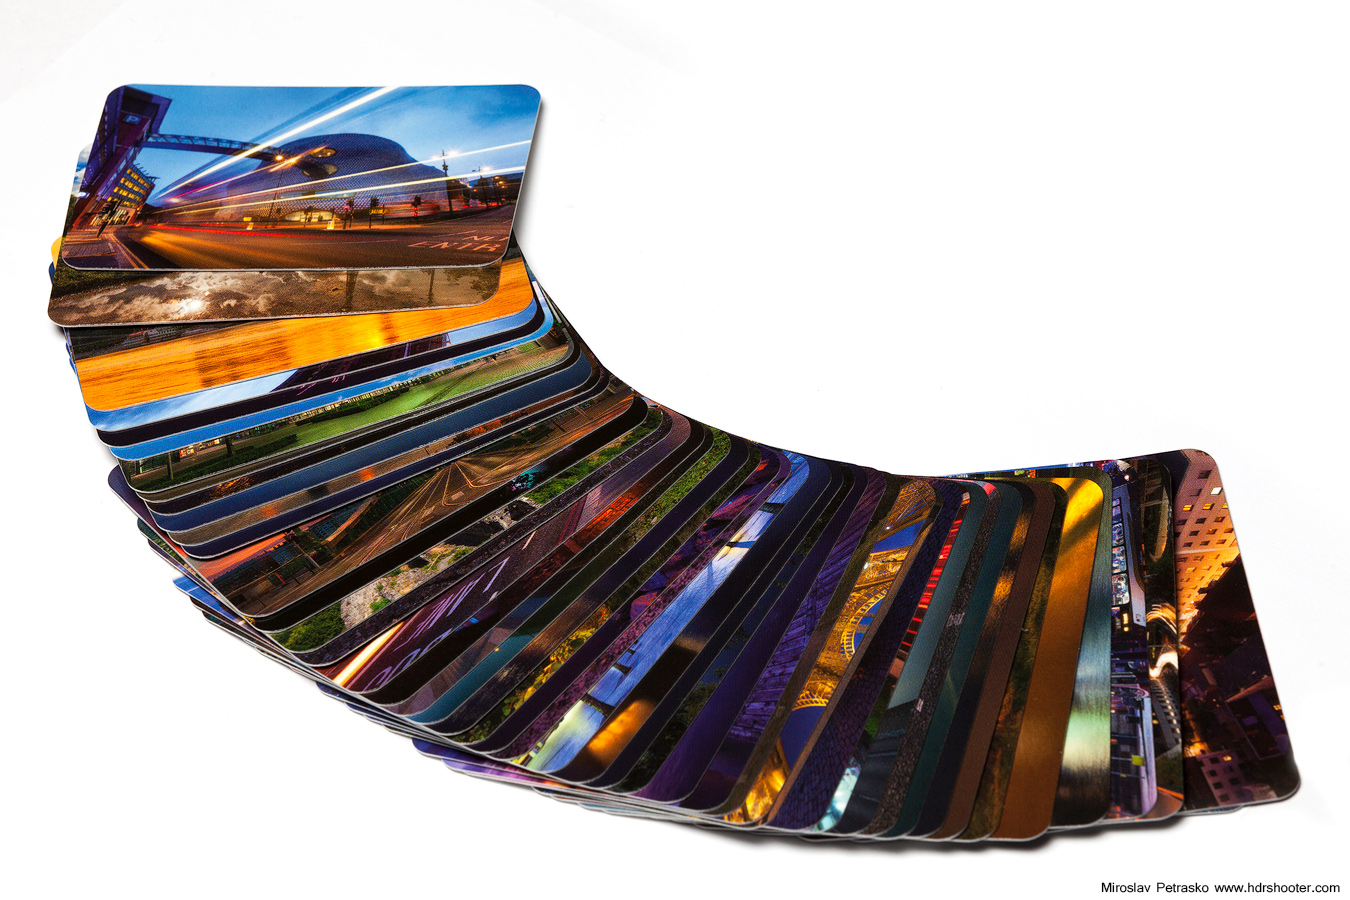
And here are few photos I took with the filter:
Paris sunrise
Illuminated by the Sun
White fluffy clouds

Even in this digital age, it’s still good to have a business card for you page/photography business. I just looks more profesional. Even more when you are dealing with people representing big companies, where having one is a must. But if you are photographer, the cards should also reflect this.

moo-7

That’s why I like the Moo cards. The print quality is very nice. They arrive little black box for storing. There are many types to chose from, but my favorite are the Business cards with rounded corners and the mini cards, which are only half the size of the normal business card.

moo-5
moo-6

The thing I like the most about them, is that you can have a different photo on each card. Of course only on one side, with the other one being on all the same. Like this you will also have a small portfolio with you at all the time. This makes your cards very personal and unique. You can have multiple cards with the same image, or each one with a different one.

moo-8

Also creating the cards is very simple. Moo has an online editor for this, where you can create one side by editing text or uploading an image version (I usually create this in Photoshop, as it’s easier for me). It of course reminds you few times to check for errors or if you are missing something :)

moo-1
moo-2

Adding images to the other side is also very easy. You can upload them from your PC, but even simpler is to import them from your Facebook, Flickr, or like me, from you Smugmug portfolio. You just choose the photos you want and them check their placement on the cards. One can create a full set of 50 different cards in a matter of minutes.

moo-3
moo-4

Moo cards also saves your projects, so you don’t have to finish them all at once. Also you can order a project and than at any time reedit and order again. The whole process is very simple and quite straightforward.

I personally use their UK site, but they have few more over the world. The delivery was always very fast, and usually sooner than they predicted.

Overall I’m very satisfied with Moo cards. I got a new set of business cards recently, and when I use up those, I will be definitively reordering :)

To find more info, you can check out the MOO cards site. And I got this code “G2MSCG” for a 15% discount on first order of 50 business cards, so it maybe be useful for some of you :)

View all my other reviews here.

2 000 000 views

I just checked the statistics on my Smugmug portfolio site, and it show that I just passed 2 000 000 photo views for this year. I want to say a big thanks to all of you who visit my blog and portfolio, and I hope you all like the photos :)
2mil oloneo-2

Oloneo Photoengine – review

Continuing with my reviews, for today I have for you a review of a program I mentioned a lot of times recently, mostly due to the contest :) Head over to the review to find out what I like about Oloneo Photoengine, and how it can be useful in your post-processing.

Sparkling lights

The weather recently is not that great in Bratislava, and as there also is no snow, I haven’t been taking many photos. But I wanted some with the Christmas decorations, as they are quite a few around the city. I particularly like the ones by the Eurovea Shopping center, as they are made all from lights. It was a little challenge not to have any people in the shot, but with a little timing, bracketing and cloning out, I got it empty :)

This is a HDR created in Oloneo Photoengine from 5 exposures and then finished in Photoshop. I had to recover the bright lights, as I wanted them to really shine.
Sparkling lights

FREE EBOOK!!!
Subscribe to my newsletter and get a free Capturing fireworks ebook. 
Subscribe