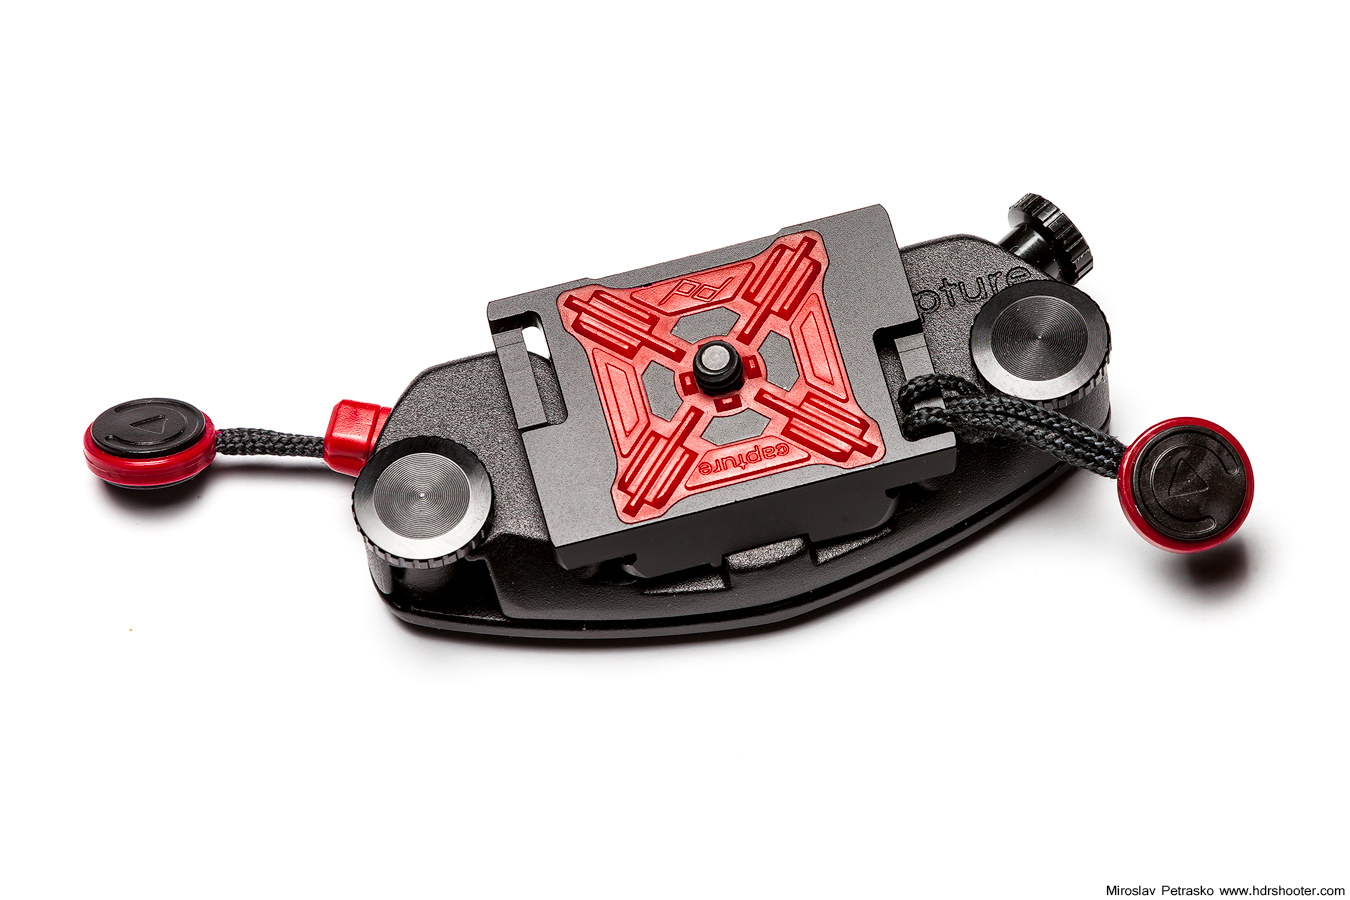
For a longer time I’ve been looking for a replacement for my camera strap. As a landscape photographer, I use it very rarely, but I also didn’t wanted to be without one for those few occasions when I need it (usually just to hold the camera for safety). So I wanted something that can be easily detached and reattached to the camera. As I was ordering the Capture Camera clip v2 from Peak design, I also took the Leash with it.
leash-4

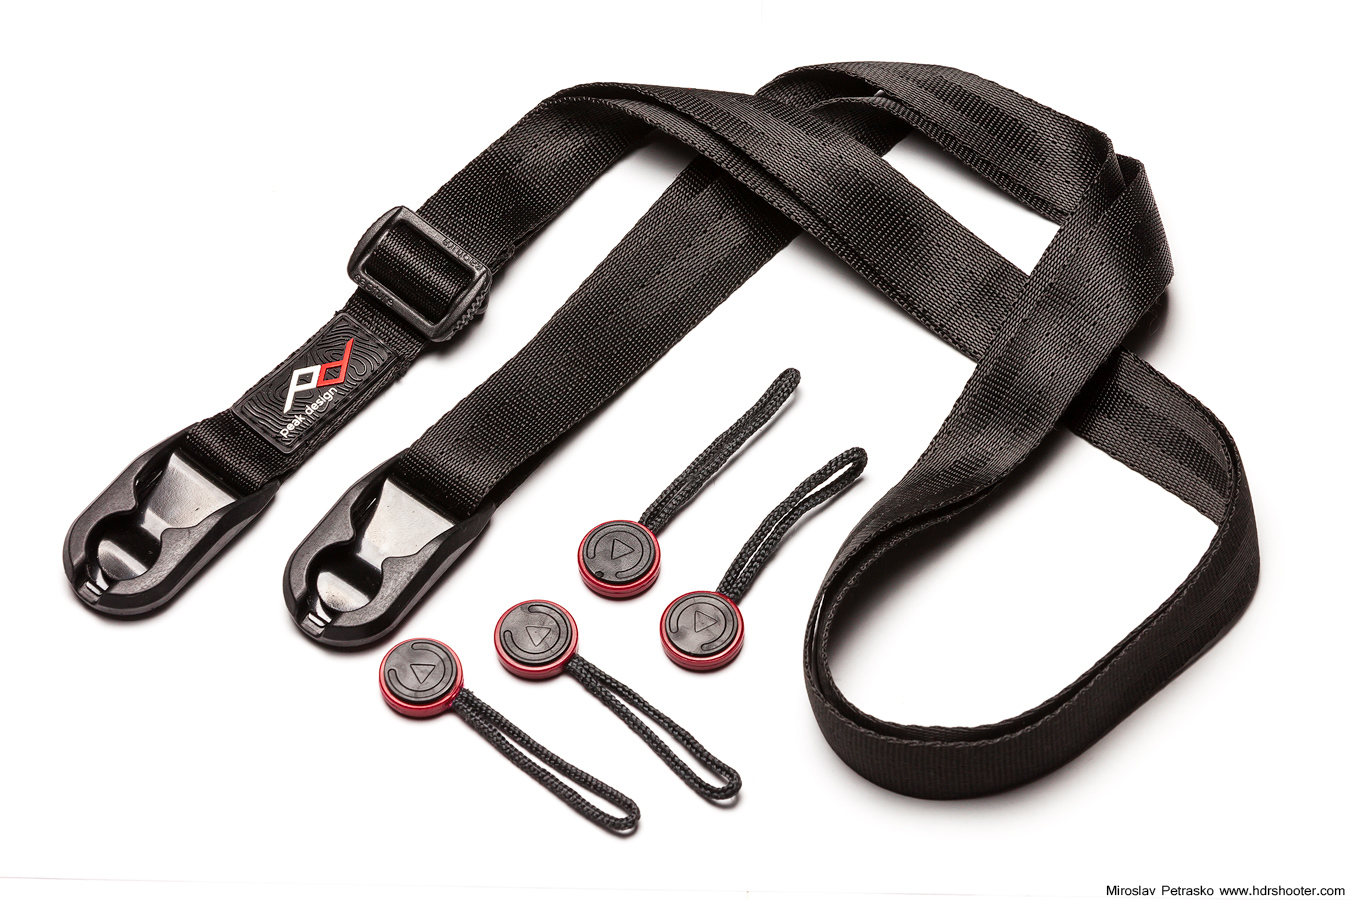
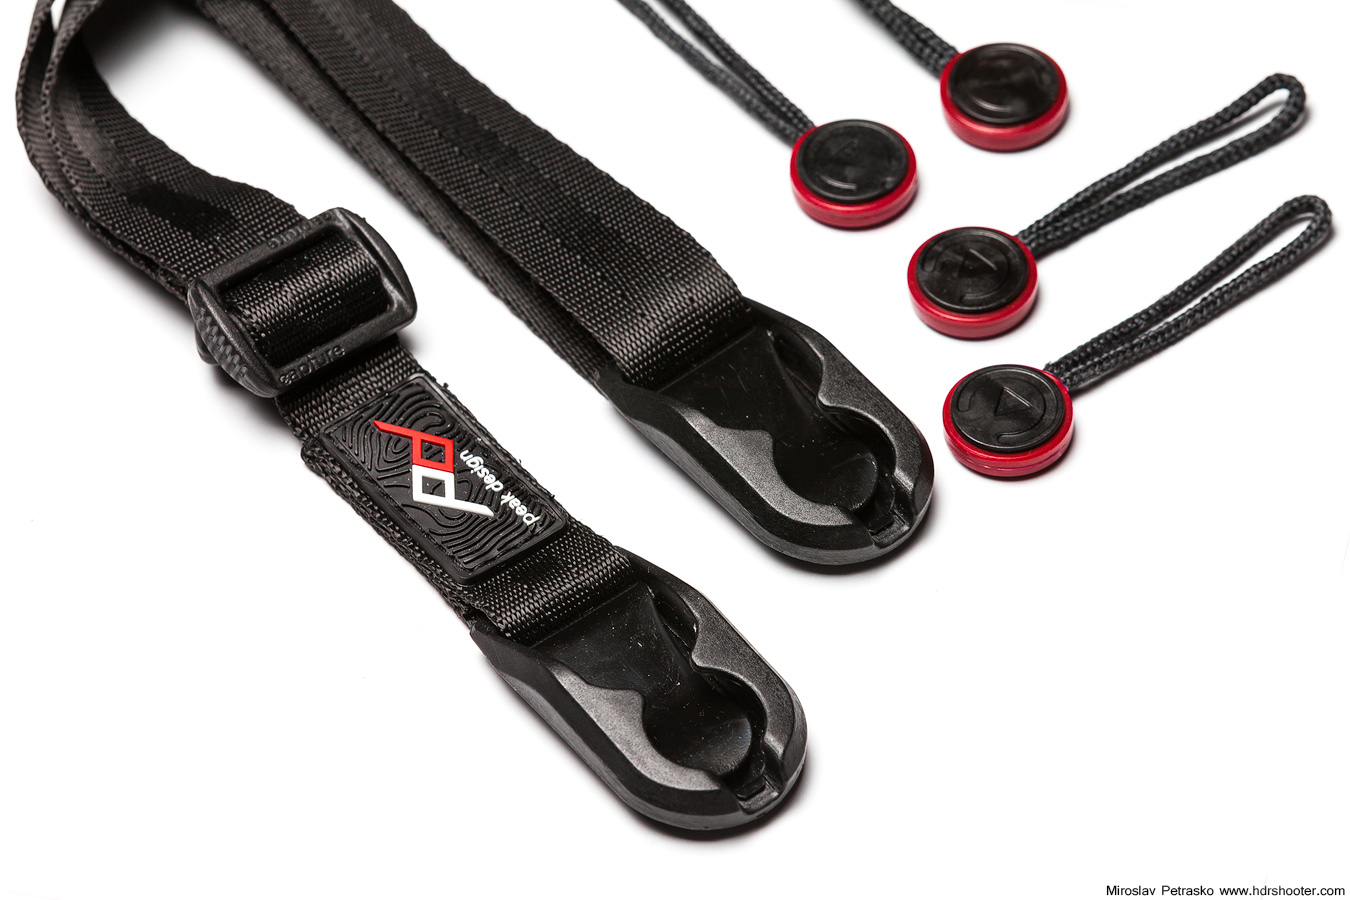
My impressions with it are very positive. The material is great to the touch and very soft. It glides very nicely across the clothing (as its the same material as seat-belts) and feels very strong. The attachment loops are around the right size, so they are not in the way if you leave them on the camera. The attachment feels secure and it’s not so easy do detach. I actually like that, as it should be harder to detach it accidentally. The length is also more then adequate. You can expand the leash from 48cm up to 152cm, with the anchors being rated to hold up to 45kg.

leash-02
leash-2

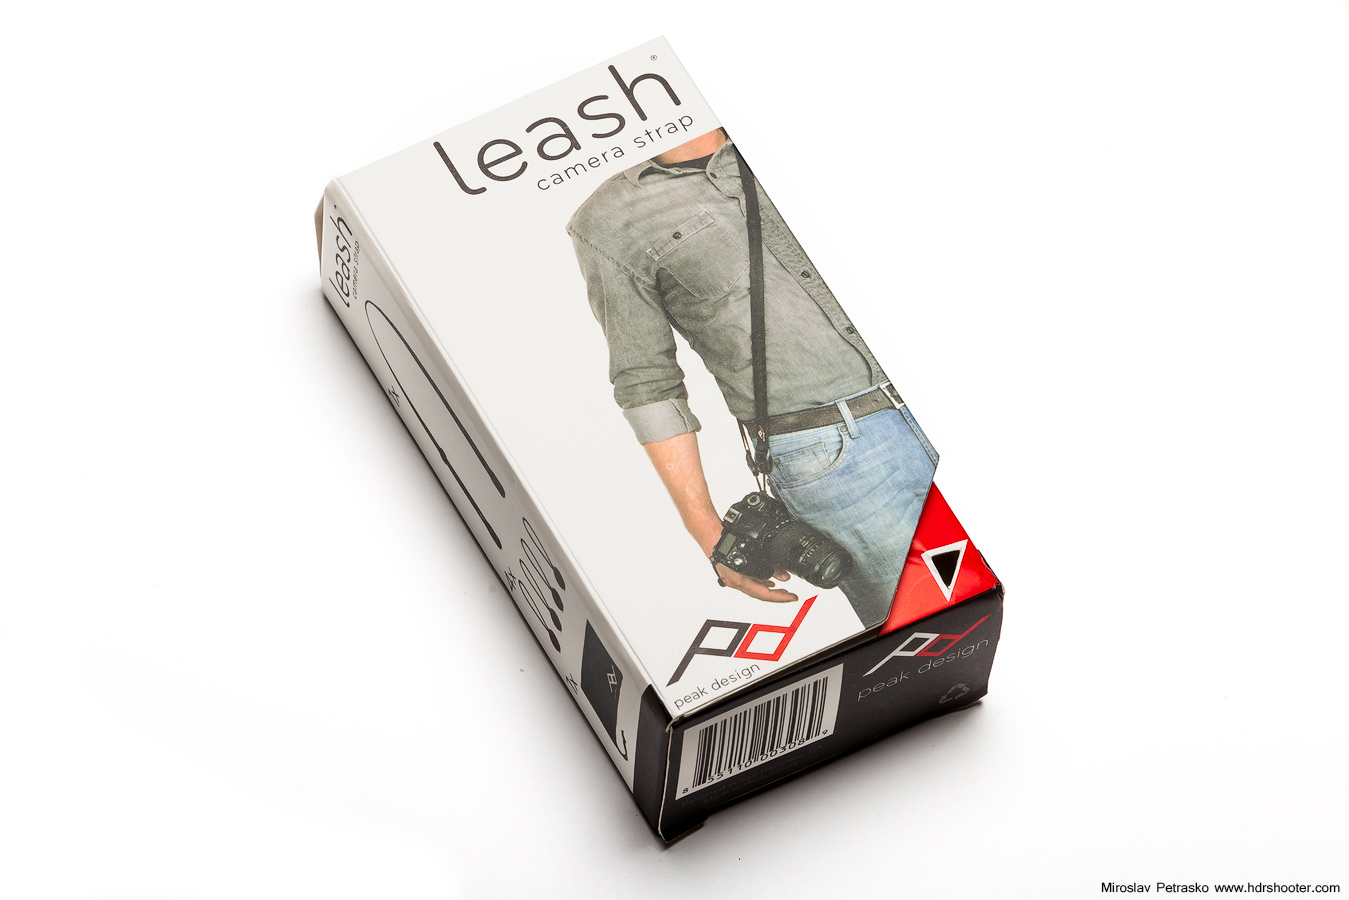
I would not use this strap to hang my camera from my neck. The strap is just too thin for that. Maybe with addition of some padding this could be OK. On the other hand, having it hanging across a shoulder is much better. With my Canon 5D mark II it was quite comfortable. As I said, the material glides very nicely across clothing, so moving the camera back and forth is also very smooth.

leash-06
leash-5

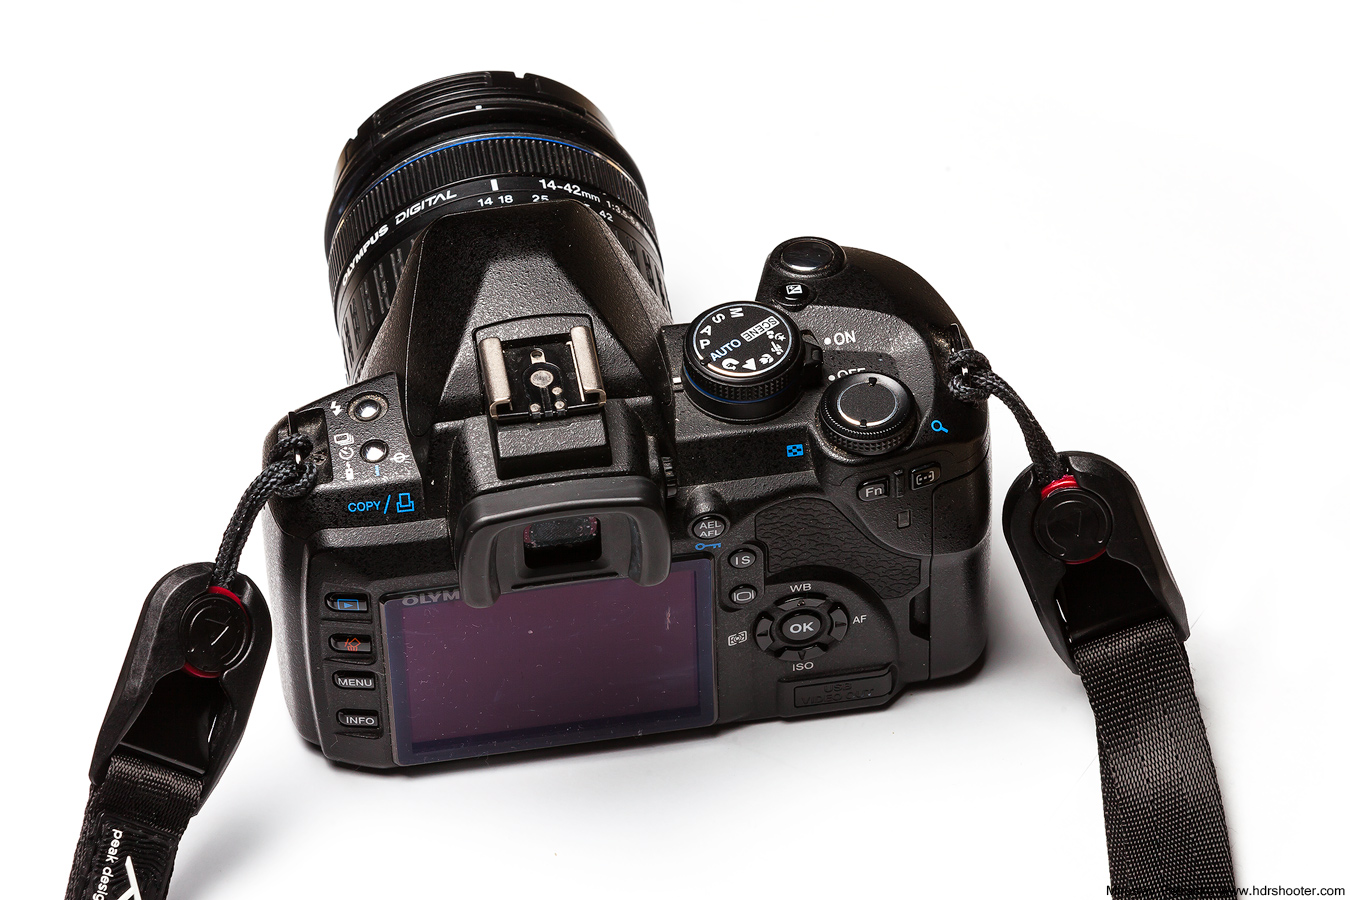
You get 4 attachment loops with the leash. This are meant to be attached to the camera, the leash itself, your backpack or anything else. I like this approach, as you can attach you camera to anything. I can think of many times when I wanted to secure my camera to the railing, or just have it connected to my belt so I don’t have to fear it falling down from a cliff. It also works nicely with the Camera clip v2, as that special holes for the loops to be attached.

leash-3
leash-05

Overall I like it very much and it will replace my old strap permanently for now. This should have been a Leach & Cuff review, but I have some issues with the Cuff, so I will get to that in a separate review.

For more information, please visit the Peak design site.

View all my other reviews here.

Your need for noise reduction depends very much on the way you process your photos. Especially HDR processing can create an enormous amount of noise, which has to be dealt with. There are different ways you can do this and I think Imagenomic is one of the best.
noise-1
Imagenomic Noiseware gives you a big amount of sliders you can push around to remove noise, but in the years I’ve been using it, I never used one. I bet that will make the results better, but the results you get just using the first two under Noise level are good enough in almost all cases.

I also never use it at strong settings. The values go from -20 to +20 and I usually don’t go above 0 for most of my photos. In the sample screenshots I included different situations with different settings.
noise-2
Recently with Lightroom noise reduction getting much better, the need for a separate noise reduction plugins was not that big. But for some photos, Lightroom can remove very much detail when removing noise. Noiseware can have better results there. I personally use both, Lightroom noise reduction by weaker noise, Imagenomic by stronger noise. Sometimes even both, Lightroom for the initial noise reduction and Imagenomic for finishing touches.
noise-3
Btw. same as with all noise reduction, be careful not to overdo it. It can remove photo detail and also introduce color banding into your photos.

You can find more information on the plugin on the Imagenomic Noiseware site.

View all my other reviews here.

As plugins go, this one creates a very particular effect. I think you all have seen photos, where the lights or the sun look like starts. This can be usually achieved in the camera, by using a smaller aperture. But what if you don’t get the look you wanted, or you had to use a bigger aperture, as you needed a shorter exposure time. In that case, this plugin can help you.

topax-star-1

Topaz Star Effects will create a star from any bright area in you photo. You can specify the look, color, brightness, opacity and many more. You can also brush it only on the places you want it to be applied, or have it applied based on the strength of the light. It also can create a light glow, or a sun flare.

topaz-star-2

There are many presets, but I find the they create just to strong of an effect. They are good for a start, but you will probably go and change the settings right away.

topaz-star-3

Overall I like the look of the starts, even if I don’t tend to use them. If you need this kind of effects in your work (maybe you are creating and add for diamonds and you want to add few sparkles here and there) or you just like the look, I suggest you try it out.

For additional information please visit the Topaz Star Effects site. And if you want to buy it, between the December 10th and December 31st 2013, you can use the code “decstar” for a 50% discount.

View all my other reviews here.

Analog Efex is the latest addition to Nik Collection. For the first week I hated it, as it’s in the menu before Color Efex, so I always opened it by accident, when trying to get to Color Efex, but after a while I got used to it.

As already the name suggest, Analog Efex simulated different effects of analog cameras. I’m only a partial fan of such effects. I like them on street shots, portrait shots and overall shots with a vintage feel (that’s why I chosen the sample photo of a vintage camera :)). But that usually does not fit with landscape or architecture photos. It also removes too much of the original photo.

nik-analog-1

But there are situations when this is preferable. For instance if you are making a page, that has a overall vintage feel, the photos would fit to it.  Of course with services like Instagram, this look is very popular. One can’t argue, that this type of filter hides a lot of problems with photos. If your photo is noisy, blurry, dirty and so on, it will be just more authentic. But if you do it through a plugin like the Analog Efex, the result will bu much better, and you also have much more control of it.

nik-analog-2

In the Analog Efex you can either choose from predefined presets from Classic cameras, Wet plates, Toy cameras or Vintage cameras. Or you can start from scratch, and put together effects to get a look you want for yourself. There is a big list of effects, including Lens distortion, Bokeh, Blur, Light leak, Dirt, Scratches, Vignette and more.

nik-analog-3

So in the end, if you have a need to use such a vintage look in you project, or you are a fan of this look, I suggest you give this plugin a try.

For additional information on Analog efex, you can visit the Nik collection site here http://www.google.com/nikcollection/. Google does not offer any discount codes there, but if you look around, you maybe find one of the old ones, and can get the collection for a little cheaper :)

View all my other reviews here.

Compared to Nik Color Efex or Silver Efex, this one is a little different. Where others are a group of different filters, or a group of presets of one filter. This one is a tool to adjust the basics of a photo. You get only four basic sliders (Brightness, Contrast, Saturation and Structure) and 6 additional sliders (Shadows, Warminth, Hue and the Red, Green and Blue channel adjustment). The list is finished with a curves adjustment, you can use on any of the channels.

nik-viveza-1

So as I said, the Viveza only has a basic set of tools. But it has one trick up it’s sleeve. It allows you to add control points to your photo. Once a control point is dragged onto a photo, it creates and automatic selection, based on the color it was placed on. Once this is done, you have all the mentioned sliders available for that specific point. So you don’t affect the whole photo, but jut the selected part. It’s similar to using Color range in Photoshop to define your selections.

nik-viveza-2

You can also affect the radius around the point, in which this selection is made. Don’t be surprised if the effect is also outside the radius, as the area is determined by both, the radius and the similarity of colors.

Another nice thing is, that you can group points into groups and so are able to affect multiple parts of the image at once.

nik-viveza-3
Overall Viveza can make you editing process faster, as it takes away the need to mask out areas for where you want to apply an adjustment. I suggest you give it a try.

For additional information on Viveza, you can visit the Nik collection site here http://www.google.com/nikcollection/. Google does not offer any discount codes there, but if you look around, you maybe find one of the old ones, and can get the collection for a little cheaper :)

View all my other reviews here.

Page 11 of 13« First ...10111213
FREE EBOOK!!!
Subscribe to my newsletter and get a free Capturing fireworks ebook. 
Subscribe