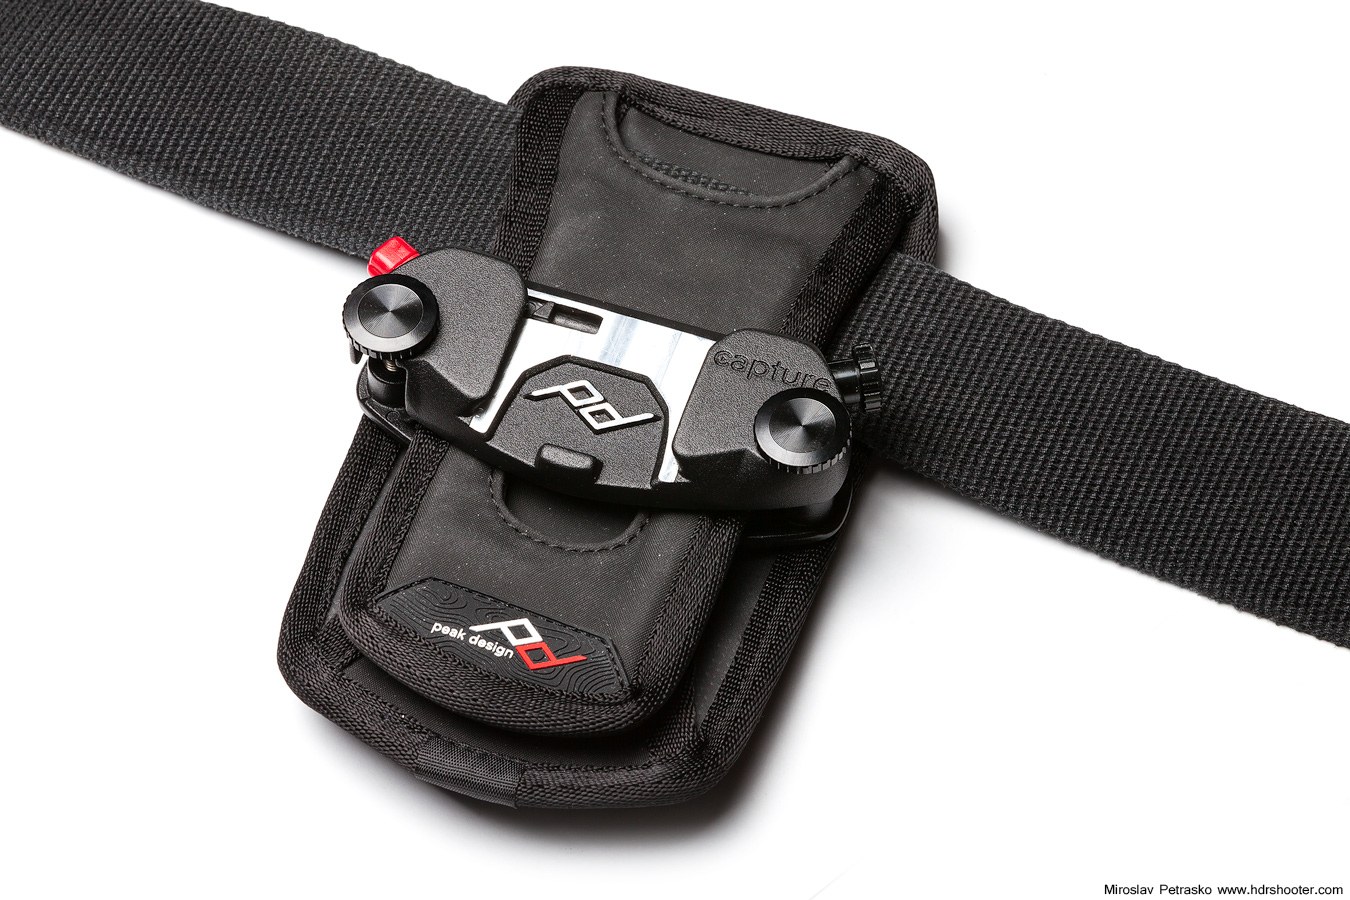
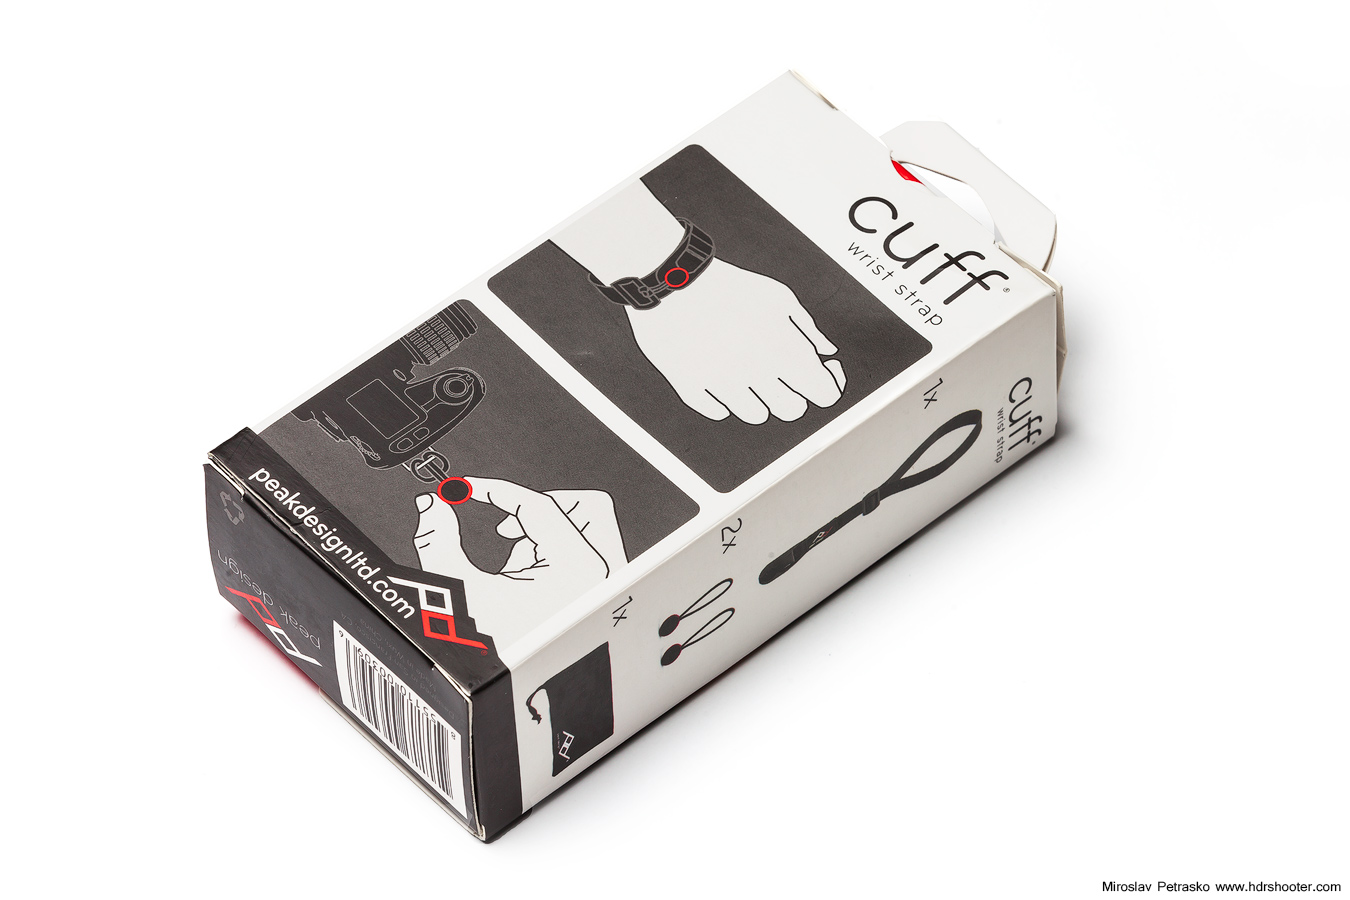
As a landscape photographer, my camera is mostly in my bag or attached to my tripod. I don’t take it down that often, even if I change locations. I just carry it already attached. But still there are situations where I would like to be able to have it attached to my belt or to my bag. And exactly for those there is the Capture clip Pro v2 from Peak design.
capture-05
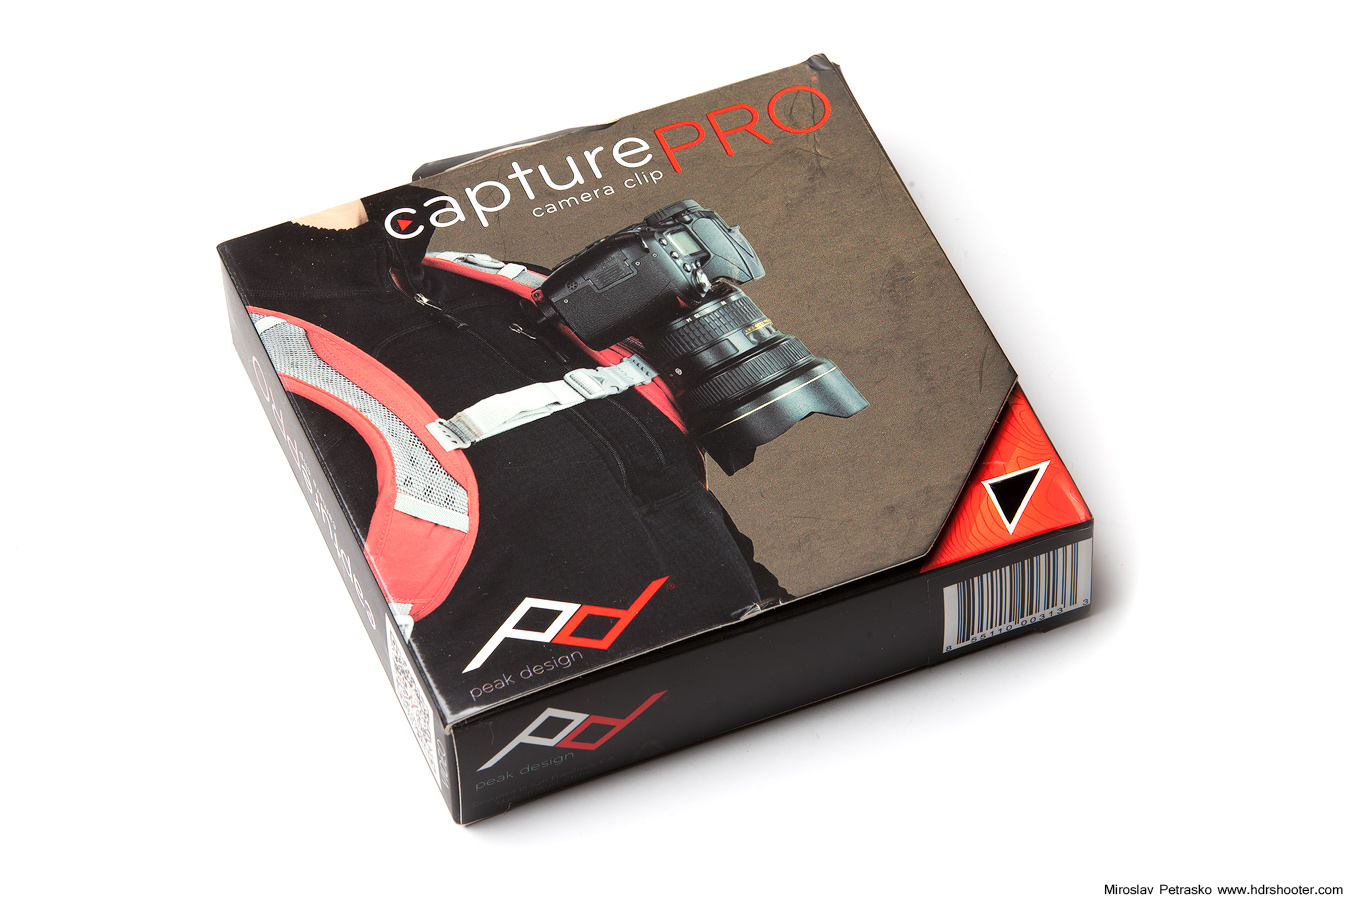
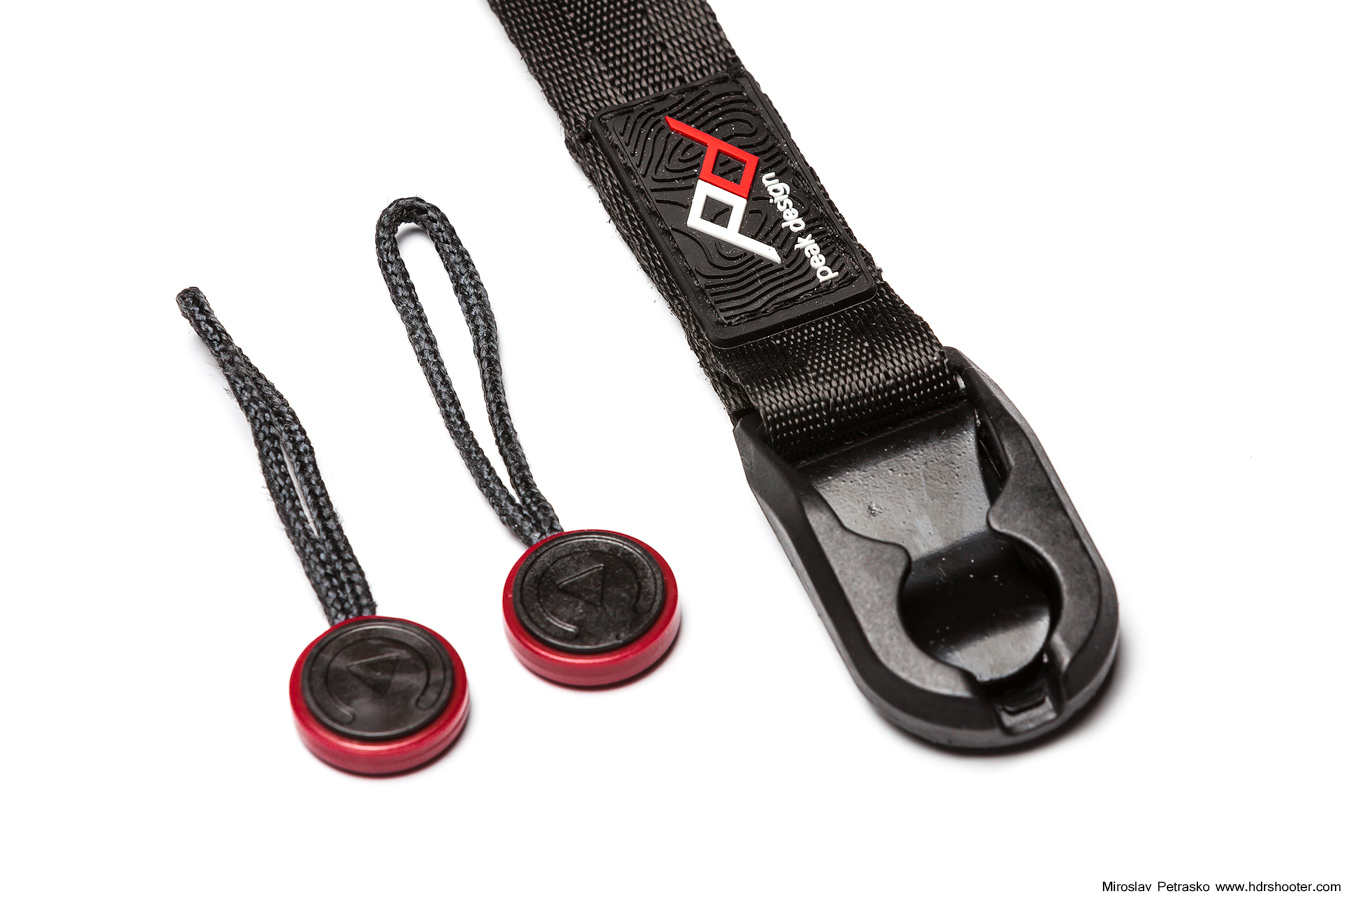
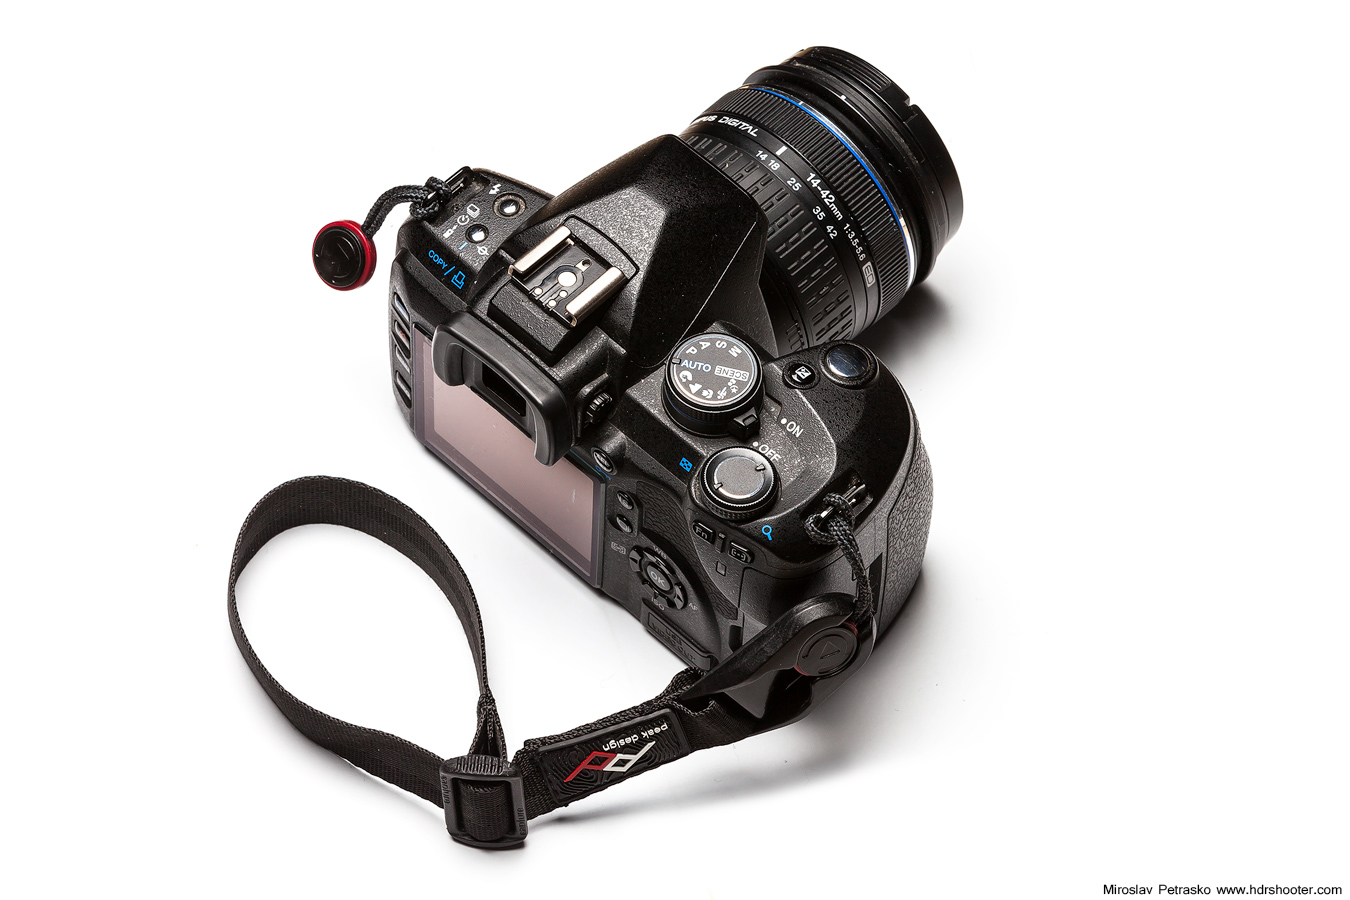
I got mine from their Kickstarter campaign, where I also took all their other gear, of which you can find the reviews also on this blog. The Camera clip arriwed first, so I had some opportunities to try it out. I will also mention the Pro Pad in this review, as it’s an additions to the Camera clip and has no purpose on its own.

capture-01
capture-02

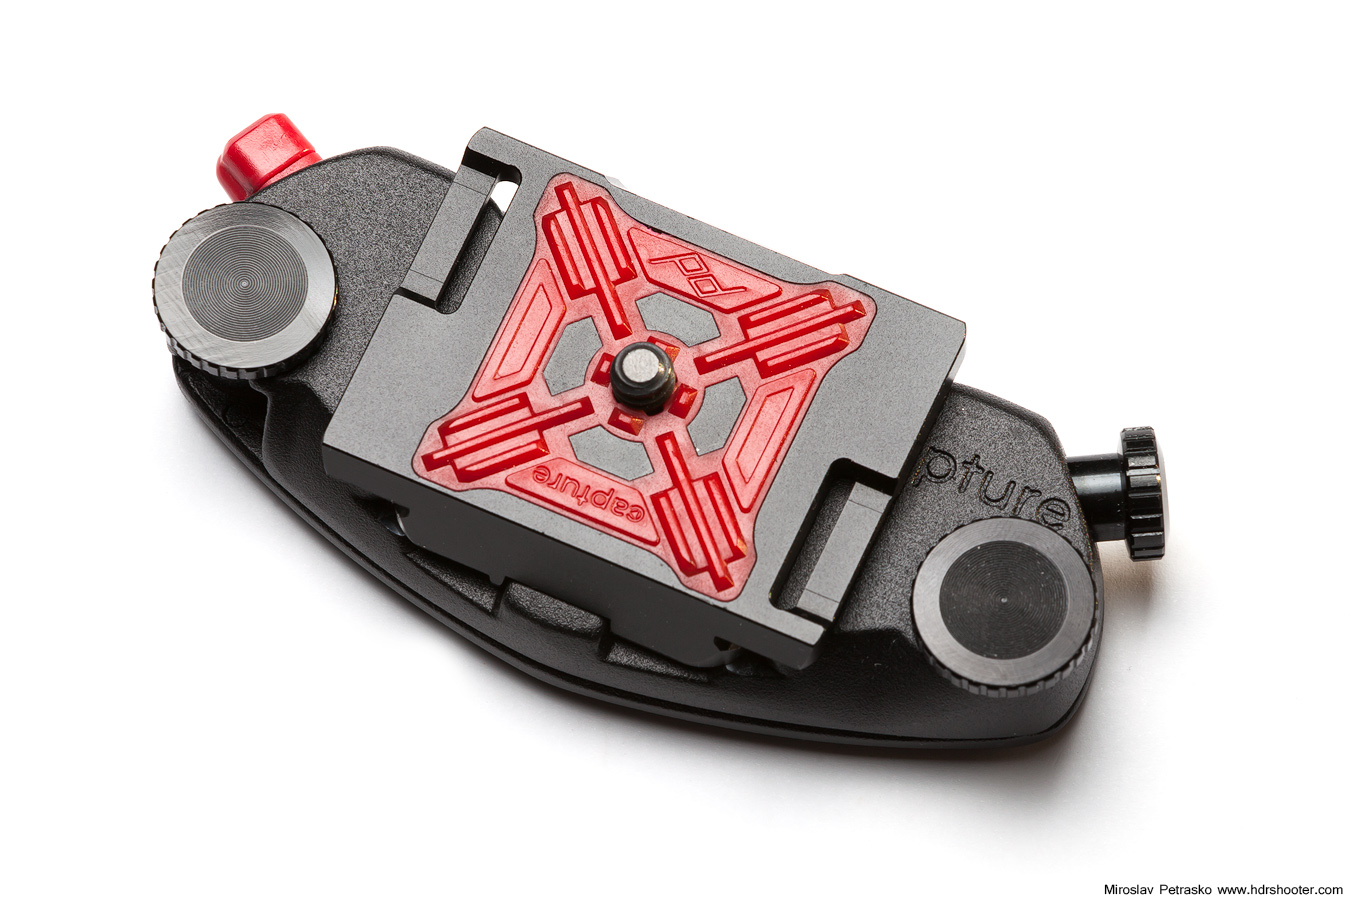
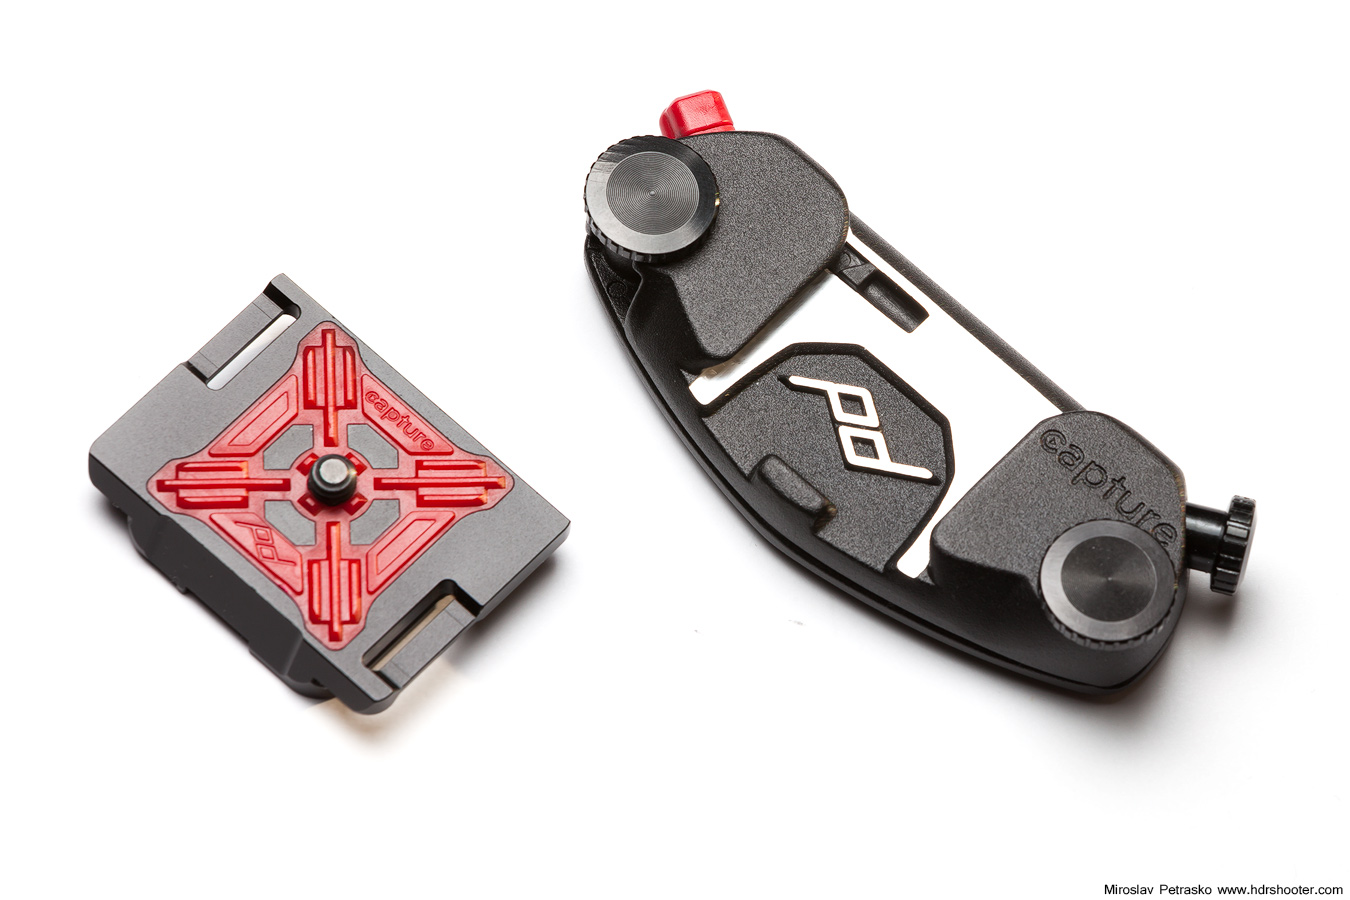
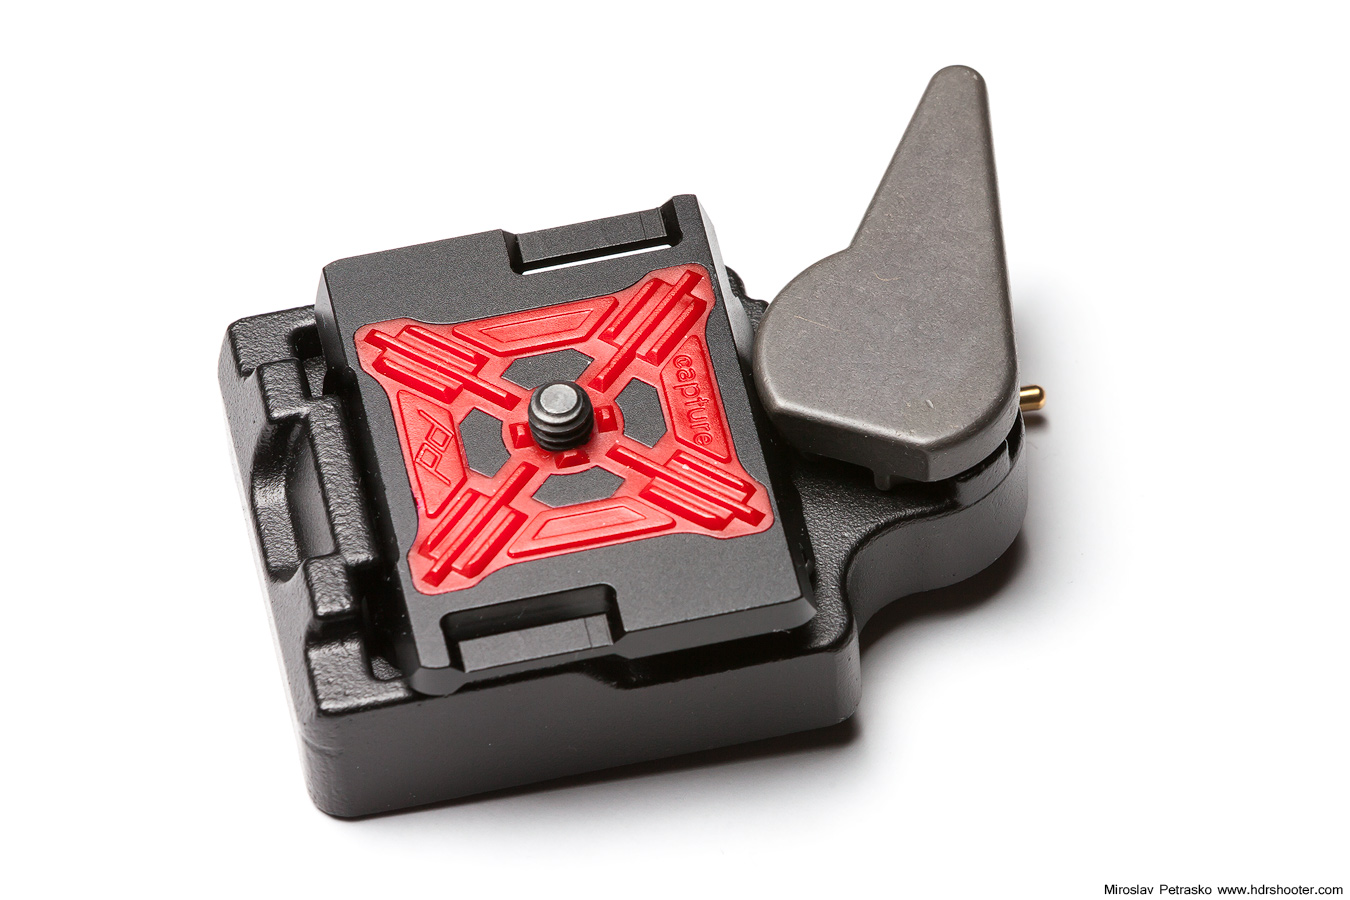
The build quality is super. I got the Pro version which is almost completely metal, with only the quick release being made from plastic. The quick release plate fits really nicely into it and there is a nice click when you slide it in. There are two safety measures to keep you plate in, one is a button that can be rotated to prevent accidental pressing. The second one is a wheel used to tighten a plate inside the clip, that holds the quick release plate in place.
capture-12
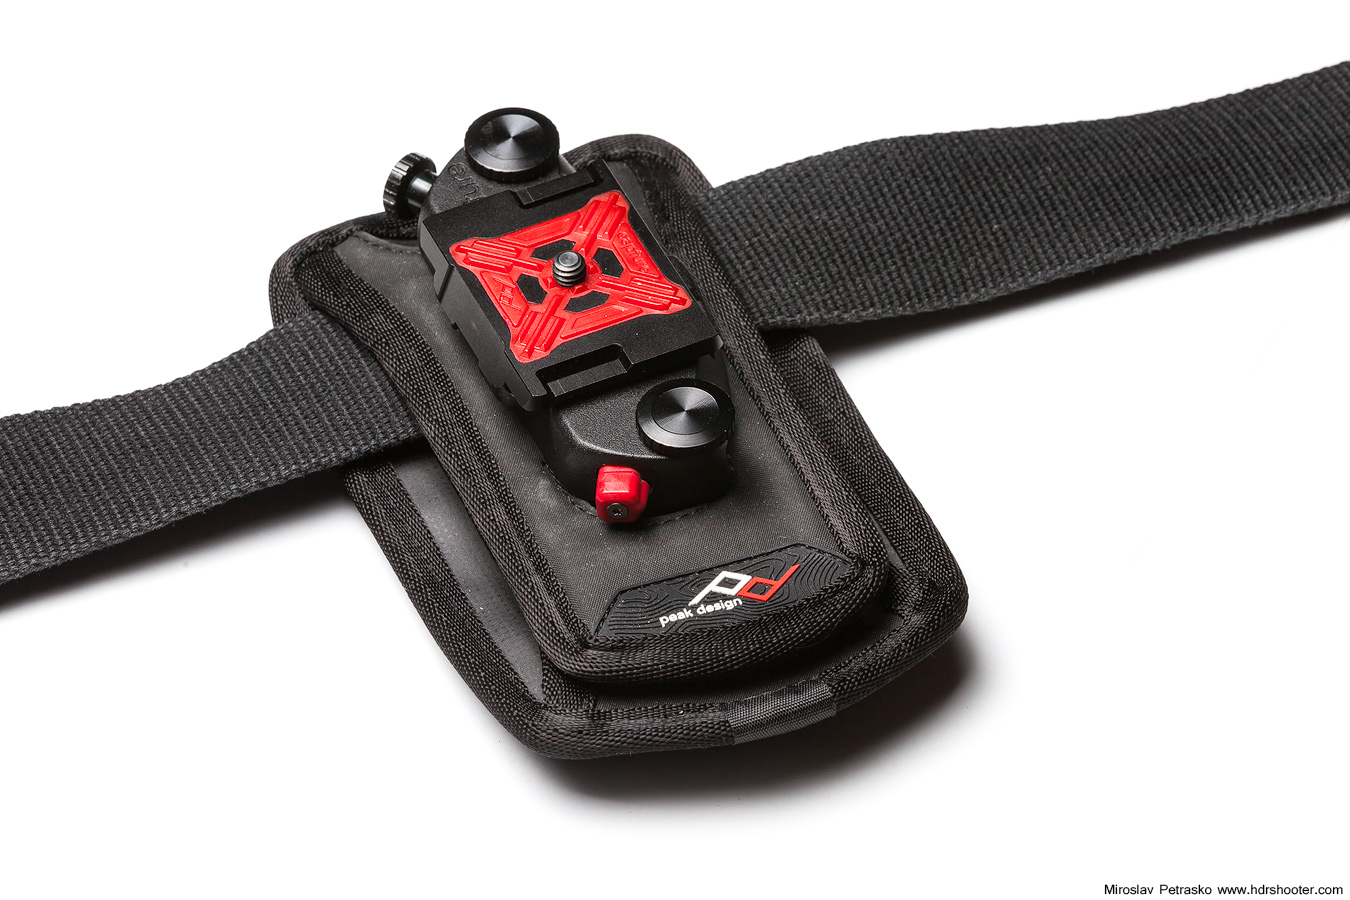
I got the dual place with the Capture clip, as I use a Manfrotto tripods, and this plate is compatible with Arca Swiss, Manfrotto and the clip. There is one downside, that is that it can be placed into the clip only in two orientations, instead of four. Also I got few problems with it while using it with my Manfrotto gear, but I will get to that a little later.

capture-03
capture-04

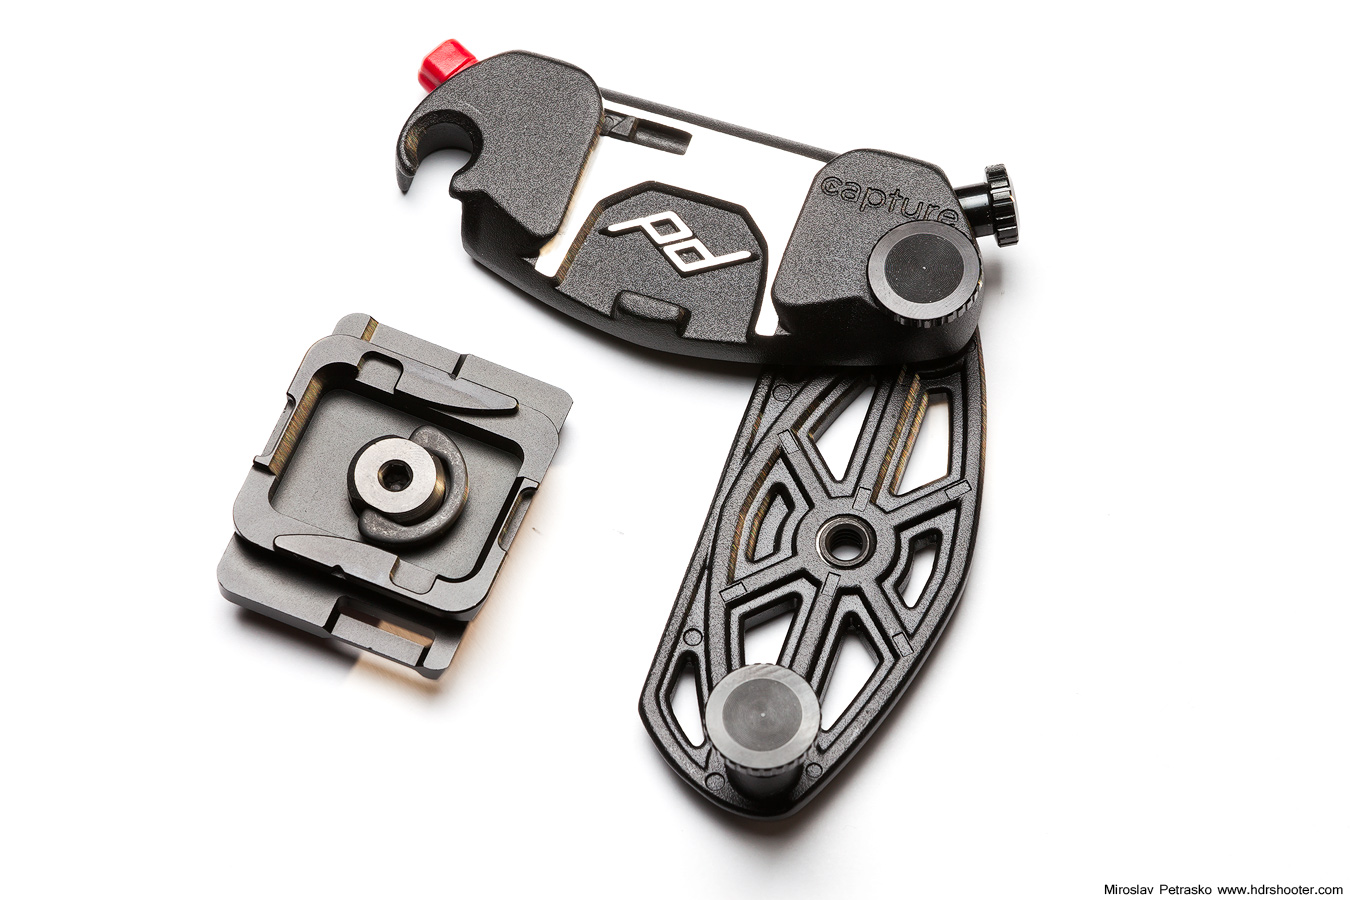
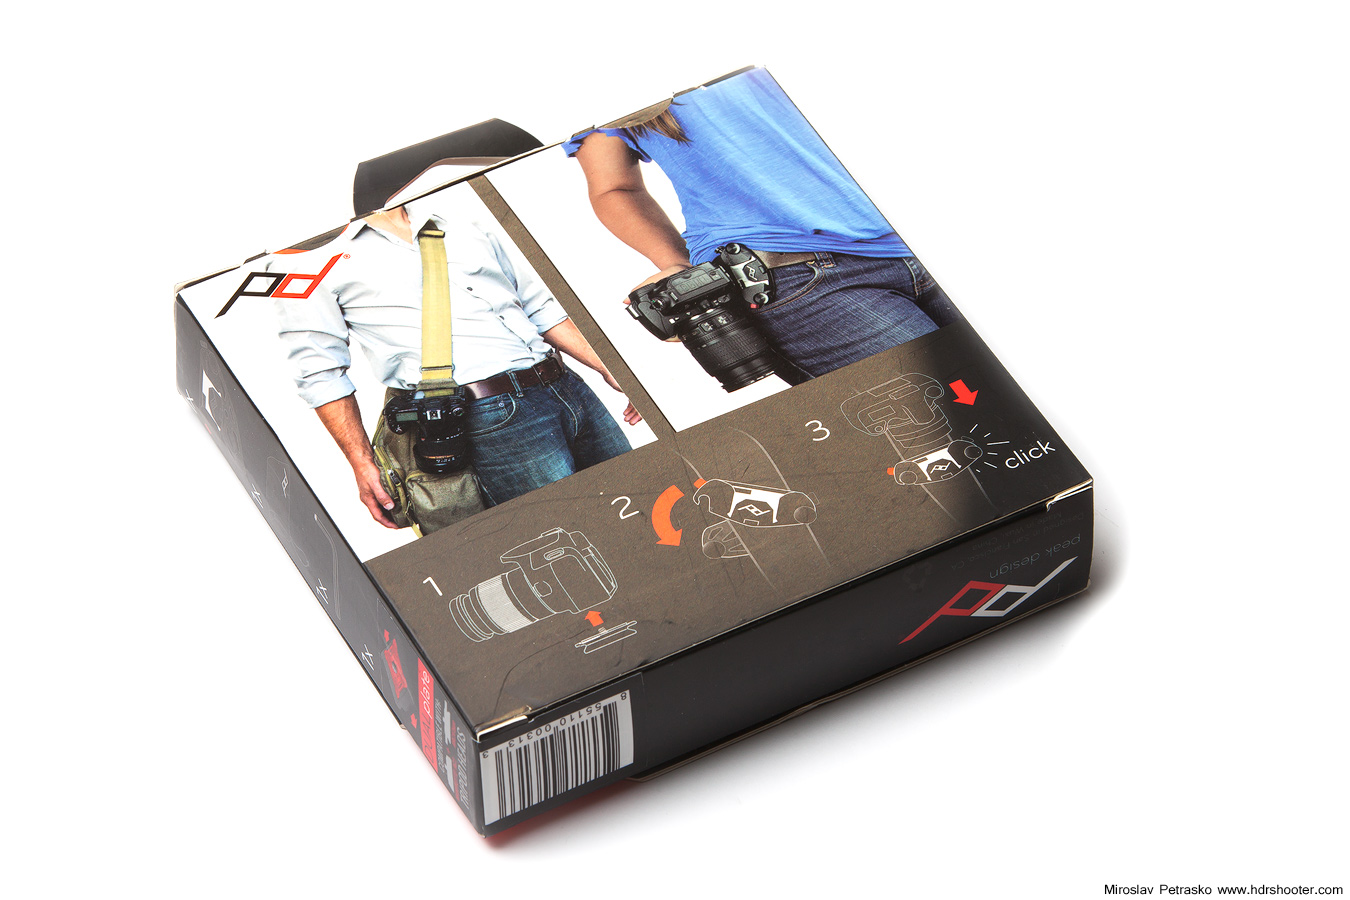
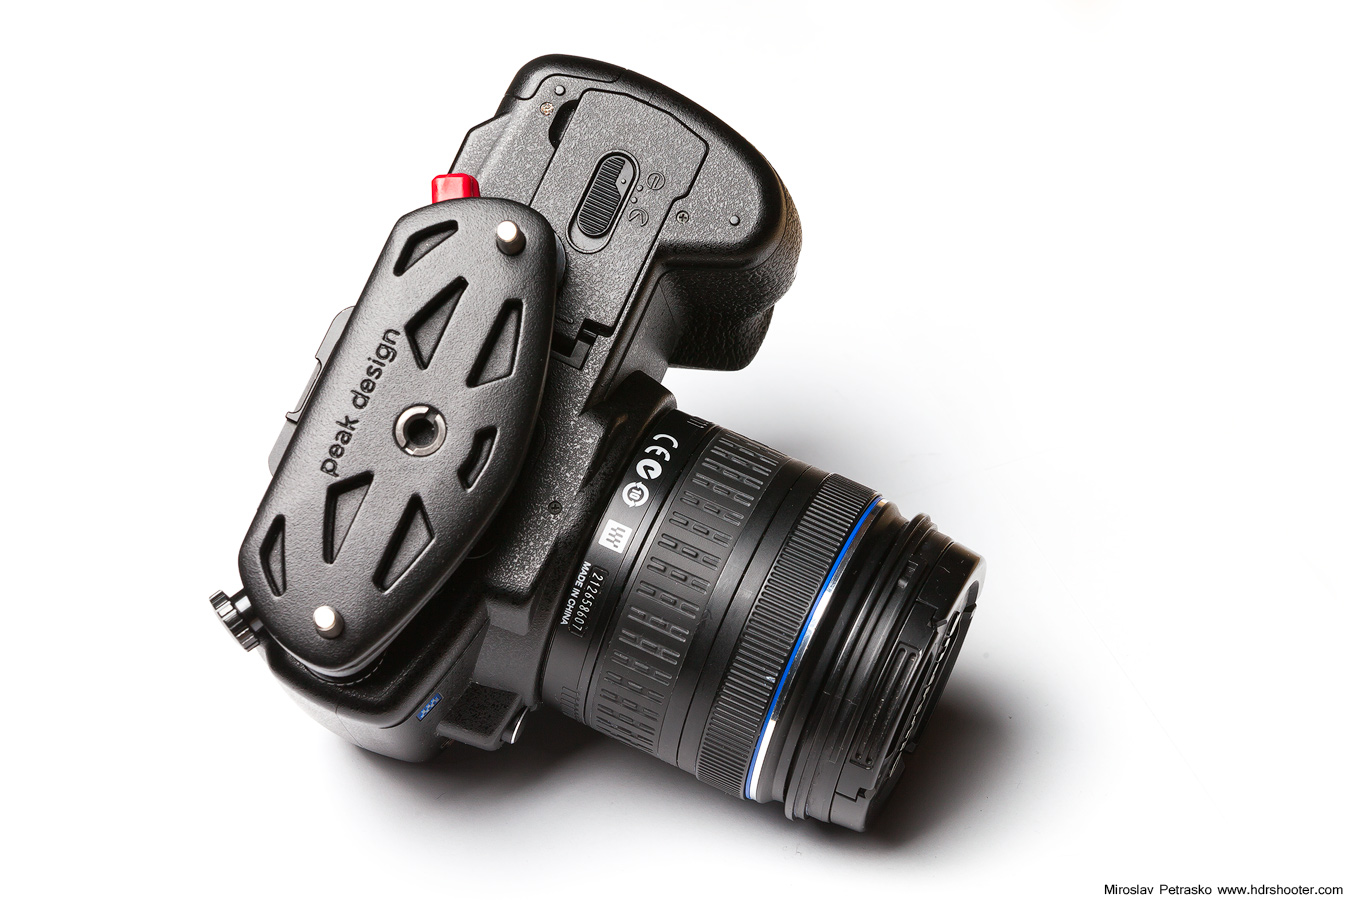
The clip is attached to your belt or backpack strap by opening it up, placing the belt inside and tightening the two screw. There are ridges on the clip with holes on the other part, so when you tighten it, it will not move at all. It is really stable. The heads of the tightening screws are quite large, so it’s easy to do this without the need for any tools.
capture-10
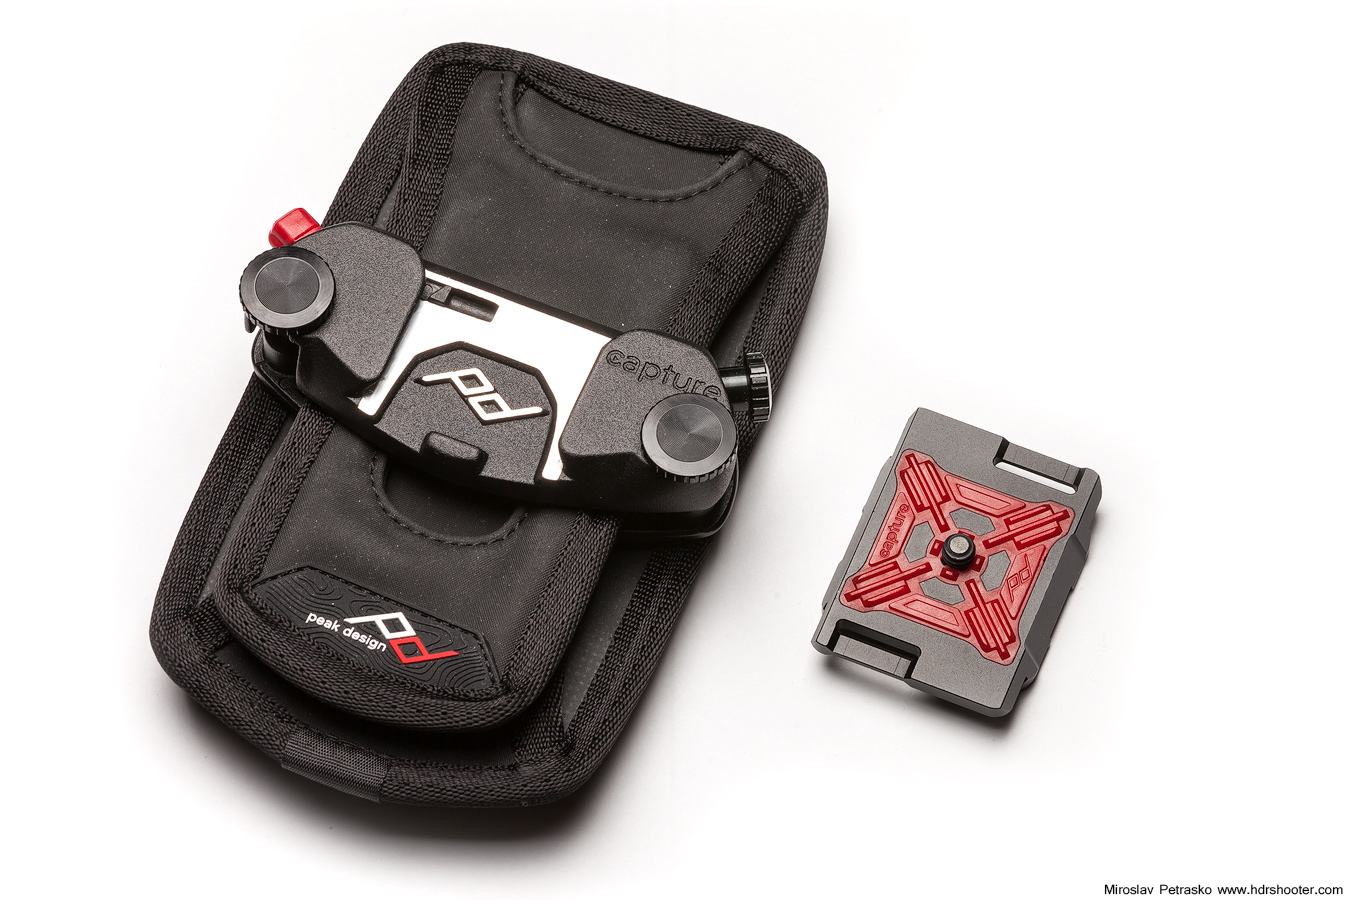
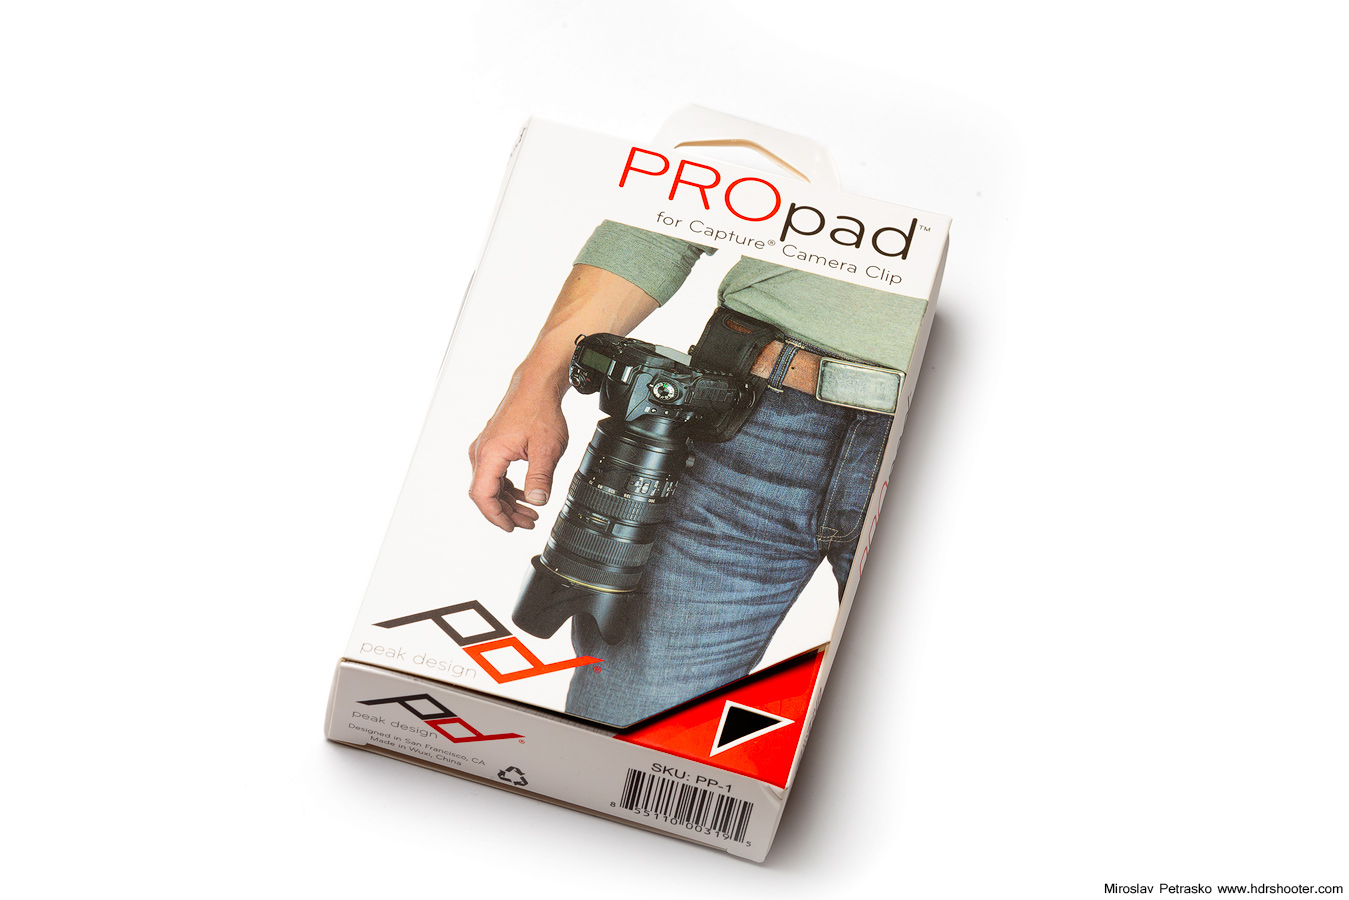
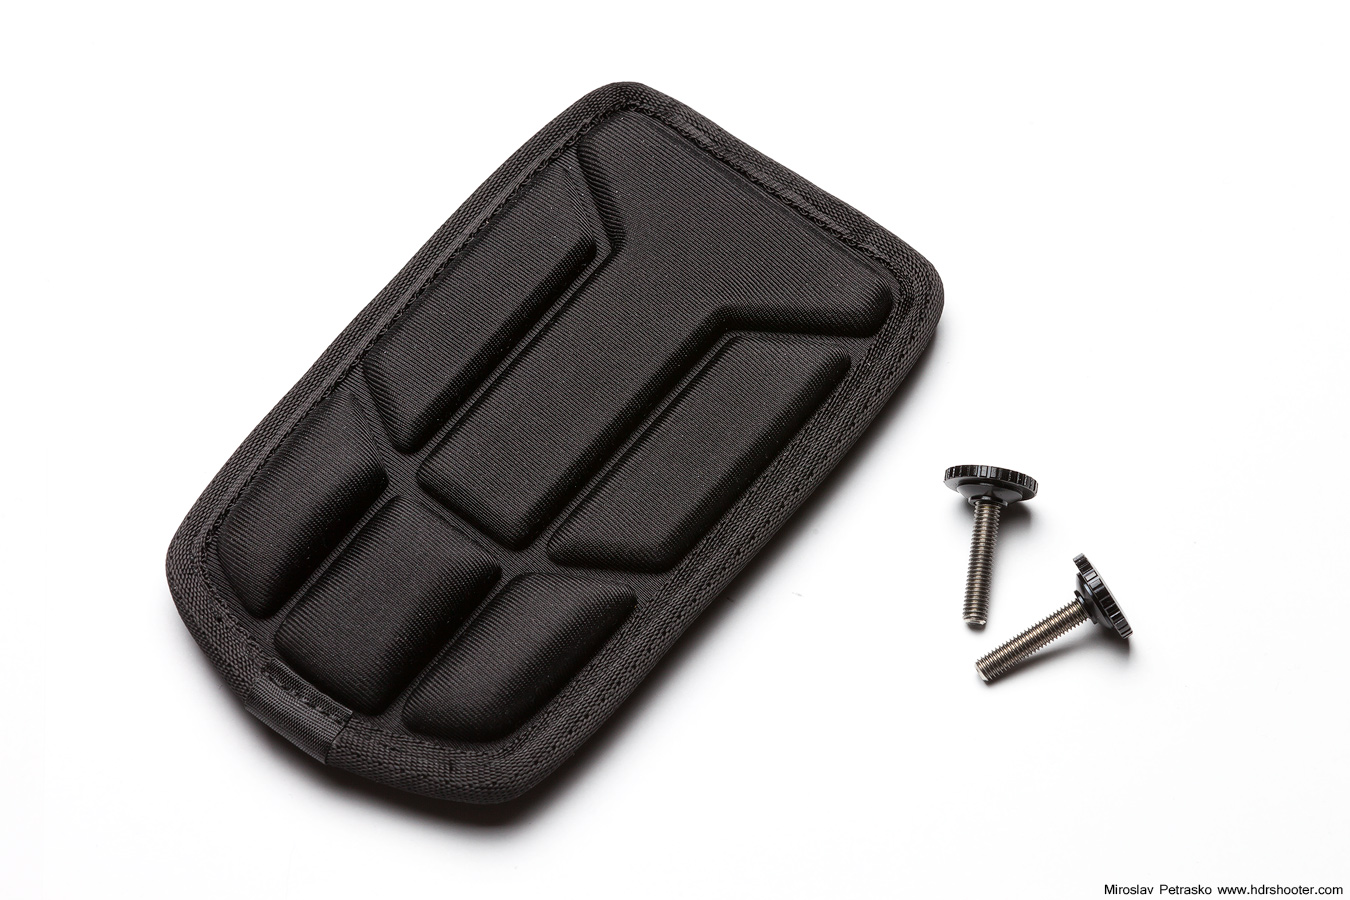
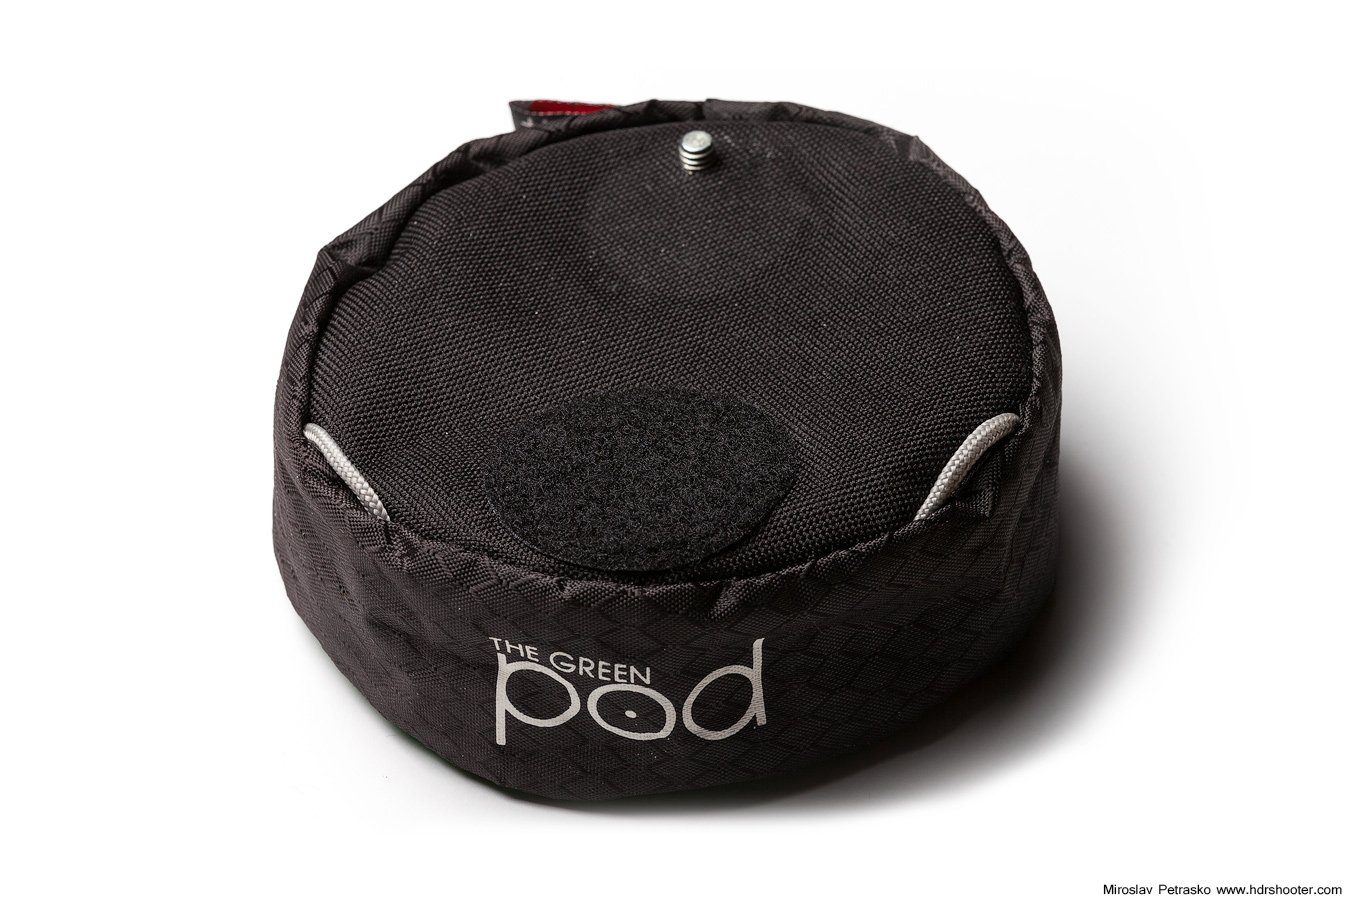
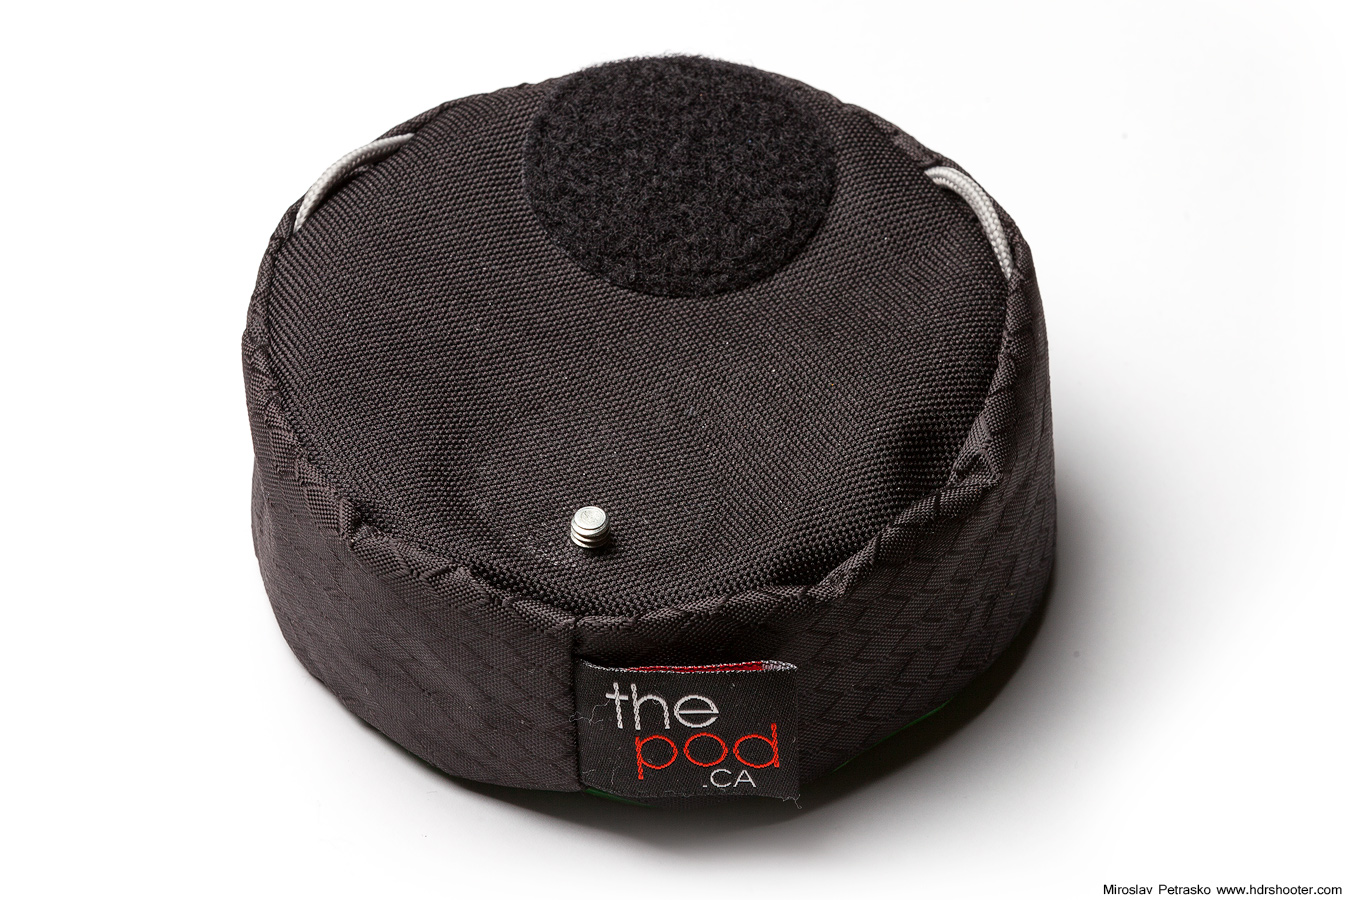
Together with the Capture clip, I also got the Pro pad. This is for when you want a little more padding while you are carrying a heavy camera on you belt or backpack. You also get a second set of screws with it, as the ones by default with the clip are too short to hold also the pad.

capture-06
capture-07

The pad is also made form quite a tough material, and the clip fits into it very nicely. There are multiple ways you can use it, either vertical or horizontal, depending on your needs. You can see the different placements in the surrounding photos.
capture-11
The guide suggest you use the longer screws only in some of the setups, but I would suggest using them all the time if you use the Pro pad. The short screws are hanging only by very little when used here, and it could happen that one accidentally loosens them. I think that it’s better to be safe than sorry.

capture-08
capture-09

I tried all the different setups, using and not using the Pro pad. My feelings about it are mixed. I really like having the Capture clip on the strap of my backpack. As I use the Think Tank Slig-O-matic, that has only one strap, I can easily place it there. The camera than nicely balances the weight of the backpack and is very comfortable to carry. I even had no need for the Pro pad there. On the other side, having it on the belt was very uncomfortable for me. The placement was acquard, with the camera bumping on my leg. All the time I was also scared that I bump with my camera onto something and so damage it. The pro pad didn’t help much. As it is wider, it is even more in the way, even if it pads you more from the camera.
capture-13
This is of course how I feel about it. For you maybe hawing you camera hanging from your belt could be absolutely Ok. The Capture clip with the Pro pad do exactly what they are supposed to do, if you will use it that way, is a completely different question.

capture-14
capture-15
capture-16

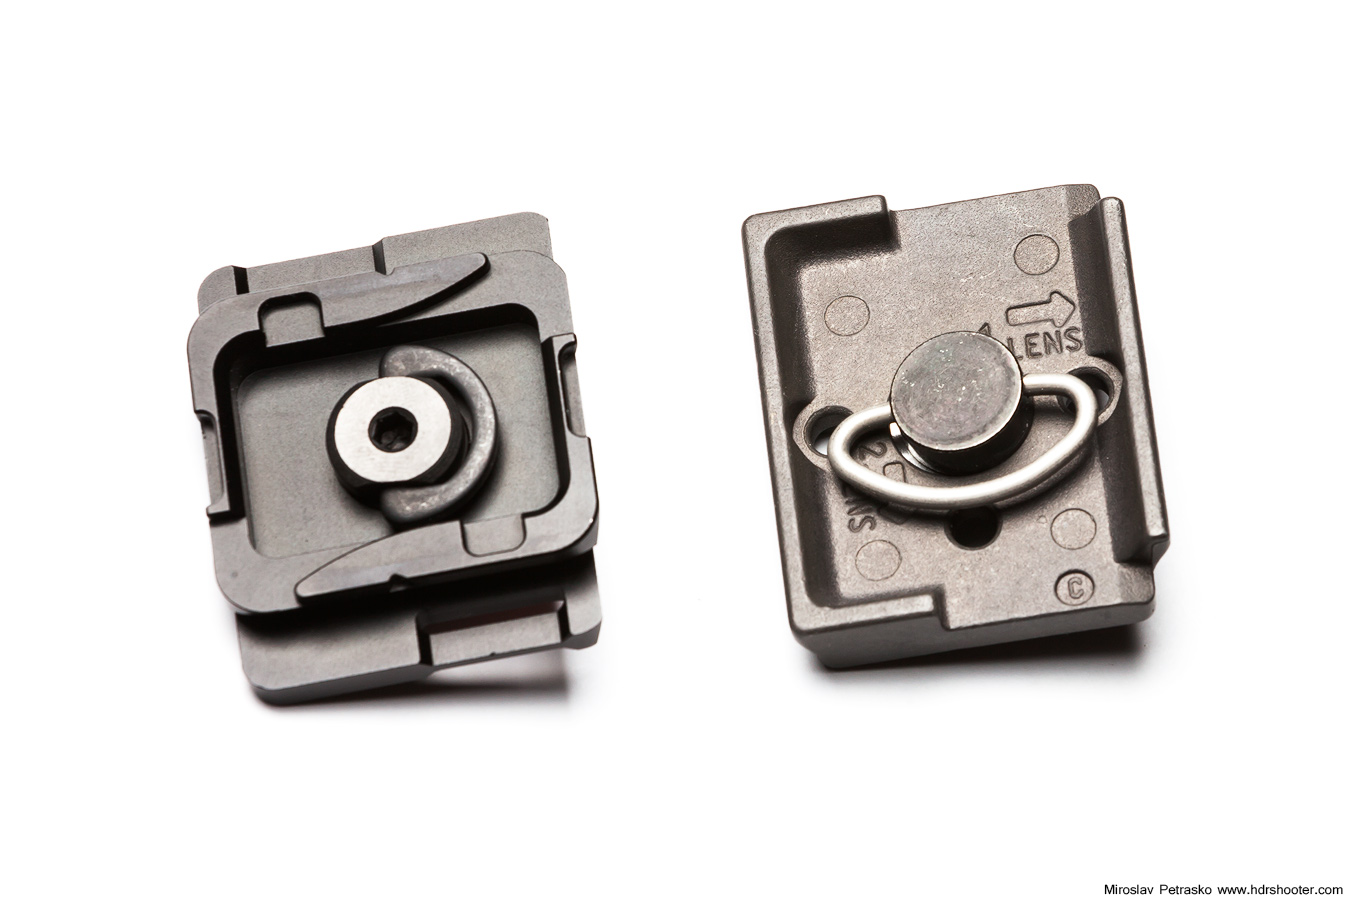
As I mentioned earlier. There is one thing I don’t like about the dual plate for the clip. As you can see, when I compare it to the classic Manfrotto plate, it’s a little smaller and it has two small holes from the sides, where the other has not. There is a reason for it. The quick release on Manfrotton head uses a small cylinder, which the plate has to press down, for it to close. With the Dual plate, this cylinder sometimes gets into the small side hole and it is not pressed completely. The only way to avoid this, is taking bigger care while inserting the place, and pushing it to one side. Strangely, I have this problem only with some of my Manfrotto gear.
capture-17
Overall, I like the Capture clip, and I find the Pro pad a little useless for my needs. As I said, that is much about personal preference. So if you think you need a way to be able to quickly store you camera and quickly have it accessible (especially if you don’t use the tripod that much), you should give it a try.

For more information, please visit the Peak design site.

View all my other reviews here.

As I mentioned in my Manfrotton Clamp review, there are a lot of places where you can’t use a tripod. There are even some where you can’t use a clamp. So what to do then? One of the possible solutions is to use a bean bag. And one of those it The Pod.

pod-1

There are multiple versions of The Pod, but as I have the green one, I will write about that. They are mostly the same, just differing in size, color and the placement of the camera attachment screw.

pod-2The Green pod from the back
pod-3Whats inside The Green Pod


So how does it work? You just attach it to you camera, use the provided leash to also attach it to the lens and you are good to go. When you place the camera with The Pod onto something, you need to push down, so the beans fall into place and the camera stays stable. I tried this with my Canon 5D mark II with the Canon 16-35mm F2.8 lens, and I noticed no movement in the photos I took, even with the ones that were few seconds long.

pod-4

It’s a little harder if you wan the camera to point more up or down, but it still is possible. Of cores this is easier with a smaller camera. The green pod’s screw is also placed to the side of the pod, so you can use bigger DSLR’s with it. The green pod is also specified as the one for a DSLR camera with a zoom lens.

pod-5
pod-6

I used the pod few times in different places, and I got really good results with it. It’s simple to use, and no one will stop you for using it. You can even have it attached to you camera while you are not using it, as it is light and does not stand in the way that much. The only thing I don’t like about it, is that the screw is fixed in place into it, and when I screw it tightly onto the camera, it never was in the right orientation. So I had to loosen it a little and use the leash to hold it in place.

Overall this is a nice little addition to for any photographer. It’s also quite cheap :)

You can find more information on The Pods website.

View all my other reviews here.

Check the price:


Attach your camera almost everywhere

This review is mostly about the Manfrotto Super Clamp 035, but I will also include my thoughts on the Manfrotto 155RC Double Ball Joint Head as I use them together.

So what is it? The Manfrotto clamp is a great way to attach your camera or light to railings, signs or anything that fits in between it’s teeth. And once it’s closed you won’t be able to move it until you loosen it. You probably first break whatever its connected to, before you get the clamp loose.

clamp-1

Clamps like this are mostly used for attaching lights in studio photography. But as a landscape photographer you will also find a use for it. As there are many places, where tripods are not allowed, or they would just not be stable, you can use a clap to hold your camera. Or even in situations, where there is a heavy wind, the clamp can hold your camera much more stable than a tripod.

clamp-2Clamp fully opened
clamp-3Clamp fully closed


In my experiences, the Manfrotton Clamp holds very well. It can hold to a lot of things and you can’t move it at all while its tightened. I had my Canon 5D mark II on it, with the Canon 70-200 F2.8 lens, while it was hanging from a railing on top of a bridge and it didn’t move at all. You can see the size of it on one of the photos, compared to a double A battery.

clamp-4Inside of the teeth
clamp-5Clamp with the 037 stud


The clamp comes with a plastic part, you can place into the teeth, if you trying to attach it onto a straight surface, like a plank or a table. If you remove it, you can easily attach it to pipes. Based on how you order it (alone or in a set), it can come with a way to attach your camera, but can happen that you will need at least a stud for that. I got the Manfrotto 037 Reversible Short Stud. There are two ways you can attach it to the clamp. You either can screw it in directly into the clamp, or use the hexagonal quick release socket. Both work fine, but using the quick release socket is more secure, as the whole stud is inside the clamp. Of course you can attach a tripod head onto the clamp and then connect the camera to that.

clamp-6Double ball joint head
clamp-7Head with both balls in 90 degree orientation


You can also, as I, use the Manfrotto 155RC Double Ball Joint Head (there are also others). This one is made specially to be used with the clamp, and fits nicely into the quick release socket. It can be also bought together with a quick release plate. You of course can attach any quick release plate on top. As it is a double ball joint, it can be moved into multiple arrangements and it nicely works if you want the camera to be 90 degree to the clamp. The tightening handle is a little big on it, same as on the clamp, which makes the tightening easy, but it’s sometimes in the way. The ball joints hold together very tightly. It’s even hard to move them when there is no camera attached. This is great mostly, but sometimes it makes it hard to compose with the attached camera.
clamp-8
As I said, the clamp is mostly for special situation. It’s easier to just use the tripod, but when that’s not possible, the clap will give you the stability you need. With the 15kg payload it can carry, you can hang a lot from it, and it will be secure. Just take good care about what you connect it to.

clamp-9Clamp attached to a balcony railing
clamp-10Clamp attached to a railing on top of a bridge


Overall this is a good addition for any landscape and especially cityscape photographer. The only thing that stops me from having it all the time with me, is the weight. The clamp, together with the head weights almost 1kg, and that is something I don’t want to carry all the time with me. This is of course due to the material used. Almost everything is metal. Still, If you find yourself a lot of times in the situations where you could use a stable place for you camera, I suggest you give this a try.

You can find more information on the Manfrotto website.

View all my other reviews here.

If you seen my Leash by Peak Design review, you would have seen that I really like it and plan to use it from now on as my main strap. The Cuff is in many ways very similar. It uses the same great material and attachment loops. You get the same versatility of how to connect it to the camera or to anything else. It’s a very practical if you don’t want to use the full strap, and you still want to have the camera attached to you body.

cuff-01

All this is great and I would love this product, if there wasn’t one major flaw. The cuff is too short. It is so short that it was absolutely not usable for me. It didn’t even look like the box shots. As I though there is some problem there, I contacted Peak design, to get some explanations.

cuff-02
cuff-03

And I got my reply. There was a series of cuff made, which was shorter. And due to a design flaw, they are too short for most people. Peak Design offered to send me a new one, with a regular size, so I have to wait for it now.

cuff-04
cuff-06

Overall currently the cuff is not usable for me. I have to wait for a new one to test it. I presume it would be very practical and useful in certain cases, but hard to say now.

cuff-05

My suggestion is,  if you buy it in a shop, try it out first, so you don’t end up with a wrong lenghts. If you already bought it, and it’s too short, try to contact Peak Design support. I will be updating this review once I have the correct length one.

For more information, please visit the Peak design site.

View all my other reviews here.

Every photographer needs a good way to show off his photos. The blog is great for the background story, for a chronological view of how the photographer evolves, but it’s not suitable for a portfolio so much. And that’s where Smugmug comes in play.

I’ve been using Smugmug as my portfolio and picture host for over three years now. It one of the services I use the most in sharing my photos. There are different areas one has to take into account with a service like this, and there are part that I like and that I don’t like. So let’s take a look at them.

smugmug-1

Customisation

Since the last update, it’s very easy to customize your portfolio. Smugmug includes a nice editor and a good set of page elements you can put together to customize your site. Parts as menus, links, images, dividers and more can be just dragged into position and then with few settings tweaked to fit your site. It’s also very nice that you can create different looks without altering your live site, so you can experiment as much as you want. For advanced users you can also go into the html code and create you own page elements.

As I said this is easy to work with, but not without it’s fault. One thing that really initiates me when I customize my site is, that when I place an element onto the page, set the width (for instance 20%) and then place a second element next to it, the editor will set both to 50%. I hate this, because each time I setup my elements, just one click can reset all my settings. Good thing that usually you don’t need to customize it that often.

smugmug-3Customisation interface
smugmug-7Page preview with different theme

Galleries and photos

The photos look great on Smugmug. If you need you can upload full size images and Smugmug will create all the sizes for you. You can also change the look of galleries, have unlisted galleries, have password protected galleries, have Smugmug automatically adding a watermark (depends on the service plan you have activated), have smart galleries, which are populated based on criteria you set and much more. I love being able to create a password protected unlisted gallery to be able to send just a link to a client.

I personally use only one gallery. I used to have multiple, based on the place I took the photo at, but I than moved that to my blog. But still if I ever have time, I will create those as smart galleries.

smugmug-2Default gallery view
smugmug-6Gallery security settings

Reliability

There are two parts to reliability. Let’s look at the good part first. In all the years I’ve been using Smugmug, there was’t a single day when my photos were not accessible. The site was always up and also my blog always displayed all my Smugmug photos without problems. So the visitors always saw the photos that they should see.

On the other side, the one more in the background, I had problems with the site. They newer persisted for long, but they return from time to time. It happened to me that I was not able to upload new photos, that photo thumbnails were not generated, that uploader didn’t load at all, the page constantly logs me out of my account (this one happens a lot), that the android app refuses to refresh and few more. You could think that there is something with my internet connection or my computer, but in the time I been using Smugmug, I changed my computer, I changed the operating system I use, I changed the browser and I been using Smugmug also from other PCs, and it still happens. After the last updates they made, the issues pop up less often, but they are still there from time to time.

smugmug-4Available themes
smugmug-5Photo organizer

Other features and plans

Smugmug offers multiple plans, each one with different pricing. The one to choose is based a lot if you want to use Smugmug to sell prints. As I don’t do that, I use the Power plan, as that gives me the best price/features ratio. But if you want to use also that, Smugmug allows to use multiple printing companies, customize shopping carts and more.

Overall I really like Smugmug. Even with the few bugs I meet with there, I still really suggest you give it a try, and I think that speaks for itself. It is and for a long time to come will be the home for all my photos.

You can try Smugmug for free for a month, but I think you will stay with it once you try :) You can go to the signup page and see all the predefined themes here and you can see my Smugmug page under www.hdrshooter.net.

View all my other reviews here.

Page 10 of 13« First ...9101112... Last »
FREE EBOOK!!!
Subscribe to my newsletter and get a free Capturing fireworks ebook. 
Subscribe