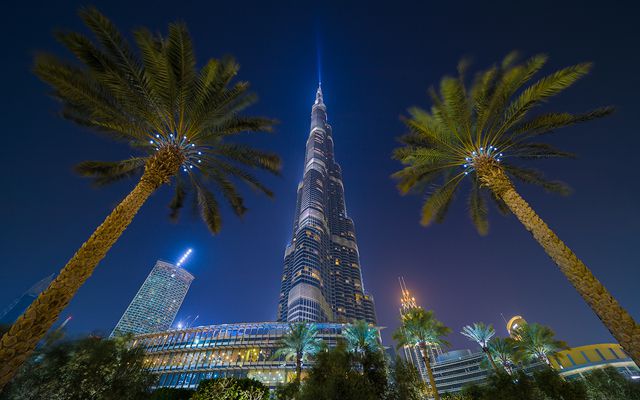
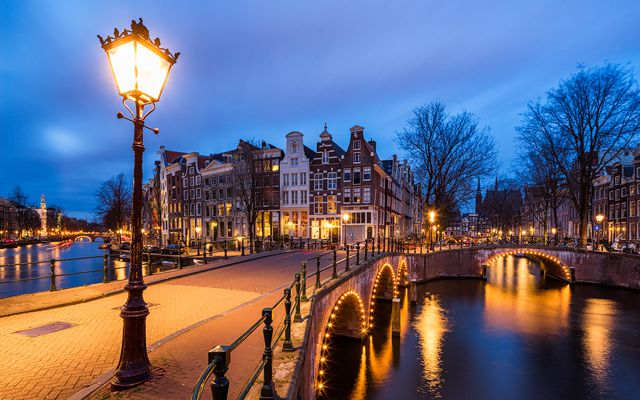
Taking a little rest today, so no new photo, but two new wallpapers for you. And since the 21:9 seem to be most popular, here are two new for you, both in 3440×1440 resolution. As always, you can download them from the wallpapers page.



Free HDR video tutorial
MASTER EXPOSURE BLENDING
Find the best ones
TOP PHOTOGRAPHY SPOTS
Free wallpapers
HIGH-RESOLUTION WALLPAPERS
Taking a little rest today, so no new photo, but two new wallpapers for you. And since the 21:9 seem to be most popular, here are two new for you, both in 3440×1440 resolution. As always, you can download them from the wallpapers page.
First of all, sorry for the late announcement, but it’s always a challenge to synchronize the schedules of busy photographers :)
But before I get to the winners, let me first thank you our sponsor Aurora HDR from Macphun & Trey Ratcliff, for providing the great prizes, our judges Conor MacNeil from TheFella.com
Jonathan Danker from Jonathan Danker Photography, Anthony Gelot from A.G. photographe, and of course to all of you who joined the contest or voted for your favorites.
Don’t forget to try out Aurora HDR. You can get the free trial version right now form Aurora HDR website.
It was quite hard to choose the winner this time, with all judges choosing different favorites at first, but in the end, as the one winner they choose the entry number 70 from Renant Hong Cheng, with the judges praising the clean “real-life” processing he used. As the jury selection winner Renant will receive an Everyday messenger bag by Peak design.

I would also like to mention entries 74 Marklin Ang, 111 Nguyen Thai Thach, 114 ET Choong and 124 Sebastien Gaborit who all were not far from being the winner.
Same as by the jury selection, the voting in the facebook album was really close this time, with multiple photos being very close in the number of likes and only in the end one broke away from the pack. And the winner here with 411 votes, was the entry number 107 from Richie Goh. As a winner of the peoples choice selection, Richie will be recievein a Parrot Jumping Sumo Drone by Parrot.

I will be contacting both winners in the next few hours, so if you are one of them, check you FB messages, and if you don’s see one from me, contact me there or via my email miroslav.petrasko@hdrshooter.com.
Again thank you very much to everyone and I hope to be able to make another round for you again :)

This is another photo I took last weekend. I really liked as around the sunset, one could see only the outlines of the hill in the distance, so I zoomed in as much as I could to compress the view, and in the end I chosen to do a panorama, to get most of the mountains.
This is a panorama from two exposures, merged in Lightroom, edited in Photoshop.

I’ve been experimenting recently with just working with one exposure. It’s actually quite typical for me, to try new stuff early in the year, and this is it for this year :) So instead of using multiple exposures, I try to get the most from a single one. And that’s also for this photo of the Podersdorf-am-See Lighthouse .
This is a single exposure, edited in Lightroom and Phototshop.

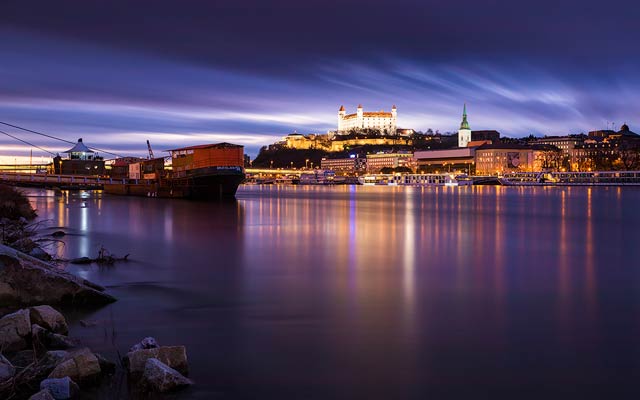
Today I will show you how I edited this photo of the new Old bridge in Bratislava. So let’s get started :)
As you can see from the comparison of the final and starting photos, my main goal here was to brighten the shadow areas, to get at least some detail in them, and to darken the middle part around the horizon.


I started with correcting the chromatic aerations in Lightroom and not much else there. I exported all the files and loaded them into Oloneo Photoengine. The result I got here, was really close to what I wanted, but there were still few more tweaks needed. All I did in Photoengine was to move the strength slider until I got an even lit image.


From there I loaded all the files into PHotoshop, and did the following edits (layers numbered from bottom up):
1. Photoengine result
2. -2EV exposure, to darken few light in the distance.
3+4. -1EV and 0EV exposures, from which I painted in few parts of the water. HDR usually removes makes the water very soft when combining the images, and I wanted a bit of detail there.
5. On a merged layer, I removed any dust spots and also removed the white outlines from the bridge (check out this tutorial for more about this)
6. To add more detail and contrast into the water, I used Color Efex Pro Tonal Contrast, and painted in using a mask just into the water.
7. Added a little saturation into the sunset colors around the horizon.
8. To brighten the rocks in front, and few parts of the bridge, I went back to Lightroom, and exported a version of the +1EV exposure, which I exposed by a stop. Then I loaded it as a new layer, and used luminance masking to apply it to few spots.
9. At the end, I found a few ghosted cars far in the distance, which I corrected from the -1Ev exposure.

And that’s all I did with to get the final photo :)