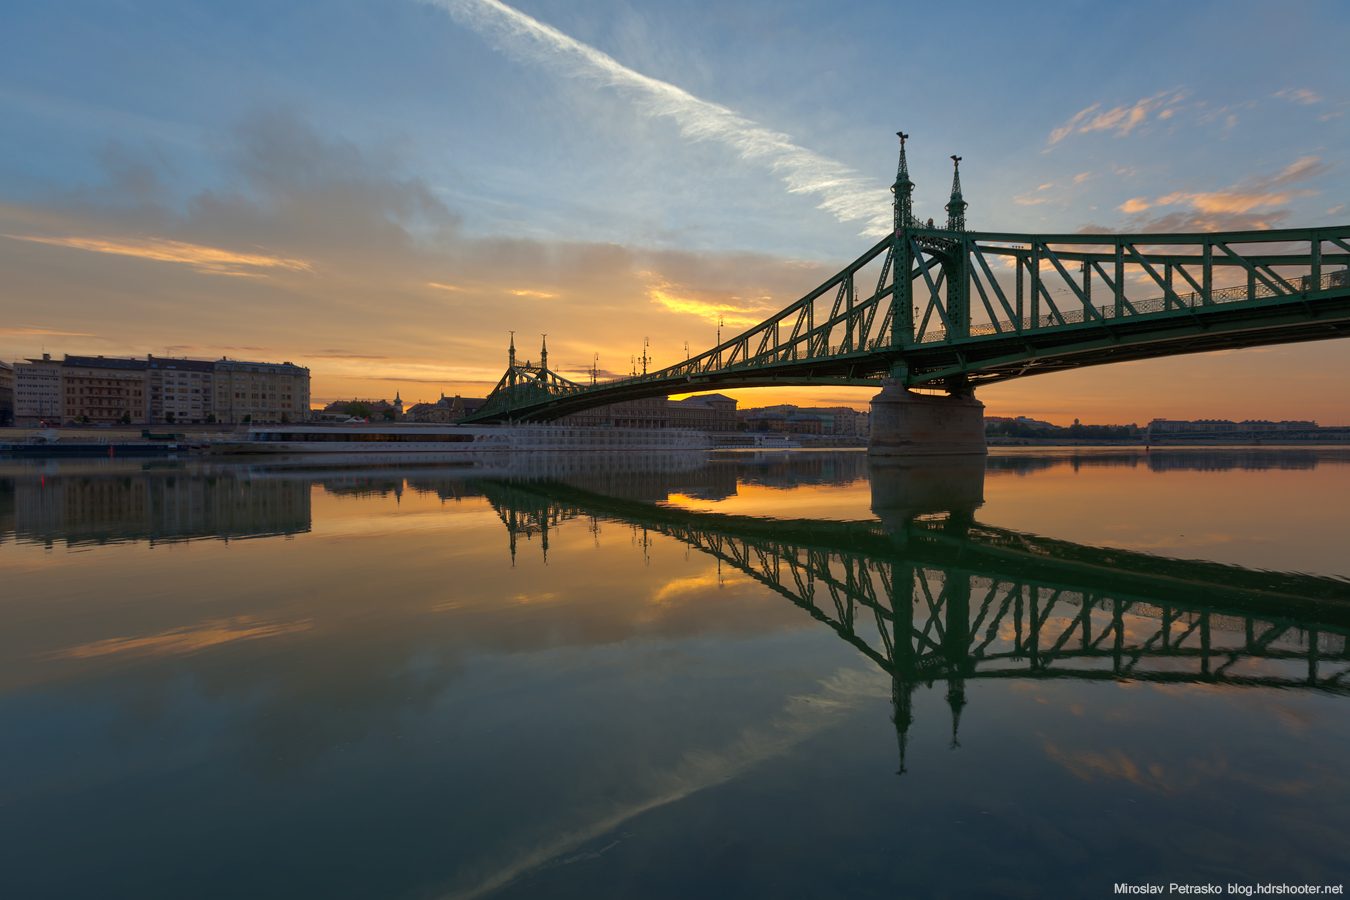
As usually, another Tuesday, another process post. For today I chosen a sunrise photo of the Liberty bridge in Budapest. So let’s get to it :)

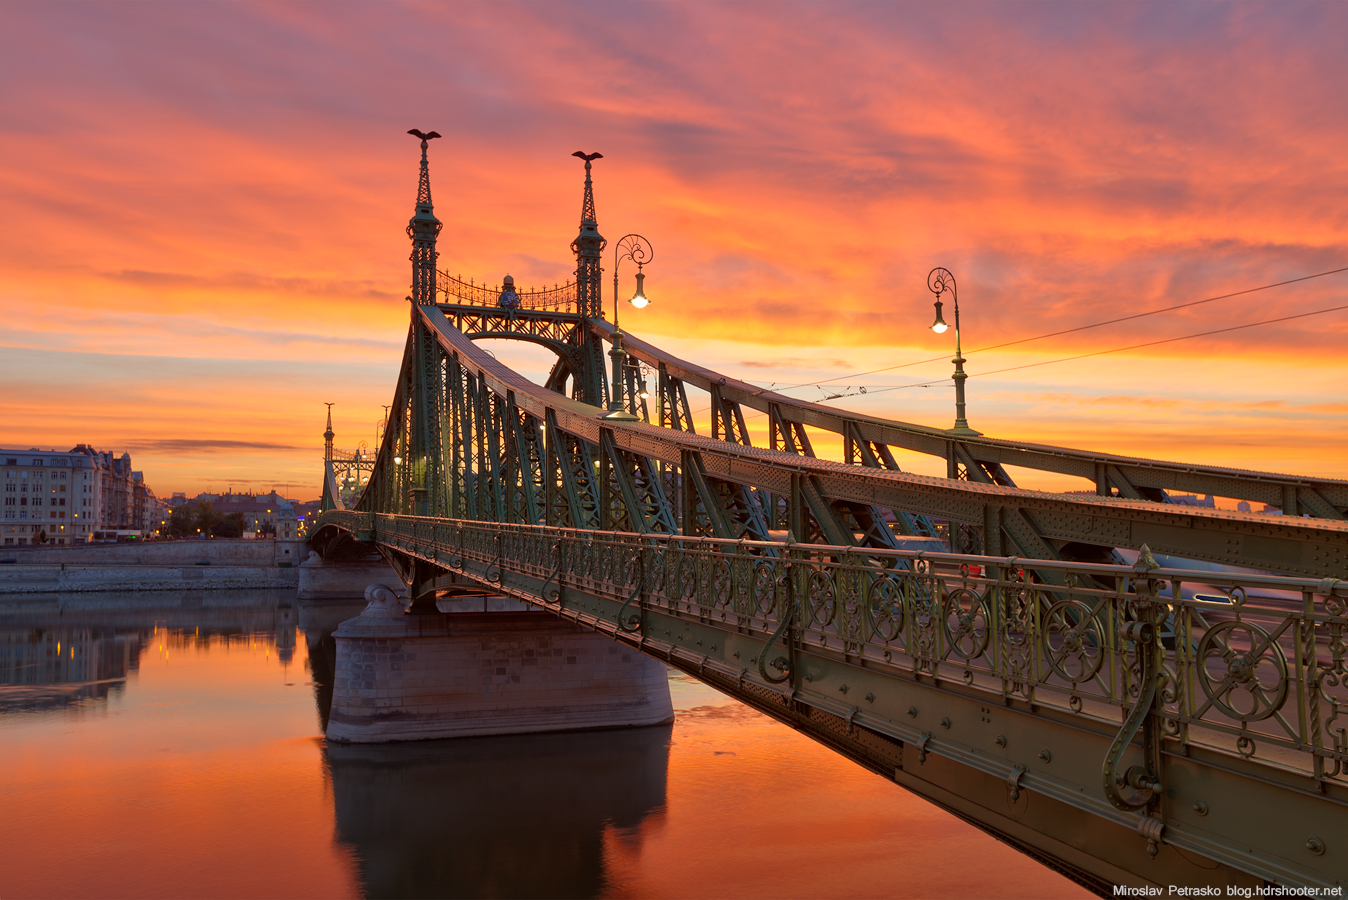
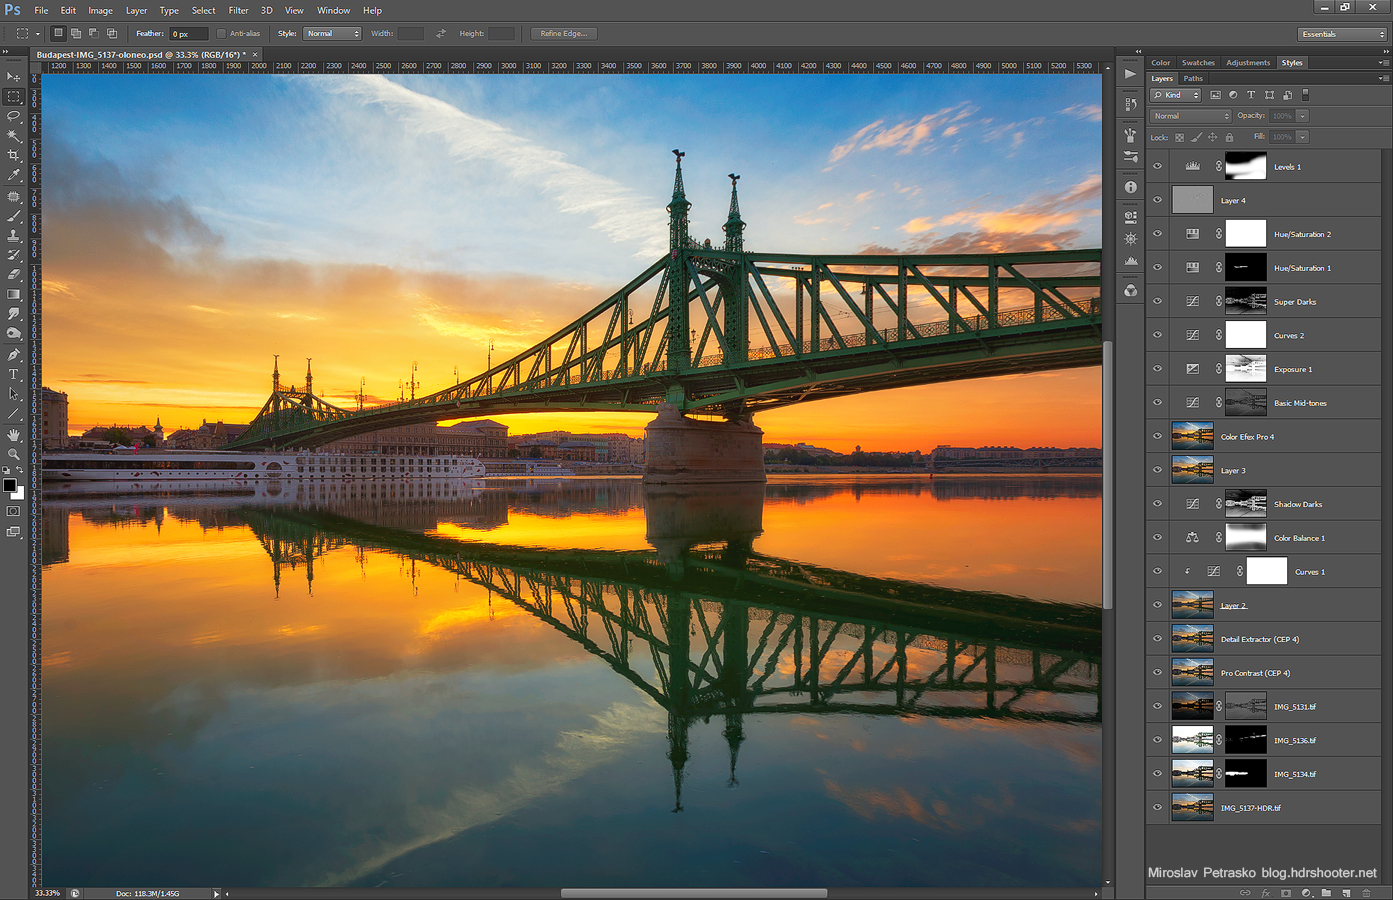
To get this final result
Burning sky

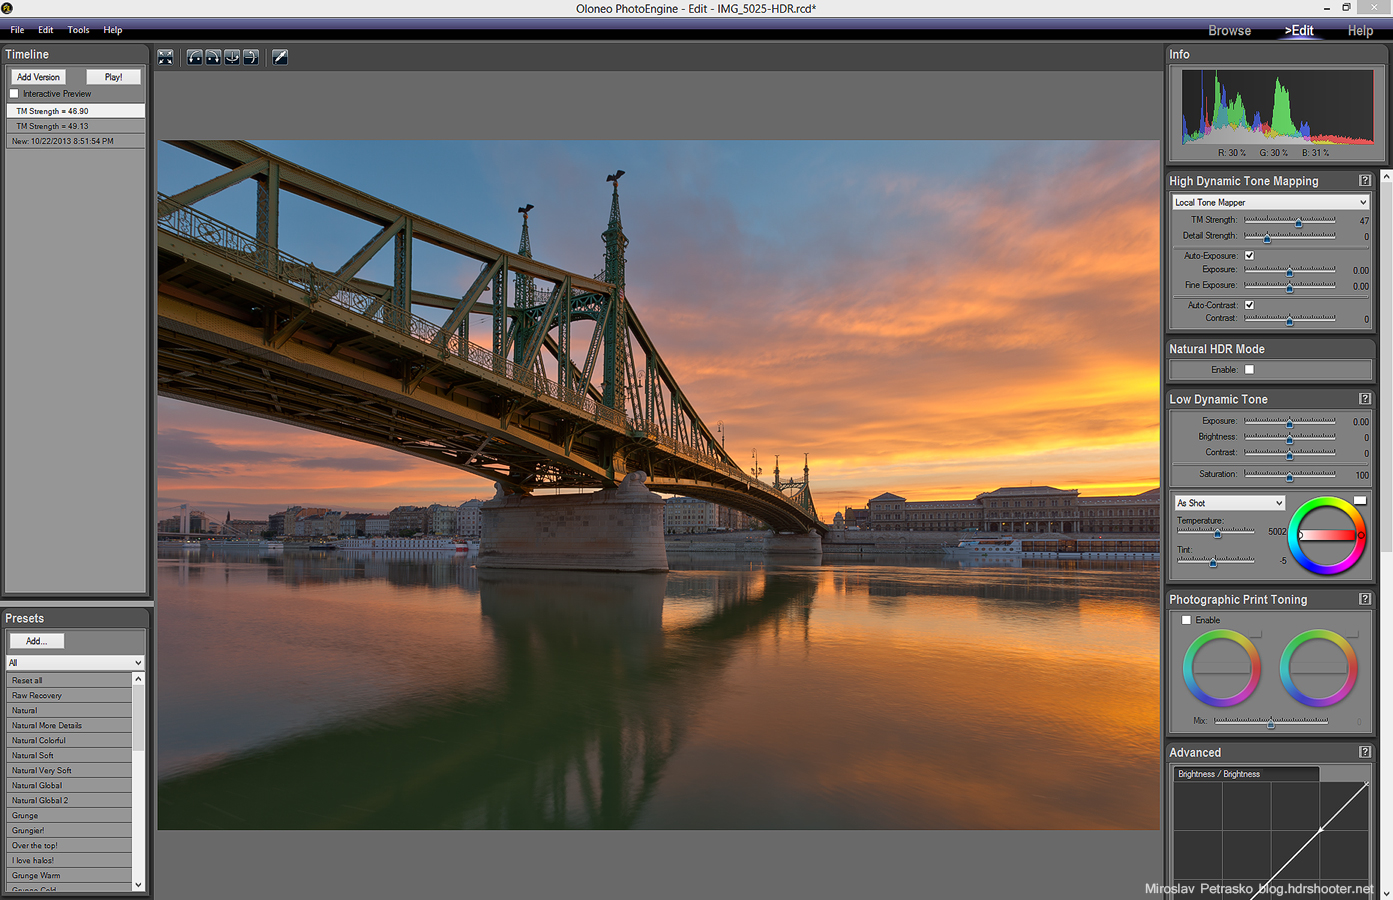
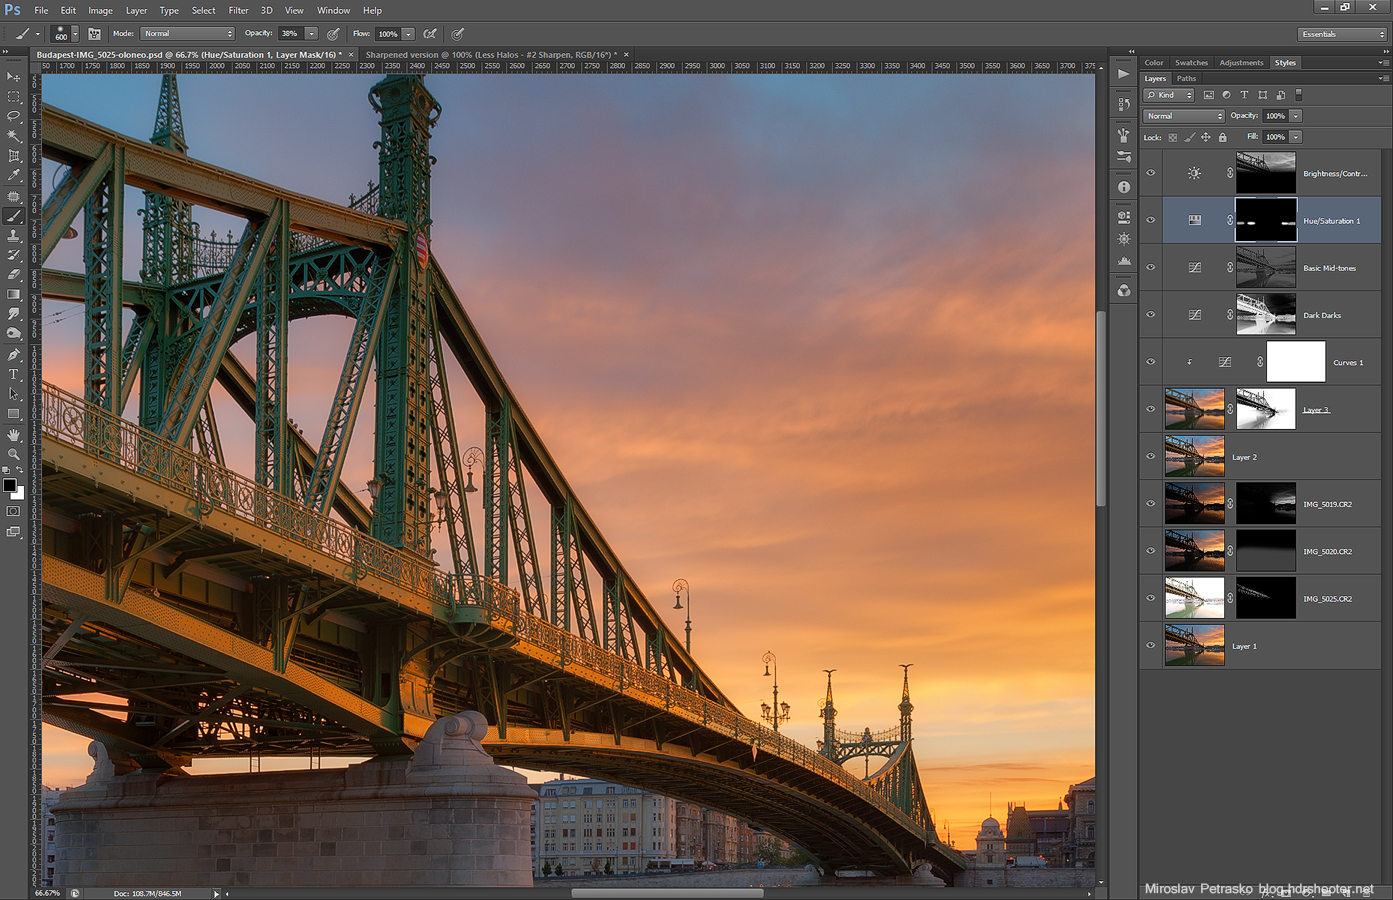
I first corrected the lens distortion and white balance in Ligtroom and exported all the files as 16bit tiff image. I loaded them into Oloneo photoengine and merged them. As always, I only change the strength, nothing else. I saved the result as another 16bit tiff file. After that I loaded all the files into Photoshop.

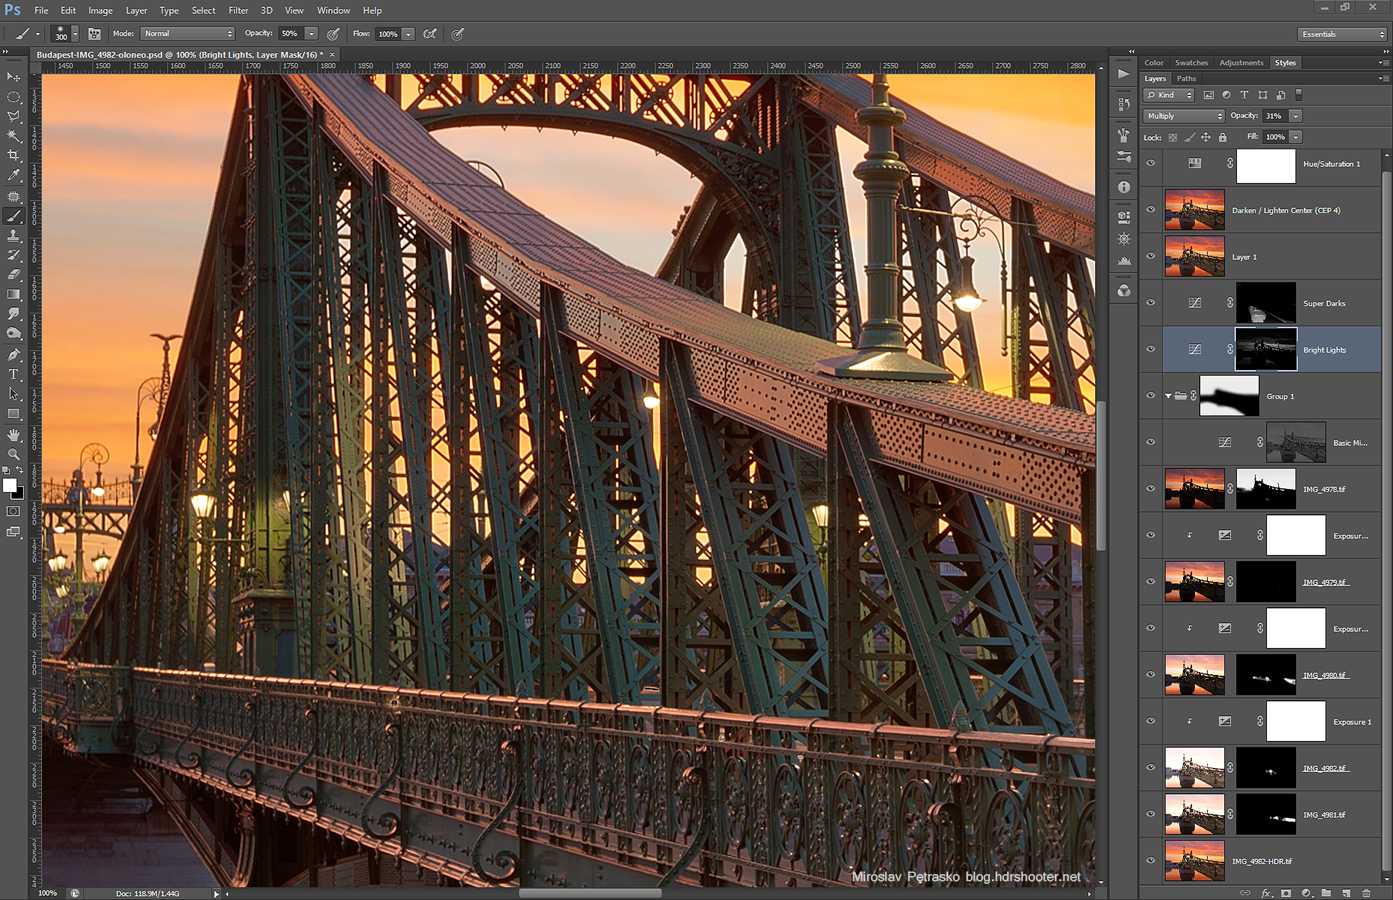
There I did the following (numbered from bottom up):

1. Oloneo result
2. +1EV exposure to get rid of the car in the shot
3+4. +2EV exposure and a exposure layer that darkens it by one stop, which I used to get rid of another part of a car
5+6. 0EV exposure and a exposure layer that brightens it by one stop, which I used to get rid of the rest of the car
7+8. -1EV that has been brightened by 2 stop, to correct a very small part in the image
9. darkened the sky from the -2EV exposure
10+11. added contrast to the basic mid-tones, and then the layer was put into a folder, so I can create a secondary mask, and remove it from the bridge
12. darkened the brightest light
13. brightened the bottom part of the bridge
14. a little bit of noise reduction
15. Color effex Darken/Lighten center to create a vignette
16. toned down the overall saturation of the image

Burning-sky-process

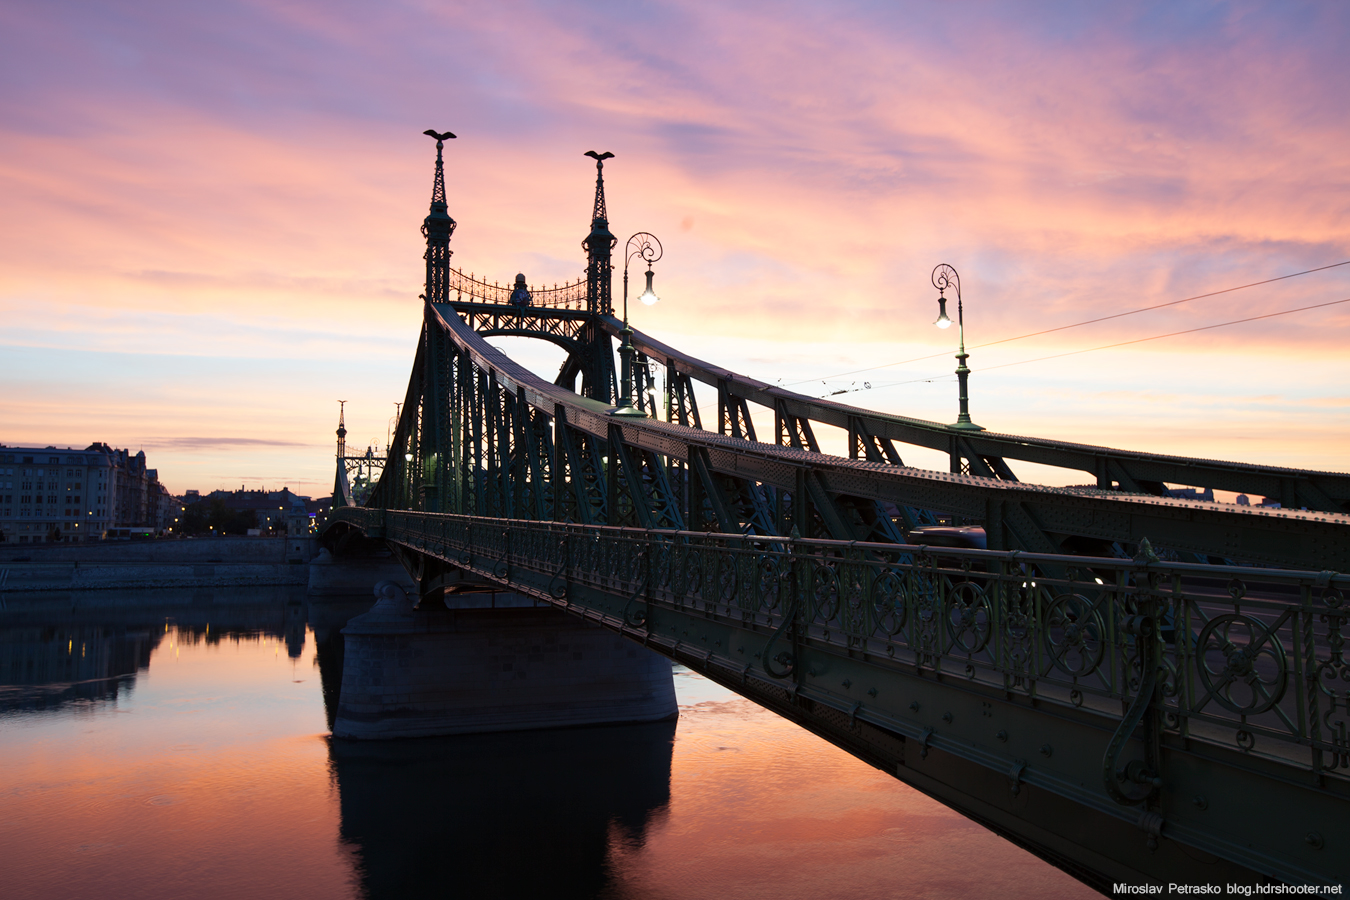
And that’s all. Feel free to ask any question and here is the oloneo result and the original 0EV exposure.

Burning-sky-oloneo
Burning-sky-original

Another tuesday, another process post. Today I chosen a photo from budapest, where I managed to keep a nice realistic feel to it.

So lets get to it. To get this final shot, I did the following:
Calm waters

I merged all the files in Oloneo Photoengine, where I only changed the strength.
Calm-waters-oloneo-process

From there I loaded the HDR result with the original brackets into Photoshop and I did the following edits (numbered from bottom up):
1. The result from Oloneo Photoengine
2. +2EV exposure to brighten few parts of the bridge
3. -1EV to bring donw the brightness of the water a little
4. -2EV to darkend the sky a little
5. Color efex Pro contrst, to get more detail in the photo (and only on 60% visibility)
6+7. Added glow to the photo (view my glow tutorial) but I removed it from the darkest areas, as it made them too dark
8. added even more brightenss to the darkest areas
9. added contrast to the basic midtones
10. removed the blue color cast from the ships
11. darkened the sky a little

Calm-waters
and thats all. I tryed to put all the stages into a gif, but it looks a little boring, but still maybe some of you will find it intersting. And here is the Photoshop screenshot.Calm-waters-process

Please continue to the full post to see the Oloneo Photoengine result and the original 0EV exposure from the camera.

Another Tuesday, another process post. For today I chosen a photo I took around midnight in Paris. As you will see, this were and easier edit, where I only had to correct few things.

So to get this result
Midnight Drivers

I did the following edits in Photoshop (layers nubmered from bottom up)
1. I started with the +1EV exposure
2+3. darkened few areas from the 0EV exposure, and also pushed the 0EV towards darker tones with the levels adjustment
4. still few more areas corrected from the -2EV exposure
5. there was detail missing in the bottom left corner, so I added it using the high pass filter
6+7. added glow (veiw my glow tutorial)
8. added 0.7 exposure to almost the whole image. I do this quite often, as higher exposure makes the photo more colorfull and vibrant.
9. added more contrast to the bright areas of the photo
Midnight-drivers-process

And that was all. Continue to the full post to see the original 0EV exposure

Another Tuesday, another process post. Today I chosen one where I did only a little edit, as I liked the photo quite a lot.

So to get this final photo:
Tunnel reflection in Birmingham

I fist imported the photos into Lightroom, cropped the image and corrected the white balance. Then I exported all the files into layers in Photoshop. There I did the following edits (numbered from bottom up)

1. 0EV exposure
2+3. -1EV and -2EV exposure to darken the middle part of the photo
4+5. +1EV and +2EV exposure to brighten the bricks of the tunel
6. added detail using the high pass filter
7. added contrast to the basic mid-tones (mask created using TK actions)
8. color balance for the center part, as it was too blue
9. curves adjustment for the center part, as it needed more contrast
10. added glow (check out my glow tutorial)

Tunnel-reflection-in-Birmingham-process

and that’s all. As you see, not every image needs a ton of layers :)
Continue to the full post to see the original 0EV exposure.

I’m currently preparing blog posts for the whole next week (as I will be traveling) and don’t have enough photos edited, there is another process post today. So another oportunity to lear something from my process :)

Today it’s a sunrise photo from Budapest. This was a two stage edit, as I also used Oloneo Photoengine. So to get to this result:
The morning reflection

I took 7 photos, corrected white balance and leveled the horizon in Lightroom and then exported all as 16-bit Tiff files. Imported those to Oloneo Photoengine and combined them. I use only one slider there, TM Strength, and usually move it to aroudn 40-60. Like this I only push down the brightness difference between dark and light areas and give myself a good start for further edits. The result from Oloneo looked like this:
The-Morning-reflection-oloneo

I then loaded it, with the original brackets into photoshop, and did the folowing edits (numbered from bottom up)
1. Oloneo result
2. 0EV exposure to correct the ship, as it was moving
3. +2EV to brighten few areas on the bridge
4. -2EV to darken most of the image (it was just too bright)
5. Color efex pro contrast preset used to get more detail from the image
6. Color efex detail extractor preset on a low setting, to get even more detail. It was mostly needed on the buildings
7+8. Glow effect (check out my glow tutorial)
9. color balance to make the sunrise more yellow
10. brightened the shadows to make the light more even
11. nothing, I just needed the merget layer for Color efex, and forgot to delete it :)
12. Color efex Darken/Lighten center, to darken the corners and lighten the center (so the image pulls your eyes more into the sunrise)
13. added contrast to basic midtones
14. added more exposure to the image, but not to the brightest parts. At this stage of the edit I was just tweaking the final look, making small changes.
15. added overall contrast
16. brightened the darkest parts again
17. desaturated the ship, so it’s white
18. removed a little bit of saturation from the whole image
19. added detail with the high pass filter
20. still was not satisfied with the brightenss in few parts, so corrected it with a levels channel
The-Morning-reflection-process

And thats all :)
Continue to the full post to see the original 0EV exposure.

Page 16 of 24« First ...101516171820... Last »
FREE EBOOK!!!
Subscribe to my newsletter and get a free Capturing fireworks ebook. 
Subscribe