While taking this shot, the clouds were passing by quite fast. So each time, I took few shots, the clouds covered everything, I waited until it cleared and took few shots again. It was actually quite fun :)
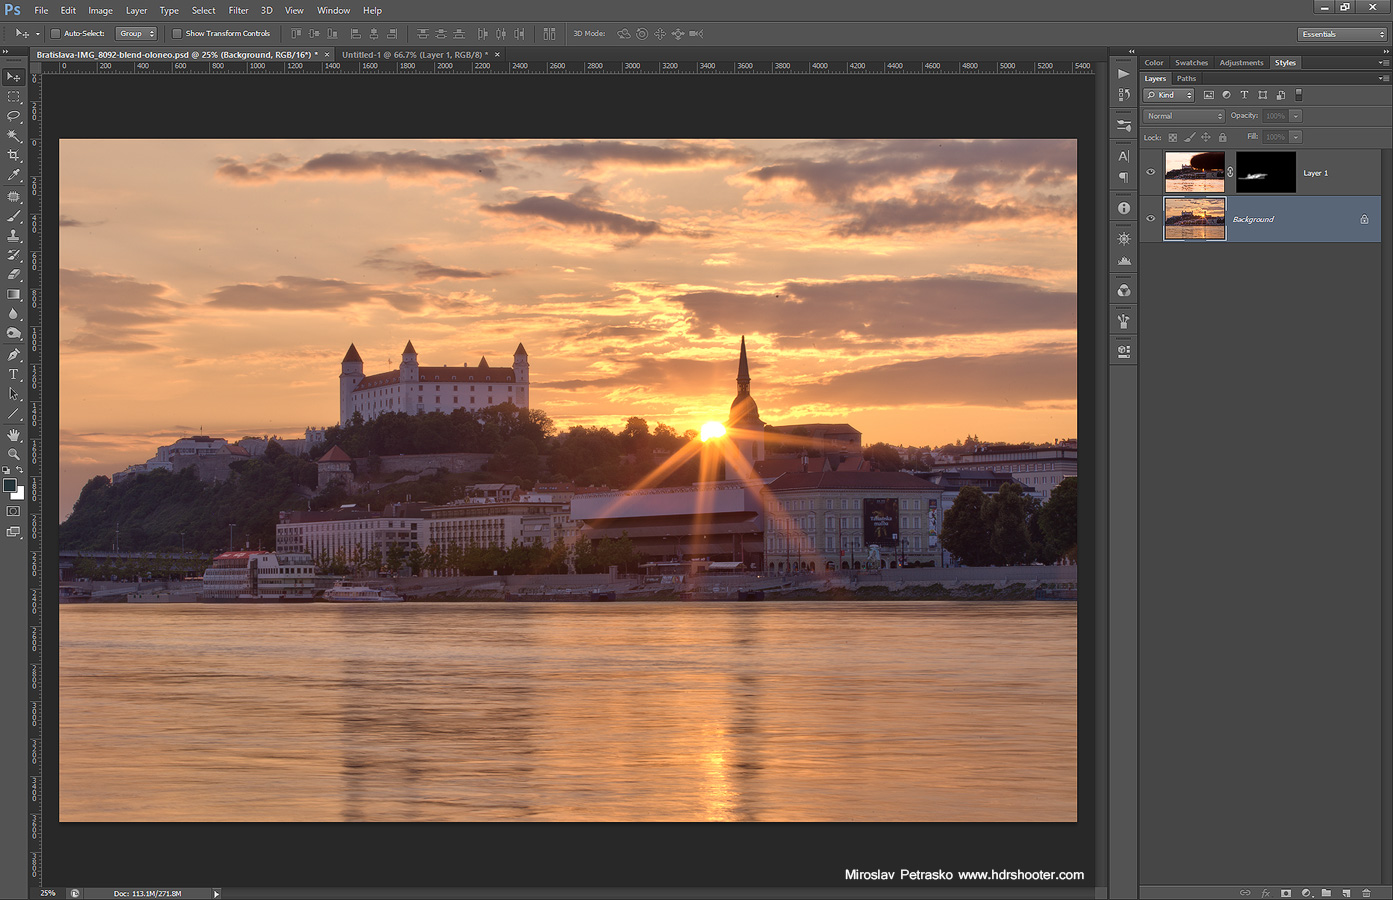
This one was also taken from the Edelweisspitze, and it is a HDR from three exposure, created in Oloneo Photoengine. You may notice quite a lot more photos now created only from three exposures, as the Sony does not allow for 5 exposures from -2 to +2, so I either use three form -1 to +1 or from -2 to +2. It works mostly just fine. If I’m not sure, I do the bracketing manually.

Technique: Oloneo Photoengine, Number of exposures: 3, Camera Model: Sony a7R + Metabones Adapter ver. IV, Lens: Canon 16-35mm F2.8, Focal length: 16mm, Aperture: 16, Middle exposure time: 1/80s, ISO: 100, Tripod used: yes, Location: 47.123674, 12.831890