Having a table top tripod in the bag when one tries to take a shot from very low above the ground is very handy. Of course the day I took this photo I had none, but I ordered it immediately afterwards :)
This is a HDR from 5 exposures, created in Oloneo Photoengine, finished in Photoshop. Photo taken at the Neusidlersee in Austria.

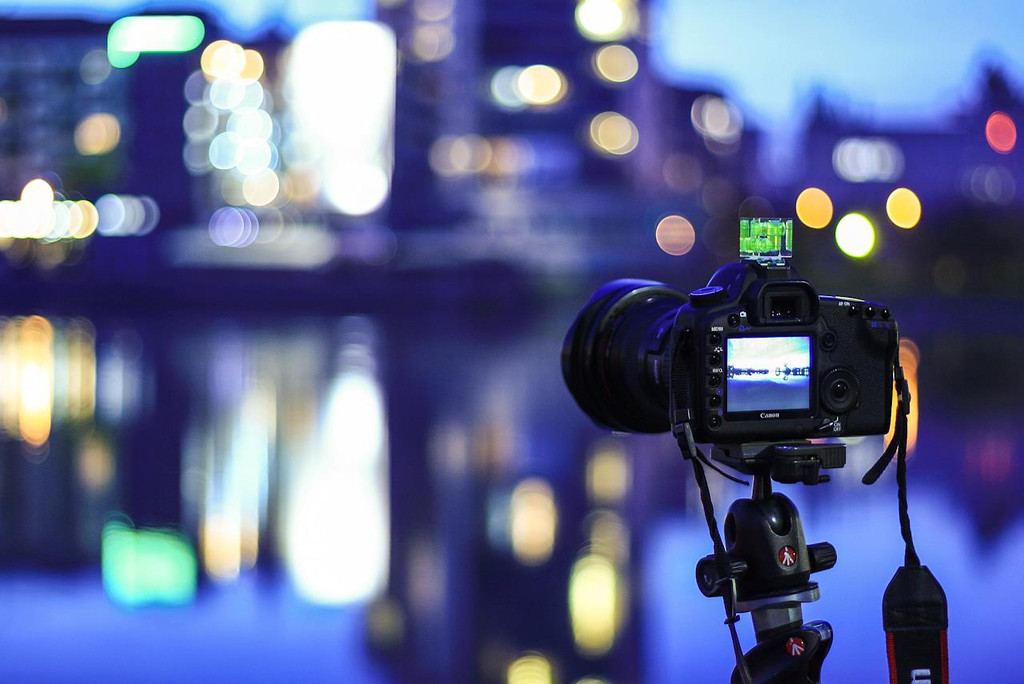
Technique: Photoshop edit, Number of exposures: 5, Camera Model: Canon EOS 5D Mark II, Lens: Canon 16-35mm F2.8 IS II, Focal length: 35mm, Aperture: 14, Middle exposure time: 1/4s, ISO: 200, Tripod used: yes, Location: 47.860188″, 16.827815