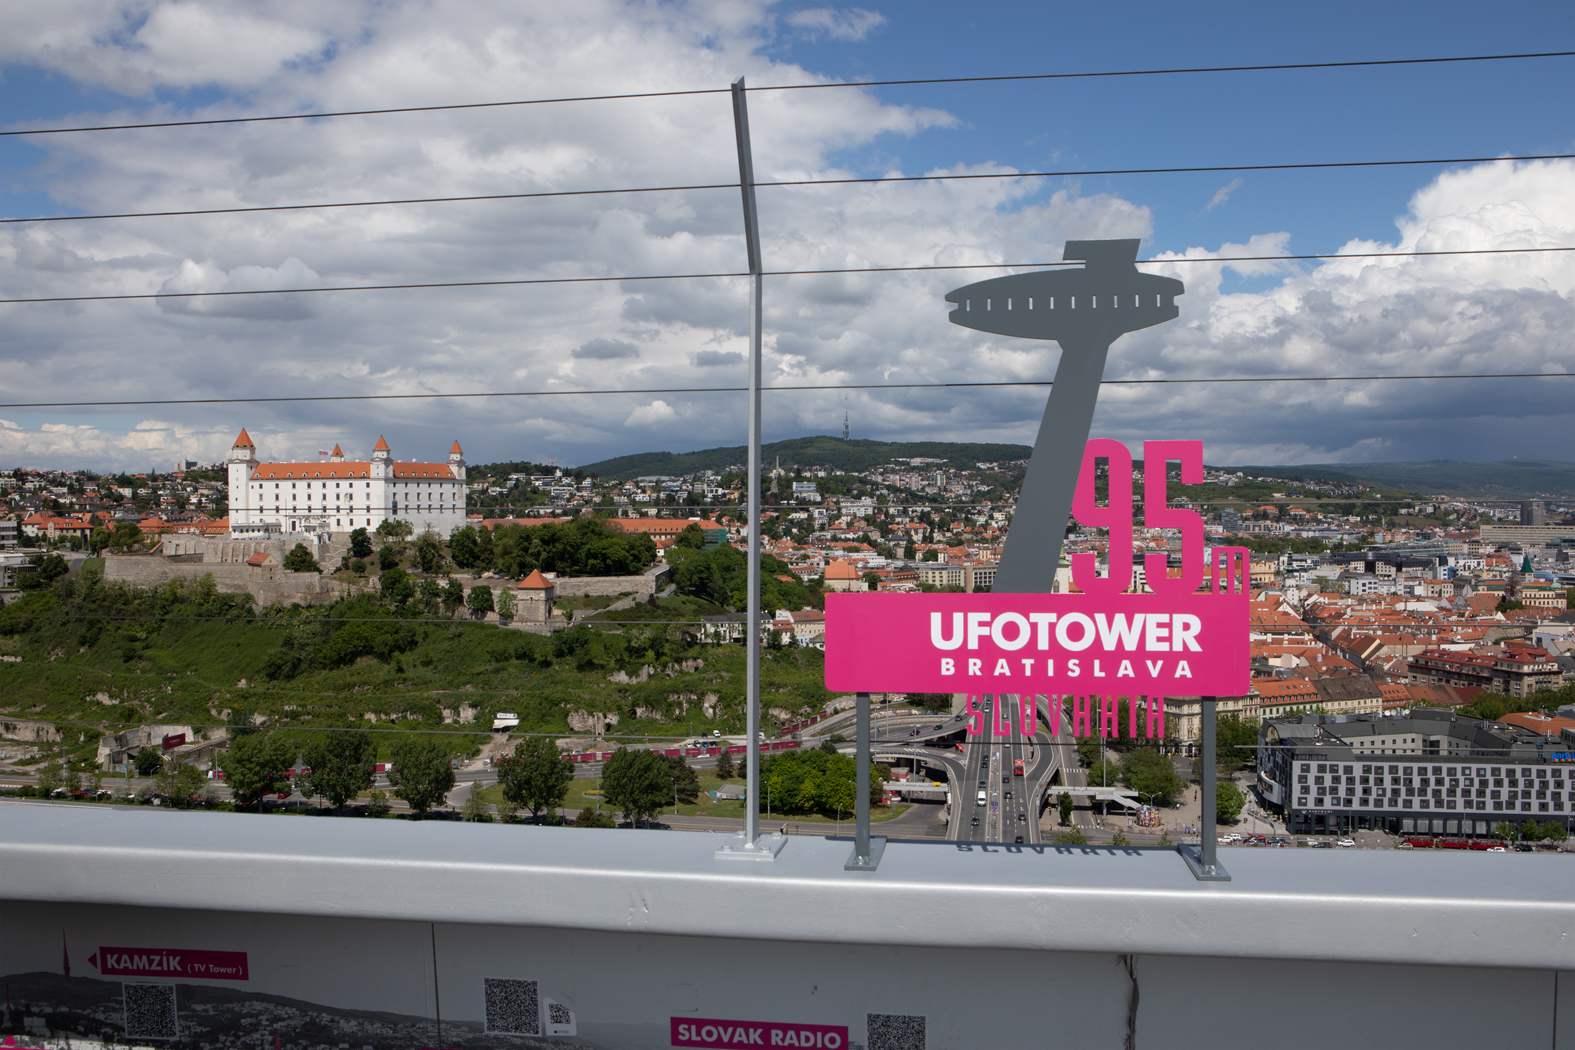
The new UFO tower sign
Yesterday I posted a photo from the top of the SNP bridge and today it’s another one. When I got there, I noticed they installed this new sign, showing the height of the UFO tower. Was definitively not there in February when I was the last time there. I think it was done so the visitors can take photos with it, and I saw a lot doing so. But of course, I also wanted to use it as a foreground element in the photo.
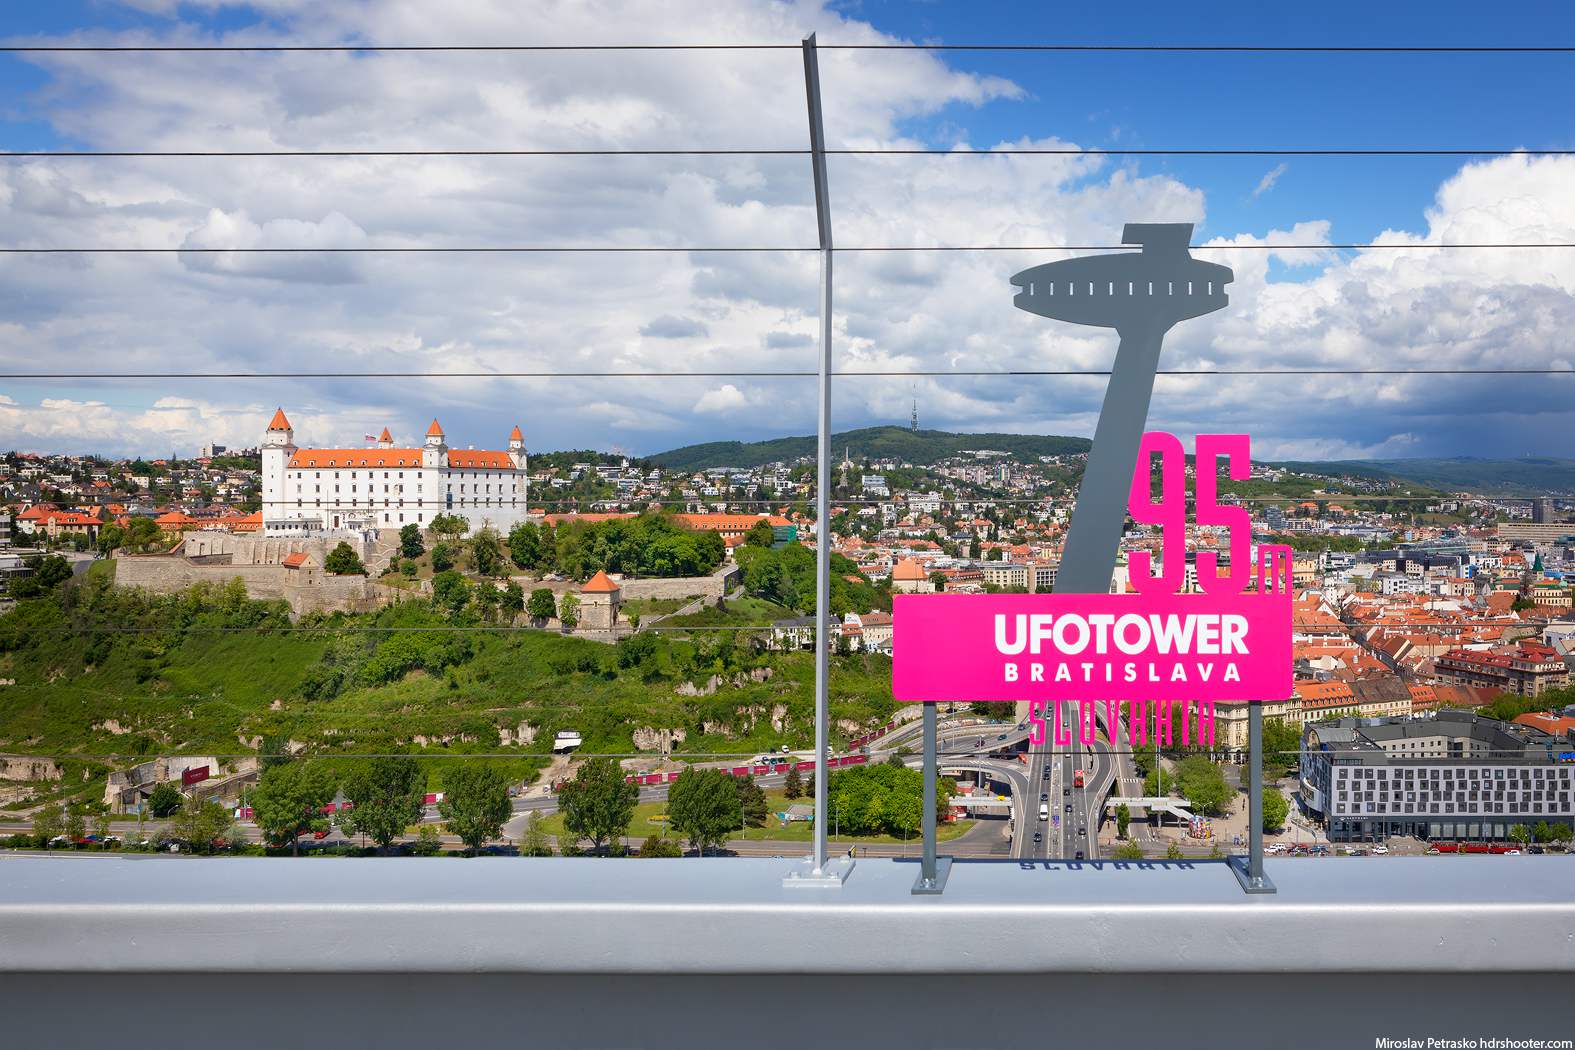
I tried different views but ended up with on straight on. I wanted the castle to the side of the sign, and in different views, I mostly had the pillar in the middle of it. I did not like that. I had to also be very quick, as a bigger group of tourist just got to the top of the UFO tower, and they walked into the shot almost immediately after I took it.
This is a single exposure edit. While I did take multiple exposures I could not use them. It was crazy windy and they just would not align perfectly. So I rather took the same exposure, created a second copy, overexposed it and then used it instead. Edited in Photoshop.

And since I did a lot of perspective correction on this one, I thought I show you a before/after here. Mostly I’m trying out a new plugin here, as I want to use the before/after slider in my reviews, and want to be sure it works fine :)