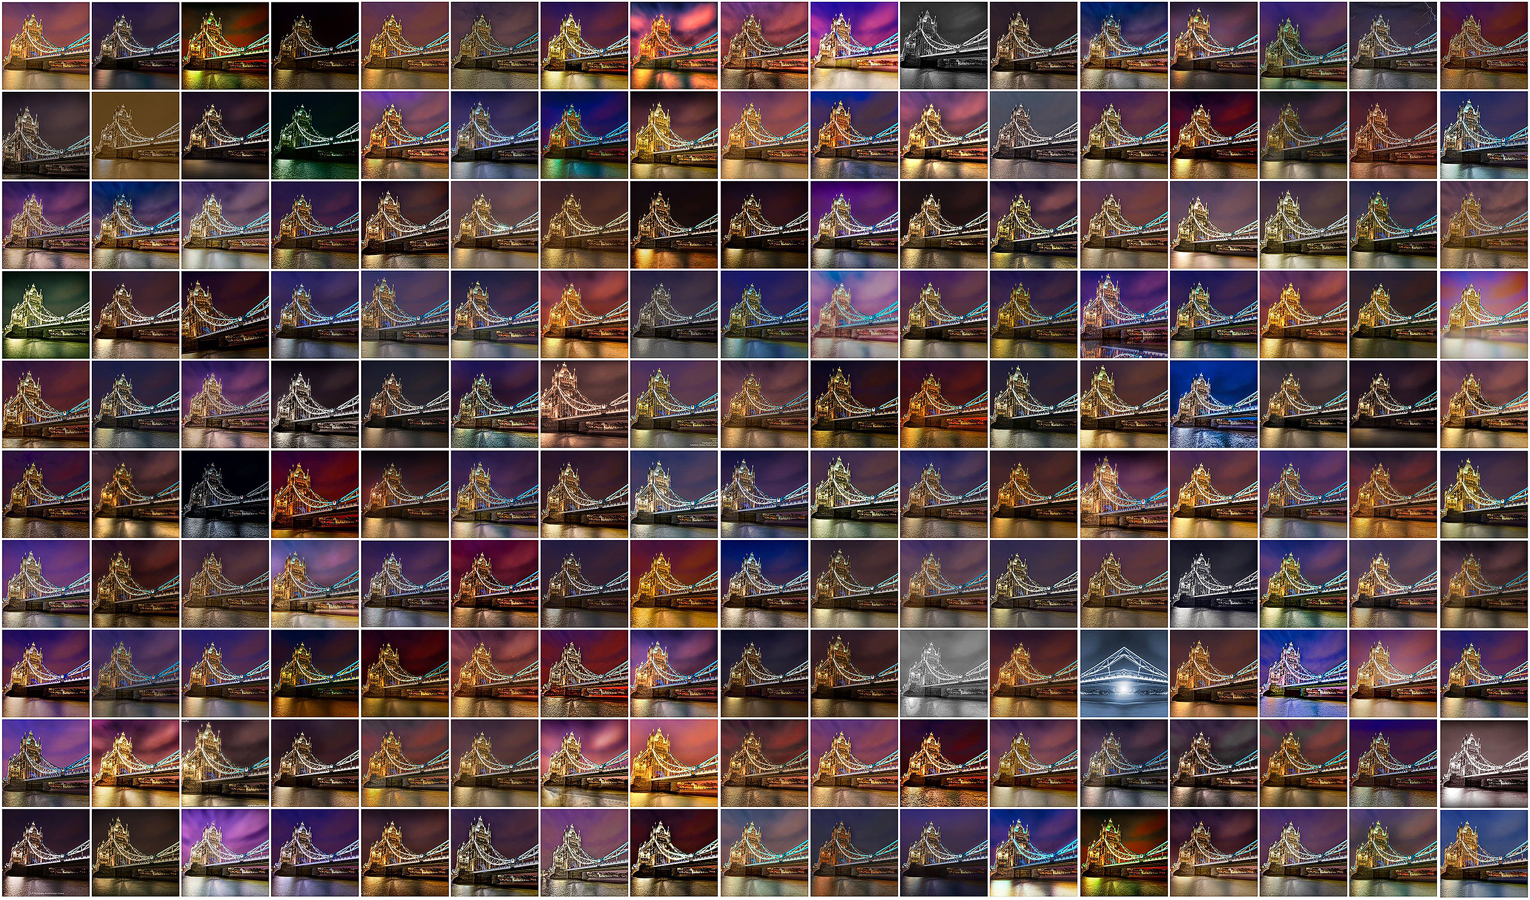
Every photographer needs a good way to show off his photos. The blog is great for the background story, for a chronological view of how the photographer evolves, but it’s not suitable for a portfolio so much. And that’s where Smugmug comes in play.
I’ve been using Smugmug as my portfolio and picture host for over three years now. It one of the services I use the most in sharing my photos. There are different areas one has to take into account with a service like this, and there are part that I like and that I don’t like. So let’s take a look at them.
Customisation
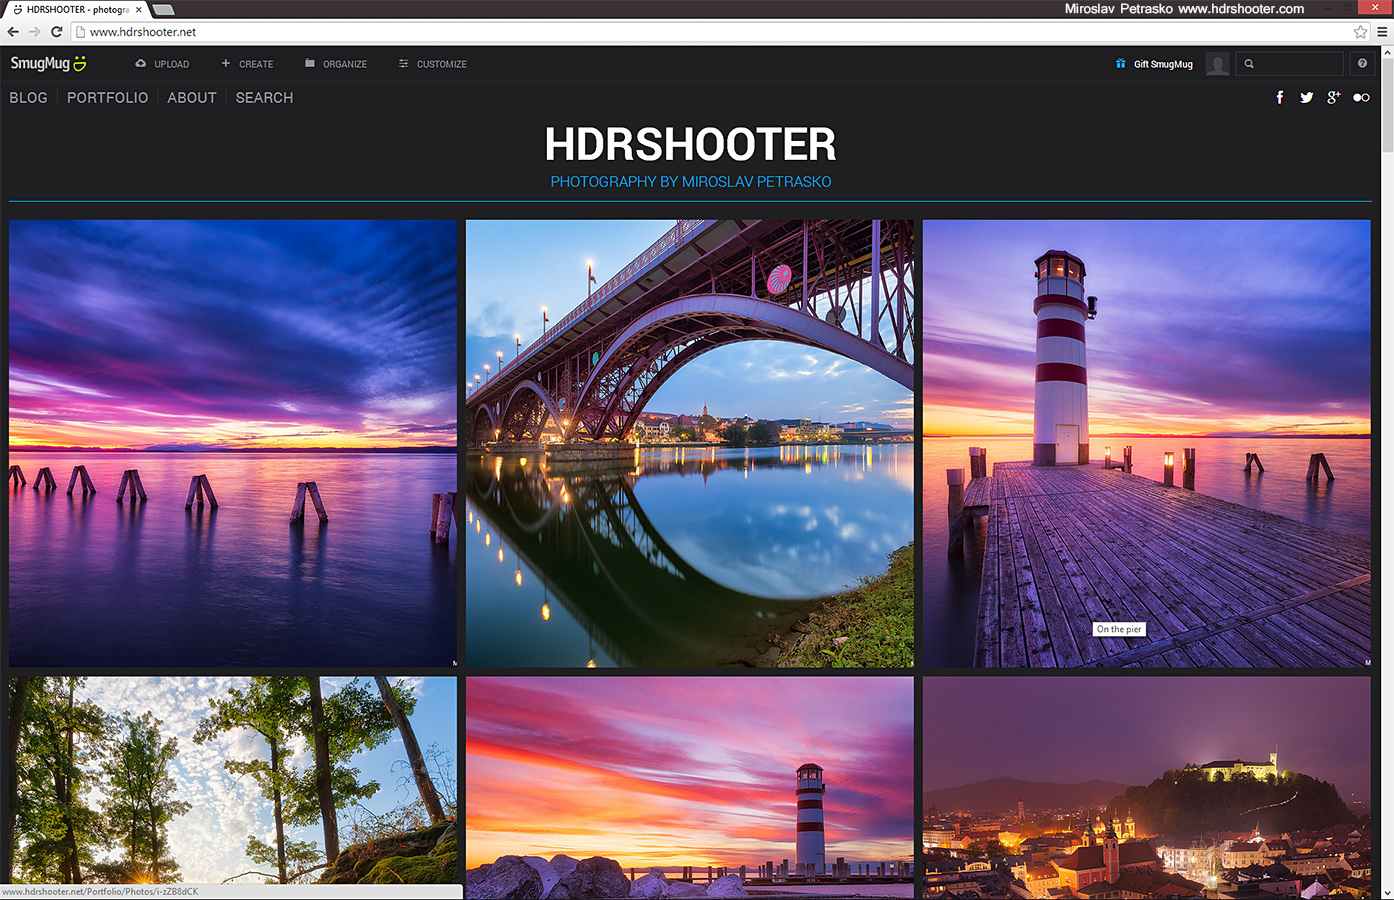
Since the last update, it’s very easy to customize your portfolio. Smugmug includes a nice editor and a good set of page elements you can put together to customize your site. Parts as menus, links, images, dividers and more can be just dragged into position and then with few settings tweaked to fit your site. It’s also very nice that you can create different looks without altering your live site, so you can experiment as much as you want. For advanced users you can also go into the html code and create you own page elements.
As I said this is easy to work with, but not without it’s fault. One thing that really initiates me when I customize my site is, that when I place an element onto the page, set the width (for instance 20%) and then place a second element next to it, the editor will set both to 50%. I hate this, because each time I setup my elements, just one click can reset all my settings. Good thing that usually you don’t need to customize it that often.
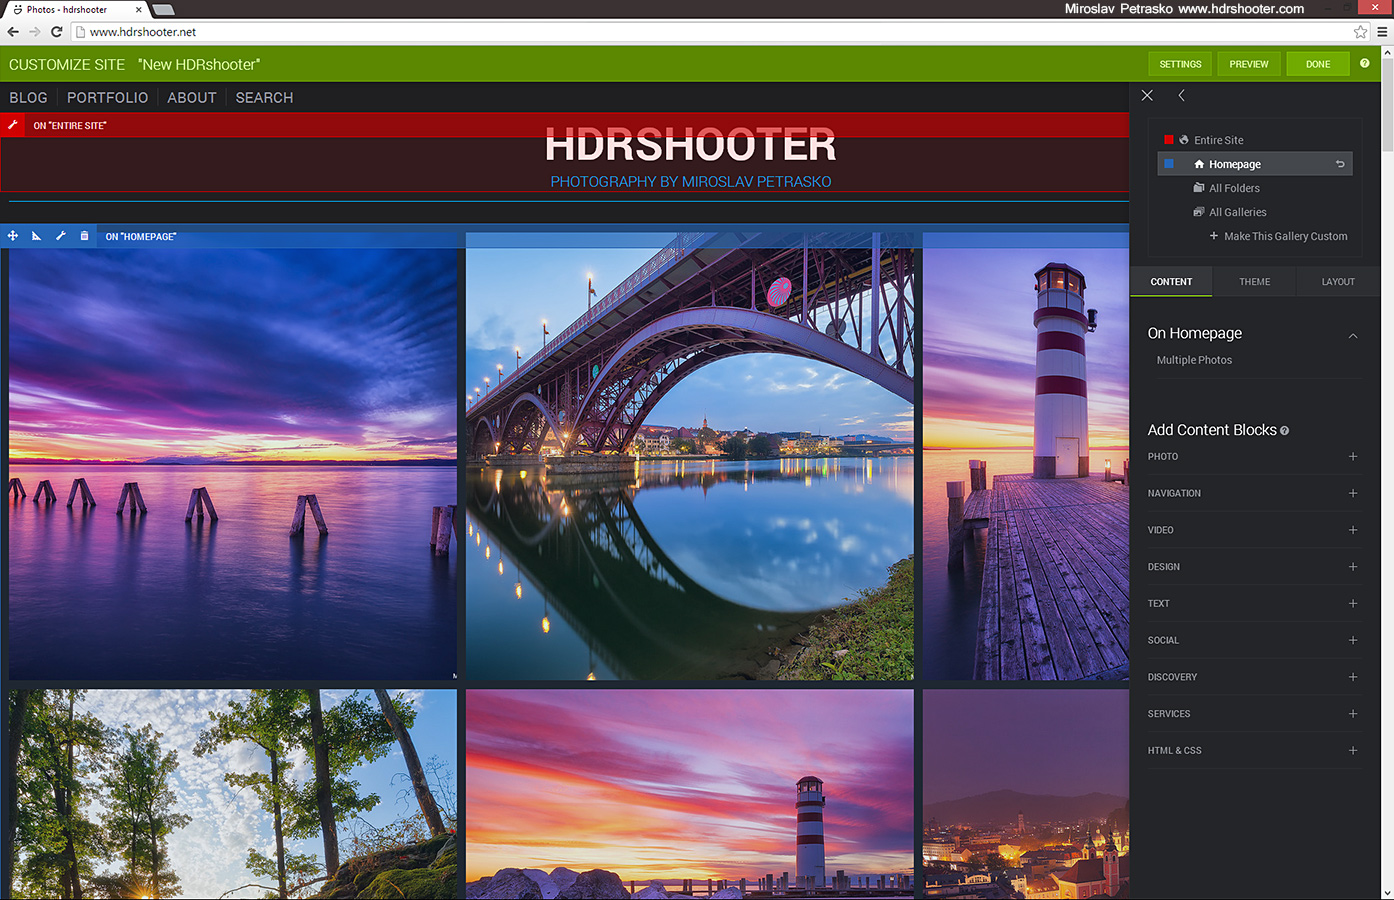 Customisation interface
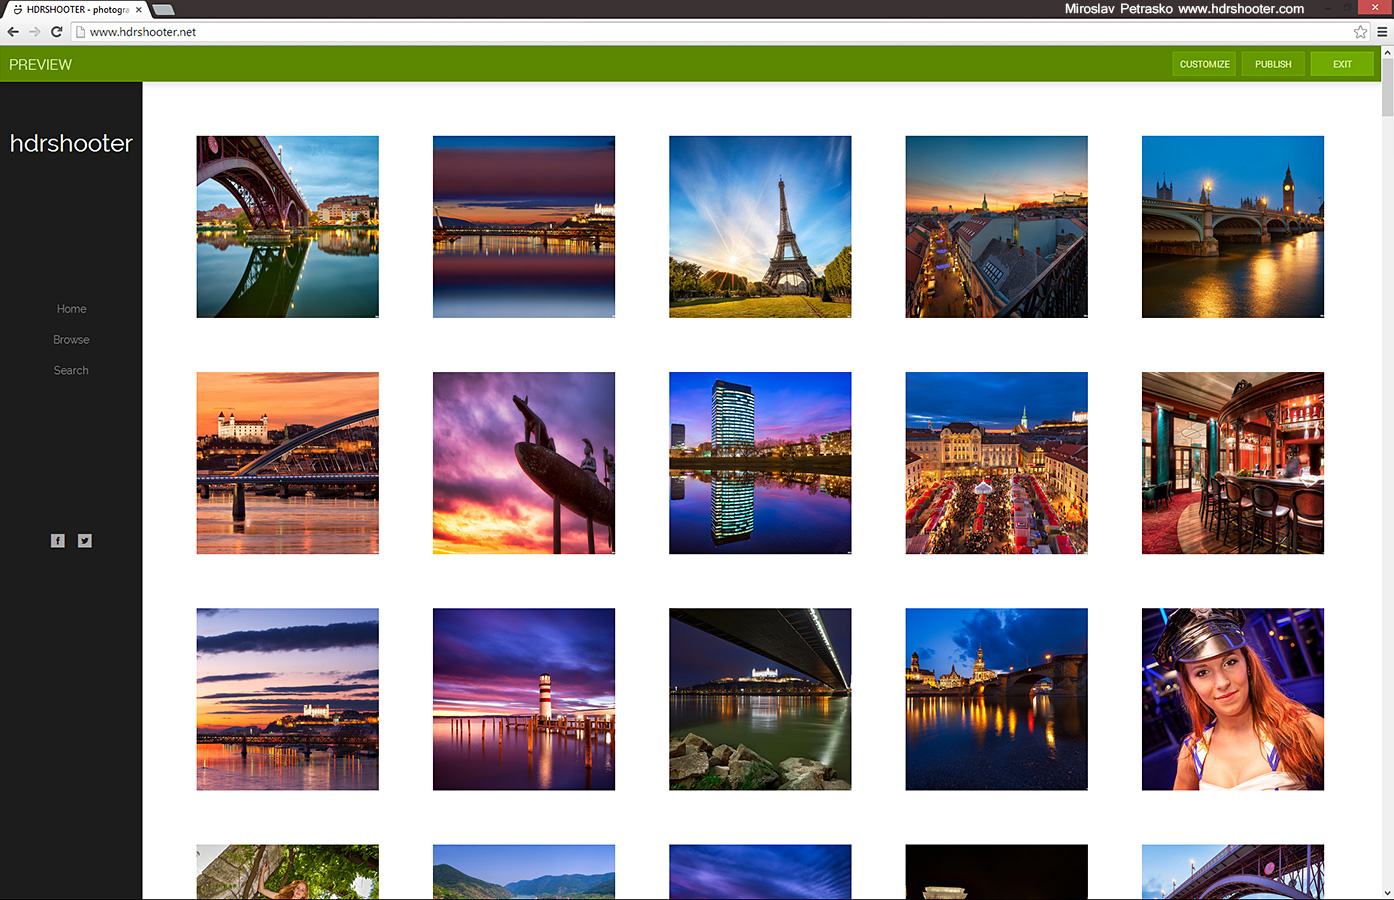 Page preview with different theme
Galleries and photos
The photos look great on Smugmug. If you need you can upload full size images and Smugmug will create all the sizes for you. You can also change the look of galleries, have unlisted galleries, have password protected galleries, have Smugmug automatically adding a watermark (depends on the service plan you have activated), have smart galleries, which are populated based on criteria you set and much more. I love being able to create a password protected unlisted gallery to be able to send just a link to a client.
I personally use only one gallery. I used to have multiple, based on the place I took the photo at, but I than moved that to my blog. But still if I ever have time, I will create those as smart galleries.
 Default gallery view
 Gallery security settings
Reliability
There are two parts to reliability. Let’s look at the good part first. In all the years I’ve been using Smugmug, there was’t a single day when my photos were not accessible. The site was always up and also my blog always displayed all my Smugmug photos without problems. So the visitors always saw the photos that they should see.
On the other side, the one more in the background, I had problems with the site. They newer persisted for long, but they return from time to time. It happened to me that I was not able to upload new photos, that photo thumbnails were not generated, that uploader didn’t load at all, the page constantly logs me out of my account (this one happens a lot), that the android app refuses to refresh and few more. You could think that there is something with my internet connection or my computer, but in the time I been using Smugmug, I changed my computer, I changed the operating system I use, I changed the browser and I been using Smugmug also from other PCs, and it still happens. After the last updates they made, the issues pop up less often, but they are still there from time to time.
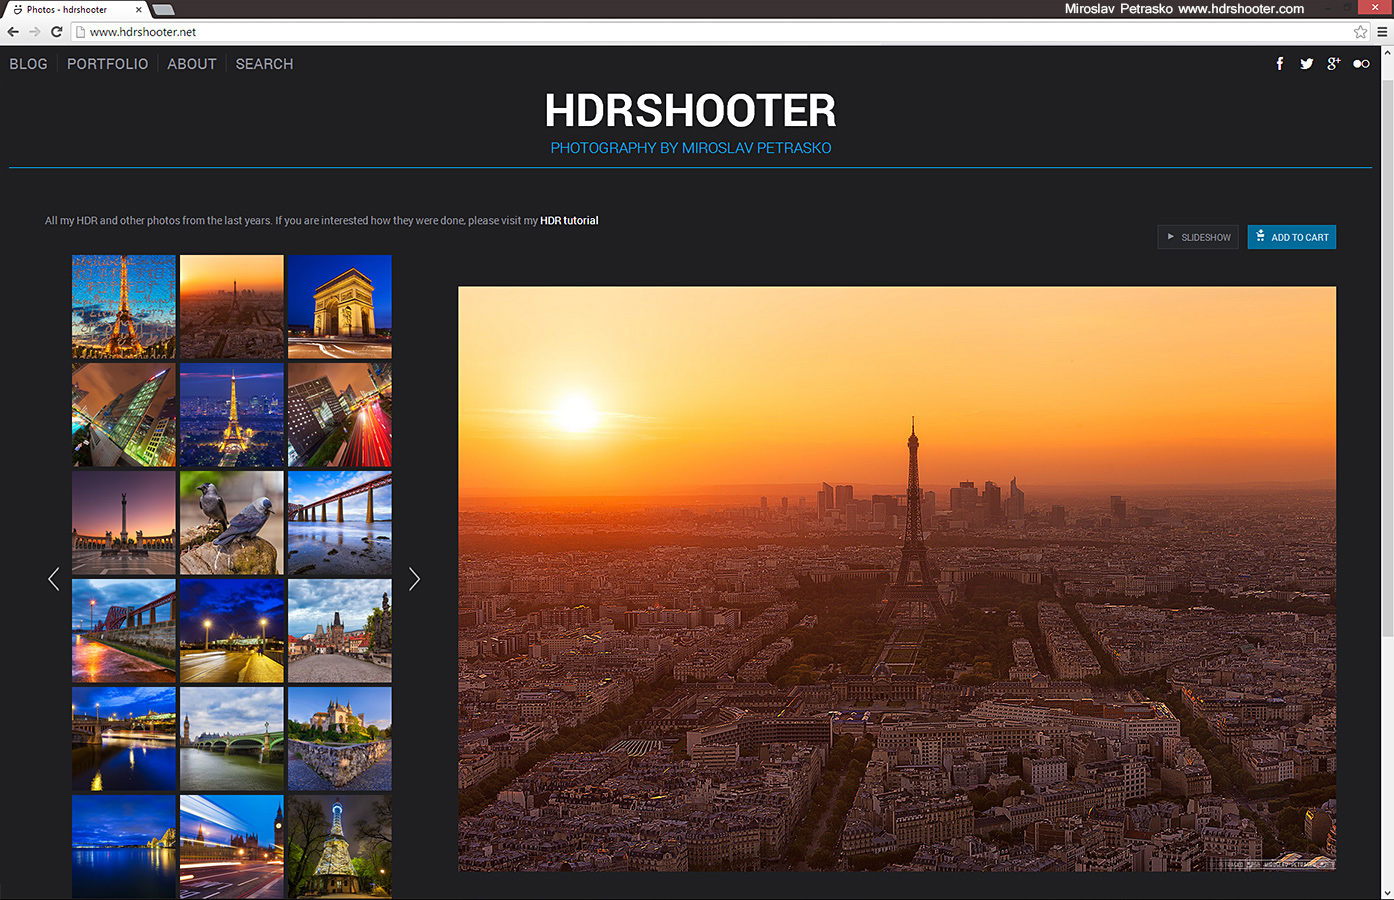
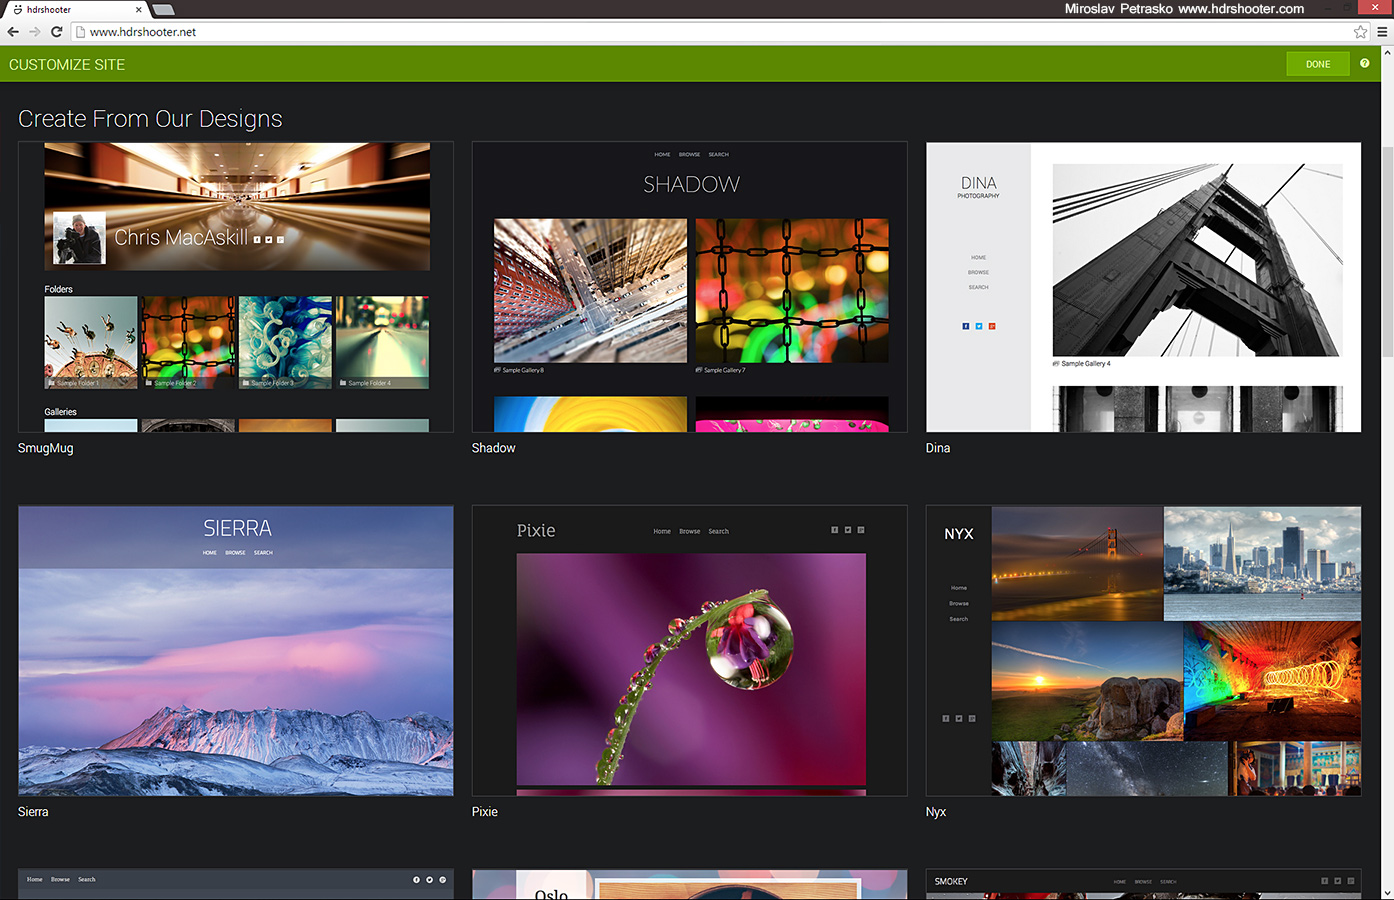 Available themes
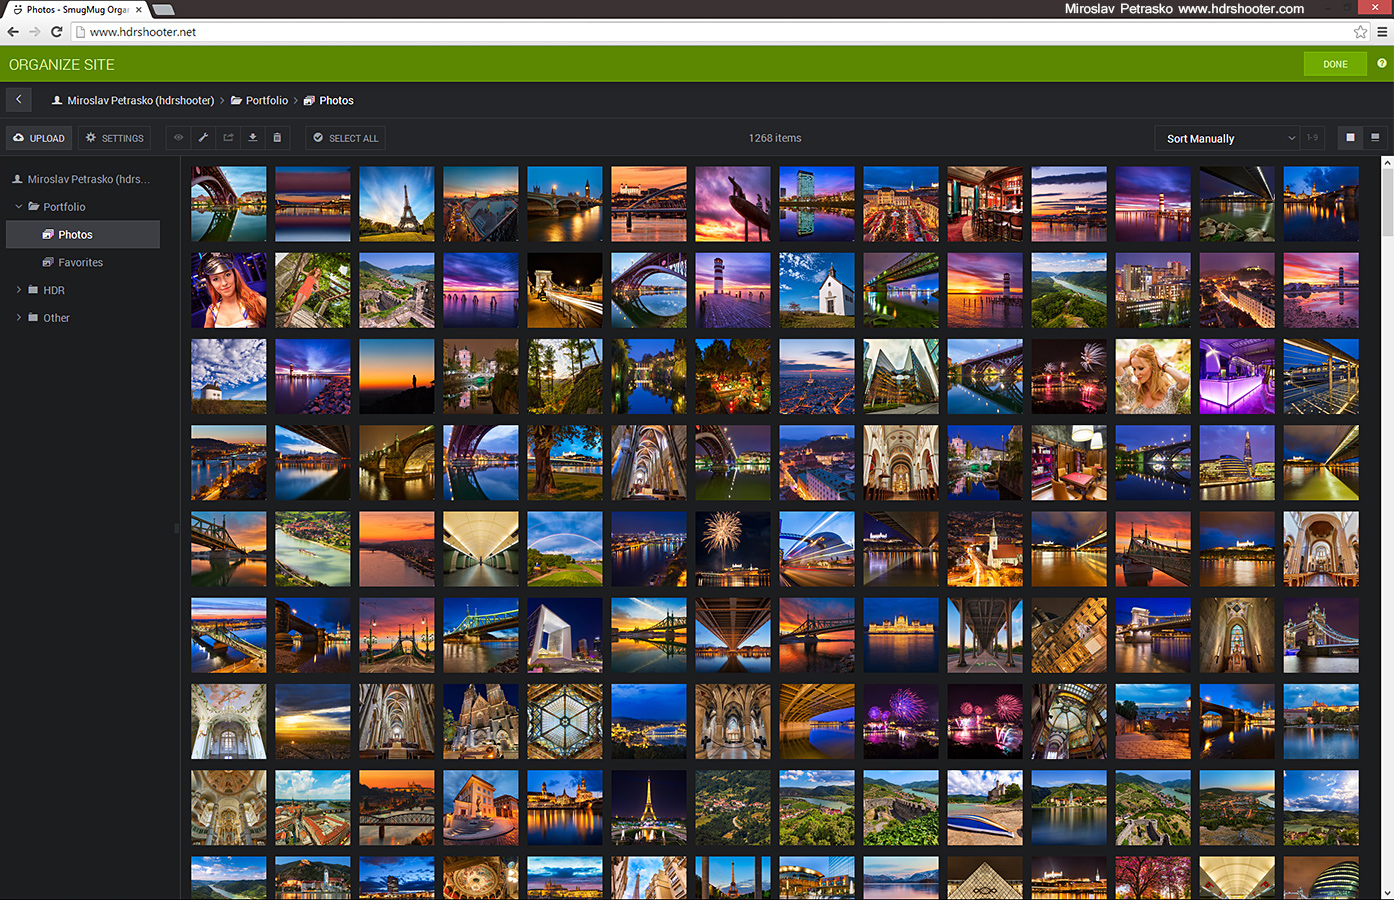 Photo organizer
Other features and plans
Smugmug offers multiple plans, each one with different pricing. The one to choose is based a lot if you want to use Smugmug to sell prints. As I don’t do that, I use the Power plan, as that gives me the best price/features ratio. But if you want to use also that, Smugmug allows to use multiple printing companies, customize shopping carts and more.
Overall I really like Smugmug. Even with the few bugs I meet with there, I still really suggest you give it a try, and I think that speaks for itself. It is and for a long time to come will be the home for all my photos.
You can try Smugmug for free for a month, but I think you will stay with it once you try :) You can go to the signup page and see all the predefined themes here and you can see my Smugmug page under www.hdrshooter.net.