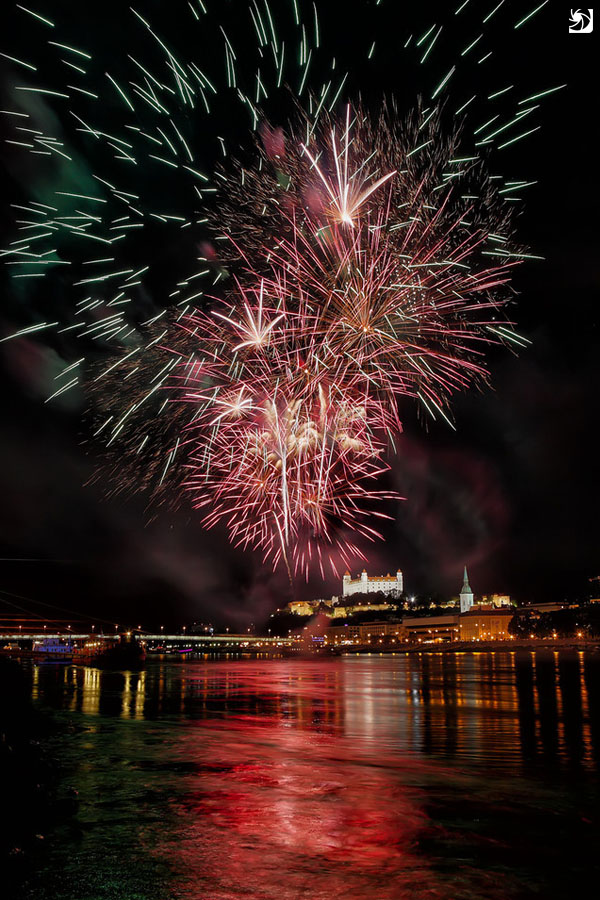
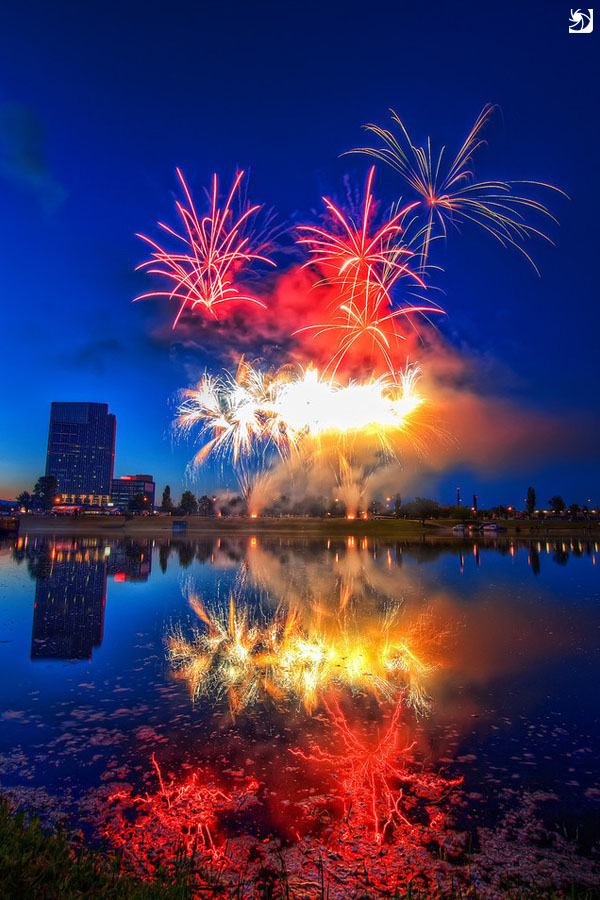
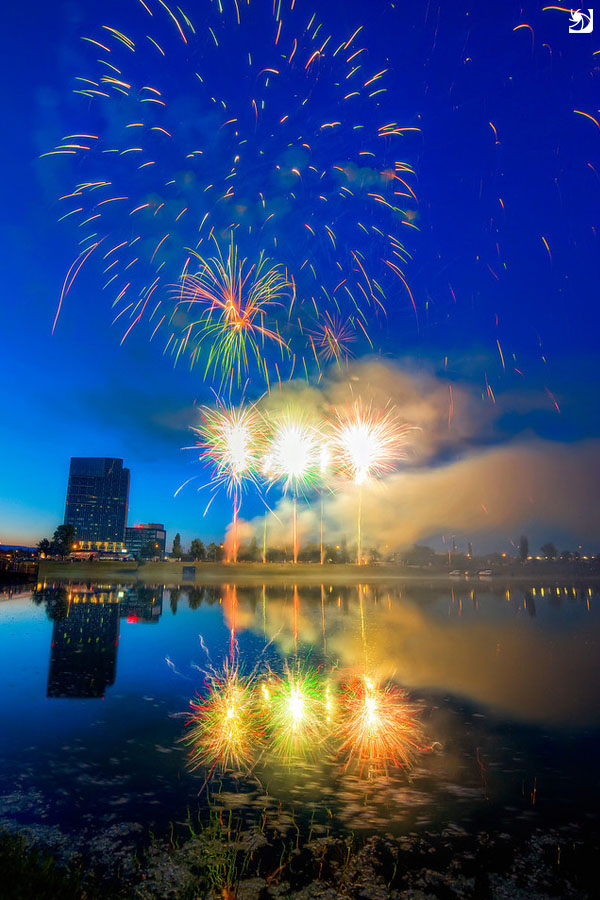
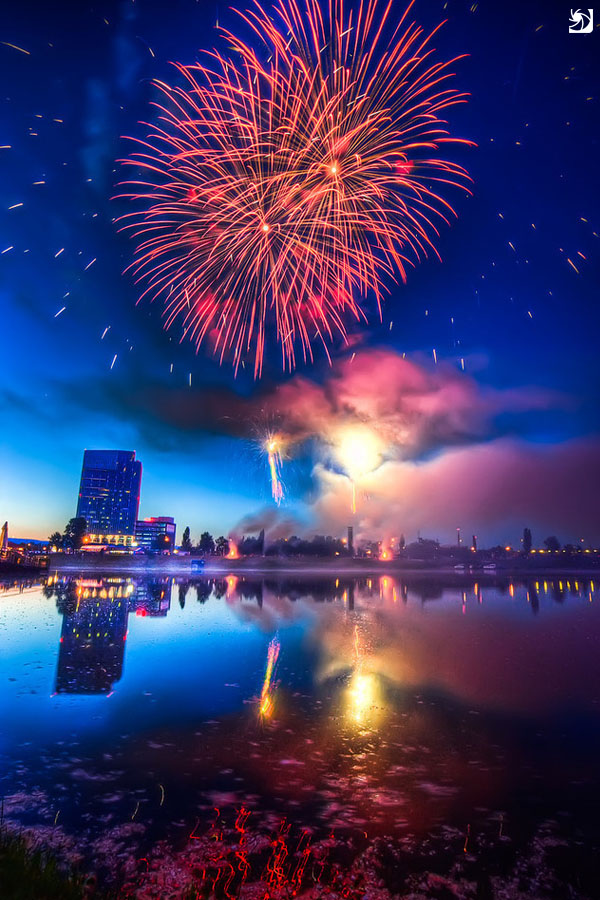
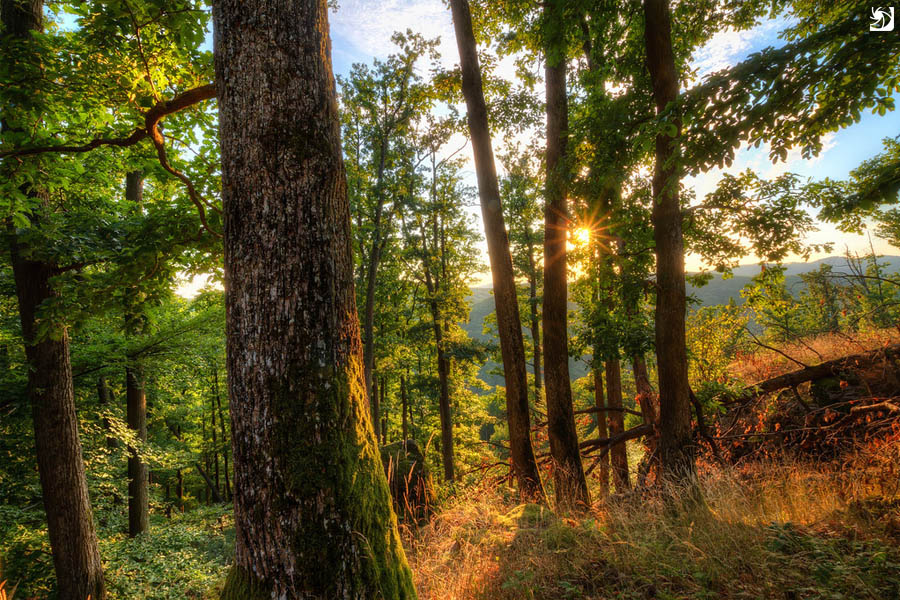
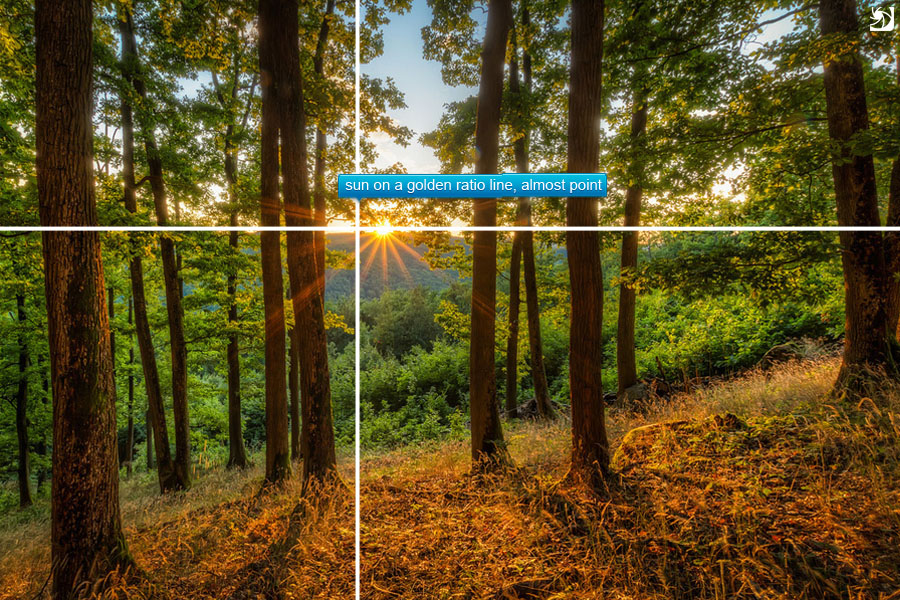
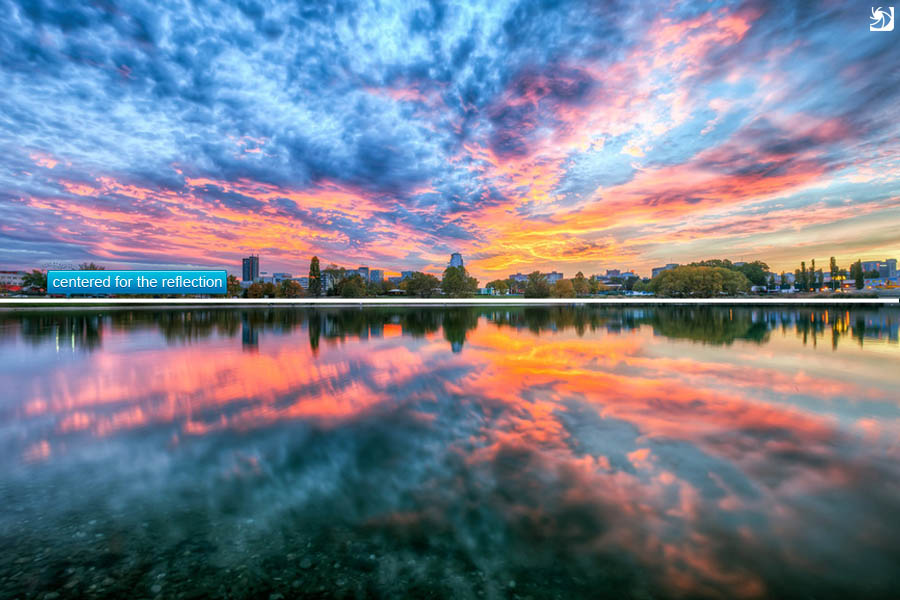
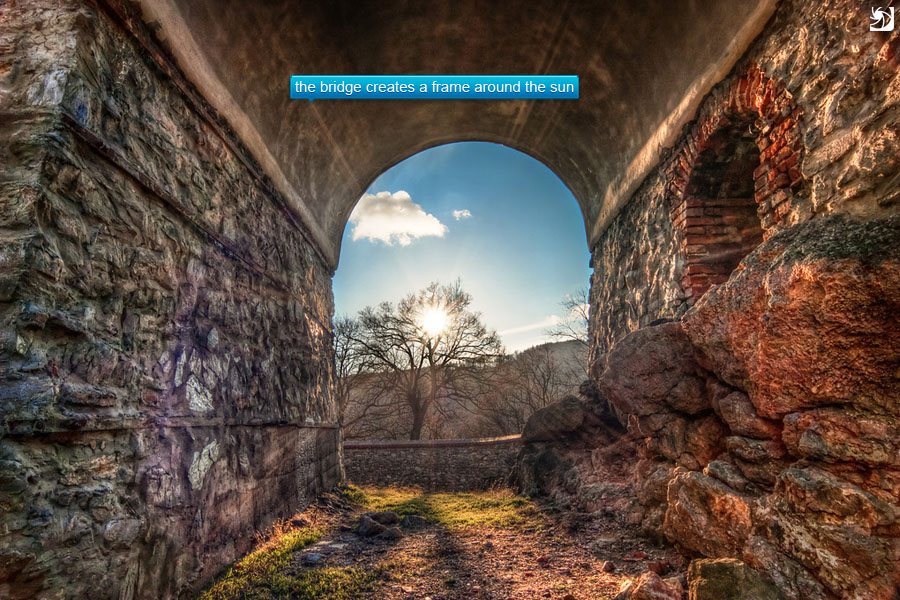
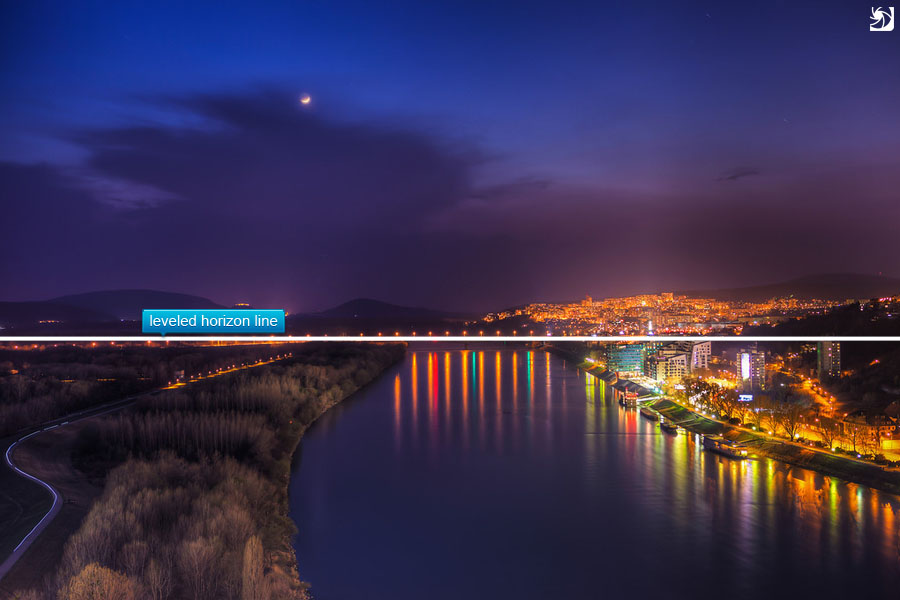
This is a scene where HDR really helped a lot. The contrast between the city and the sun behind it was just too big. This was actually taken the day I went shooting with Elia Locardi (if you don’t know ho he is, check out the links page :)). And I don’t know if it was the presence of a great photographer, but the sunset was just perfect. Like it tried to show off :)

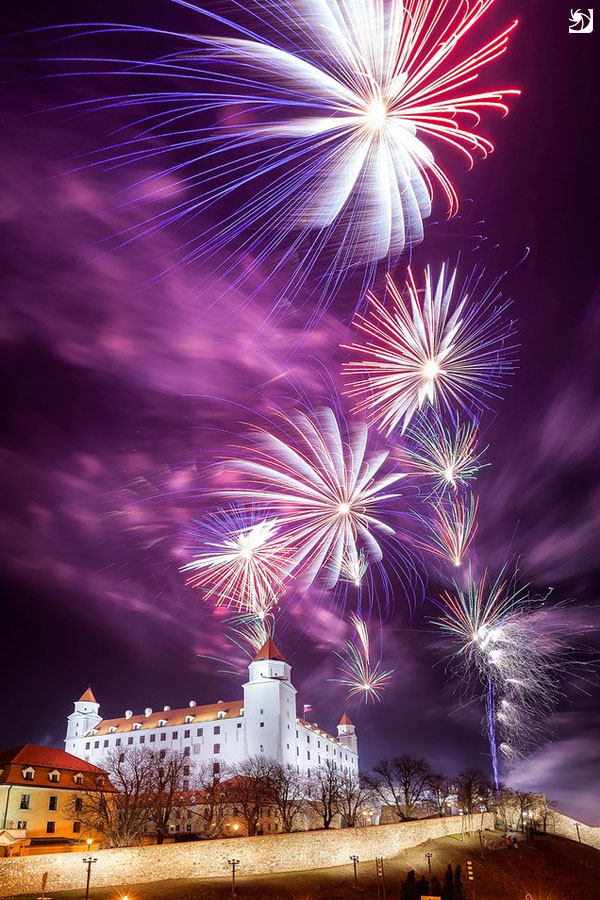
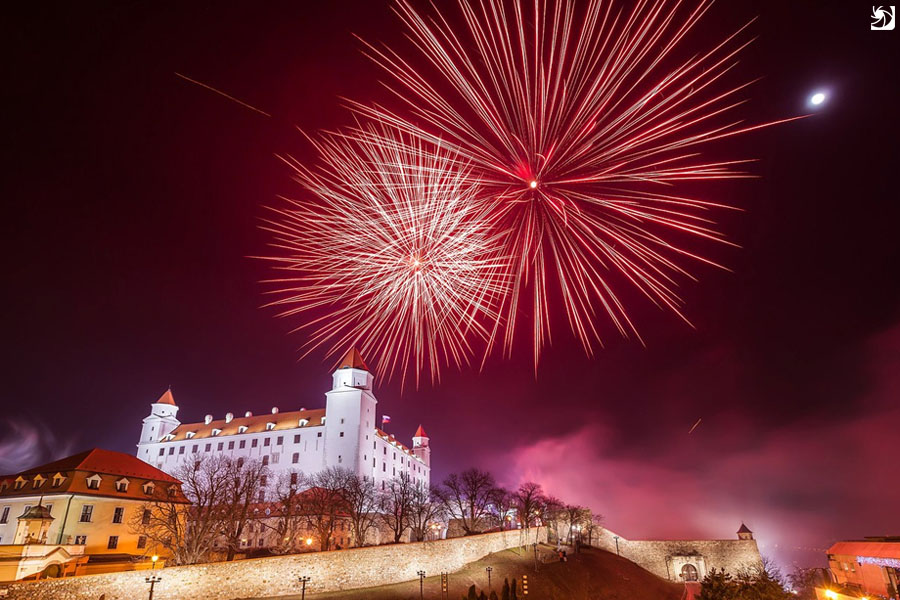
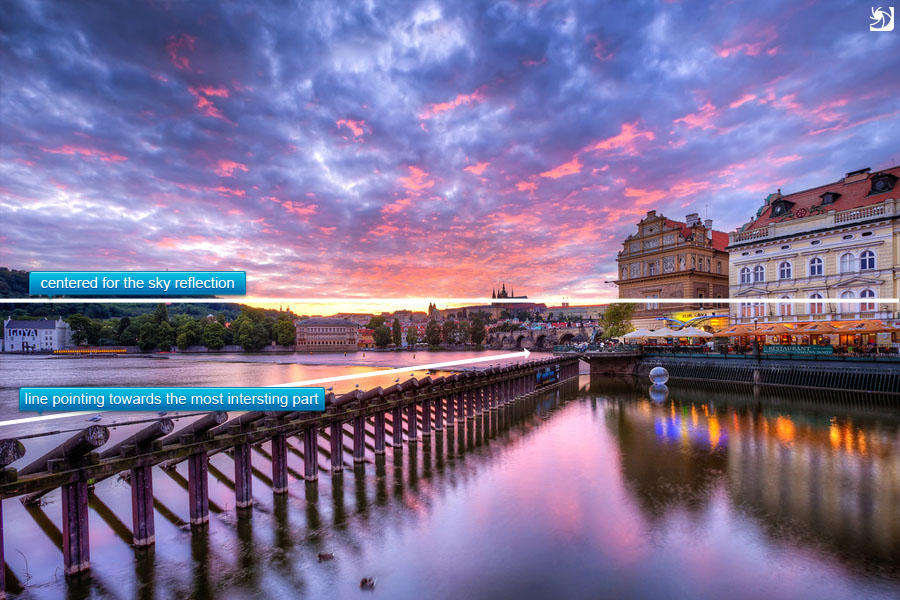
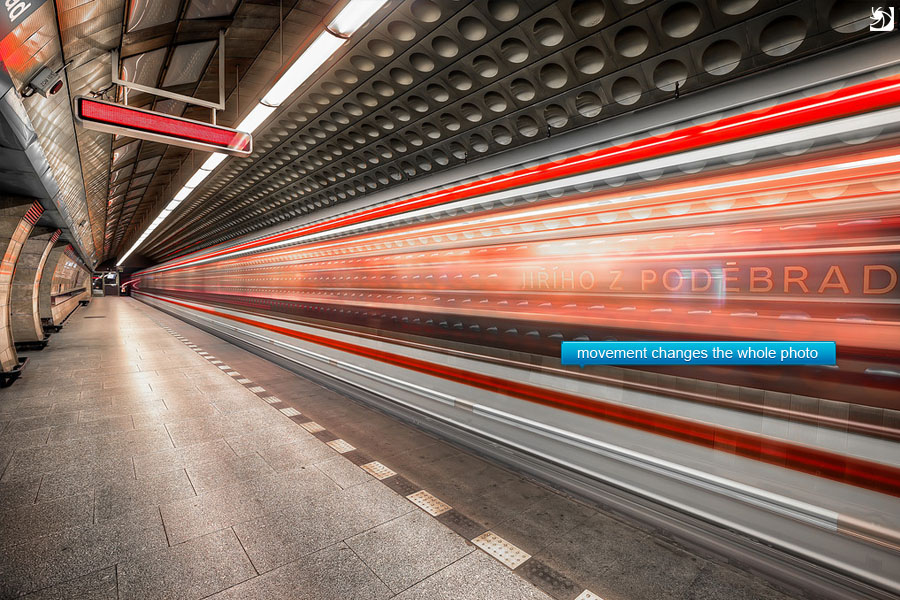
Don’t forget to open the full post to see the original exposure of this photo.
Colored by the sun

This article was first published in the HDR one magazine, but here you have a version with few more photos :)

There is also an extended version made into an eBook available, and its free for all the newsletter subscribers. Check more on the newsletter page.
book-preview

Fireworks

Fireworks make a quite special category in photography. Most of us  have very few opportunities to take photos of them and they tend to be over so quickly, that you can’t really change much once they start. Knowing what you are doing, knowing exactly how to control your camera, and arriving early on the spot are the most important thing you can do, to get a good photo of them. But let’s take a little closer look at taking photos of fireworks.

You will also notice that photos in this article are only from few occasions. I personally can take photos of fireworks maybe 2-3 times a year and I always try to take that opportunity, but I haven’t been shooting so long, that I had them that many :)

What do you need

For taking good fireworks photos you need:

  • a camera that can run in manual or bulb mode
  • a stable tripod
  • cable or wireless camera trigger

I would not suggest trying to take these kinds of photos handheld, as you will need a long exposure. Also working without a remote is possible, but your final photos will be not as sharp and you will introduce camera shake.

Finding the right spot

Another thing you need is the right spot from where to take the photos. Really try to include something more than just the fireworks in your photo. If you have just the explosion with nothing else, you will still get a nice photo, but it stops representing a certain event an will be quite impersonal.

So try to look for a nice foreground object or an interesting background. Look for buildings, bridges, reflective areas (especially water), or you can even use the crowd of people watching the fireworks as a composition element.

Prepare your camera

So once you have your spot, set up your camera there. Try to place your camera and tripod so you can block anyone from touching it and so ruining your shot (people tend to gather when there are fireworks :)) Set up your composition, so you have nice additional elements to your photo. If you know where the fireworks will be, you can try also to place them mentally in your shot.

Focus your camera onto an object in the distance, something close to the place where they will fire the fireworks. I do this manually using the live view function of my camera, where I can zoom in into the view. Don’t forget to turn off auto-focus before you start manually focusing your camera.

Now you need to find the aperture you will use. Set your ISO to 100, aperture to 6.7 and time to 4s. Half-press the shutter button so the camera takes an exposure reading. Now you will see on you camera if the shot is over or under exposed. Correct this by changing the aperture. If it’s under exposed open it more (aperture of 5.6 or bigger), when it’s overexposed close it (aperture of 8 or less). Take a test shot and continue tweaking the aperture until yo get a nice photo of the scenery.

Once you have that, underexpose your shot by one stop (use a smaller aperture). This is because the fireworks will lighten up your scene and you have to compensate for it.

Shoot in RAW

I think everyone should know this already, but in case somebody forgot. Shoot in raw, always shoot in RAW. The ability to recover overexposed spots in fireworks and brighten the surrounding area is really important here.

Take your photos

Once the fireworks start, I tend to take as many photos as possible. It is quite random how they will look, so a lot of photos will be unusable, but there be few good ones. I use one of two approaches to taking the photos:

  • use the settings I already set, and just use the remote to take the shots. When I hear there were being fired, I press the shutter button and let the camera take the picture. If I see the results are to bright or dark I quickly tweak the settings and take another shot. If the results are good, I sometimes even turn on the intervalometer  with no delay between shots (I use Magic lantern firmware for this), so the camera takes the photos automatically one after another
  • switch to bulb mode, but keep the ISO and aperture settings. Now use your remote and press the button when you hear the explosion. Now wait few seconds (around 4) and let go. Check your result briefly and take another shot, varying the time to get a brighter or darker exposure. It a little about luck and you ability to judge when the fireworks were too bright or too dark and you changed the time accordingly. So if you see a lot of bright explosion, use slower time. If there is one big, but darker, explosion use longer time.

Change the composition

It’s not that easy to change the composition on the fly, as you have only a limited time to do this. The fireworks will end sooner than you think. You should try to do this few times, as having 20 good shots, all looking the same is worse than having 5 good shots, each one different. Look for different composition even before the fireworks start.

When you change the composition, try not to zoom in or out of the scene. If you do, you will have to refocus your camera and that takes time. If you get better and faster at this, you can do it, but you should know the controls of you camera without even looking at them. Also knowing exactly on what to focus is really helpful. Just very quickly recompose your shot, go into live mode, zoom in into the shot on the right place, refocus manually and quickly continue taking more photos. After some time, you should be able to do this in a mater of few second, and you should practice this before.

Sometimes just rotating the camera will give you a different photo.


There is one more “blind” approach to recomposing. I use it when I shoot in intervalometer mode and see that the setting are OK. I just let the camera take photos, and change the composition during that, blindly. One of two photos in the sequence are ruined, but this is much faster than stopping the camera series and starting it again. If you know what you can get into a photo with the lens you have on your camera, you should be able to get a nice composition without ever needing to look through the viewfinder. This is really much easier with a wide-angle lens, as you can still crop your photo afterwards :)

Choose the best ones

So once you are done, choose which photos you would like to edit. Don’t just look on the fireworks, but on the whole photo. If the scenery is too dark or overexposed, try looking for a better one. You can use any way to edit this shots, but in my experience, the most common things you have to correct are:
[row][span12]fire13[/span12][/row]

  • brighten the scene – as the fireworks are really bright, the surrounding scene can look really dark and dull, brighten it a little to make it a part of a photo
  • add more contrast – either directly as a contrast or using a plugin like the Nic Color Efex and the Pro contrast preset
  • remove noise – usually the sky around the fireworks tends to be quite noisy when you brighten it, a little noise reduction will help here
  • add sharpness – a little bit of sharpness in the fireworks will add more pop to them, use the high pass sharpening or unsharp mask, but don’t sharpen the surrounding sky
  • brighten the whites – usually parts of the fireworks are overexposed a little, if you add even more brightness to those parts, they will look even better and attract the viewers attention

Here is an example of before and after edits. You can see, that the biggest change was adding more contrast.
fire15

Try HDR processing

This does not work always, but trying to edit a fireworks photo like a single RAW hdr (check my HDR tutorial for more info on this) , can give you some great results. Programs like Oloneo HDR engine are really great at recovering details in such photos, without making the photo looks artificial.

Use more than one photo

If you don’t move you camera between different exposures, you will have many similar photos, with just the fireworks different. And as the fireworks are differently bright, you will have differently exposed surrounding area. So why not blend fireworks from one shot and the area from a different one. Just choose the photos which look the best.

Have better chances

Taking photos of fireworks is a lot about luck. You never know how exactly they will look and where they will be.  So to have better chance for nice photos, take a lot of them. I usually get one good photo, for every 30 I take (there are more, but I discount similar ones).
fire14

Try to enjoy the fireworks

One thing at the end. If you try to automate the process of taking fireworks (intervalometer helps a lot), and set up your camera correctly you still can enjoy the show. Fireworks don’t happen so often, and if you spend the whole time looking at your camera, you will miss all of the beauty in front of you. Try to stay a little in the moment. It’s hard the first time, but over time you can get the hang of it :)

So after Bratislava and Prague, the third city I’m adding to my Top 5 spots list is Budapest. There are much more great spots there than on this list, but not all are publicly accessible or allow the use of a tripod. Still I will ad few more later on, which I think are great, but I don’t yet have any good photos from them

To see all my photos from Budapest, check out the Budapest category here

If you don’t have much time to prepare yourself before the trip, to check out the best places for photography yourself, check out Photo tours in Hungary for guided offers from one of my photographer friends Miklós Mayer.

Don’t forget to check out other available lists:

Best day to visit – 20th of August

Before I get to the spots, let’s first look at the best day to visit. The 20th of August is the St. Stephnes day celebration in Hungary. This is something comparable to the Independence day in the USA. So same as there, also in Budapest there are celebrations. There is a huge street market with some great (really great) food, lots of attraction and the best thing of all, a huge firework over the city in the evening.

Be ready of course for a huge number of people, but one can catch a good spot for the fireworks if one goes early enough. I would suggest at least two hours before the fireworks. I would go either to the castle fortification, or to the Citadella. Both give nice views. First photo here is from the castle, second from the Citadella.

Top photography spots - Budapest

At the Chain Bridge

I have to start with my favorite subject, a bridge. The Chain bridge that is. It really looks great at any time of day, but from my experience, the best view is during the sunrise. Especially during the very short time, when the lights are still on and the morning blue hour starts. This is only for about 10-15 minutes each day, so you have to be quick. Also be very careful when going to this spot, as you have to cross a busy street with no traffic lights (you are going there on your own risk).

Also, you can get very nice photos with the lion statues and the heavy traffic on the bridge.

Top photography spots - Budapest

Opposite from the Parliament

Another spot where you should go for the sunrise. There are two reasons for this. First the sun goes up behind the Parliament. The second, that early in the morning there are no ships and you will get a reflection in the water. During other times of the day, the river is too busy and there is no reflection. Also finding the spot that is exactly opposite the Parliament is quite easy. As you walk along the Danube, you will see a metal part on the bank, and you are there :)

Top photography spots - Budapest
The very soft colors in Budapest

St. Stephens Basilica

I tend to prefer spots where you are allowed to use tripods without a permit, but will have to make an exception for the basilica. It’s just so beautiful. And with a little luck, you can use a tripod also here. Just prepare everything before you enter and quickly take your shots :) During one visit I was able to shoot freely with a tripod for 10 minutes, before I was asked to not use it :)

Lights in the Basilica
Different composition

At the Liberty Bridge

Liberty bridge on its own looks really great from any position. But once you get there you will notice a cross on a hill above the bridge. That’s the place I like. You have to find you way up there but it’s worth it. Just be careful if you stand on the edge, so you don’t fall down (as usually, enter at your own risk :)).

Of course the view from under the bridge is also great, but mostly the one from the other side of Danube.

Top photography spots - Budapest

By the Fishermans Bastion

The Fisherman’s Bastion is atop of a hill above the city, right next to the castle. It gives you a great view, but it’s mostly closed. But right next to it are two smaller bastions with a walkway between them. You actually have to pay to enter the walkway, but if you are there for a sunrise or a sunset shots, the walkway can be entered for free (usually if you see no one sitting by the entrance, it’s free :) )

Top photography spots - Budapest
Fisherman's Bastion

Matthias Church

Right next to the Fishermans bastion is the Matthias Church. It’s a beautiful church that has only recently been reconstructed from outside and also from inside. There are many things to get photos from here, but what I would recommend three. The fist is the view from the walkway I mentioned in the previous spot. Second is inside the church. You have to pay the entrance fee, but they never had issues with me using a tripod, so you can get a nice shot. The third is from the top of the tower. It the highest spot in the city and while you have to walk up many (and I mean really many) steps, the view is worth it.

Top photography spots - Budapest


The platforms in front of the castle

After the reconstruction few years ago, there have been two platforms added to the castle fortifications. Both of these have a great view of the city. The first one has completely unobstructed view, the other one has a statue in the middle, but still worth the stop by, as it is so close.

Top photography spots - Budapest

The castle steps

Another part that was created in the reconstruction, are the castle steps, that go down most of the castle hill. You can take an elevator to go up, and then get this great view towards the city with the steps going there. Or you can take photos over the little wall to the right, that give you a view of the new castle park.

Top photography spots - Budapest

High Note SkyBar

If you want to combine you photography evening with some drinks at a great location, I would suggest visiting the High Note SkyBar. It’s right in the middle of the city, next to the St. Stephens Basilica and it offers a great view. While I was there, I was able to use a tripod without any issues.

When you go there, I would suggest reserving a table beforehand, as it may be full, and they will not let you in in that case. But you can try also without a reservation, but will just need to have luck then.

Top photography spots - Budapest

Heroe’s Square

This square just looks stunning. You have all this huge statues, and this very symmetrical look with the pillar in the middle. It’s usually very busy in the day, so as I did for these two photos, I would suggest going there in the early morning. You will be there alone.

Top photography spots - Budapest

Around the Hungarian Parliament

You can try taking photos in front of the parliament, but as it’s really big and you are close, it’s not so easy to get a nice one. Quite better view is from behind. Especial if you go to the small waterfall fountain that is there. If you get really close, you will get a wonderful reflection of the whole parliament. It creates a very nice view there.

Top photography spots - Budapest

At the Margaret Bridge

Another great looking bridge in Budapest. You can take photo from under it or from it, but be warned as it shakes quite strongly when the trams pass by. Not great for long exposures. My favorite way to take photos here, is to frame the parliament building under the arch of the bridge. Looks great.

Top photography spots - Budapest

Citadella

Citadella is very high above the city on the hill. The view from there is great, but getting there is a bit harder. You either walk up many steps up the hill, take a taxi or the hop in buss. The normal city transit buses don’t go up here.

You get as a reward a great view of the city and as I mentioned before, it’s perfect for the fireworks time.

Top photography spots - Budapest

These are my top photography places in Budapest. If you want to see more, explore Budapest with a local photographer who will reveal you many other great spots for photography, check out Photo tours in Hungary.

Other available lists:

Magic lantern review (version 2.3)

First of all, as this is a third party software, if you put it on your camera, you are doing it at your own risk. I had no permanent problems with it until now, and I haven’t found any mentions of problems with it, but you newer know. Also if you are not familiar with you camera, don’t try using it. It will overwhelm you with a staggering number of new features which will confuse you. Also Magic lantern is only for specific Canon cameras, check the creators website for a full list.

For the last few weeks I’ve been using the Magic Lantern firmware instead of my Promote control, so here are few of my thought on it.

Magic lantern (http://magiclantern.wikia.com) is not a firmware in a real sense. It’s an upgrade to a firmware, because it does not override you current camera firmware. It just notes in the camera, that it should run it from the card. This is actually the first great thing about it. As it runs from the memory card, you just have to use a different card to turn it off (or hold the set button, while turning the camera on, as Wojciech Toman noted :)).

When you have Magic lantern on your camera, you still can access all the camera settings from the normal Canon menus and everything works as without it (as long as you don’t change any of the ML settings).
Magic lantern provides many new settings for your camera, but as I use it for HDR bracketing, lets take a look at those features. Once you turn on HDR bracketing under the shoot submenu, you can change the following settings:

  • Frames – the number of frames the camera takes at one time, from 2 to 9. You can also choose automatic, which tries to determine how many you need from the first photo (I prefer to set this myself)
  • EV increment – the distance between two shots (from 0 to 5)
  • Sequence – the order in which the photos are taken. There are three options here (0+-, 0++ and –0) but only the 0++ is usable, as it take the photos in the order from the darkest to the brightest.
  • 2-second delay – turn on self timer, very useful
  • ISO shifting – if the camera should use a higher ISO to shorten the longer exposures
  • Post scripts – this is for those who use Enfuse to combine the brackets, it creates a script to make it simpler.

This settings work really well, I would just really like a better photo sequence (-0+, so you can set up the 0 shot and it still starts from the darkest photo) an ability to turn on a longer self timer.

You can also turn on Mirror lockup to avoid more camera shake. But in my experience, this doesn’t work that well. The camera does a mirror lockup before each shot, not just one at the start. This adds a lot of time to you bracket series. I would suggest using this only with long exposure night shots.

With these setting taking HDR brackets is really easy. Here I made a little video showing my exact process while taking them:

Overall, I have to say I really like it. It gives me most of the settings I get from the Promote control and I don’t have to bother with a remote and additional cables. Still there are some problems with it. The settings work most of the time, as it is not 100% reliable. I had to reset my camera few times (pulling out the battery) to get things to work again. Also you have to turn off the camera when you are changing memory cards, and still it doesn’t start sometimes (and you have to pull out the battery again).

Usage update after few months

So now I have been using the Magic Lantern for more than three months and I love it more and more. I have to say, that most of the problems I experienced at the beginning were due to me using it incorrectly  or mostly very fast :) The two main problems, camera not turning on and settings not working all the time were caused by me taking out the card too quickly after I turned the camera off and pressing the shutter button without pausing in the middle positions. As I use manual focusing all the time, I don’t have the need to focus using the shutter button and this was the result :)

Also what I have noticed, that the more battery usage is mostly from me using the screen more as I would without the firmware. So it’s a result of changed habit, the new firmware brought with it.

And here, as an example, one of the bracket series I took with the help of the Magic Lantern firmware

So lets look at the overall pros and cons of magic lanter:

Pros:

  • ads the ability to take more brackets than the standard firmware
  • can be used together with the standard firmware
  • ads a staggering amount of new tweaks to your camera
  • can be removed easily or turned off
  • cost’s you only a small donation or it’s free (based on version), so much cheaper than a dedicated remote

Cons:

  • it’s a third party software, so there is always a chance that it can damage your camera
  • stops working sporadically (not as a complete firmware, but parts of it, for instance it takes only one photo when HDR bracketing is turned on)
  • can cause that you camera wont start (but taking out the battery for few seconds always helps) – check out http://www.magiclantern.fm/bestpractices, to avoid this
  • you can easily forget that you turned something on as it’s not shown in camera info screens
  • it uses more of the battery – check out here http://www.magiclantern.fm/forum/index.php?topic=1573.0 for more about this

Conclusion:

This is a cheap option compared to a Promote Control. It works fairy very well, and for me it replaced the Promote for now. But I still have the Promote in my bag, as a backup and for situations where I really don’t want to touch the camera.

View all my other reviews here.

This article was first published in the HDR one magazine, but here you have a version with few more photos :)

Composition

Composition is the most important part in any photo. It the same in regular as in HDR photos. It’s not that simple to learn how to see good composition, but there are few simple rules that you can follow to start with.

I personally use these rules all the time, but I don’t think about them anymore. I search for a view that is visually pleasing to me, and that view just fits the rules. You will notice, that if you look at your own photos you like, you will find many of these in it. Composition is really something that is hard to teach. This is my view on it, and I hope it can help some of you.
Lets start with few of my photos I think are composed nicely

1. Forget about the Rule of thirds

Seems a little different that most of the photographers say, but my reasoning is simple. If you do something, do it right. Rule of thirds is the simplistic approach to compositions. Instead of it use the golden ratio rule. I used to go by this rule for a long time, and now I really wish I switched sooner. Sometimes happens to me that I use it, when the scene fits it more, but very rarely or only partially (for instance horizon on the golden ratio rule, vertical split based on the rule of 3rds).

Just so you know whats the rule. It means placing the subject of your photo on one of the intersecting points or lines splitting the photo into thirds.
thirds

2. Use the golden ratio

So here you can see my reasoning. If you shoot regularly, and you use the rule of thirds, over time you will tent to move towards the golden ration rule. So why not skip the first step completely. As you shoot you will notice that you start to use it without even thinking about it. The difference is subtle, but noticeable. This ratio is based on golden spiral (or Fibonacci Spiral) but it’s easier to looks at it as a grid. The photo is always split in 1.6 to 1 parts.  Same as by the rule of thirds, you place the subject of you photo onto a line or onto a intersecting point. You don’t have to be pixel perfect, if you are a little off, it’s not really a problem. You can correct it by cropping or do as I do, leave it be as it is.
goldenratio

For all of you who use Lightroom to crop your photos, you can switch your crop overlay to a golder ration one or a golden spiral one by going to Tools>Crop guide overlay or by pressing O few times. It makes the cropping much easier.

Examples for the use of the rule

3. Don’t center your subject

Really don’t do it. Your photos will look more like snapshots, not photographs. Centering has it’s place in fotography, in special instances (look on the next point) but in most it is out of place. Photos like portraits, irregular shapes, landscapes and much more looks really strange when centered. No examples here as I really try to avoid this.

4. Center your subject

As all rules, there are exceptions. For me the two main reasons to center a photo:

  • symmetry –  symmetric scenes look great centered. Cathedrals, arches, tunnels.. anything symmetrical. Just center it. But be sure you center it exactly. When you get it a little of center, it will distract the viewer and the overall feel of the photo will be worse. This is much more visible when you use a wide-angle or a fish-eye lens. Even if you stand only few centimeters of the center it will look wrong to the viewers eyes. Try to use live-view on you camera to visualize the final photo and guide yourself by mirrored elements in the scene to get the perfect symmetry. It can be partially corrected in post-processing, but not always.
  • reflection – has also a lot to do with symmetry. For me this one is just natural. If you cut off a part of the reflection , because you wanted to avoid the centering, it will look aukward.

Examples for the use of the rule

5. Combine different rules

Why not have a photo symmetrical horizontally and adhering to the golden ration rule vertically. You can use everything at once.

Examples for the use of the rule

6. Use leading lines

The viewer eyes ten to follow lines in the photos. If you position your main subject so, that all lines in the photo lead to it, you will get a visually pleasing photo. Lines like road signs, power lines, train tacks and similar, are great for this. Just look around your subject, and you will find some.
Examples for the use of the rule

7. Use leading light

Similar to leading lines, you can also have what I call leading light. By this I mean brighter areas in your photos. If you leave only one part of your photo brighter then the rest, the eyes of the viewer will be imediatly drawn to it. So it really should be your main subject. This is very visible in high contrast scenes, mostly in night photos.
Examples for the use of the rule

8. Add a foreground object

This is something which you can see all the time paintings. You should try to have foreground, middle-ground and background in your photo. I try to have at least a foreground and a background element. This is not always that easy, especially, when you are trying to capture a landscape photo form a higher location. But one should try. Having a foreground element gives you photo a sense of scale and depth.
Examples for the use of the rule

9. Frame your subject

It’s sometime very nice to add a frame around your photo. By this I don’t mean those frame effects you find in some applications, but a different object, which surround partially or completely your subject. For instance leaving the window in your photo when you are shooting from inside out, or shooting through a tree when taking a photo of a house.
Examples for the use of the rule

10. Add a sense of movement

Especially in shots when one would expect movement (busy streets for instance) a blurred car or person can give more drama and life to the photo. You will loose this “frozen” look, a lot of photos have. I do this more with moving objects than people. Cars, trains, metro, water and similar objects can be used to archive this.

Examples for the use of the rule

11. Level your horizon (or don’t)

When you shoot a landscape photo a leveled horizon is really important. A crooked horizon will look very distracting and makes the photo look rushed and sloppy  If you want to have a crooked horizon, go for an angle at least around 30 degrees. At that point it is obvious that you intended to make a crooked image and it no longer looks like an error.
Examples for the use of the rule

12. Look up

This is more of a tip, than a rule, but I noticed that a lot of photographers miss this. When you are at an interesting place, try to look up. Very often you will get a very interesting view and composition of the surrounding area. Looks even better if you use a wide-angle or a fish-eye lens.
Examples for the use of the rule

13. Ignore everything I mentioned here :)

Rules are nice and all, but don’t be limited by them. Just take the photos you want and maybe your style will one day be copied by all other photographers :)

I will end this with two more suggestions. First, try composing you photo directly in camera. If you relay to much on cropping, you will loose too much of what you are trying to capture. Secondly, use a tripod. Using a tripod forces you to slow down and think more about the photo. It’s no longer just point and shoot.

FREE EBOOK!!!
Subscribe to my newsletter and get a free Capturing fireworks ebook. 
Subscribe