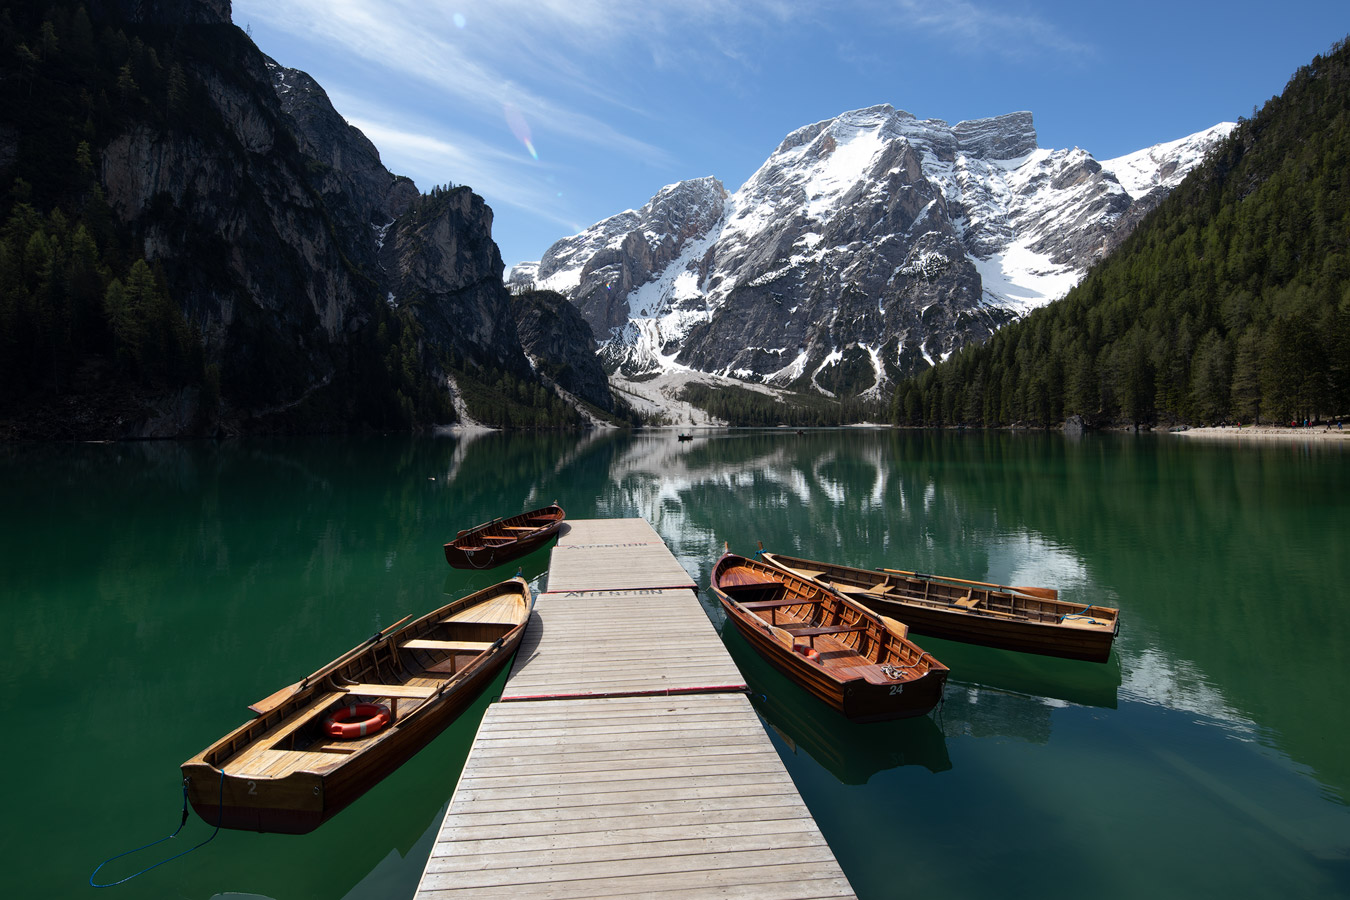
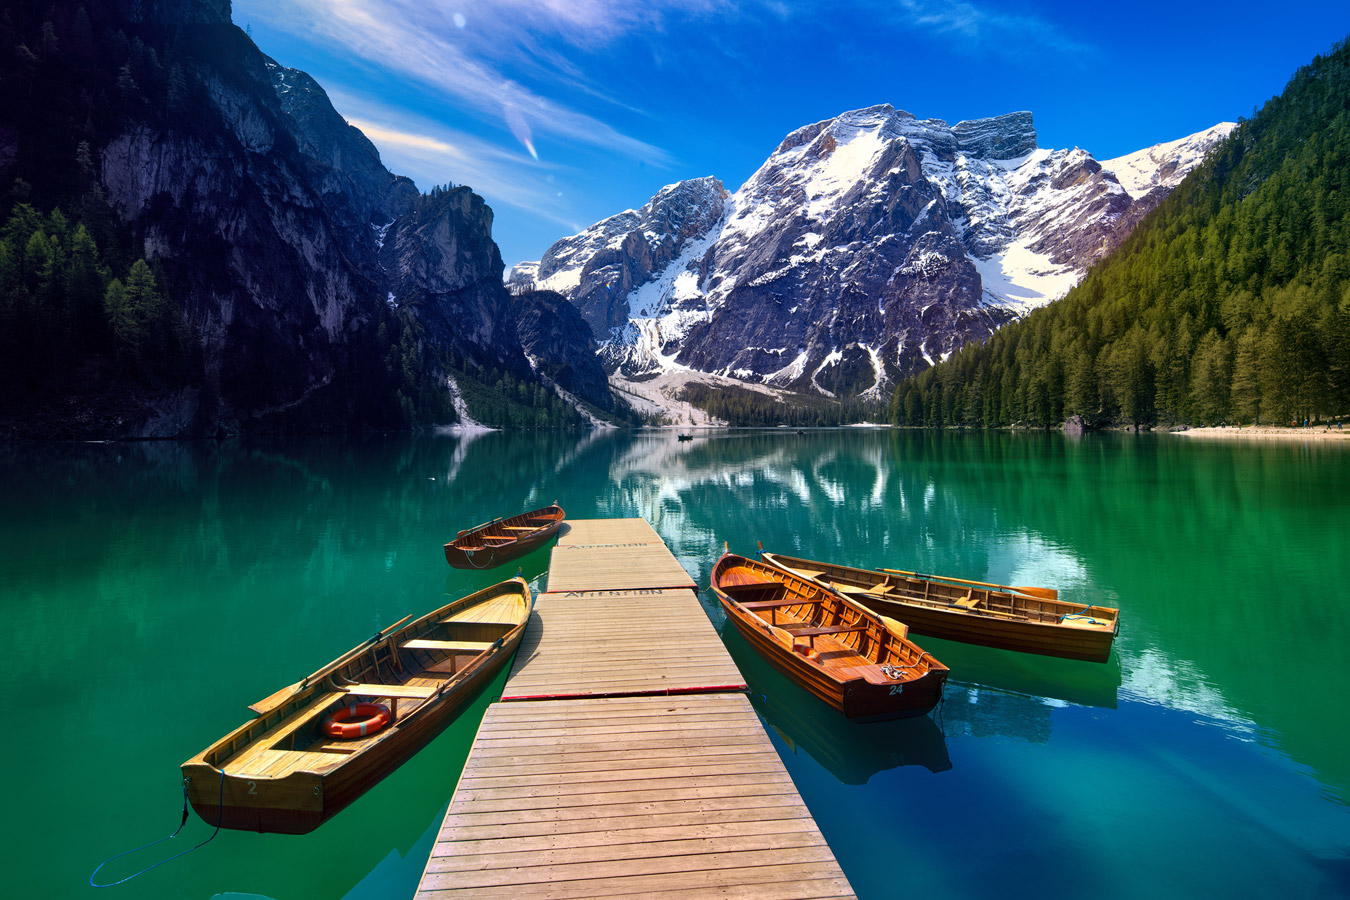
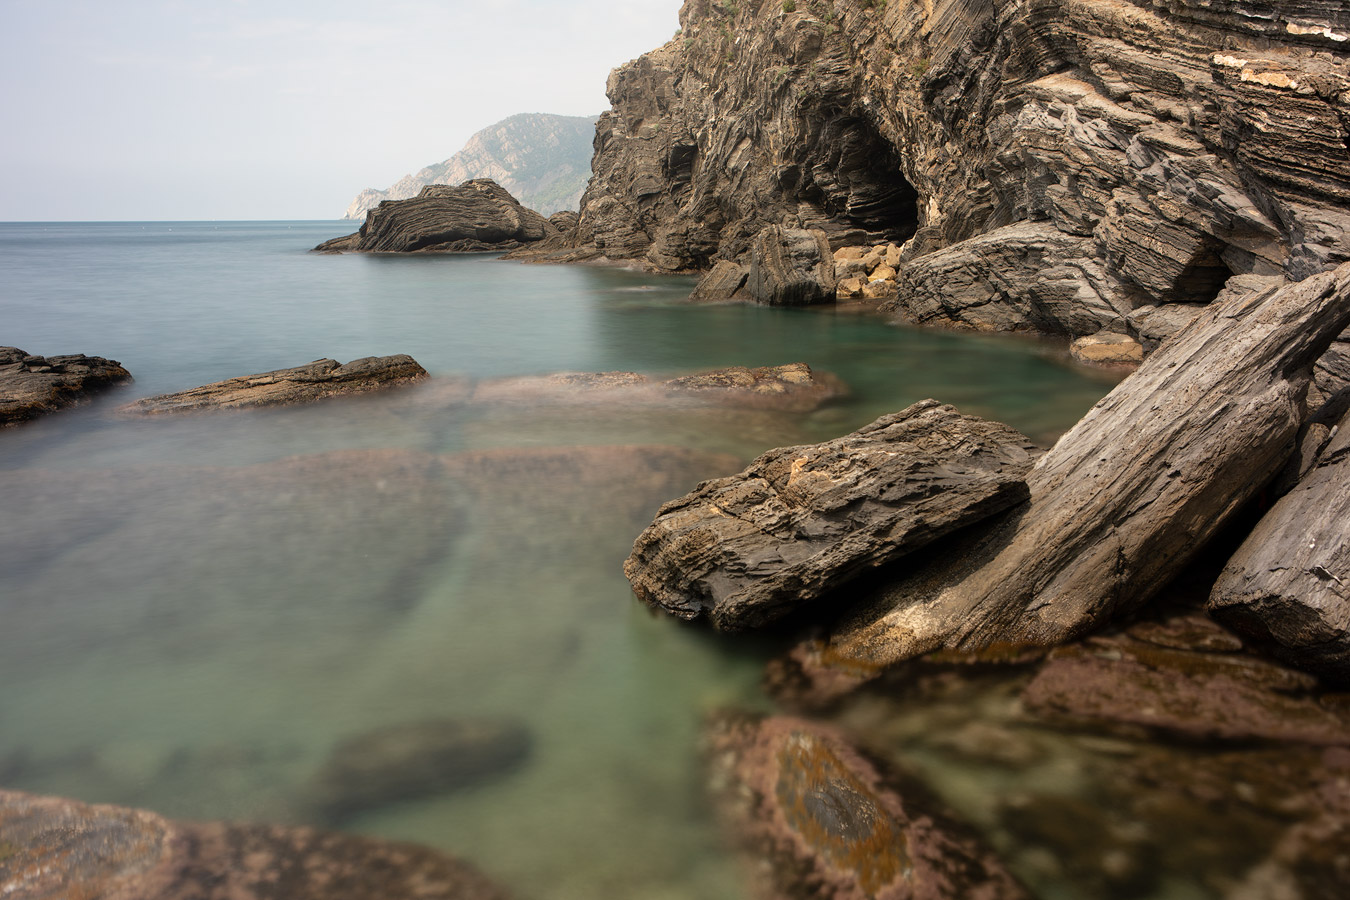
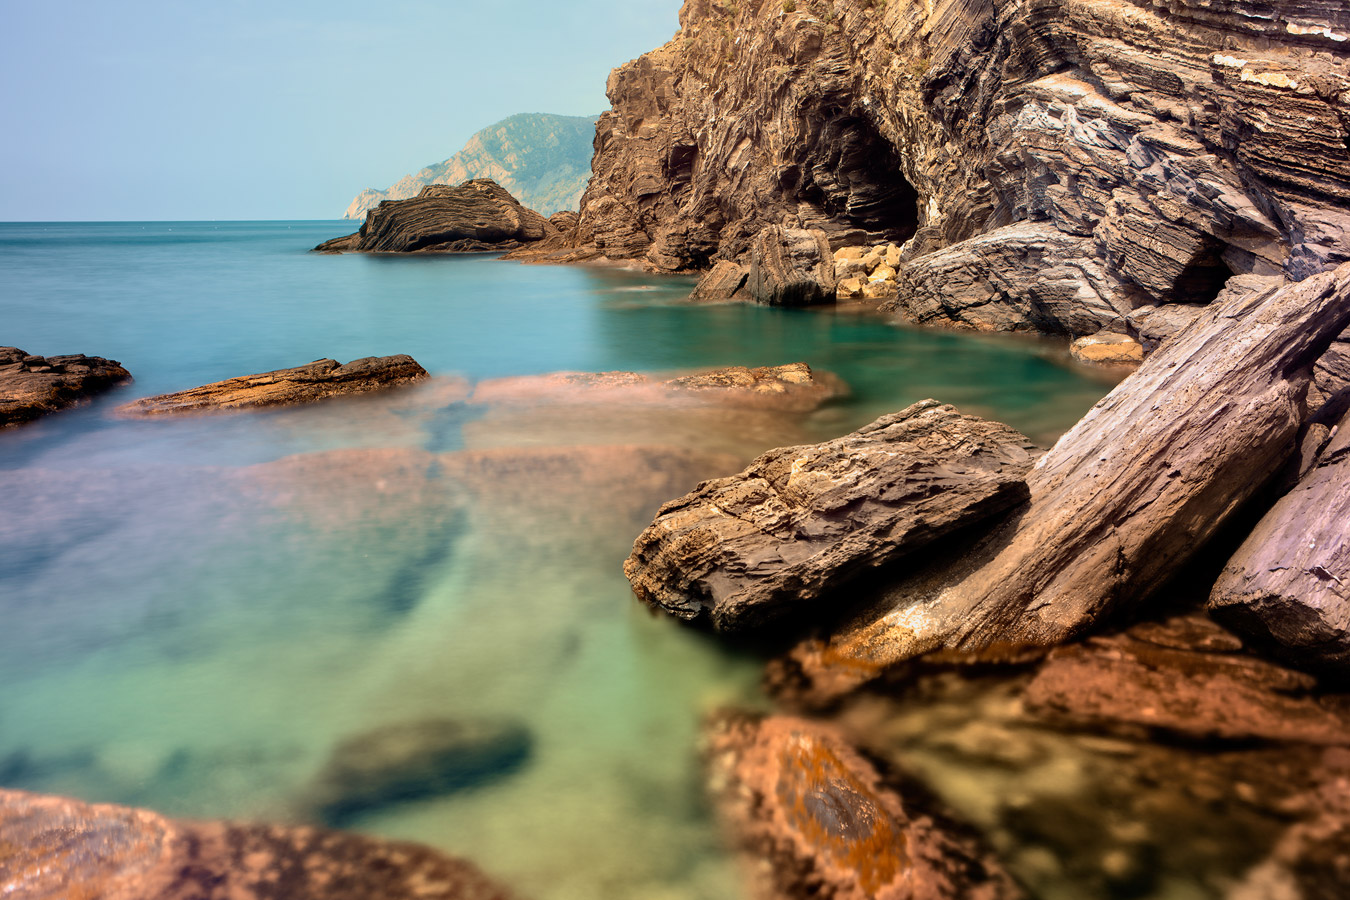
Sharpening photos

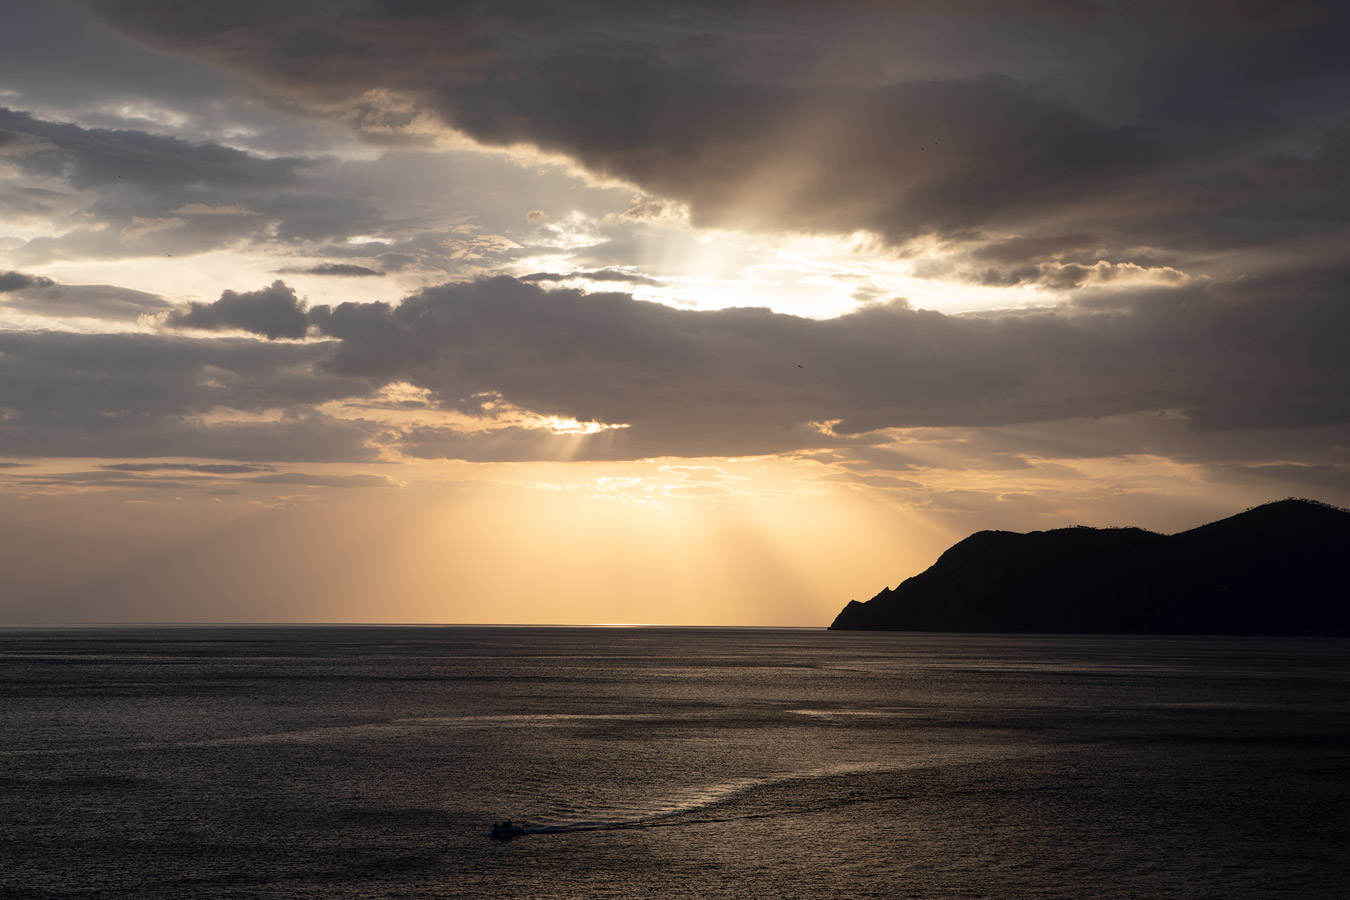
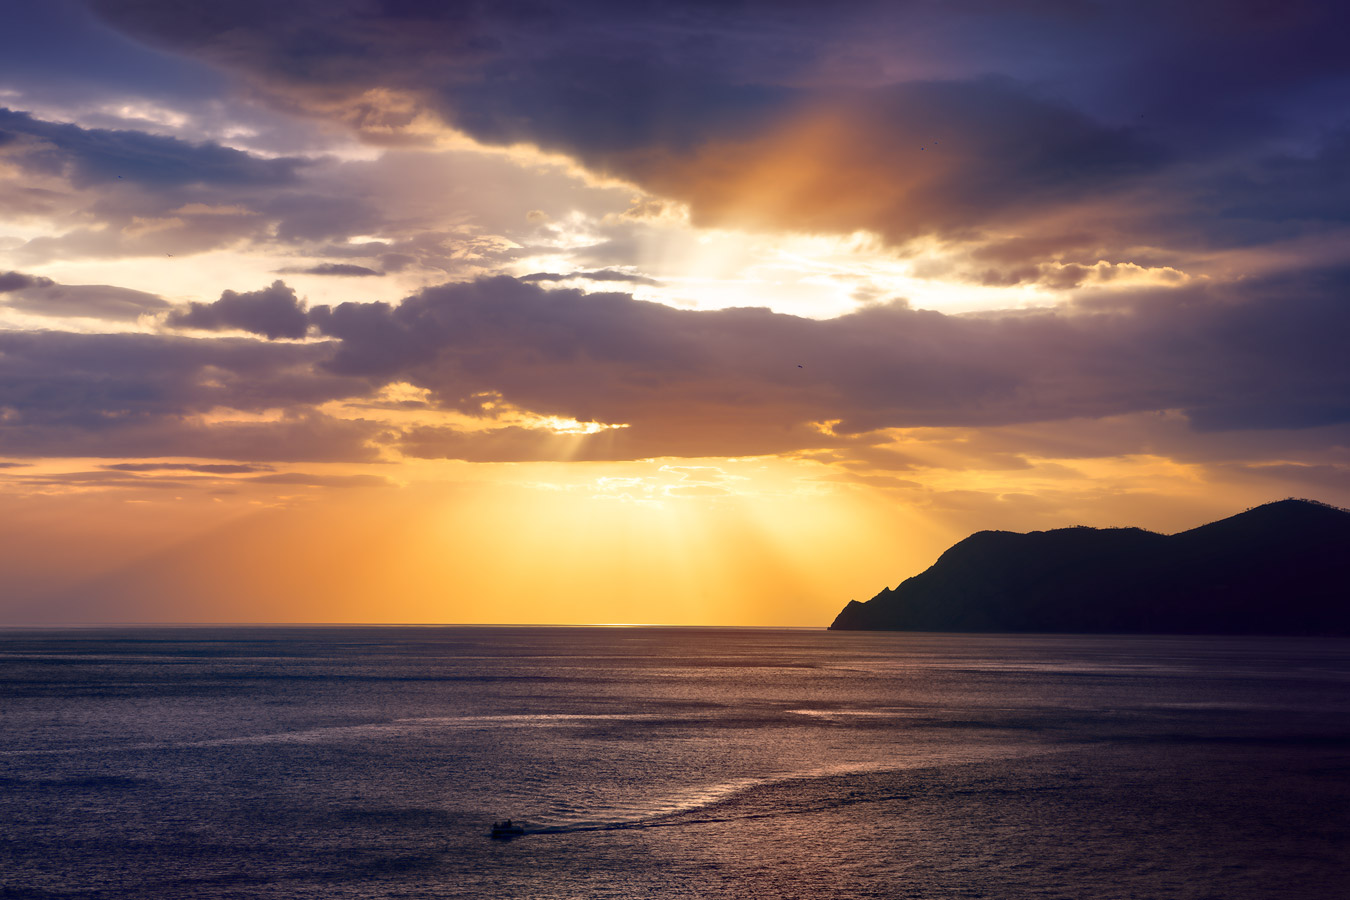
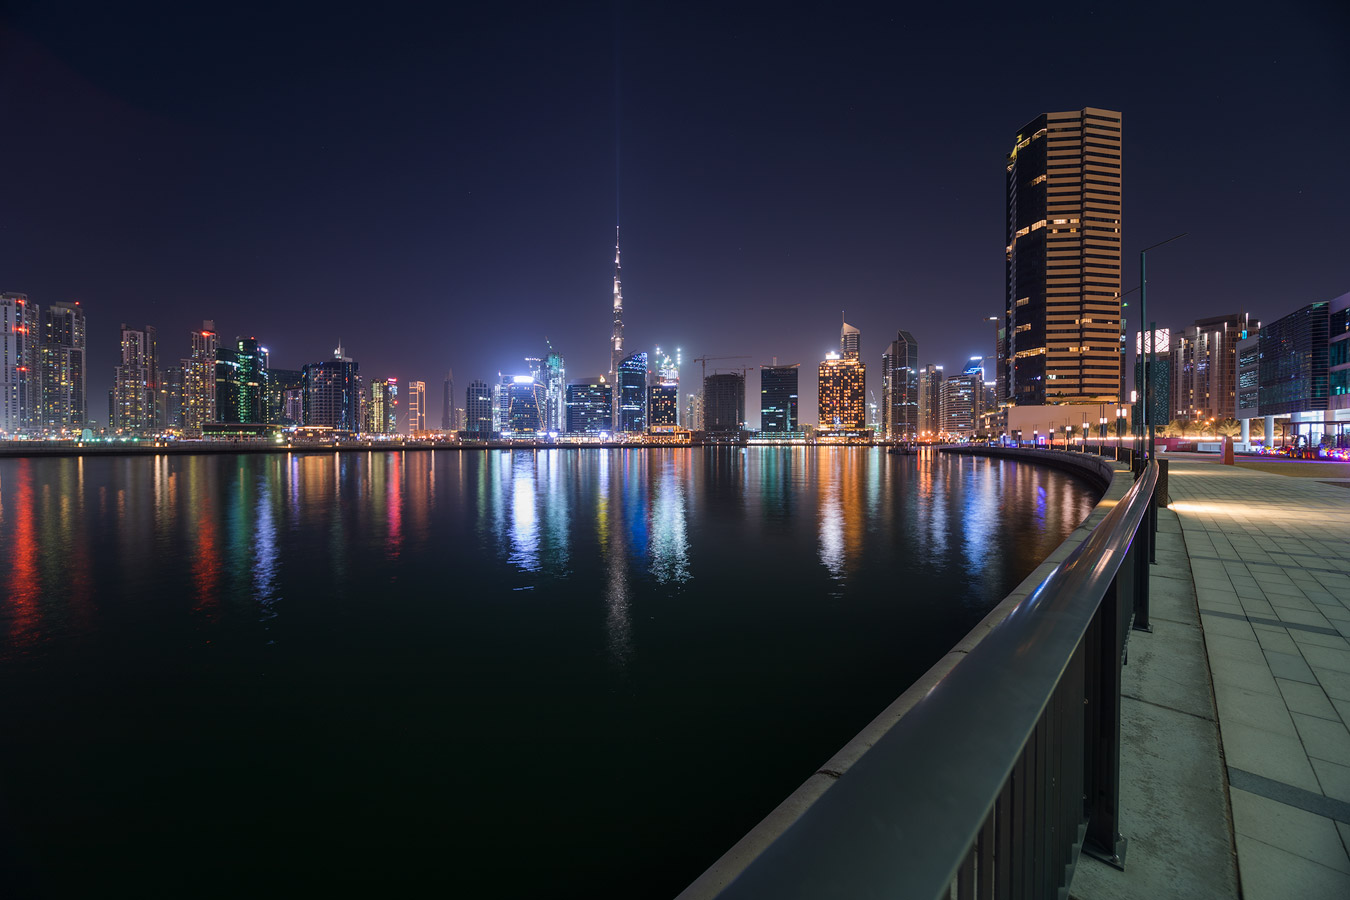
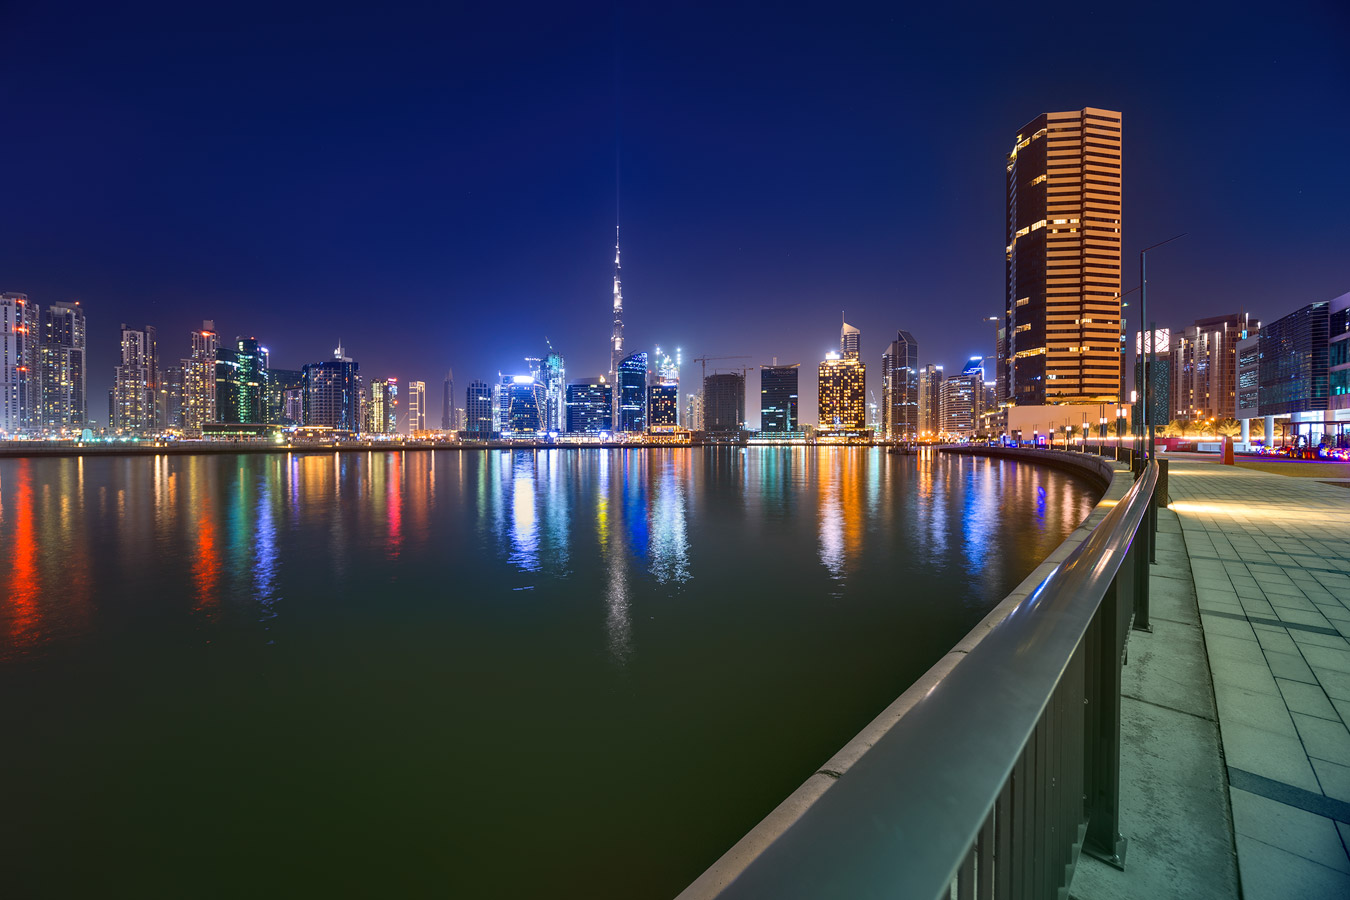
I got a question recently, how I sharpen my photos. And as this changed a lot over the years, today I will show you how I sharpen them right now. Maybe next week I will use something else. I always look for the best. But right now I use Raya Pro 4 panel for Photoshop, and I will show you how easy it is to sharpen using it.

Btw. for the next 24 hours, you can still get Raya Pro 4 panel with a huge 50% discount, that is only 22.50 USD for this great tool. Check it out on the official site here.

Sharpening with Raya Pro 4

Sharpening with Raya Pro 4 is very easy, and the whole procedure is only in few steps. Of course, you have to have Raya Pro 4 installed before you can do that. Please note, that this also resizes the image. The thing is, if you post images to the web, you should first resize it to the desired dimensions, and only then sharpen it. This will give you the best results.

  • Open the image you want to sharpen
  • Open the RP4 Actions And Filters panel. To do so go to Window/Extensions and select RP4 Actions And Filters
  • Now in this window, you have a section named Sharpen And Resize For The Web. Under this, there are two buttons, By Width and By Height. You can use any of these to do the sharpening
  • If you choose By Width, the number you put into the next window, will determine the width of the resized photo. If By Height, it will determine the height. I personally use height and the size I use is 1050px.
Sharpening photos for web with Raya Pro 4
  • A new file is created and you will be asked if you want to change the color space to sRGB. If the photo is for web, you should do that. On the web sRGB defaults to safe colors, and like that the photo will be properly shown in all web browsers.
  • In this new file, you will have 4 layers. The base is not sharpened, and the three on top are Sharpened, Sharpened More and Extra Sharp for Larger Images. By turning the visibility of these layers on/off and changing their opacity, you can change how much sharpening you applied to your image.
Sharpening photos for web with Raya Pro 4

I tent to leave the Sharpen layer and Sharpen more visible, then change the opacity of the Sharpen more to about 50-70%. In a few cases, I also used the mask to remove sharpness from a few areas, where it was just not needed.

And that’s it, your photo is ready to be saved and shared on the web.

How many lenses to carry

When you do photography for a longer time, you tend to accumulate gear and especially new lenses. But how many do you carry with you? All of them? Just one? Today I will share with you my thought on this and which lenses I carry with me when I go out to take photos.

Lenses

Depending on what kind of photography you do, you will tend to gravitate towards certain kind of lenses. As I do mostly landscape and cityscape photos, I mostly go with very wide angle lenses. But it’s different for everyone. Still, I have also zoom lenses and some fast lenses and similar.

What to take?

I never carry all of my lenses. Actually, 90% of the time, I would be fine with a single lens. One that has a nice range, that fits most of the situations. For me, it’s the 24-70mm 2.8 lens (but a 24-105 would be probably even better). Most of my photos are from this lens and it’s really great in almost any situation. It’s wide enough for landscapes, and you can do panoramas if you need to go wider. It zooms in enough for things like portraits or event photos,  and with a high megapixel camera, you can crop a lot, and get even closer.

I try not to carry more than three lenses. Mostly, fewer the better. You can then just focus on what you are doing, and not thinking about switching the lens and trying something different.

How many lenses to carry

The classic approach for a lot of photographers is to carry multiple lenses, that cover a big zoom range. So the classic would be a 16-35mm, 24-70mm and 70-200mm (or instead of the 16-35mm an 11-24mm or 14-24mm, depending on the brand). This gives a really big range you can work with, from ultra wide to a decent zoom. And it’s together only three lenses, which is not that many.

What do I take?

This three lenses, wide, medium, and zoom is a good tactic if you have no idea what kind of photos you will or want to do. You are ready for most things. I don’t go with it. I just know that I don’t like to zoom in that much, that even if I carry a lens like 70-200mm, I will not use it at all anyway. So while I still carry three I select them differently.

The three lenses I take with me are an all-purpose lens, a specialized lens, and a unique lens. In my case that would be the 24-70mm f2.8, the 17mm f4 TSE lens and the 12mm f2.8 one. Why these three?

As I mentioned, you should always have an all-purpose lens with you. The one that you use most of the time anyway. The 24-70mm or 24-105mm is a good range for it. I would not go with a bigger range. There are lenses that can cover a bigger range, but the quality and sharpness of the photos are worse, and they are not that fast.

The second lens, I choose a specialized lens. For me that the tilt-shift one. It’s just so great for vertoramas, architecture and city shots. Exactly what I specialize in. For you, this may be something different. If you always do portraits, this may be an 85mm f1.2 lens. If you do macro photography that a good macro lens and so on.

How many lenses to carry

The last lens, a unique one. With this I mean a lens, that will give me a view that most photographers won’t get. If you take photos in places that are popular, having a lens that gives you a less common view is a plus. That why for me this is the 12mm lens. Not many photographers use such a wide lens, so my view is more unique. You can even try a very fast lens or a fisheye or whatever you like to experiment with.

I don’t want to get the same photos and views other photographers got, so going a bit differently helps with that. Of course, when I’m going for an assignment, I take the lenses and cameras I know I will need based on the job. But when I take photos for myself, this is what I do.

Which lenses do you prefer to take and how many do you carry?

New 4K wallpapers

Looking at the page statistics, the 4K wallpapers seem to be quite popular and a lot of you downloaded them. So let’s do another batch of 4K wallpapers today, this time all from Prague.

Don’t forget to check out other available wallpapers:

Prague in 4K wallpapers

As I mentioned, today all the new wallpapers are from Prague, or better said, the Prague castle. As always, they are all in 3840x2160px and you can download them from the 4K wallpapers page here.

Prague in 4K wallpapers

Topaz Labs

Topaz Labs, a well known maker of photography applications and plugins, has been releasing a lot of AI powered software recently. The have the Jpeg to RAW AI, Gigapixel AI, Sharpener AI and Denoise AI. I did take a look at all in the past, and actually been using Gigapixel AI and Denoise AI quite a lot.

Last month, they released their latest AI-powered application, Topaz Adjust AI. And while I had access to a pre-release version, it was right at a time I was very busy, so did not have time to have a look at it. So let’s do it now :)

Topaz Adjust AI

Every Topaz AI application does something different. It resizes, sharpens and similar. Adjust AI does a bit more. It tries to give a nicer, more vibrant or HDR-like look to your photos. So it does not affect only one thing.

Topaz Adjust AI

Compared to other applications from Topaz AI, it also offers much more settings. You have the basic selector, where you can turn the Adjust AI effect on to standard or HDR style. But additional to this, you get all the basic and few advanced photo editing tools. You get brightness sliders, color, contrast, detail, and grain sliders. And to top it off, there is split toning included. This is all here so you can tweak the AI results to your liking.

Additionally, you can use the supplied presets or create your own, and use them directly on your photos.

Using Topaz Adjust AI

Using Topaz Adjust AI is very straightforward. It supports a huge list of file formats, including RAW files. It even can save the results as a DNG file, which is just great.

Topaz Adjust AI

Once you open a file, you either choose a preset or choose one of the AI settings and choose how strong the effect is. Once this is calculated, you can use the additional slider to tweak the result. That’s it.

I tried multiple inputs and the results are a bit all over the place. Some I like, some I did not. This is not a surprise, as they are very dependent on the photo I used.

One strange thing I noticed though, is that when I used RAW files from my camera, the results were very blue. Every single time. If I converted the file first to JPG or TIFF, the problem did not appear.

Look at these three versions of the same photos. First one is RAW on standard Adjust AI style, the second is a TIFF on standard style and the last one TIFF on HDR style. You can easily see the blue tint I mentioned.

Sample results

Let’s look at some photos. There are all edited only in Topaz Adjust AI, all from a TIFF file. You can slide the middle point to compare to the original photo. The original is always on the left.

For the first photo, I used the HDR style, changed the temperature to a warmer one and toned down the small detail, as it looked too grainy.

This one is again the HDR style, but I brightened it a bit and added more contrast afterward.

Here I used the HDR style, added a bit of saturation and opened the shadows.

For the last one, I used the standard style, went down with the highlights, added saturation and reduced the small details.

Final thoughts

I like some results, but I don’t think this application is for me. I already have a certain style to my photos, and this will not create the exact look I want. Is this something you will use? If you like the results, you should give it a try. There is a trial version available on the Topaz Labs website here.

Overexpose RAW or use higher ISO

A few days ago I had a thought. What results in a cleaner photo? Should one overexpose a darker RAW file or use a higher ISO instead. Which one will have less noise? So I decided to try it out and see.

Let’s compare

Let’s look at this photo. This is a crop from 100% zoom. Both versions are the same except for the ISO settings. The first one is ISO 100 and overexposed by two stops, second on ISO 400.

It’s really hard to see any difference, except the High ISO one, is a tiny bit brighter. I noticed this on every single photo I tried. Two stops of exposure were never the same in Lightroom as in the camera. Let’s zoom in to 200% to see better how it looks.

Still, hard to see much difference, except the brightness. Maybe the overexposed has a tiny bit more noise, but hard to say for sure.

Let’s look at a different image. This one with more even areas, that will show the noise better. Again, both taken at the same settings except the ISO. First one at ISO 100 and overexposed by 2 stops, the second one at ISO400

Really hard to see any difference at 100%. It looks almost the same. Let’s zoom in to 200% to a single color area.

Here you already can see a bit of difference, the noise is a tiny bit stronger in the overexposed image.

How is it?

I tried more comparisons, and every time I got to the same result. The overexposed shot is a bit darker and has a bit more noise. But in most cases, I was not able to even see a difference. Even when going up by 3 exposures, it was the same. Not sure if this would be same on all the cameras, but it worked like this on the 5D Mark IV. So it looks like it does not really matter and both work fine.

The biggest difference was actually the overexposed areas. When you overexpose a shot, you get better exposure in those areas. But of course the underexposed will be darker, so you get less detail there.

I tried the same comparison where instead of changing the ISO I changed the exposure time, but in that case, the overexposed one was much noisier in every case. This is, of course, to be expected.

FREE EBOOK!!!
Subscribe to my newsletter and get a free Capturing fireworks ebook. 
Subscribe