Travel photos
Always when I’m traveling I post a lot of behind the camera photos onto my FB page, so feel free to stop by at https://www.facebook.com/hdrshooter. If all goes as planed, I should be somewhere on the Ljubljana castle right now :)
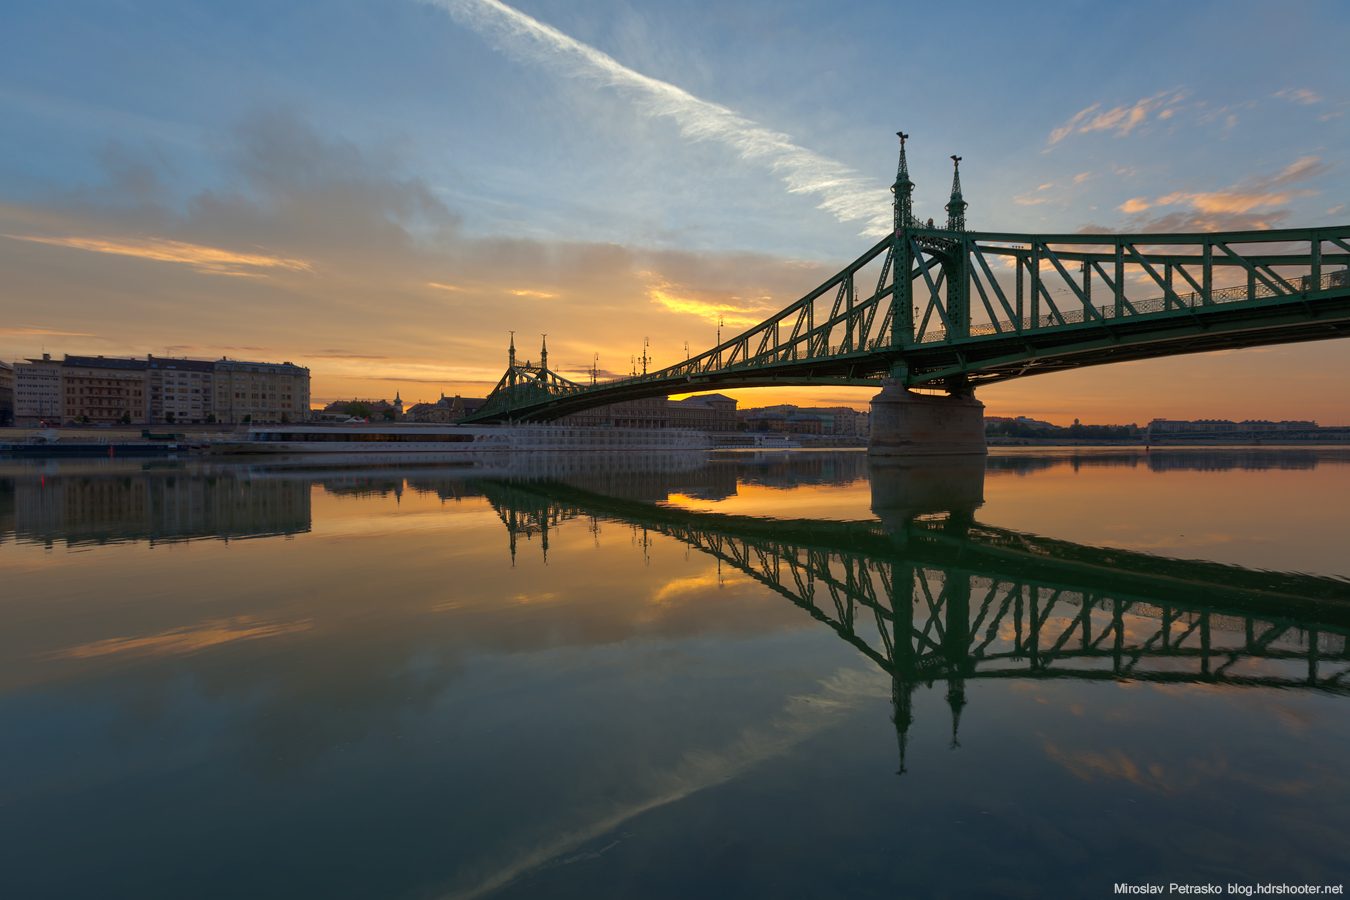
Calm waters
The only way to get a calm Danube, is to go out shooting very early in the morning (and a long exposure also helps a little :)). Same here in Budapest. There are absolutely no ships on the Danube around the sunrise and with a calm water as this, you will also get very nice reflection.
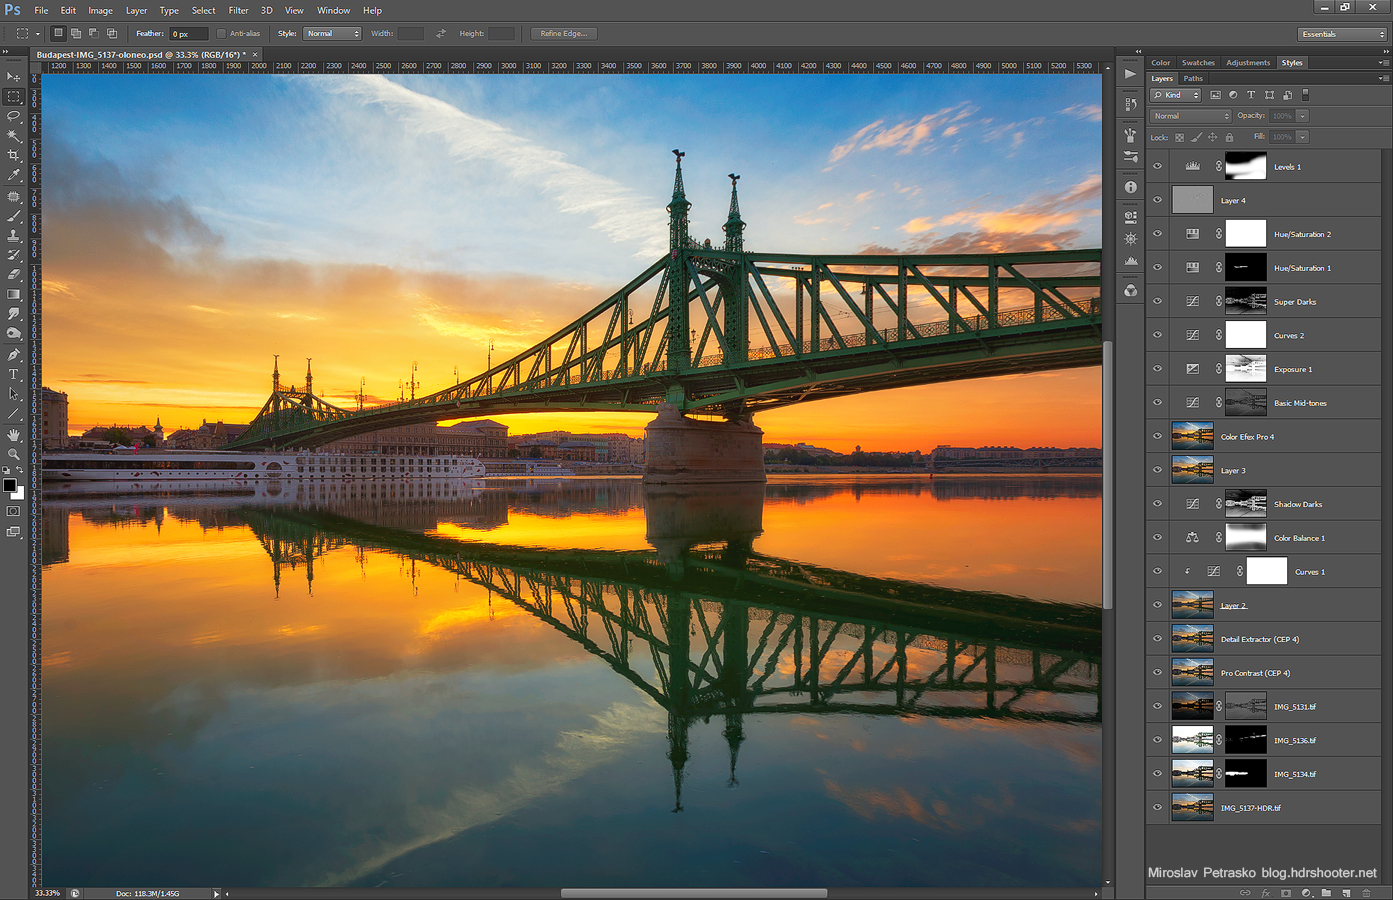
This is a HDR created from 7 shots created in Oloneo Photoengine and finished in Photoshop.