Free HDR video tutorial

Free HDR video tutorial

MASTER EXPOSURE BLENDING

Find the best ones

Find the best ones

TOP PHOTOGRAPHY SPOTS

Free wallpapers

Free wallpapers

HIGH-RESOLUTION WALLPAPERS

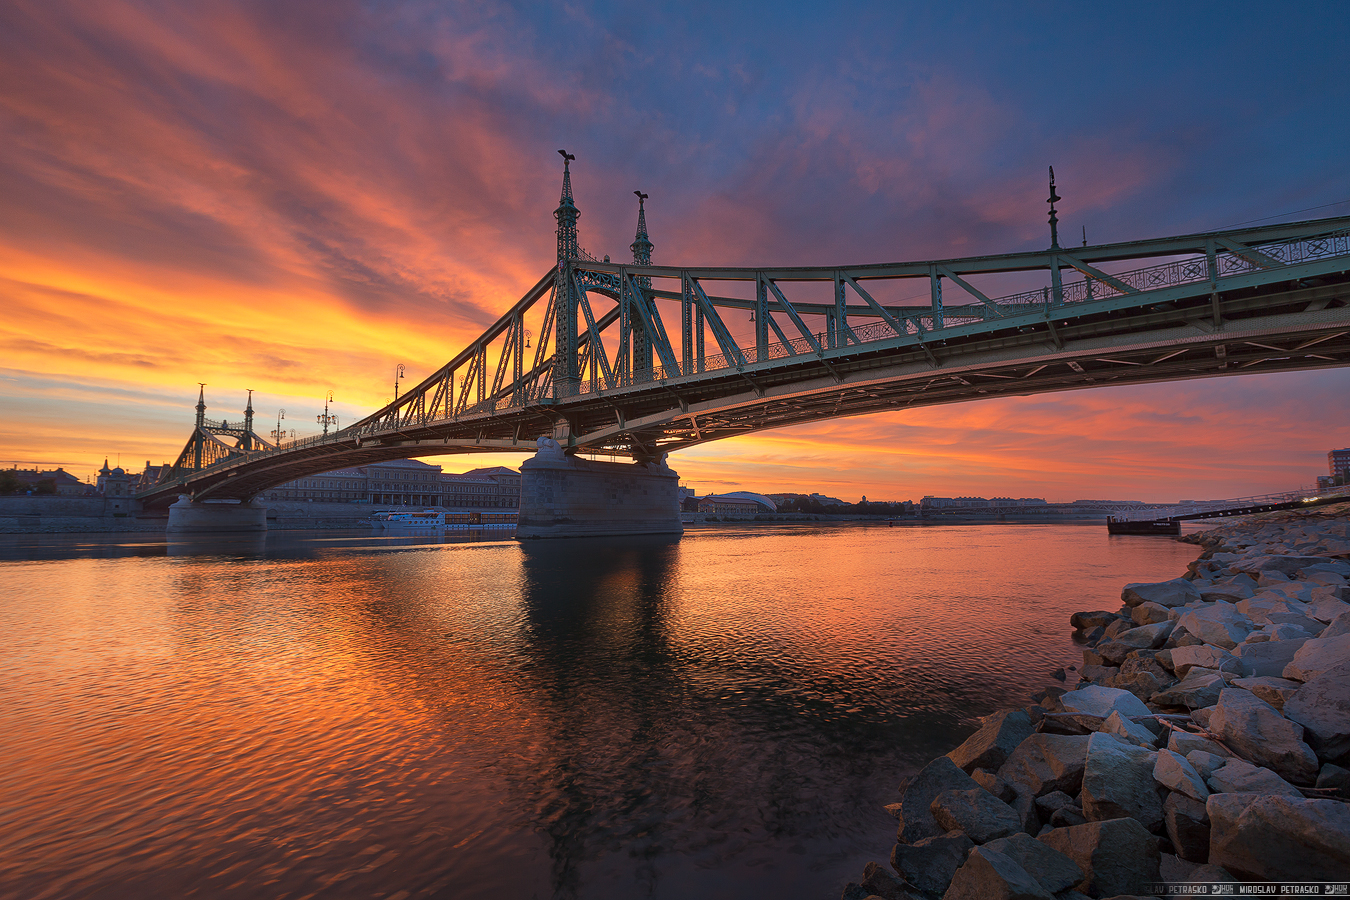
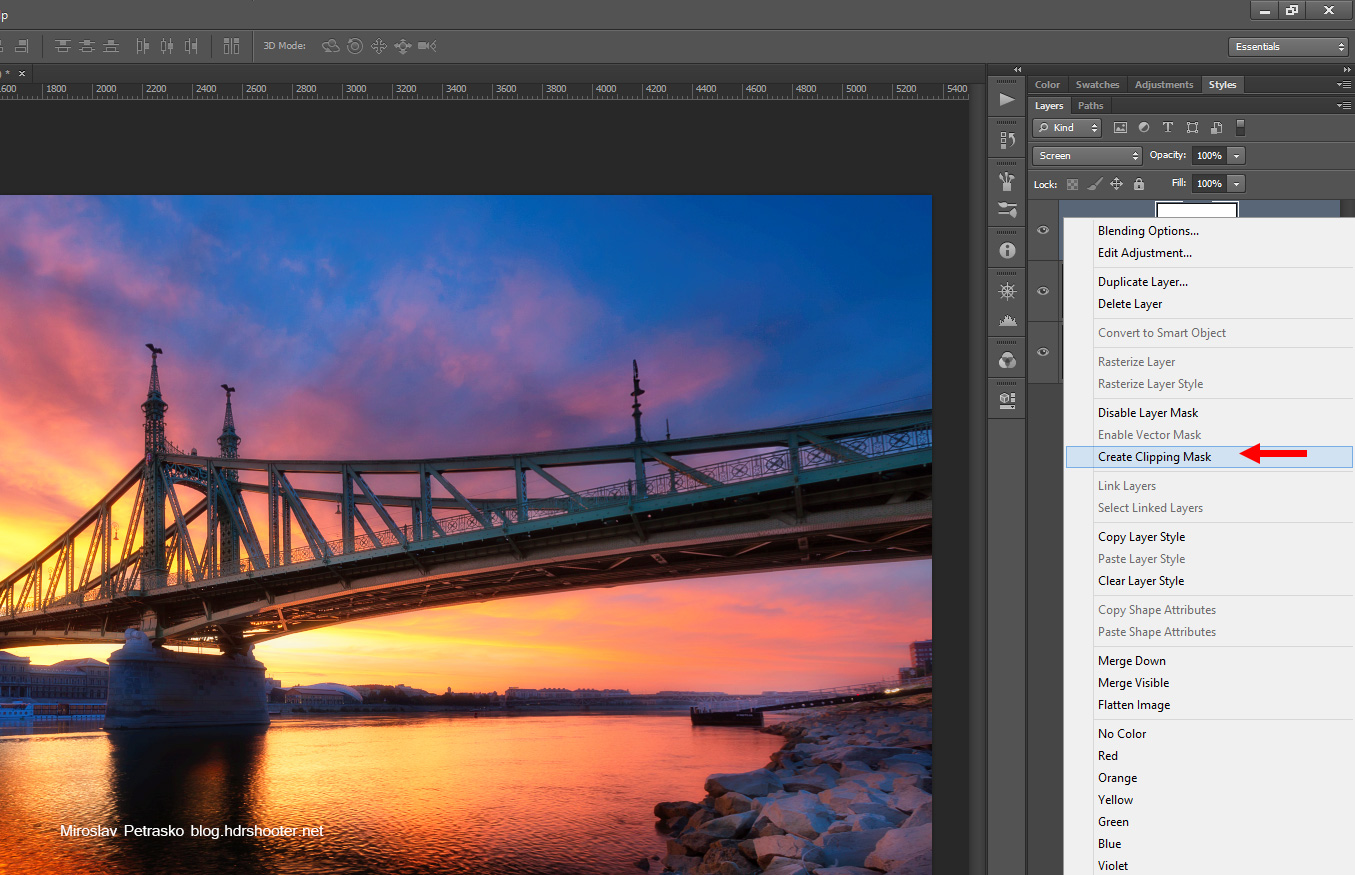
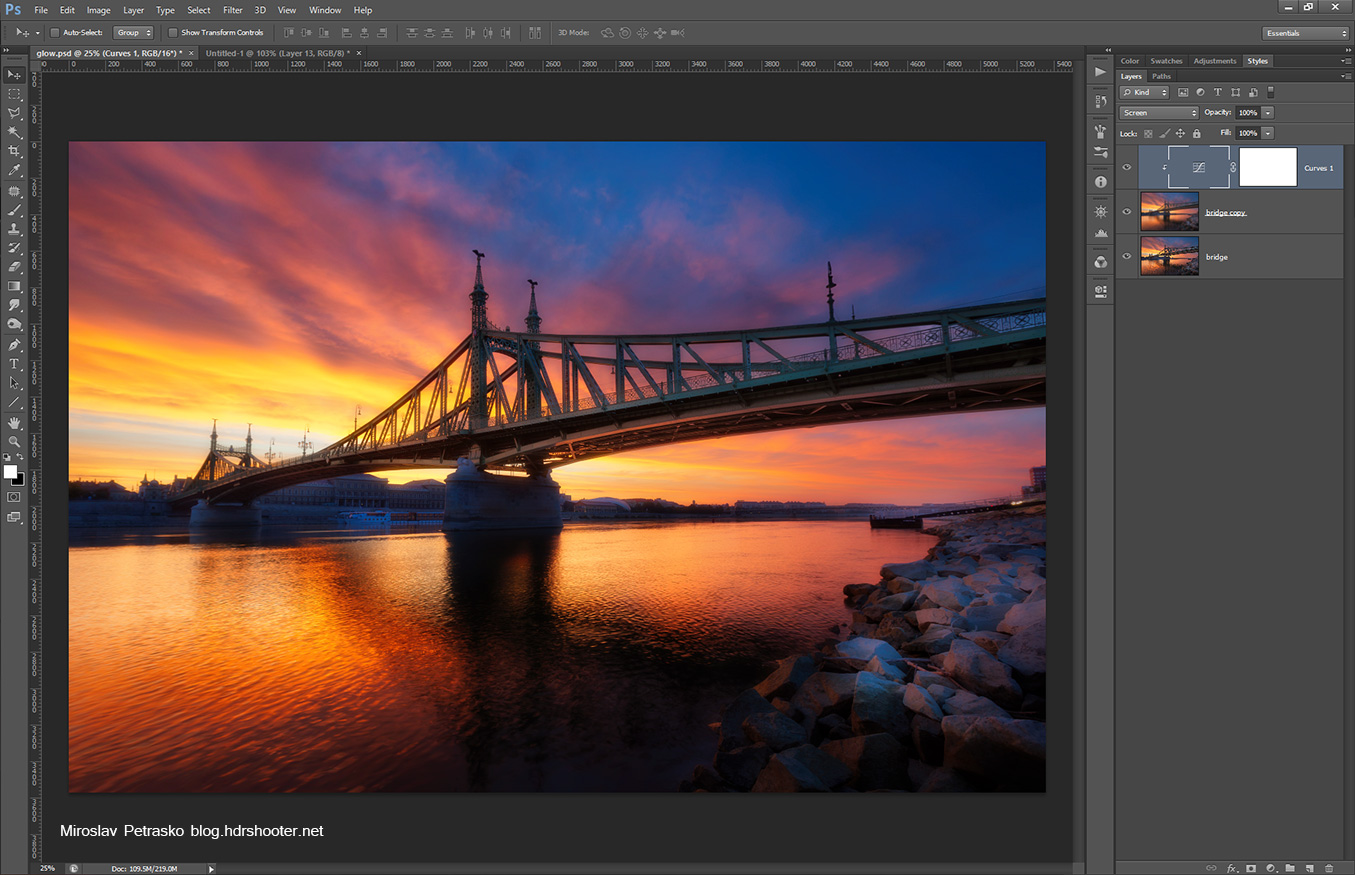
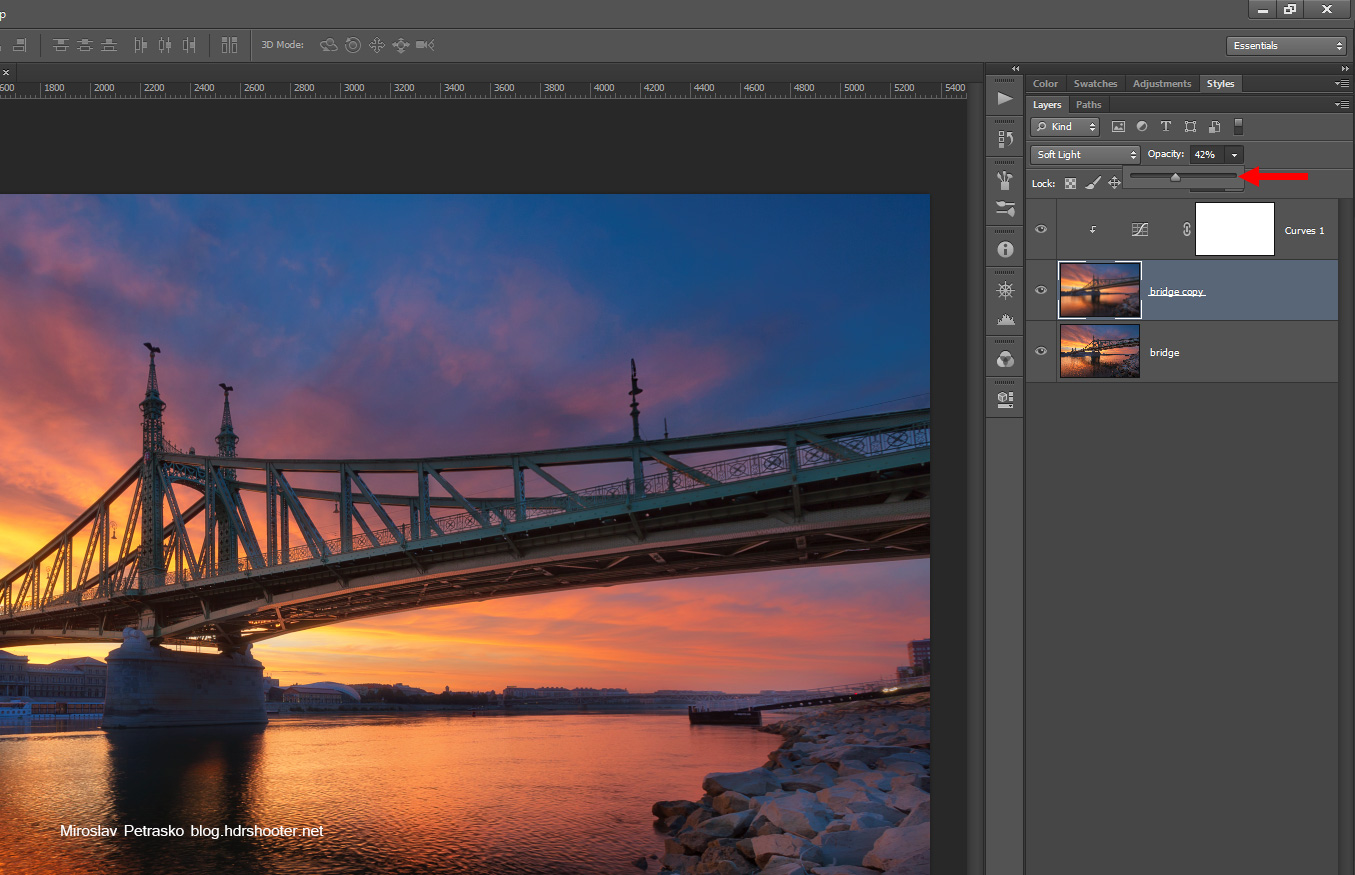
I haven’t been out shooting photos in Bratislava for a long time, so when it stopped raining today, I thought it would maybe make for a nice sunset. But not really. But during the blue hours, the clouds above the city were so low, that they completely reflected all the yellow city lights. The whole scene got a completely yellow/reddish glow over it.

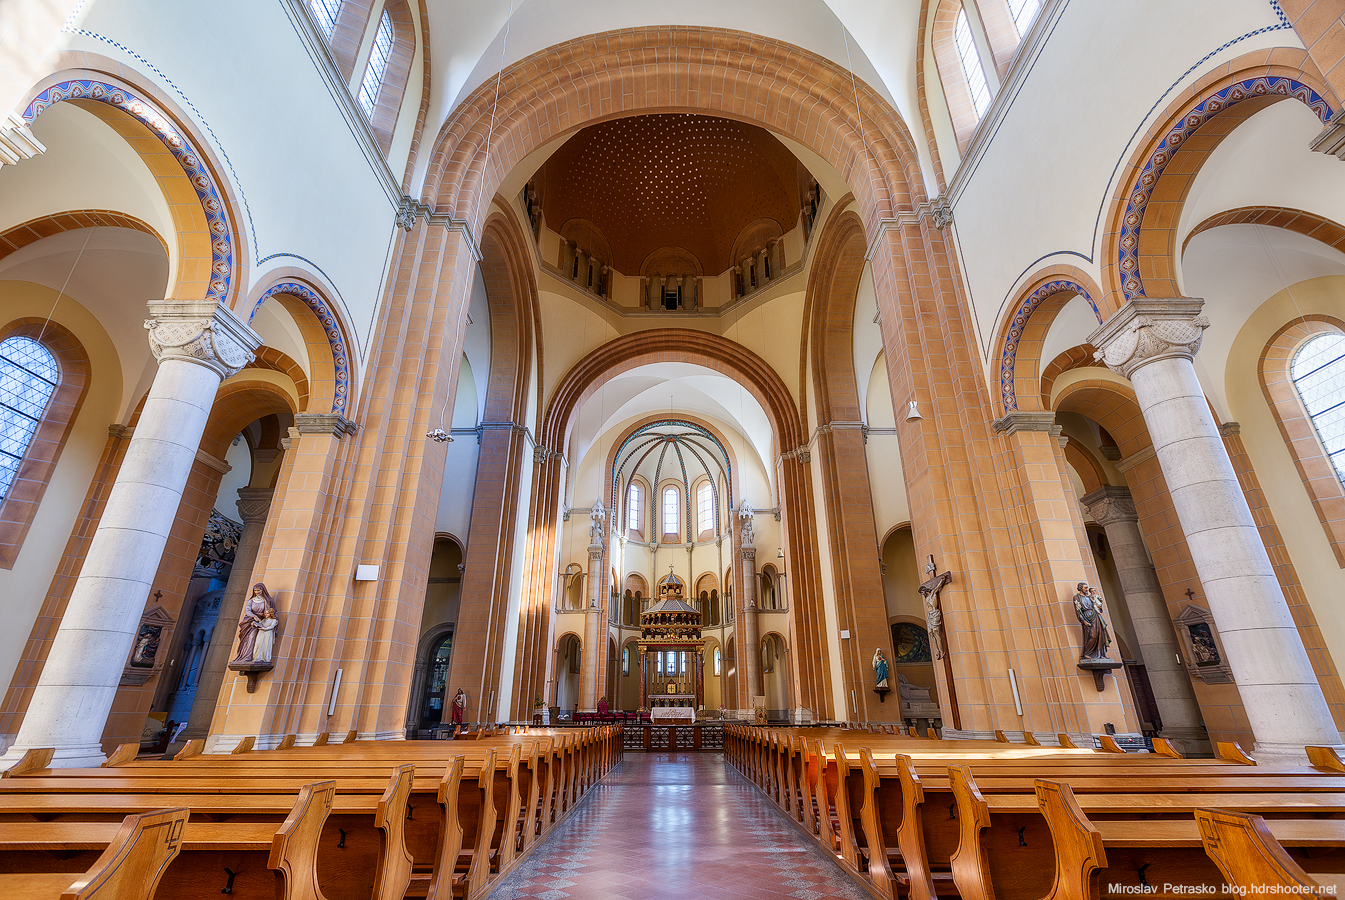
This is a manual blend from 6 shots. I took a -3EV for the castle here.
Low clouds over Bratislava

This is one lovely church in Vienna, it just looks so much nicer from outside. It is a little boring from the inside. A little to clean for my taste. But still it was nice that when I asked if I can take photos, nobody minded. Maybe because it was still a little bit under reconstruction.

This is HDR created in Oloneo Photoengine and then blended with few of the original shots in Photoshop.
Vienna-IMG_0850-oloneo-sharpen

Adding glow to your photos

Few days ago I added a new tutorial to this blog, this time about how to add glow to your photos. I use this technique in almost all of my photos, and I think you will find it interesting (and very easy :)). You can see the tutorial here: Adding glow to your photos. You can also find a Photoshop action there, which does all that for you :)

glow-0 glow-25 glow-50

The Morning Light

I just cant stop editing photos from that morning. All have such a great sky, that other photos looks just boring :). So here is another one from last Monday in Budapest. It was very funny to me, to see a young couple sitting right next to the place I was, watching a movie on a notebook, completely ignoring the stunning sunrise that was in front of them. I wonder why they went there at such an hour if not for that.

This is a HDR created in Oloneo Photoengine and then blended with some of the original exposures in Photoshop.
The Morning Light

New wallpapers

Maybe some of you have noticed, but there was a new update to the wallpapers section, with three new Paris wallpapers. So if you like them, feel free to download them from the wallpapers page.

Big ben 1920x1200 Perfect sunset in Paris 1920x1200 Long exposure shot 1920x1200

Dresden reflection

The daily photo for today is from Dresden. I spend only one day there and even so I had only a shot time with nice light. It changed 4 time during one day between a clear sky and a cloudy sky with a heavy rain. So I got the best of the few minutes during the blue hour I could really shoot and I chosen the best location in the city, right by the water, with all the lovely reflection. There was of course the same problem with passing ships, as it is in every city on a river, but right around the sunset they all left, so I was at least a little lucky :)

This is a manual blend from 5 shots.
Dresden reflection

One of the steps I do almost in each photo post-processing is adding a little bit of glow to the photo. Glow softens the photo, adds contrast and saturation and overall makes the photo more pleasant to the eye.

There are multiple ways you can add glow to your photos (for instance Glamour glow preset in the Color effex pro plugin), but I personally prefer to do it just using Photoshop. It’s very simple and requires only two layers to apply. I went step by step in my description, but for those who are lazy to go through it, I also created a Photoshop action for you, which does all of this for you. You can download the action from here:

HDRshooter glow Photoshop Action

So lets take a look at this photo (I suggest clicking on the photos to see them bigger, to see the difference better):

glow-0 glow-25 glow-50

The first one has no glow added, the second one has the glow on 25% and the third one on 50%. You can see the difference in contrast, softness and color here. You can also see that glow will darken the very dark areas and brighten the very bright areas, so this is something one has to take into account here.

How to add glow?

So how do you add this glow. Lets start with a photo in Photoshop:
glow-01

Our fist step is to duplicate this photo (if you have a file with multiple layers, just merge them into one new layer). To duplicate, right click on the layer and select duplicate layer
glow-02
glow-03

Next select the new layer and blur it. Gaussian blur works very well here. I usually go for a 30px blur, but it greatly depends on the size of your image. For my 20Mpix images, 30px works well. If your images are smaller, you should use less blur, for bigger images you can use more.
glow-04
glow-05

Now we have to change the blending mode of this layer. While the layer is still selected change it to soft light
glow-06

You can see the photo now completely changed, but it a little bit to dark, so we need to brighten the effect. I use for that a new adjustment layer. You can use anyone, but I prefer Curves, as I can add more contrast if needed. So choose new adjustment layer and curves
glow-08

And then change the blending mode of this new layer to screen. This will brighten everything under it by one stop.
glow-09
glow-10

The result is now better, but the curves layer effects everything under it, and we need it to just effect the glow layer. To do this, right click onto it and choose Create clipping mask.
glow-11
glow-12

As a last step we need to change the opacity of the glow layer. The higher, the stronger the effect is
glow-13

You can also add a layer mask to the glow layer, and only paint it onto the areas where you want it (or remove it from the areas where you don’t need it).

And that’s all. The photo now has a nicer contrast, nice glow and much richer colors. It can happen that the photo will be a little to dark after this, but that’s can be easily corrected.

Feel free to ask any questions and don’t forget to download the provided action :)

FREE EBOOK!!!
Subscribe to my newsletter and get a free Capturing fireworks ebook. 
Subscribe