
Free HDR video tutorial

Free HDR video tutorial

MASTER EXPOSURE BLENDING

Find the best ones

Find the best ones

TOP PHOTOGRAPHY SPOTS

Free wallpapers

Free wallpapers

HIGH-RESOLUTION WALLPAPERS

And we have Tuesday again, so it’s time for another process post. As every week I have for you one photo, where I will go through the editing process from start to finish. Btw. I still don’t know what to call these posts. Processing Tuesdays? Edit of the week? Andy suggestions? :)

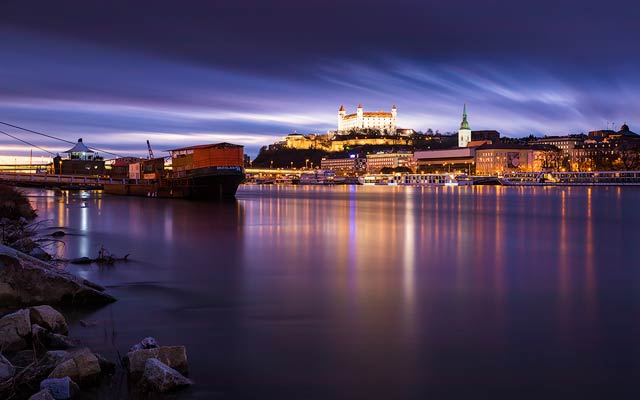
So for today, I chosen this manual blend of a nice aerial view of Bratislava.
View of the city

As always I started with Lightroom. For this one, I had to correct the white ballance, and do some perspective corrections, as I was pointing my camera down when I took this. In retrospect when looking at this photo, I could have done a better job cropping, as I haven’t noticed the ship in the bottom right at all before today.
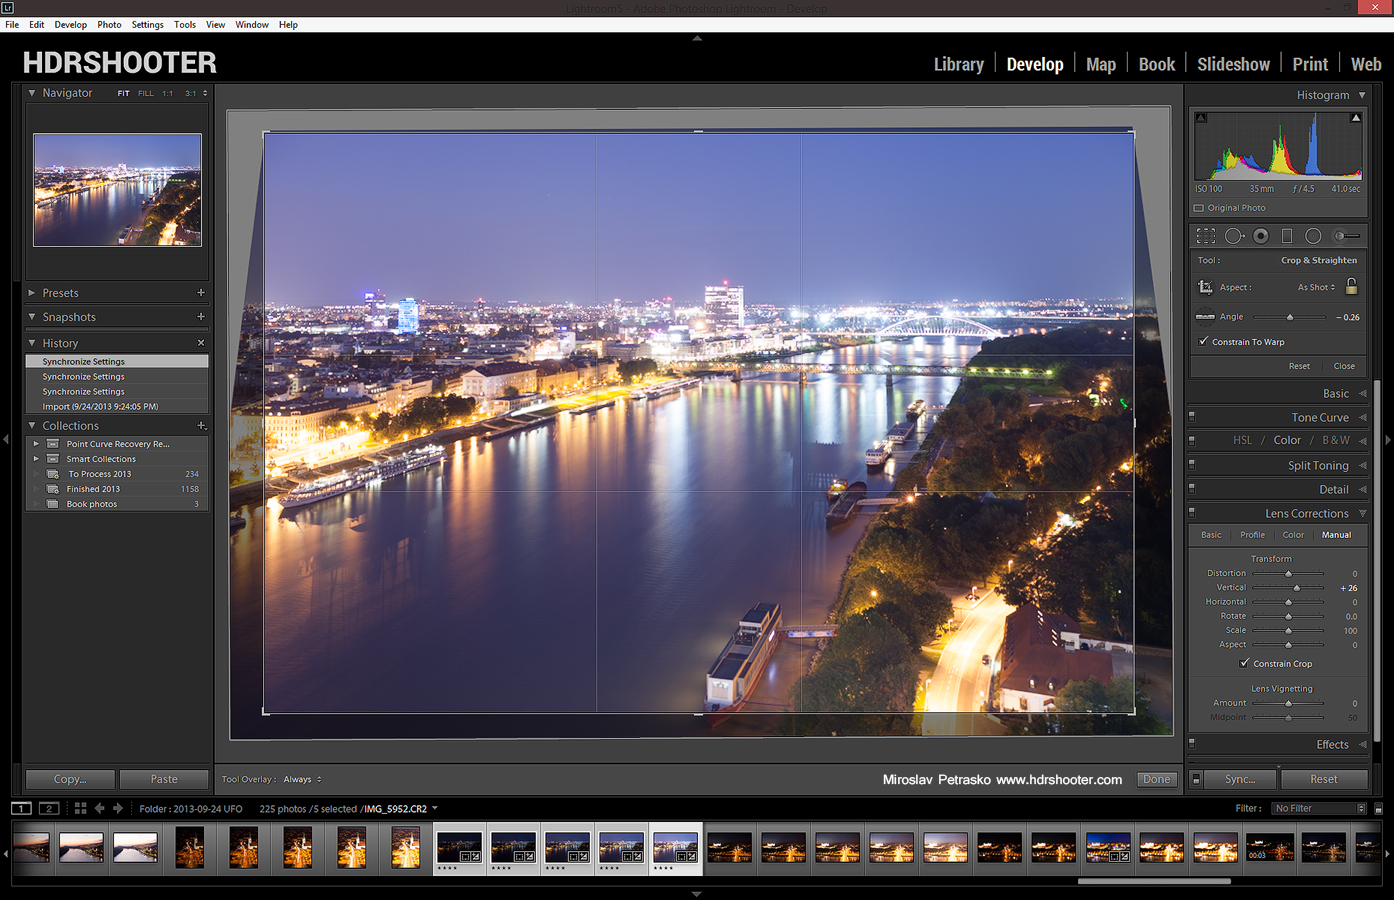
View-of-the-city-lightroom

After that I loaded all the exposures into Photoshop. There I did the following edits (numbered from bottom up):
1. 0EV exposureI
2+3. -1EV and -2EV to darken the lights of the city
4+5. +1EV and +2EV to brighten the shadows, mostly in the bottom right
6+7. added glow to the photo, this recovers some lost contrast and also boosts the colors (view my glow tutorial for details)
8+9. this is something I don’t do often but it helps in certain situations. I used the Color Efex Detail Extractor to add more detail and color to the photo. But as I liked the color on the whole image, but the detail only on part, I did the following. I duplicated the layer, set one to Luminosity (so it only affects the detail) and used masks to limit what it affects. Then I set the second one to color for the whole picture.
10. Added 0.5 exposure to the darkest parts of the image
11. Added a little saturation to the whole image
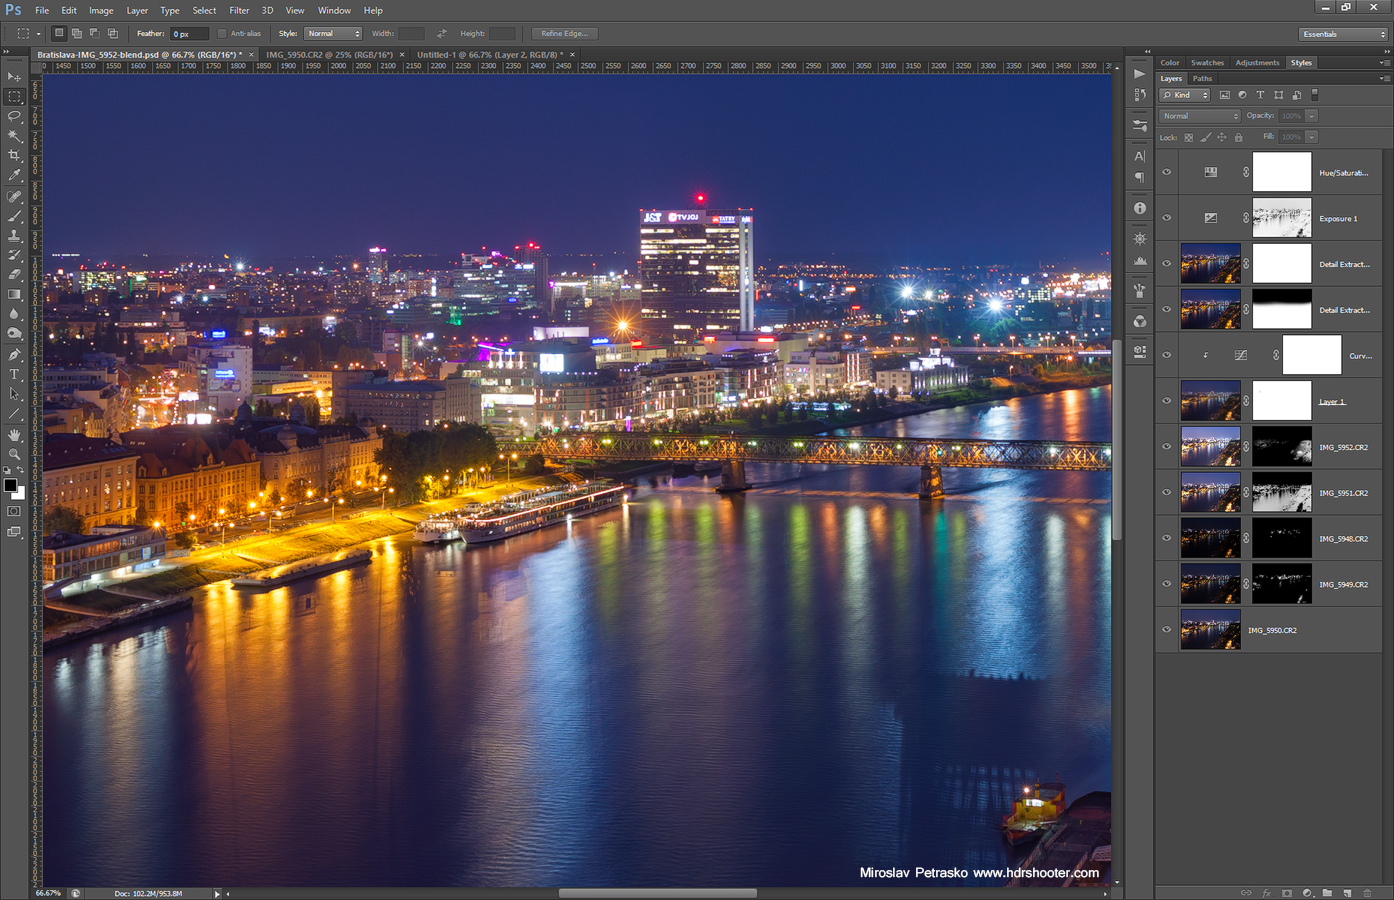
View-of-the-city-process

And that was all. Here you can see the original 0EV exposure, and to see the camera settings, please visit the original post here.
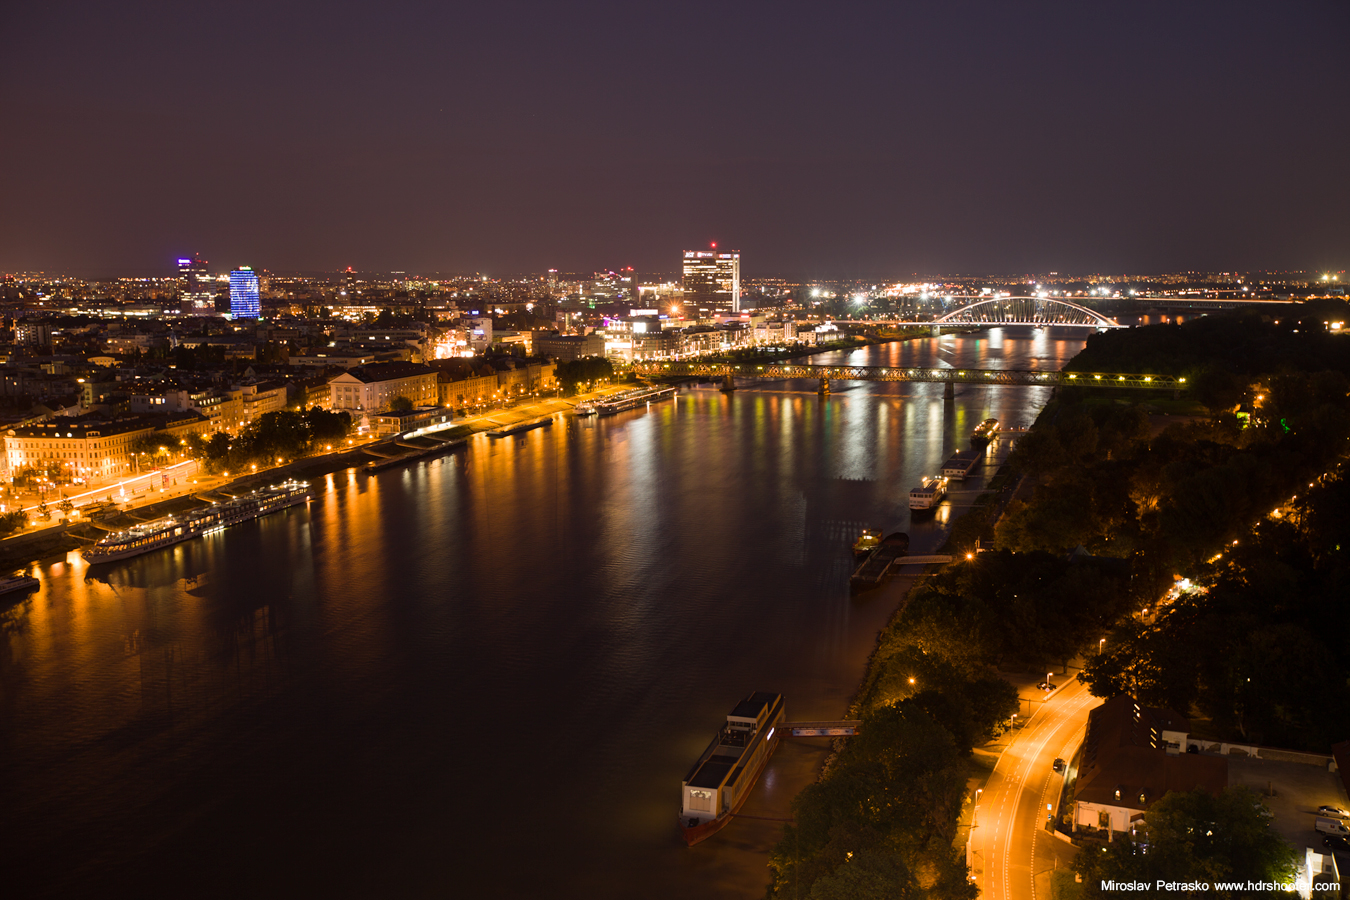
View-of-the-city-original

editorschoice

Photo selected for Editor’s choice

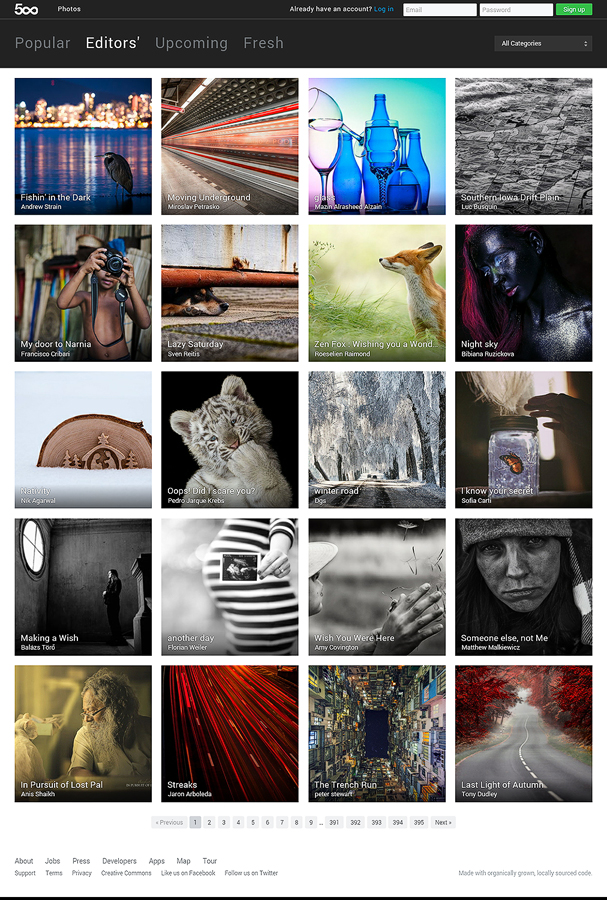
For the first time ever, one of my photos has been selected for the Editor’s choice category on 500px. Recently I’ve been posting there more and more and my photos get quite a good response there. So it look like more photos will find their way there :) You can see the selected photo here, or my account on 500px here.

Flooded by the sunlight

This looks almost nothing like what I got from the camera. This was such a low contrast scene. The sun with the low clouds and the air being full of moisture, just filled everything with light and it all looked the same. As the name says, it was flooded by sunlight :) When I edited it, I added a lot of contrast, but still wanted to keep the feeling of all the sunlight. I’m not really sure about the color. Somehow especially by photos like this, they look different on every monitor. Sometime the yellow is more red, sometime more green. One would think with all the standards, the manufacturers of screens could finally create all monitors with the same colors. But we can just dream about that.

This image is created from two shots, both 5 exposures. One taken normally, one with the sun covered, so I can remove the flares (check my tutorial on removing flares for more details). I then created two HDR images in Oloneo Photoengine and blended them in Photoshop.
Flooded by the sunlight

newlook

New look for the blog

Recently I felt that my blog needs a little visual refresh, so I’ve been working on it, and today I finally put in on the live server. I think you have all noticed the change already, so there is not much I can say about it :) I just hope you all like it. I changed a lot of stuff, including how the page scales in the browser window, so if any of you see any problem, or bugs, please let me know.

Light tree at the sunset

I really like winter, but with absolutely no snow, I just can’t wait for spring. How much could this photo look differently if everything was covered by snow. The tree would just not looks so out of place.

This is a 5 exposure HDR created in Oloneo Photongine. I then blended in a brighter tree, removed few people and added glow in photoshop. And that’s it.
Light tree at the sunset

I don’t do that much astrophotography, as most of my photos are from cities, and you can’t get any stars there. But as I was in a less populated area during Christmas, I tried to take few shots also of the starts. And the day I took this, we got to the cabin around midnight. Most of the day, the sky was covered by clouds, but just a short time before it cleared. And as it was not that cold, I had to take few shots. I’m just sad, that at that time I did’t know that there was a second cabin a little behind this one, which would give me a much better composition. I just found that out the next morning, when we were leaving the area :)

This is a blend from two exposures in Photoshop.
Late night at the cabin

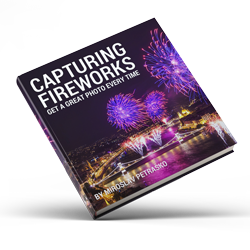
You want to learn how to capture fireworks and would like it to be in a nice ebook? Than this is for you. I put together a 25 page ebook, specially for those who want to lean how to take photos of fireworks. And with not so many times when you can get those, it’s always best to know as much about it as possible.

In this ebook you will learn:

  • what you need to take fireworks shots
  • what to look for
  • how to setup your camera
  • how to edit a captured photo
  • see one of my photos from start to finish

And all in this handy pdf eBook. It perfect to read on a tablet.

How to get it free?

This ebook is for free for all newsletter subscribers. Just enter you email, submit, and once you confirmed you subscription, you will gets a confirmation email with the download link.

Subscribe here.

Here you can see a little preview, and few of my other fireworks shots I took using the method described in the book.

Capturing Fireworks
Capturing Fireworks
Capturing Fireworks
Capturing Fireworks

Colorful explosion
St. Stephen's Day Celebrations

FREE EBOOK!!!
Subscribe to my newsletter and get a free Capturing fireworks ebook. 
Subscribe