Evening vertorama from Lyon
Continuing with more photos from my archive. There are more than 100 000 photos there, so usually I find something to edit. But not always. This one is from 2016 from a summer trip to Lyon, France. I still remember how hot and sunny it was, that it was hard to stand in the sun.
Surprisingly, in this photo, I did not have to remove anybody. When I was there in the evening, there was not a single person there. This is the Basilica of Notre Dame of Fourvière on the hill above the city, and while there are many tourists during the day, the night is more calm, and empty. Perfect for photos. The yellow lights are a bit strong, making for a stranger color, but still nice.
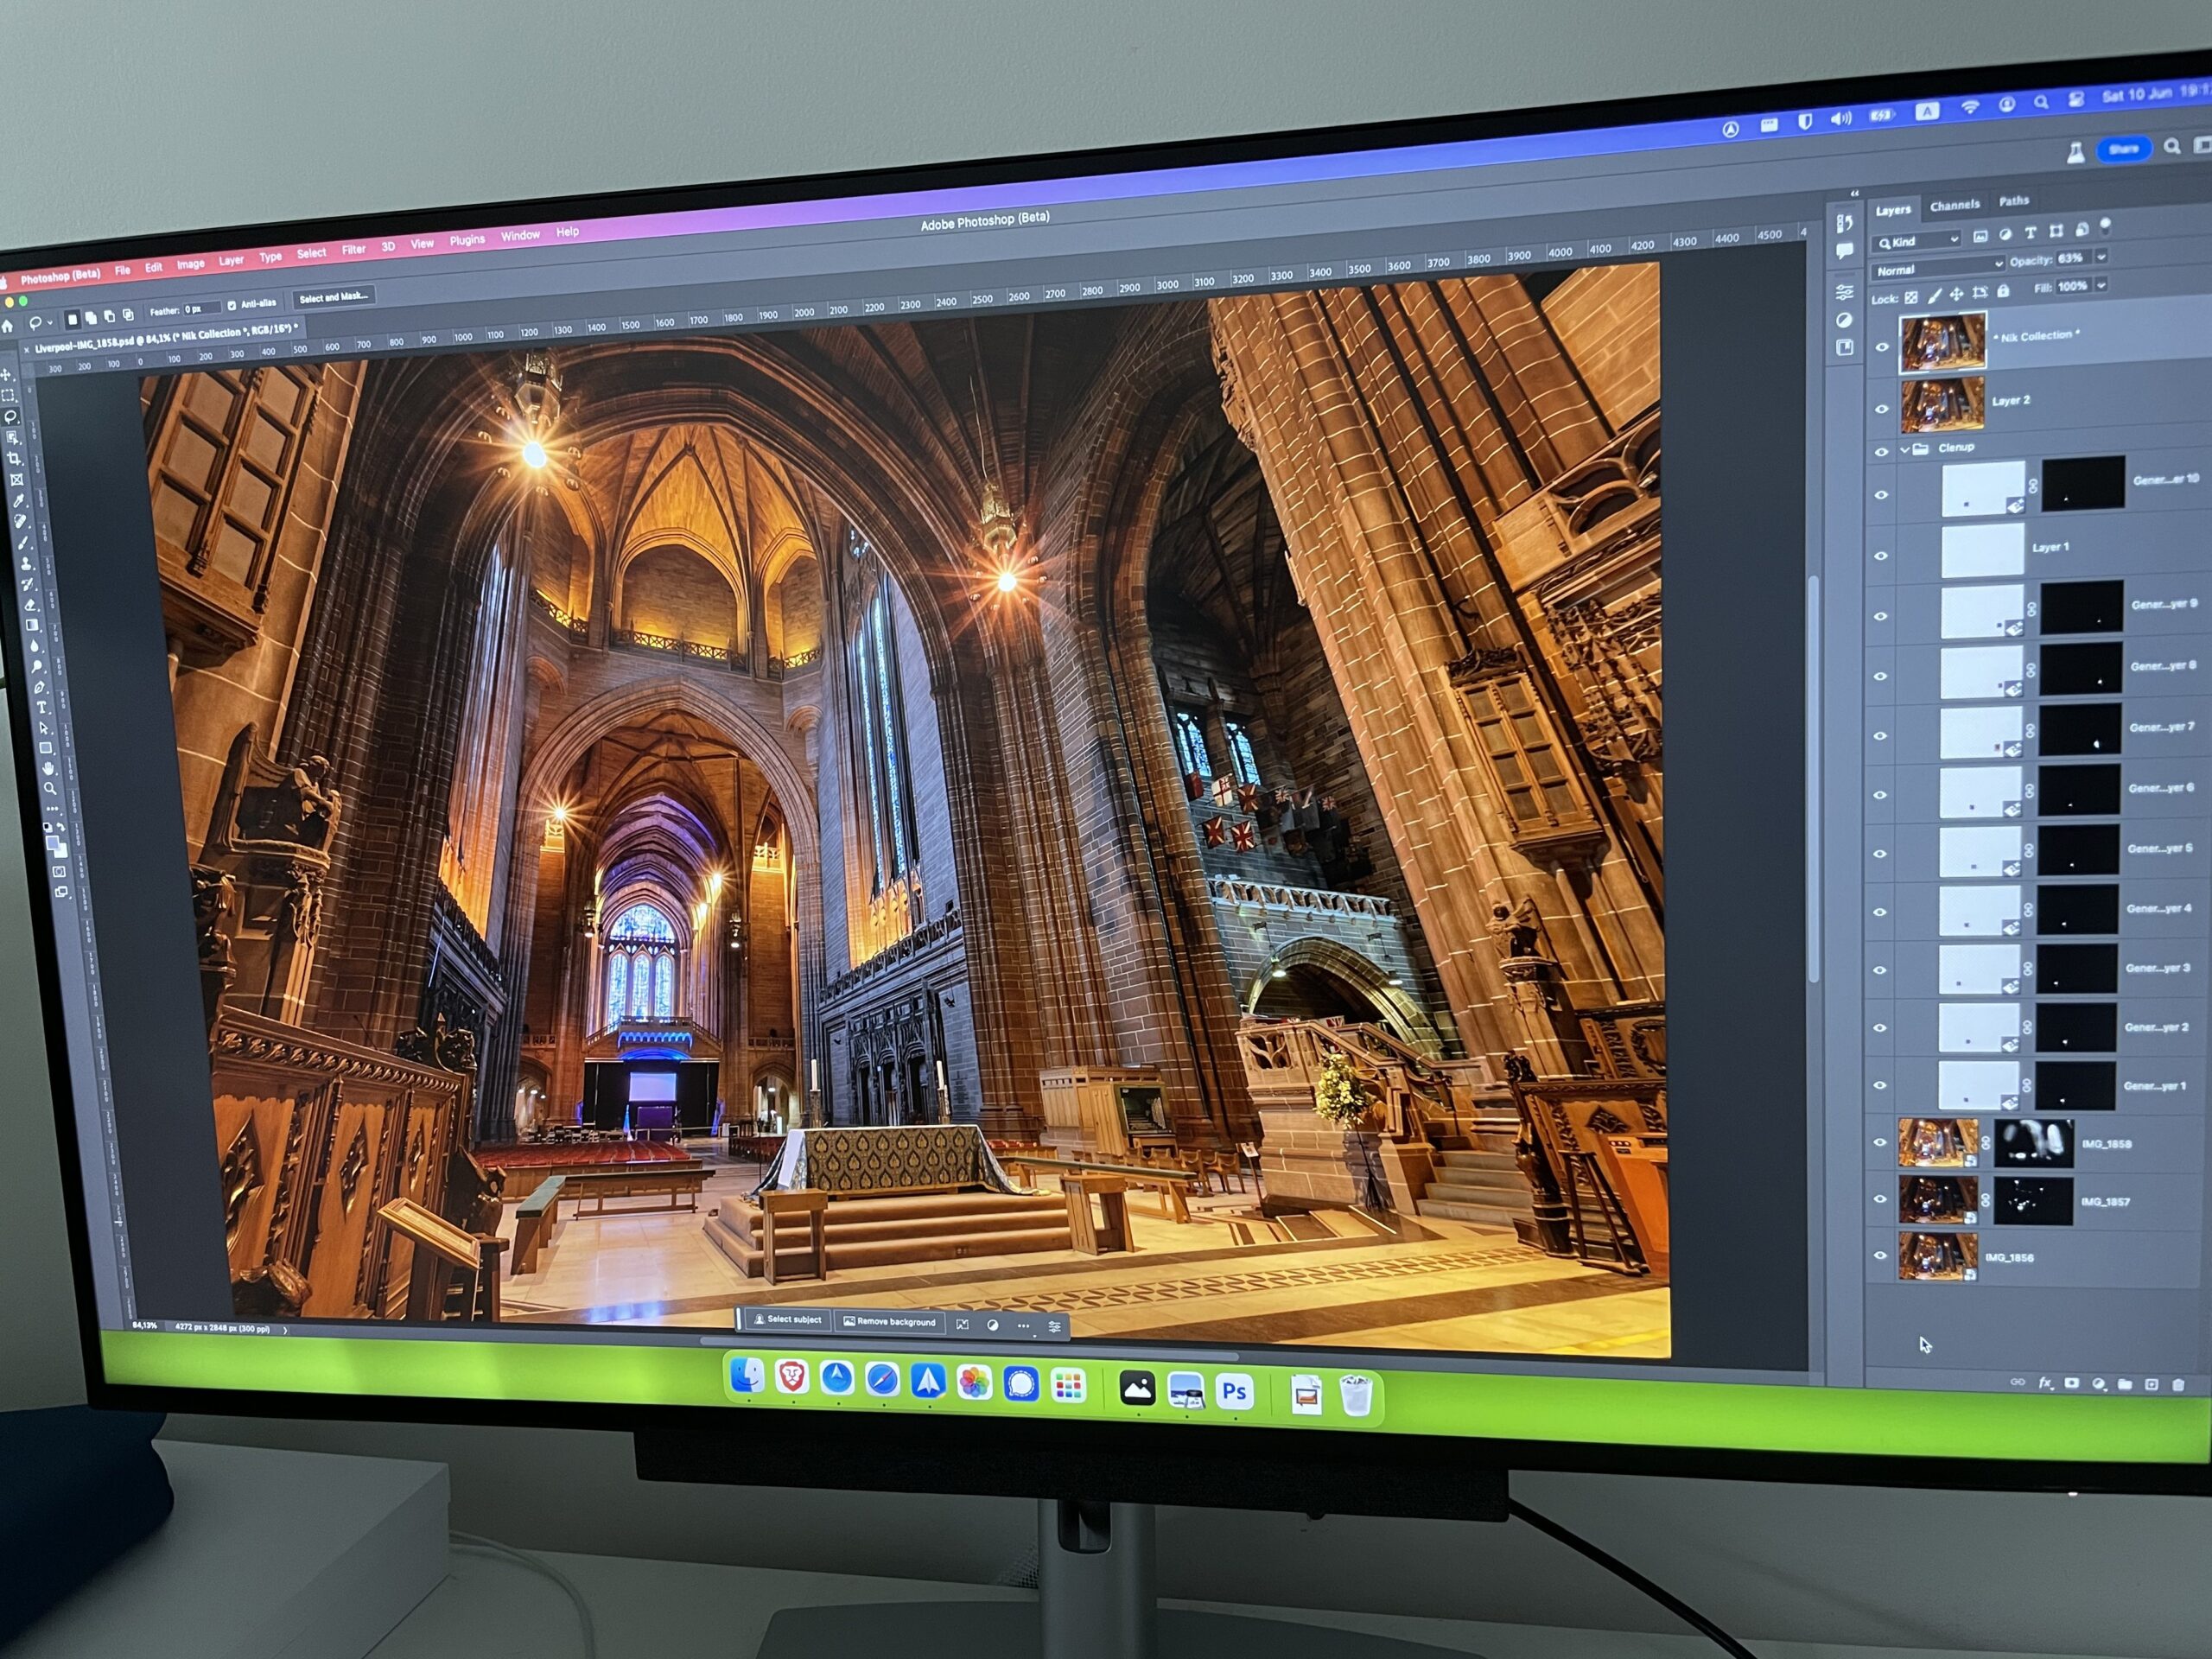
This is a two-shot vertorama, edited in Photoshop