Trey Ratcliff’s New Zeland Photography tutorial
Just finished watching Trey Ratcliff’s latest HDR video tutorial. Yes, I watch other photographers tutorials, and I do it a lot. I probably watch everything about HDR and landscape photography. It does not mater how good I think my photos are (or bad :)), there is still a lot to learn.
I like Trey’s videos, even if I don’t learn that much from them anymore. His videos are mostly made for beginners and he often goes through editing basics. Still it’s intersting to see how a another photographer edits his photos, and I always end out with few new ideas, on what to implement in my own photo processing.
So if you are a beginner in HDR photography, or somewhere around intermediate level, and you like Trey’s style, this is a must watch. If you are already quite familiar with HDR photo editing, you will probably find something new in his videos, but probably not that much.
More information can be found on the New Zealand tutorial page and if you decide to give them a try and buy them, use code “SIC-6591” for 10% discount :)
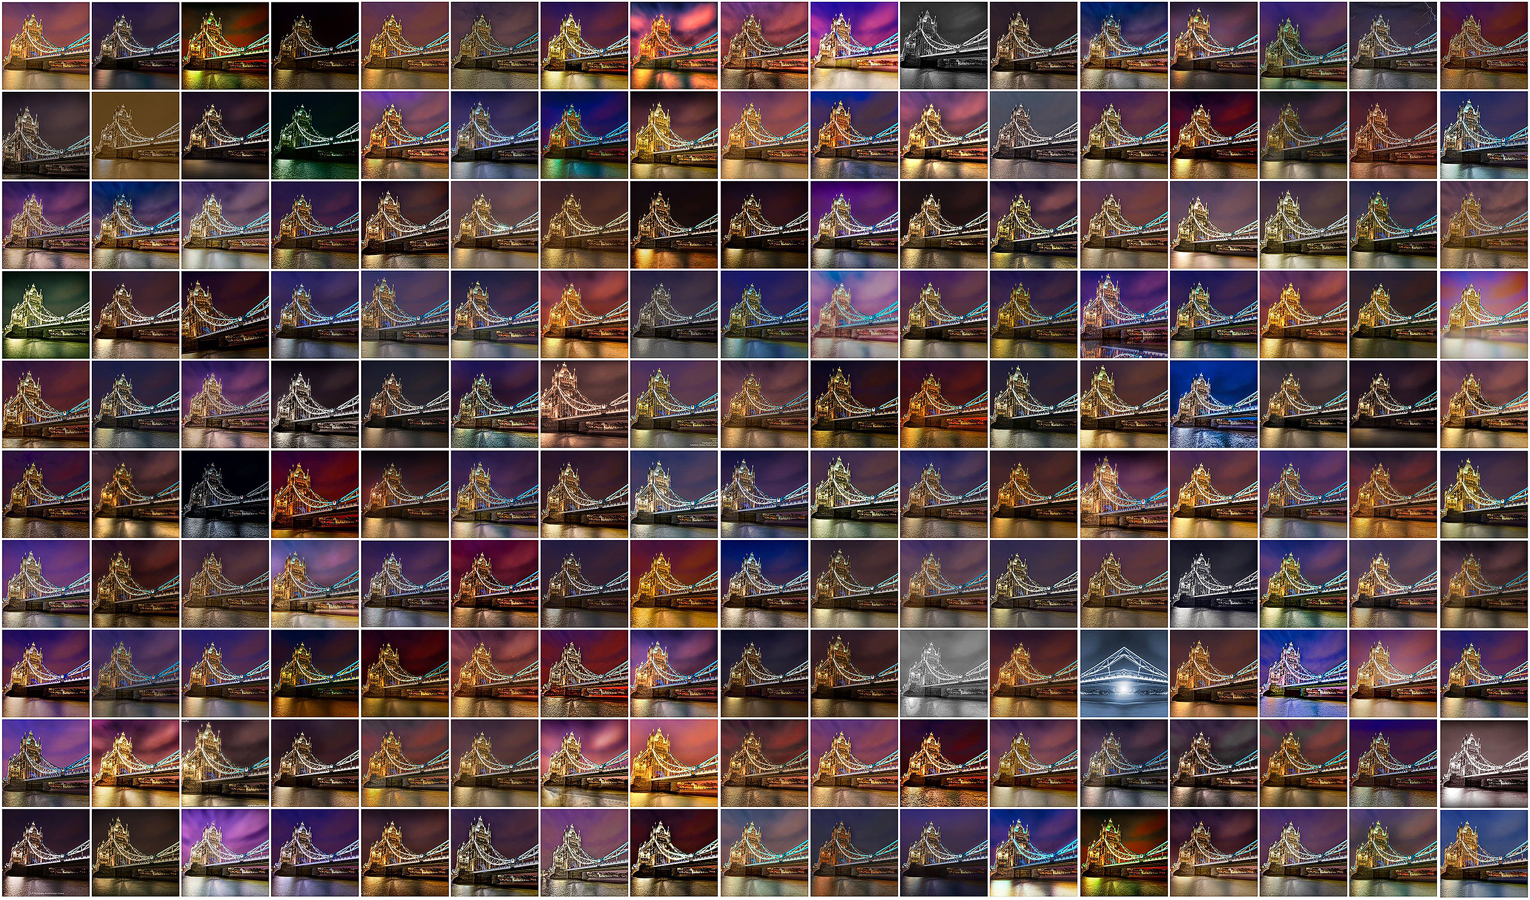
Dual screen wallpapers
I have updated the wallpapers section of this blog with something new :). This time, it’s 4 dual screen wallpapers, all with the resolution of 3840×1200 (so really big). These are best for two monitors, both at full HD, or smaller. Head over to the wallpapers page to download them.

Sunny side of Paris
This one took so long to edit, and I’m not even sure I’m satisfied with it. This happen’s when one takes photos in not that great light. But as I was in Paris only few days, and some of them it was raining, I had to take photos every opportunity I got. If I was at home, I would not even go out to shoot in such light. But the result is not that bad :)
I took this photo in May of this year, and I think it’s obvious where it was taken. It was my first trip to Paris on my own, and as I don’t speak a word of french, it was also quite an adventure. But luckily I prepare quite a lot before my trips, so after a day I felt completely at ease, with having no problems finding my way in Paris. And I know I will go there again, as soon as possible :)
For this photo, I had to take two series of 5 brackets, one with my hand covering the sun (check out my tutorial on removing lens flares to see why). I then created two HDR photos in Photomatix, each one from 5 brackets. I then blended those together with the original shots in Photoshop. Btw. I left the lens distortion in the photo on purpose. I had a version where I removed it, but than the photo lost the feeling of scale and depth, which I didn’t liked.