
Free HDR video tutorial

Free HDR video tutorial

MASTER EXPOSURE BLENDING

Find the best ones

Find the best ones

TOP PHOTOGRAPHY SPOTS

Free wallpapers

Free wallpapers

HIGH-RESOLUTION WALLPAPERS

Check the price:


Attach your camera almost everywhere

This review is mostly about the Manfrotto Super Clamp 035, but I will also include my thoughts on the Manfrotto 155RC Double Ball Joint Head as I use them together.

So what is it? The Manfrotto clamp is a great way to attach your camera or light to railings, signs or anything that fits in between it’s teeth. And once it’s closed you won’t be able to move it until you loosen it. You probably first break whatever its connected to, before you get the clamp loose.

clamp-1

Clamps like this are mostly used for attaching lights in studio photography. But as a landscape photographer you will also find a use for it. As there are many places, where tripods are not allowed, or they would just not be stable, you can use a clap to hold your camera. Or even in situations, where there is a heavy wind, the clamp can hold your camera much more stable than a tripod.

clamp-2Clamp fully opened
clamp-3Clamp fully closed


In my experiences, the Manfrotton Clamp holds very well. It can hold to a lot of things and you can’t move it at all while its tightened. I had my Canon 5D mark II on it, with the Canon 70-200 F2.8 lens, while it was hanging from a railing on top of a bridge and it didn’t move at all. You can see the size of it on one of the photos, compared to a double A battery.

clamp-4Inside of the teeth
clamp-5Clamp with the 037 stud


The clamp comes with a plastic part, you can place into the teeth, if you trying to attach it onto a straight surface, like a plank or a table. If you remove it, you can easily attach it to pipes. Based on how you order it (alone or in a set), it can come with a way to attach your camera, but can happen that you will need at least a stud for that. I got the Manfrotto 037 Reversible Short Stud. There are two ways you can attach it to the clamp. You either can screw it in directly into the clamp, or use the hexagonal quick release socket. Both work fine, but using the quick release socket is more secure, as the whole stud is inside the clamp. Of course you can attach a tripod head onto the clamp and then connect the camera to that.

clamp-6Double ball joint head
clamp-7Head with both balls in 90 degree orientation


You can also, as I, use the Manfrotto 155RC Double Ball Joint Head (there are also others). This one is made specially to be used with the clamp, and fits nicely into the quick release socket. It can be also bought together with a quick release plate. You of course can attach any quick release plate on top. As it is a double ball joint, it can be moved into multiple arrangements and it nicely works if you want the camera to be 90 degree to the clamp. The tightening handle is a little big on it, same as on the clamp, which makes the tightening easy, but it’s sometimes in the way. The ball joints hold together very tightly. It’s even hard to move them when there is no camera attached. This is great mostly, but sometimes it makes it hard to compose with the attached camera.
clamp-8
As I said, the clamp is mostly for special situation. It’s easier to just use the tripod, but when that’s not possible, the clap will give you the stability you need. With the 15kg payload it can carry, you can hang a lot from it, and it will be secure. Just take good care about what you connect it to.

clamp-9Clamp attached to a balcony railing
clamp-10Clamp attached to a railing on top of a bridge


Overall this is a good addition for any landscape and especially cityscape photographer. The only thing that stops me from having it all the time with me, is the weight. The clamp, together with the head weights almost 1kg, and that is something I don’t want to carry all the time with me. This is of course due to the material used. Almost everything is metal. Still, If you find yourself a lot of times in the situations where you could use a stable place for you camera, I suggest you give this a try.

You can find more information on the Manfrotto website.
View all my other reviews here.

MOO cards

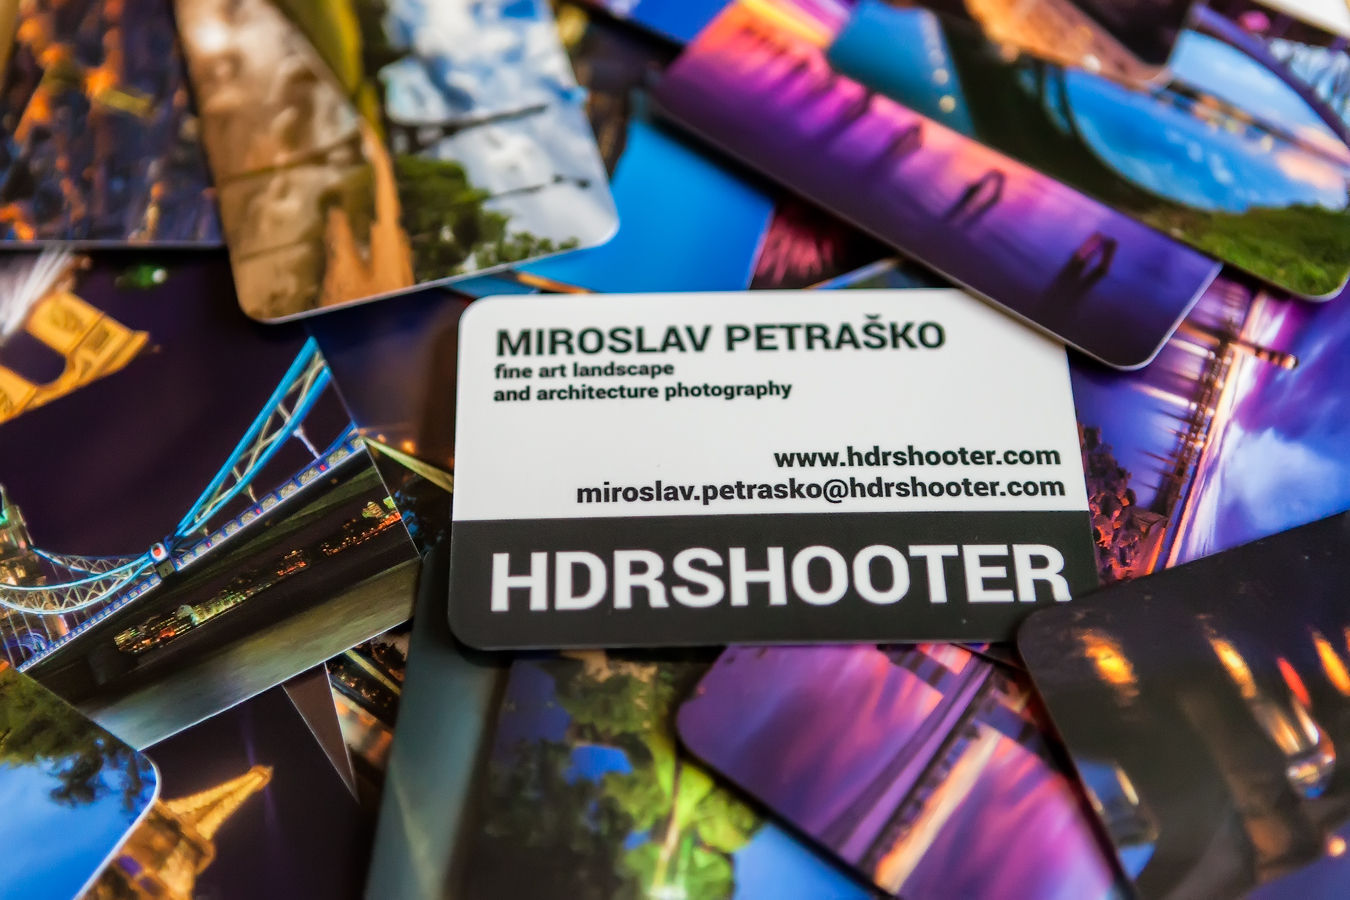
I just got my new set of MOO business cards. This is my second set I ordered from Moo cards. The first set was used up very quickly, as everyone loved the look of the cards. Me too of course. I really like how you can have your own design on one side and a selection from you photos on the other. You don’t even have to upload the photos, as you can import them form Smugmug, Flickr, Facebook and other services. It so easy to create them.
moo-cards
To find more info, you can check out the MOO cards site. And I got this code “G2MSCG” for a 15% discount on first order of 50 business cards, so it maybe be useful for some of you :)

Btw. you maybe notice a different address on the card that the one of this blog. This is a part of a change for this page, and I will get to that when it’s actual :)

Photo categories

Recently I changed the way categories are shown in the sidebar, so if you miss them, they are still there. Just look for a drop-down under the social icons, with the caption Photos by location.

Bridge in Maribor

As the year ends, you will notice not so many photos from new locations. I just don’t travel that much around this time. The weather is just not so great. I will maybe have some new around the Christmas, but until than, most of my photos will be from places I visited earlier this year. So for today, another photo of this great looking bridge in Maribor, Slovenia.

This is a HDR from 5 shots, created in Oloneo Photoengine, finished in Photoshop.
Bridge in Maribor

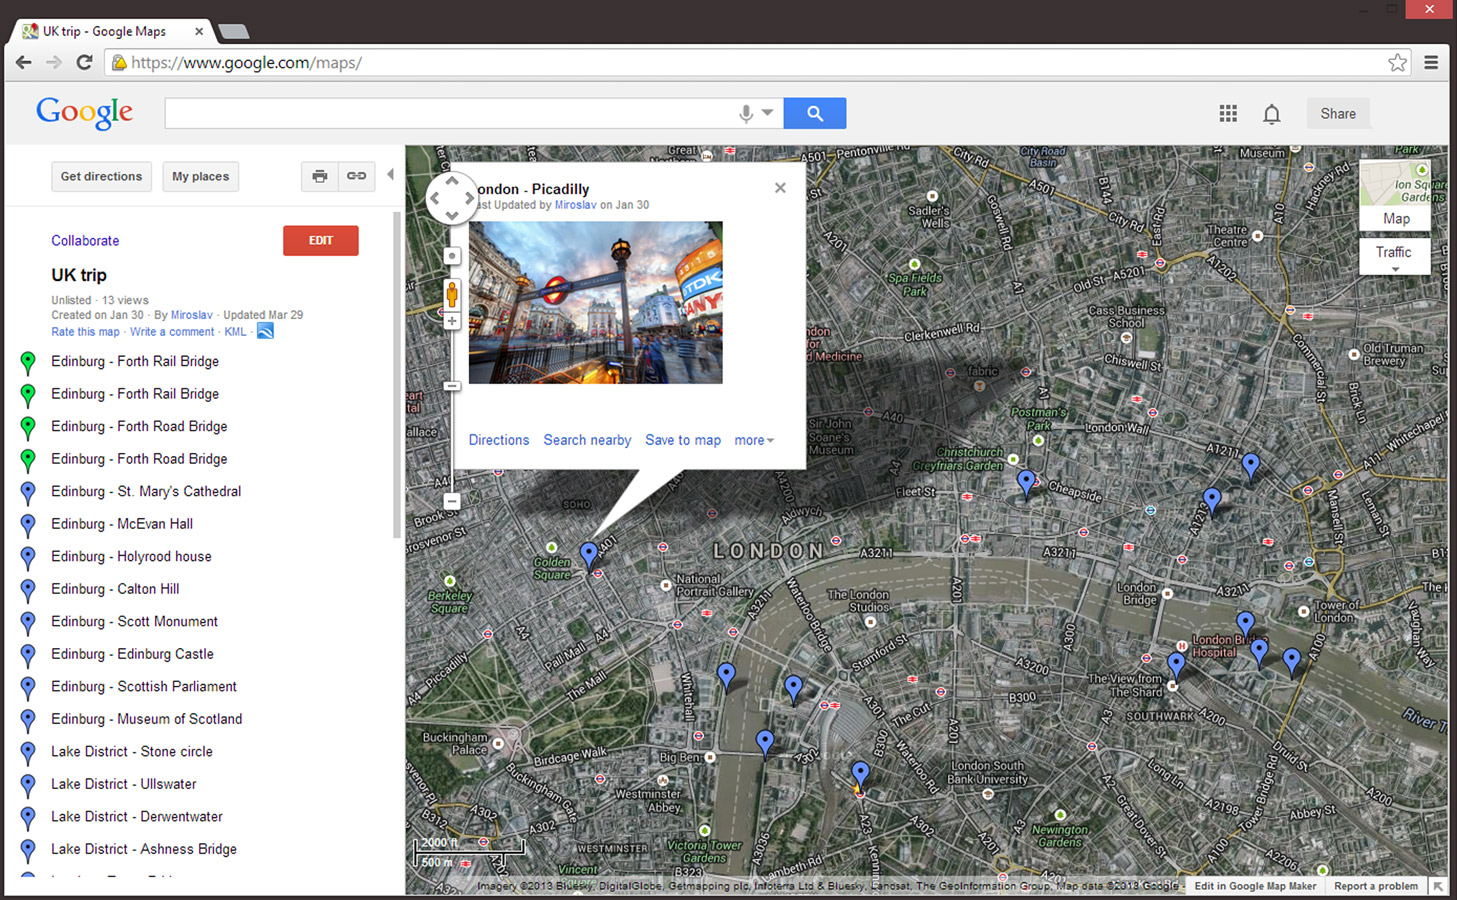
custom-maps

Custom Google maps

Do you know about Google custom maps? Do you use them? Custom maps on Google allow you to add you own points on a map, add description to them and then share the map. I quite often create one before a trip, to note the spots I really do not want to miss. Sometimes I even add links to images, so I better remember what on that particular place.  This were a part of the old Google maps, and now are accessible through settings/my places. I really hope they don’t remove them.

What do you use to note locations? I’m open to some suggestions :)
nik-viveza-2

Nik Viveza 2 review

And another plugin you may find useful. Find whats Nik Viveza 2 for and how you could use it, in this new review. And don’t forget to take a look at all the other reviews, in my newly reorganized Review page.

Framed city

I was thinking about, how to make this view different than in my other photos. So why not try framing. So I crouched down and tried looking through the bridge railing, and this is what I got. Looks quite different, doesn’t it? In retrospect, I would prefer to have also the railing sharp, with some detail, but I forgot to take a refocused photo. So maybe next time.

This is a HDR created in Oloneo Photoengine, blended with original exposures in Photoshop.
Framed city

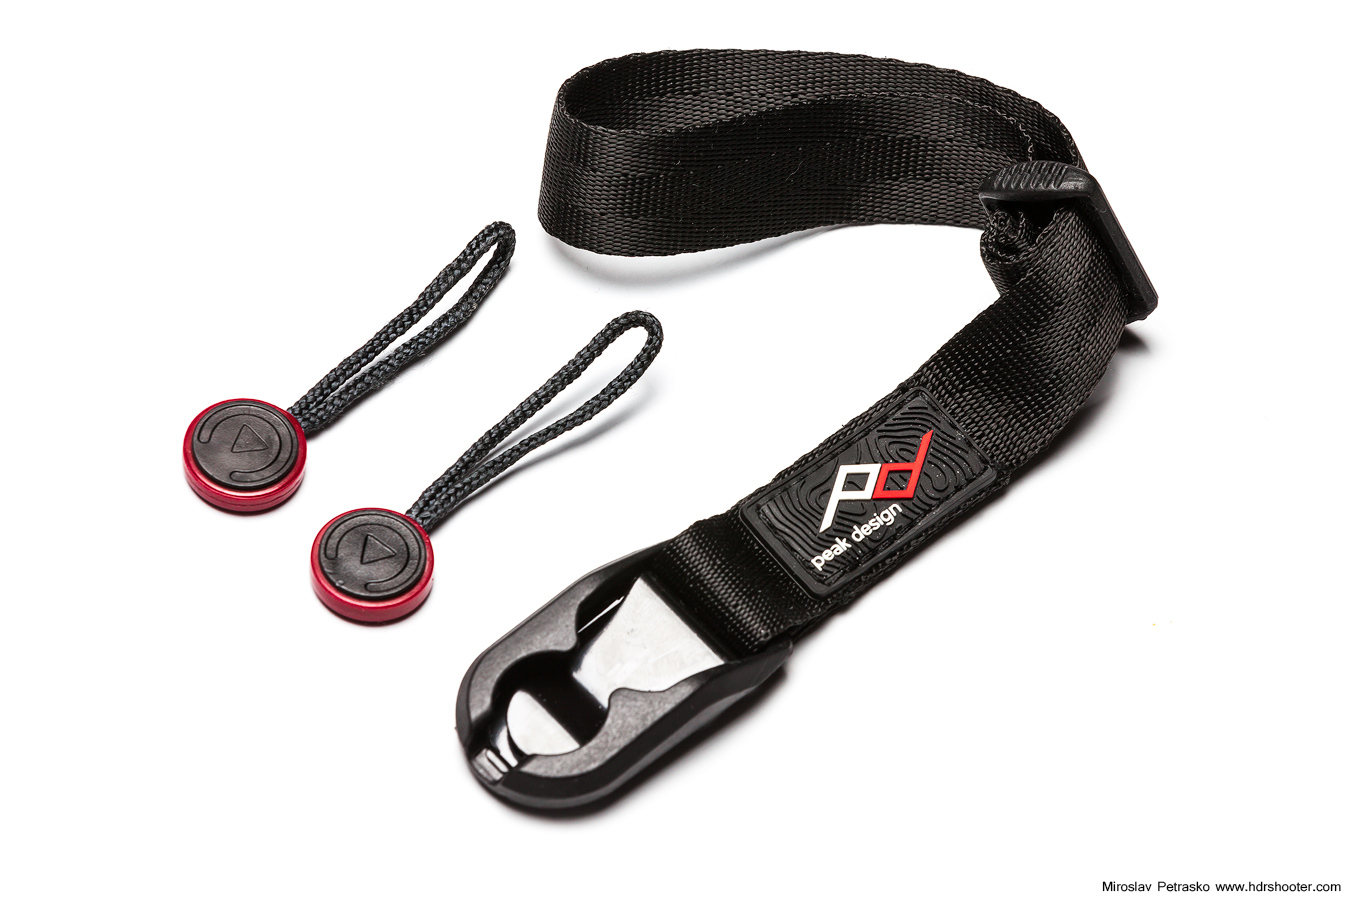
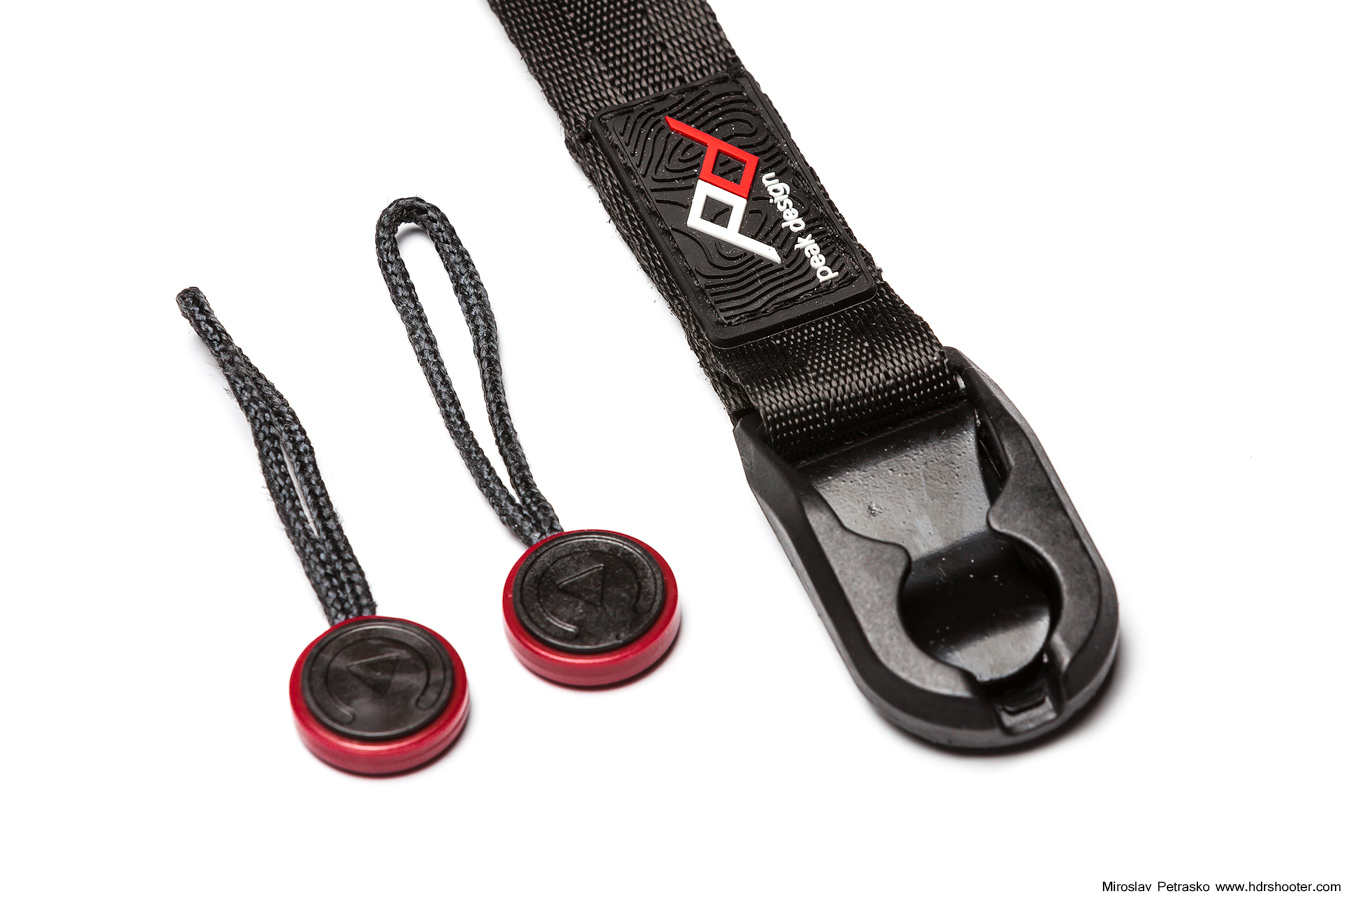
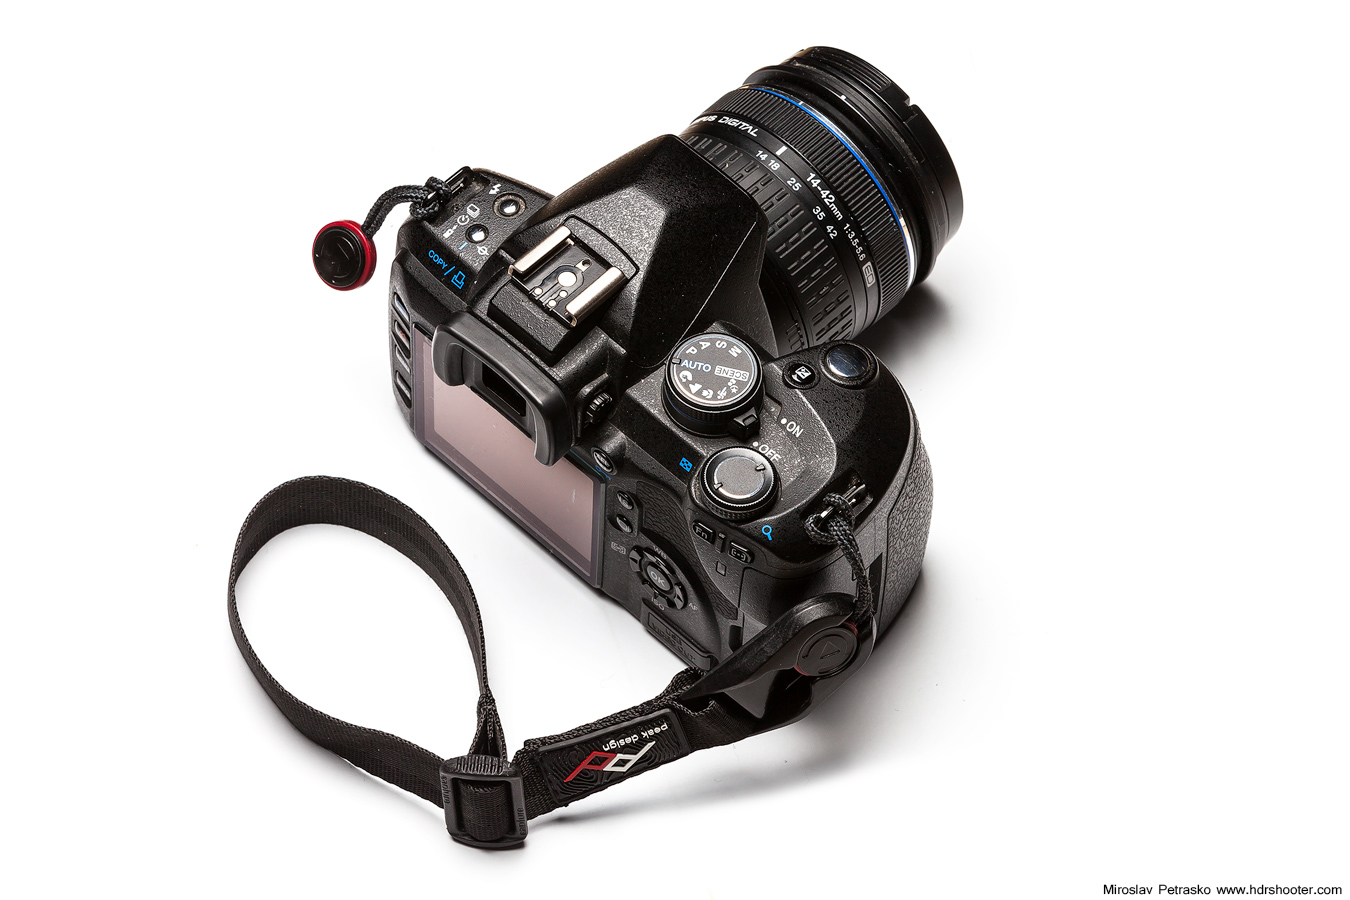
If you seen my Leash by Peak Design review, you would have seen that I really like it and plan to use it from now on as my main strap. The Cuff is in many ways very similar. It uses the same great material and attachment loops. You get the same versatility of how to connect it to the camera or to anything else. It’s a very practical if you don’t want to use the full strap, and you still want to have the camera attached to you body.

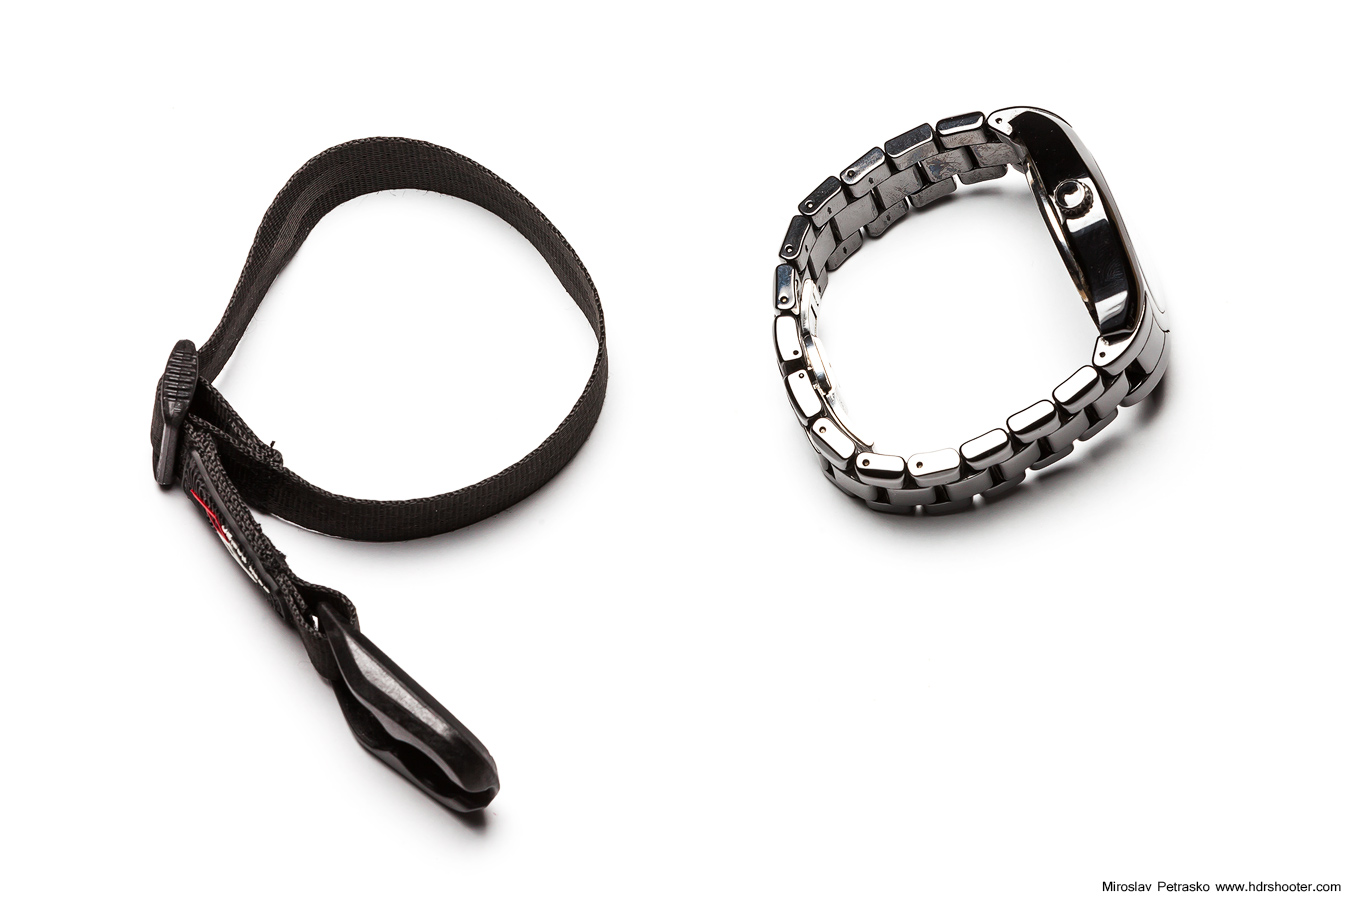
cuff-01

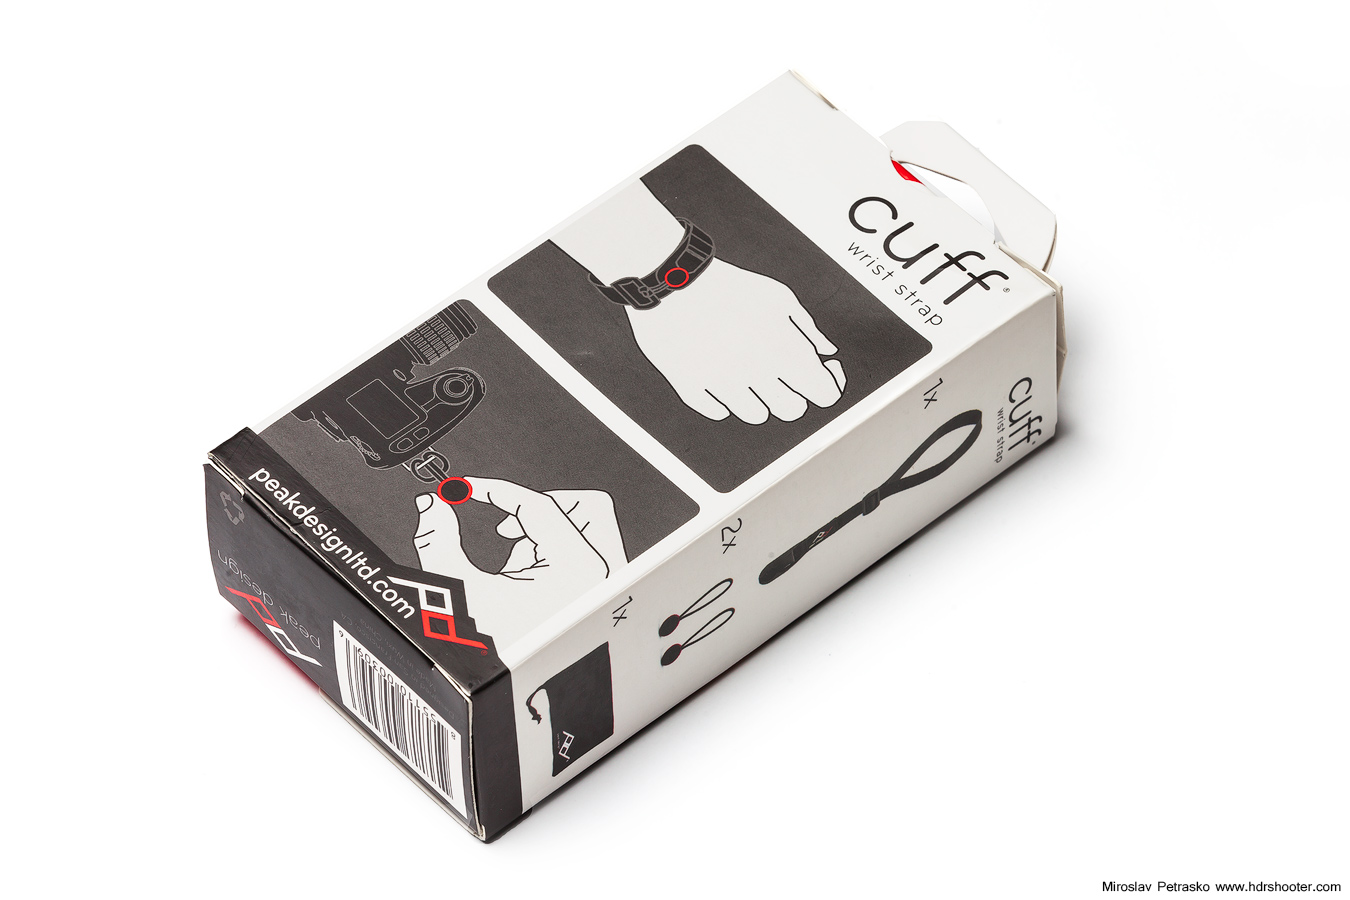
All this is great and I would love this product, if there wasn’t one major flaw. The cuff is too short. It is so short that it was absolutely not usable for me. It didn’t even look like the box shots. As I though there is some problem there, I contacted Peak design, to get some explanations.

cuff-02
cuff-03

And I got my reply. There was a series of cuff made, which was shorter. And due to a design flaw, they are too short for most people. Peak Design offered to send me a new one, with a regular size, so I have to wait for it now.

cuff-04
cuff-06

Overall currently the cuff is not usable for me. I have to wait for a new one to test it. I presume it would be very practical and useful in certain cases, but hard to say now.

cuff-05

My suggestion is,  if you buy it in a shop, try it out first, so you don’t end up with a wrong lenghts. If you already bought it, and it’s too short, try to contact Peak Design support. I will be updating this review once I have the correct length one.

For more information, please visit the Peak design site.

View all my other reviews here.

Every photographer needs a good way to show off his photos. The blog is great for the background story, for a chronological view of how the photographer evolves, but it’s not suitable for a portfolio so much. And that’s where Smugmug comes in play.

I’ve been using Smugmug as my portfolio and picture host for over three years now. It one of the services I use the most in sharing my photos. There are different areas one has to take into account with a service like this, and there are part that I like and that I don’t like. So let’s take a look at them.

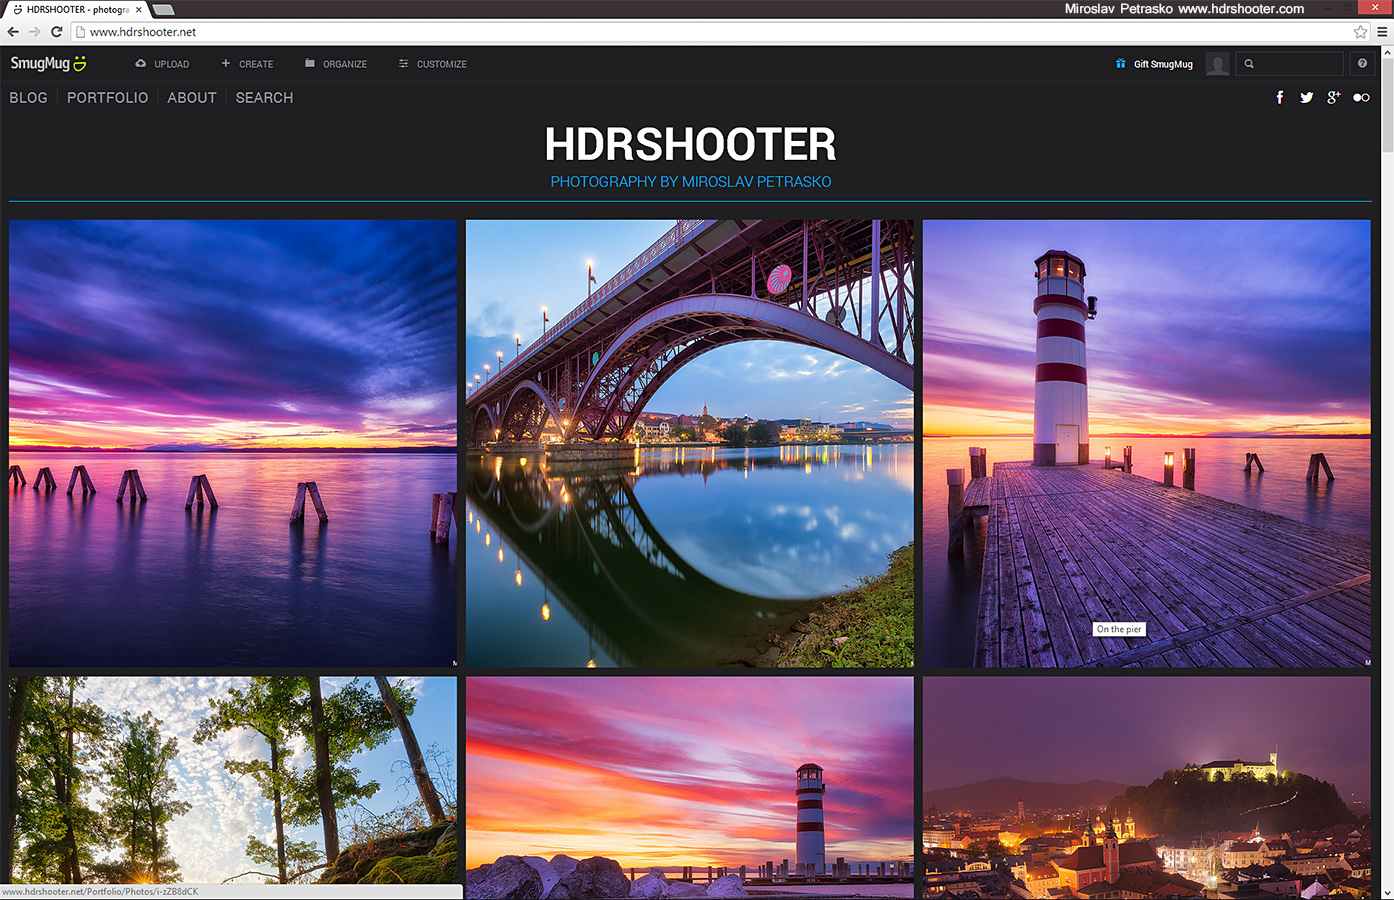
smugmug-1

Customisation

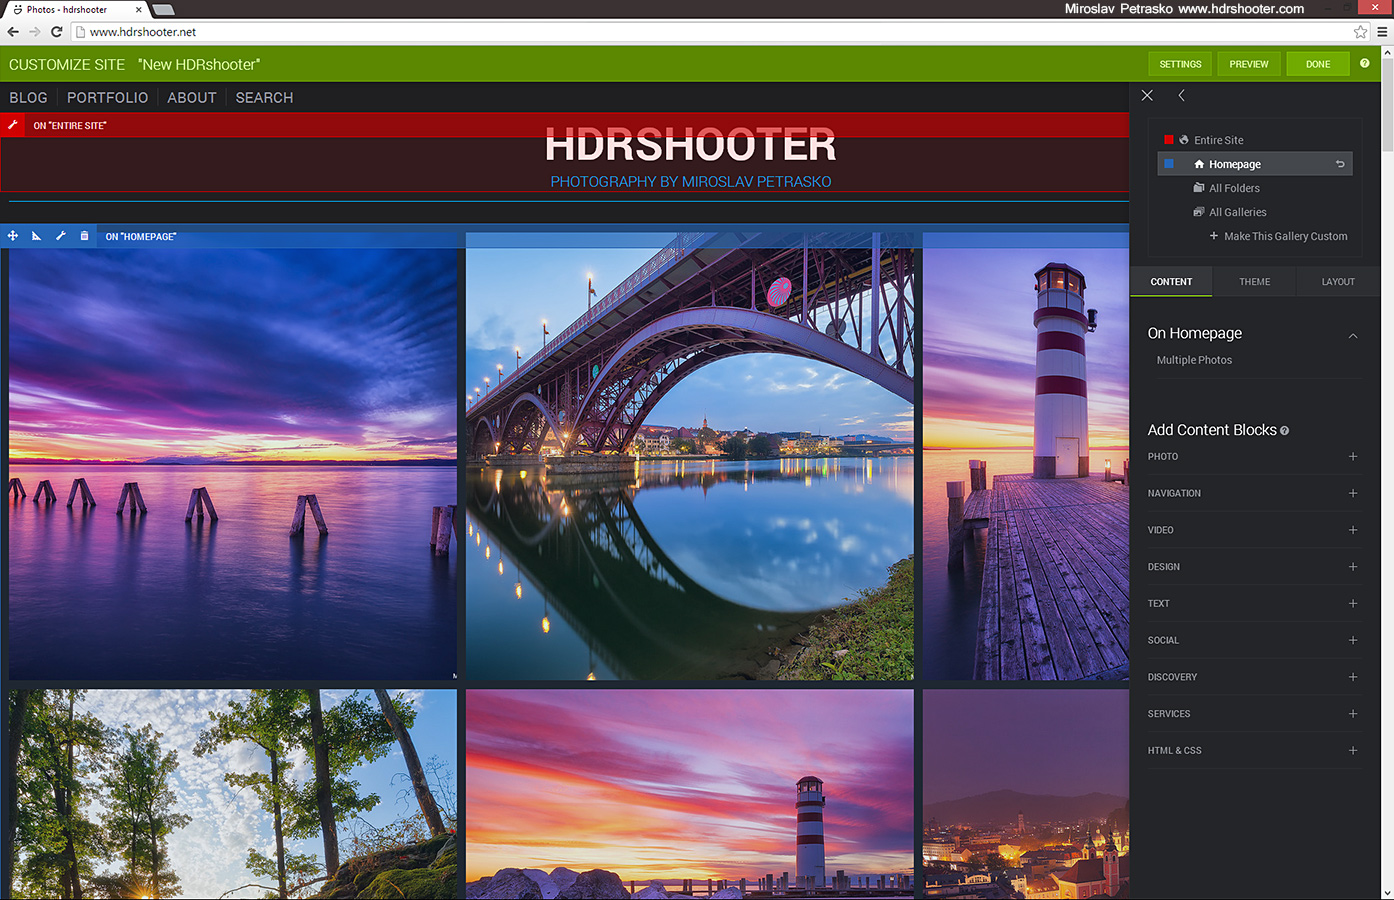
Since the last update, it’s very easy to customize your portfolio. Smugmug includes a nice editor and a good set of page elements you can put together to customize your site. Parts as menus, links, images, dividers and more can be just dragged into position and then with few settings tweaked to fit your site. It’s also very nice that you can create different looks without altering your live site, so you can experiment as much as you want. For advanced users you can also go into the html code and create you own page elements.

As I said this is easy to work with, but not without it’s fault. One thing that really initiates me when I customize my site is, that when I place an element onto the page, set the width (for instance 20%) and then place a second element next to it, the editor will set both to 50%. I hate this, because each time I setup my elements, just one click can reset all my settings. Good thing that usually you don’t need to customize it that often.

smugmug-3Customisation interface
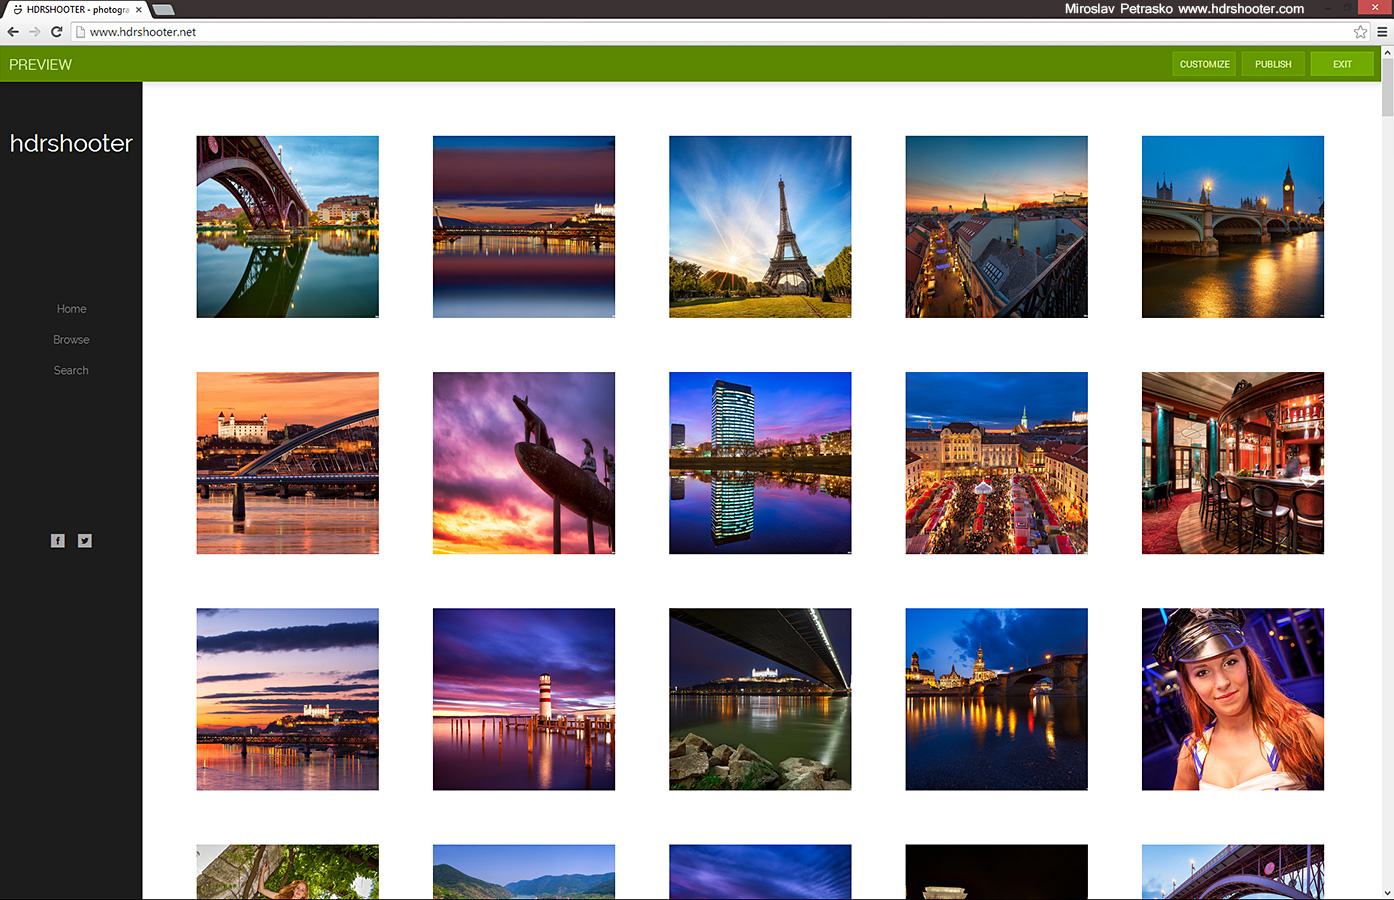
smugmug-7Page preview with different theme

Galleries and photos

The photos look great on Smugmug. If you need you can upload full size images and Smugmug will create all the sizes for you. You can also change the look of galleries, have unlisted galleries, have password protected galleries, have Smugmug automatically adding a watermark (depends on the service plan you have activated), have smart galleries, which are populated based on criteria you set and much more. I love being able to create a password protected unlisted gallery to be able to send just a link to a client.

I personally use only one gallery. I used to have multiple, based on the place I took the photo at, but I than moved that to my blog. But still if I ever have time, I will create those as smart galleries.

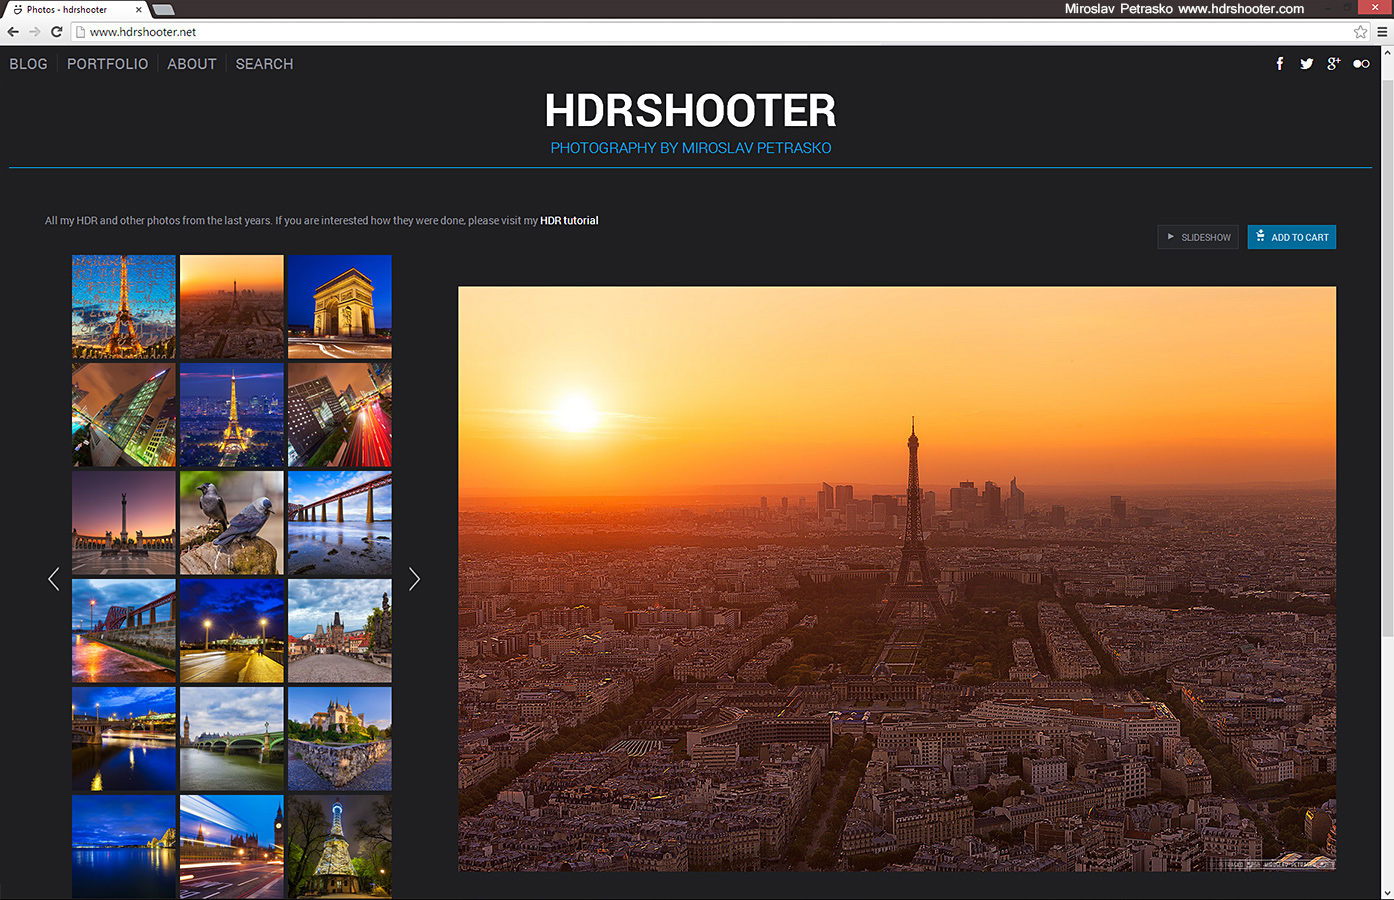
smugmug-2Default gallery view
smugmug-6Gallery security settings

Reliability

There are two parts to reliability. Let’s look at the good part first. In all the years I’ve been using Smugmug, there was’t a single day when my photos were not accessible. The site was always up and also my blog always displayed all my Smugmug photos without problems. So the visitors always saw the photos that they should see.

On the other side, the one more in the background, I had problems with the site. They newer persisted for long, but they return from time to time. It happened to me that I was not able to upload new photos, that photo thumbnails were not generated, that uploader didn’t load at all, the page constantly logs me out of my account (this one happens a lot), that the android app refuses to refresh and few more. You could think that there is something with my internet connection or my computer, but in the time I been using Smugmug, I changed my computer, I changed the operating system I use, I changed the browser and I been using Smugmug also from other PCs, and it still happens. After the last updates they made, the issues pop up less often, but they are still there from time to time.

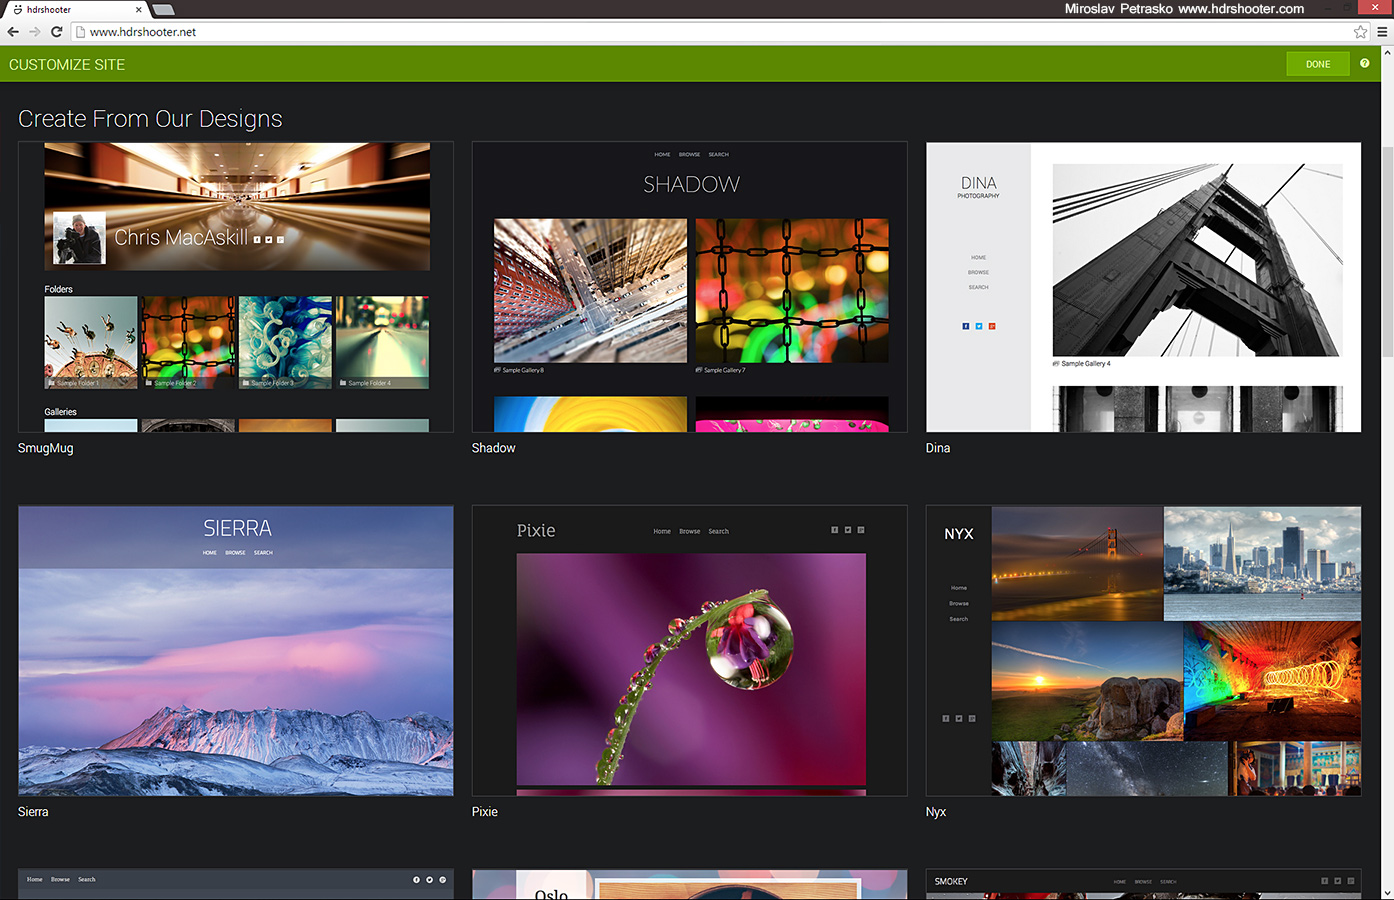
smugmug-4Available themes
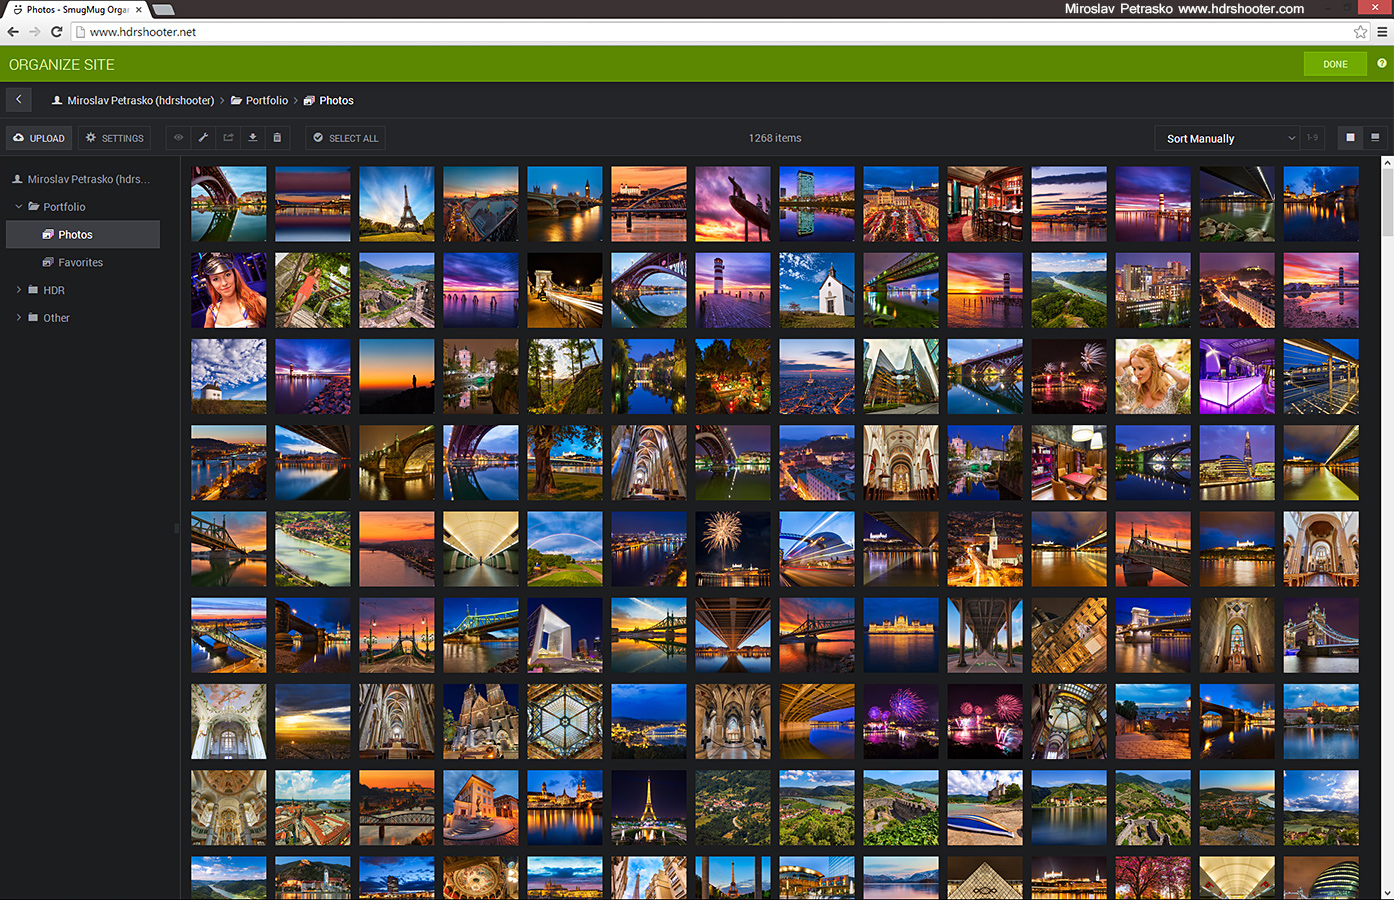
smugmug-5Photo organizer

Other features and plans

Smugmug offers multiple plans, each one with different pricing. The one to choose is based a lot if you want to use Smugmug to sell prints. As I don’t do that, I use the Power plan, as that gives me the best price/features ratio. But if you want to use also that, Smugmug allows to use multiple printing companies, customize shopping carts and more.

Overall I really like Smugmug. Even with the few bugs I meet with there, I still really suggest you give it a try, and I think that speaks for itself. It is and for a long time to come will be the home for all my photos.

You can try Smugmug for free for a month, but I think you will stay with it once you try :) You can go to the signup page and see all the predefined themes here and you can see my Smugmug page under www.hdrshooter.net.

View all my other reviews here.

FREE EBOOK!!!
Subscribe to my newsletter and get a free Capturing fireworks ebook. 
Subscribe