Another week has passed, another process post is here. For today I chosen a little older photo, one from start of this year (as you can easily see by the snow in it :)). As I no longer have the PSD file of it (I started keeping them only few weeks after I edited this one) I will go more into the overall steps I took to get it. So here goes.

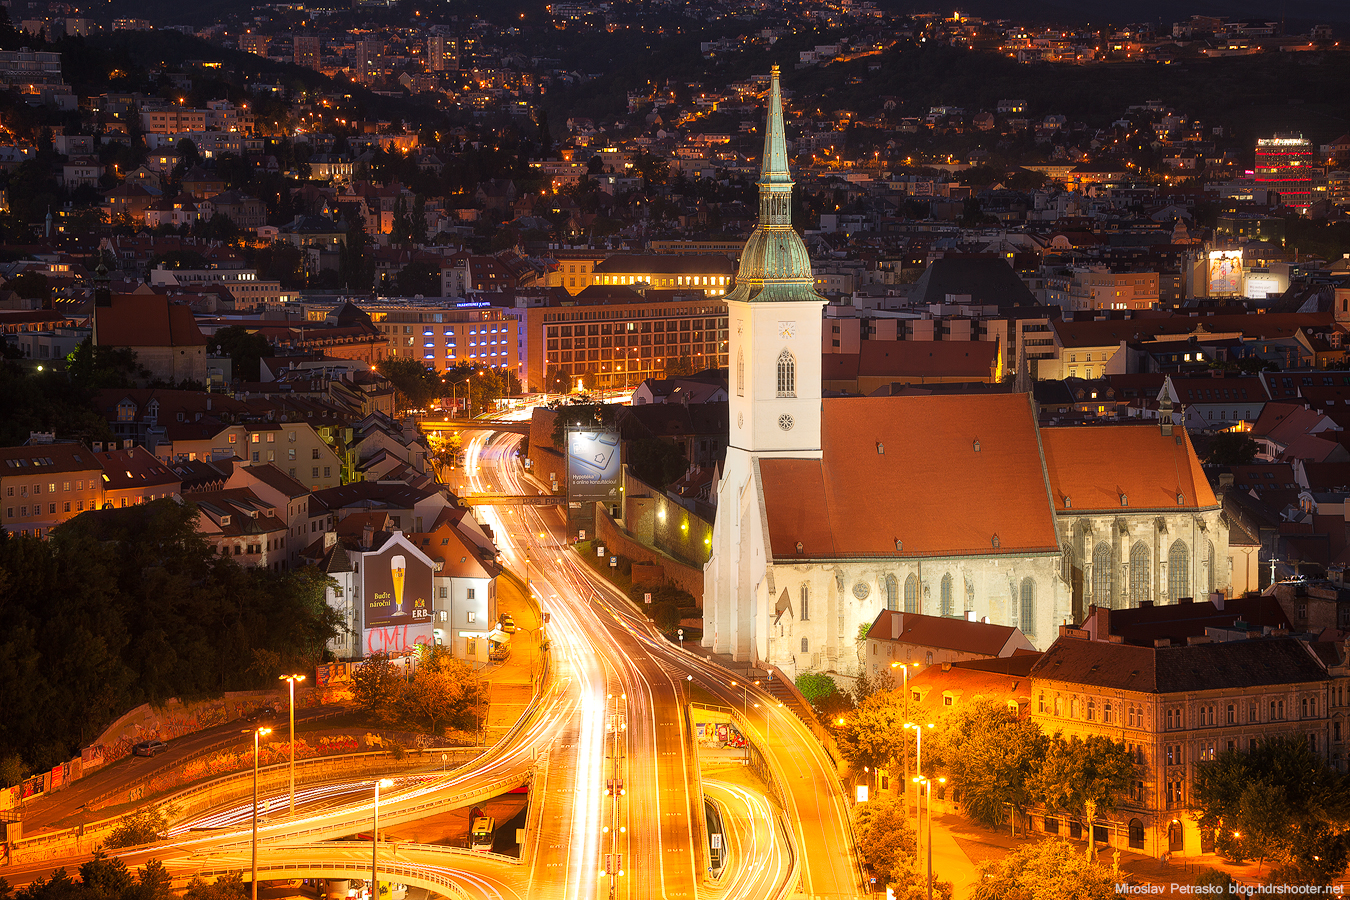
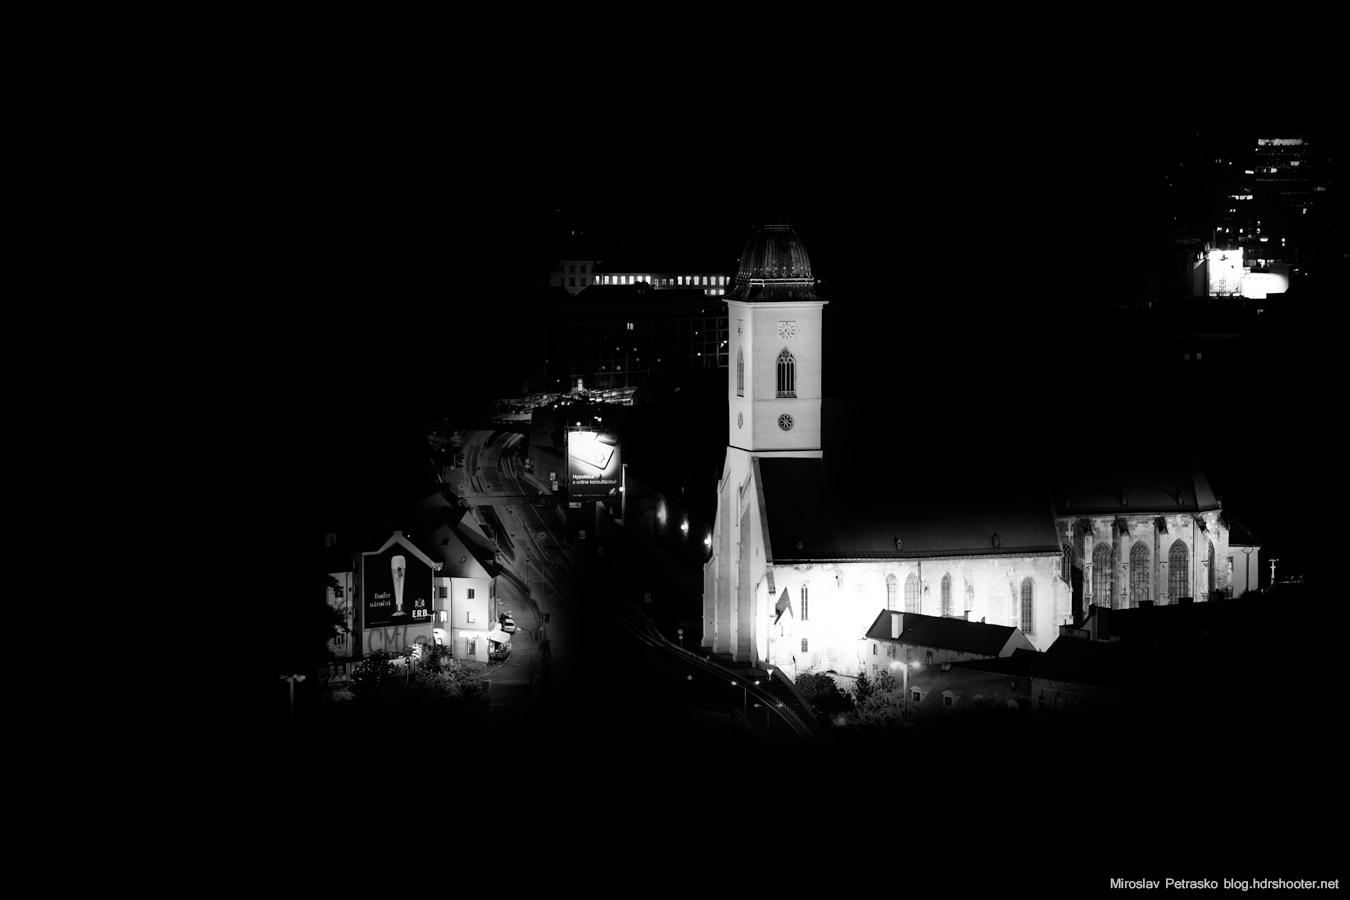
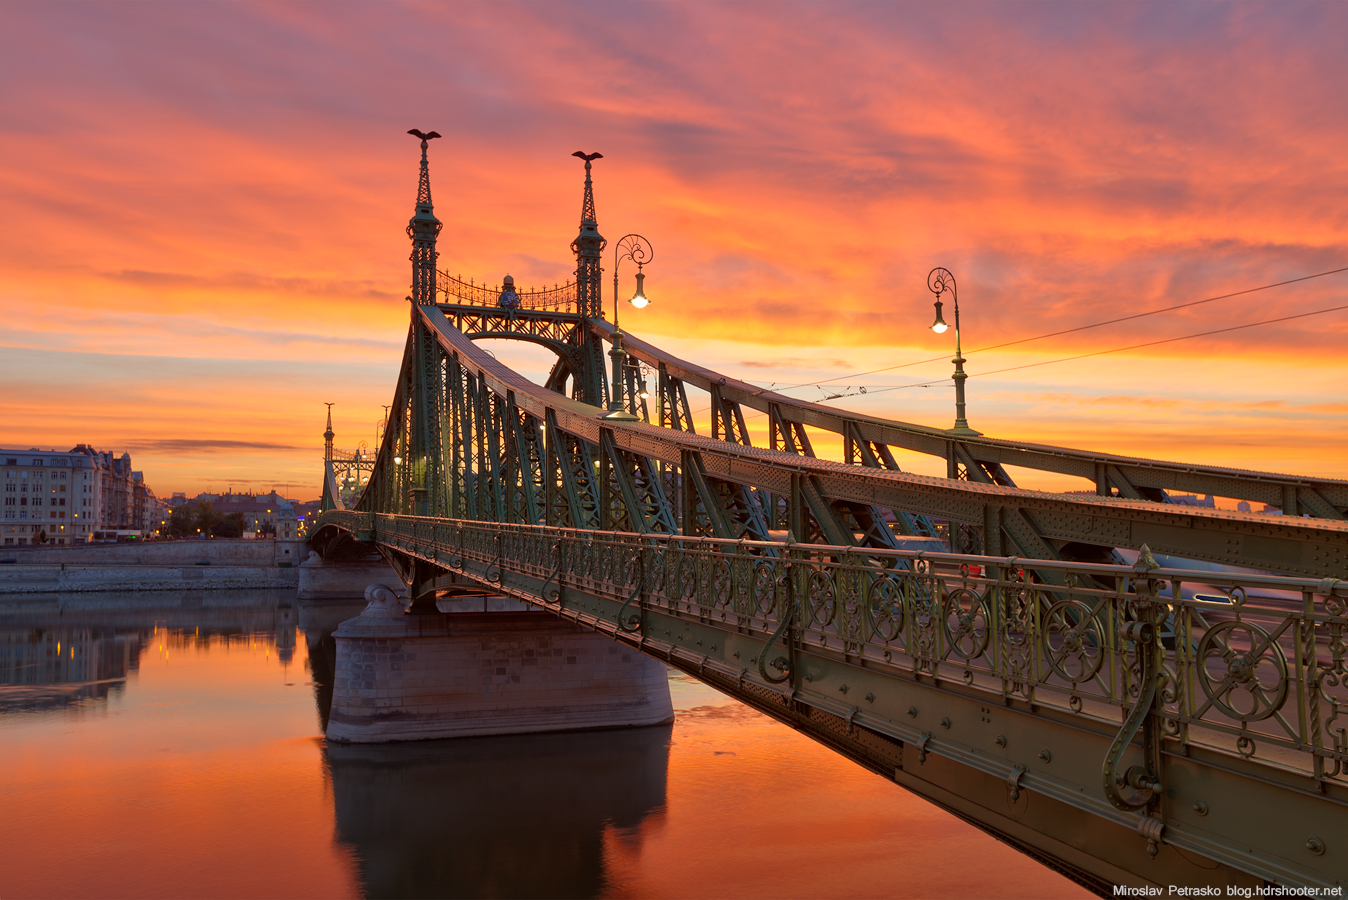
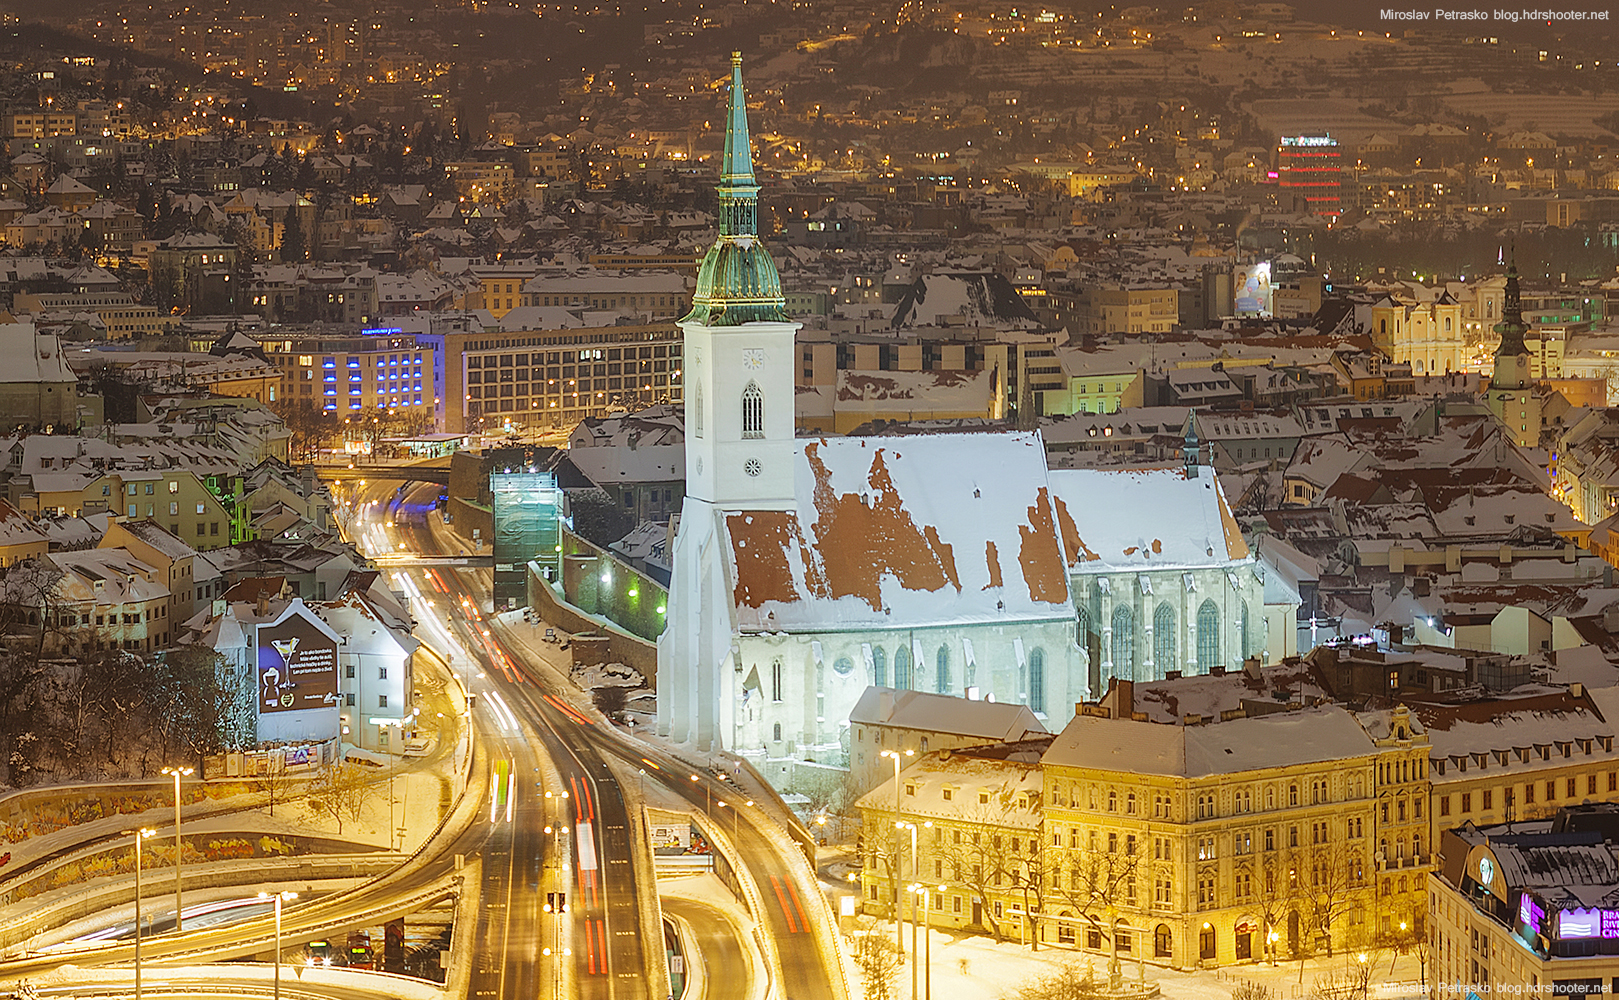
First of all the finished photo itself. You can see, it’s quite a huge panorama, with dimensions of 19649 x 5237 which makes this photo around 120Mpix.
Big one
You can view a zoomable version of this panorama in the Panorama section on this blog, or directly here.

I knew I wanted this photo fro a long time before I took it, as this is the best view of Bratislava. I was just missing the needed equipment. But sometime before I took it, I bought the Nodal Ninja 4 panoramic head. And with the help of it, I could make this pano without any problem. Here is the setup I was using:
winterpano
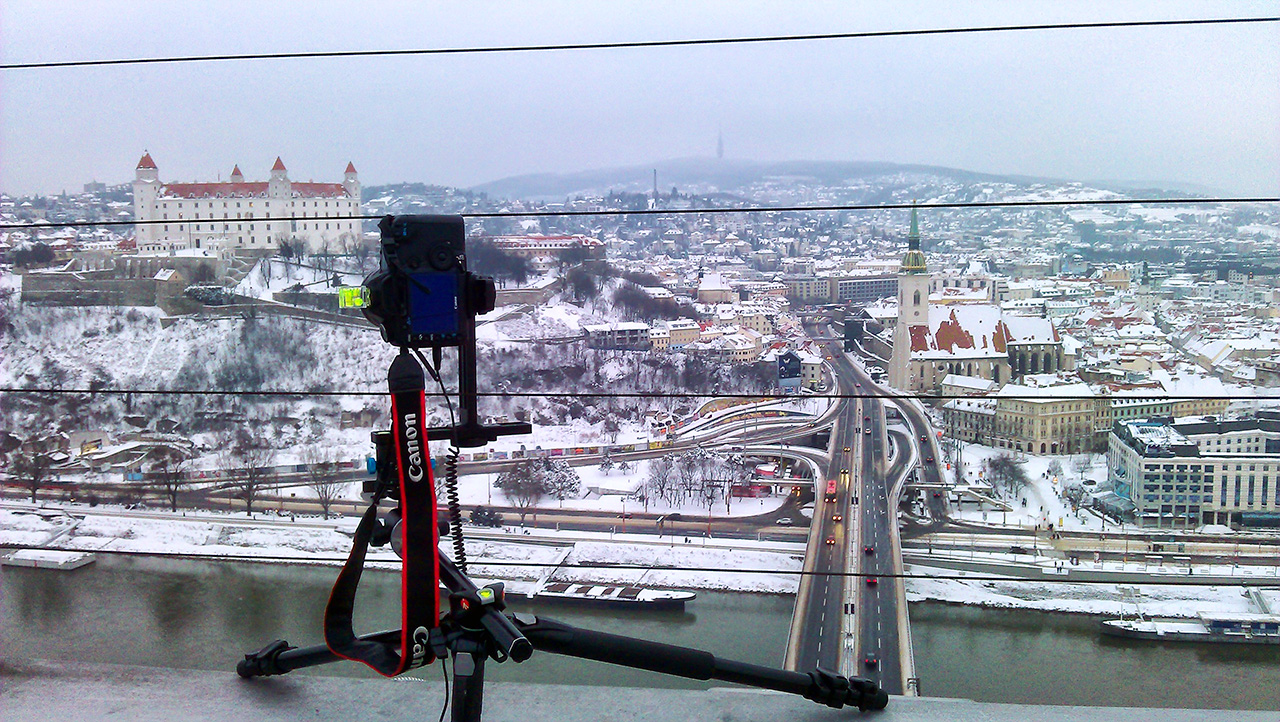
So it was my Canon 5D mark II, with the Canon 16-35mm lens, wired remote, the bubble level all on the Nodal ninja 4 head.

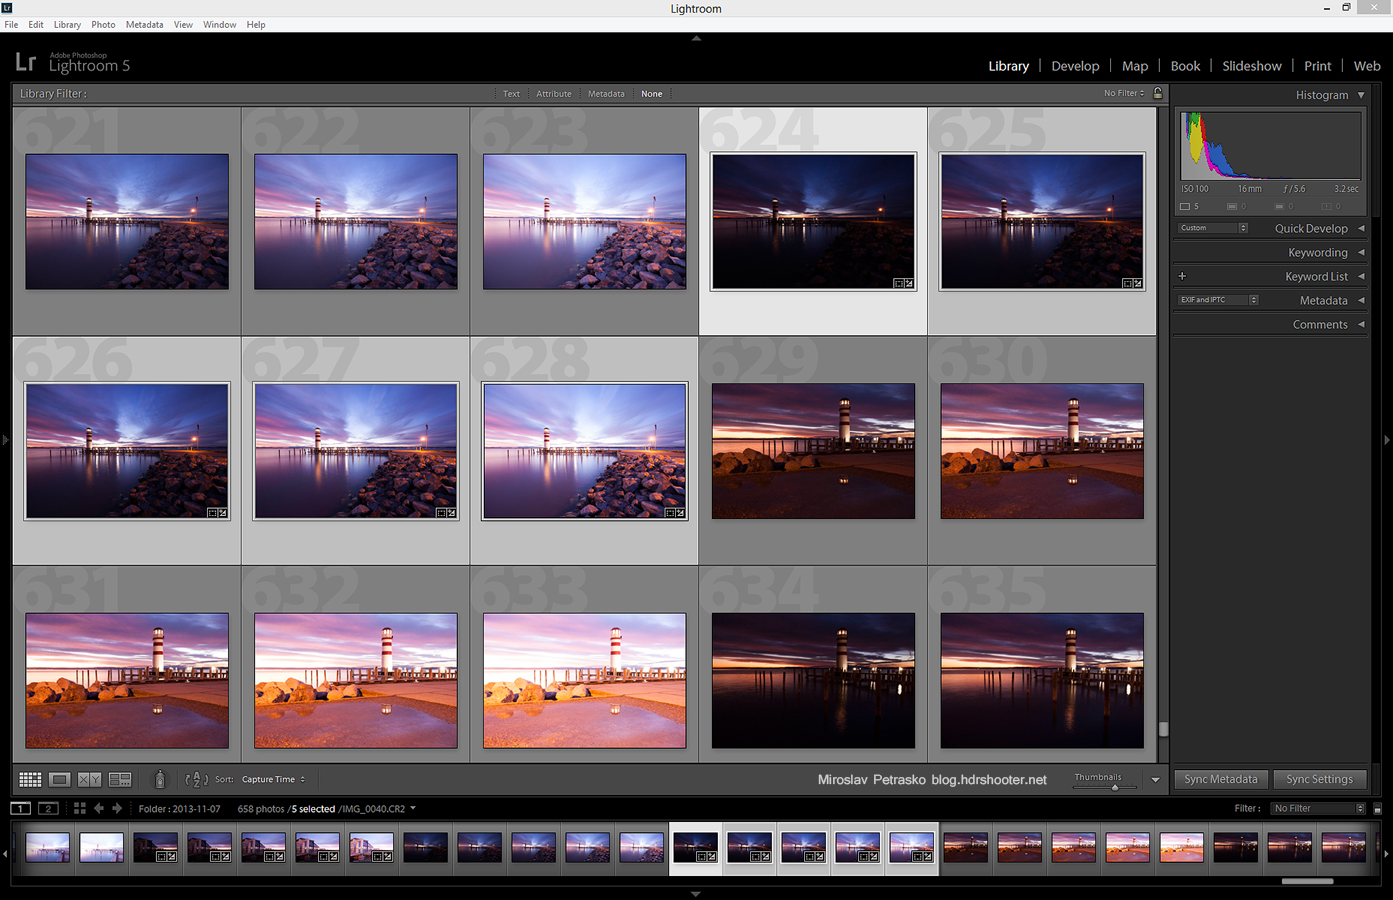
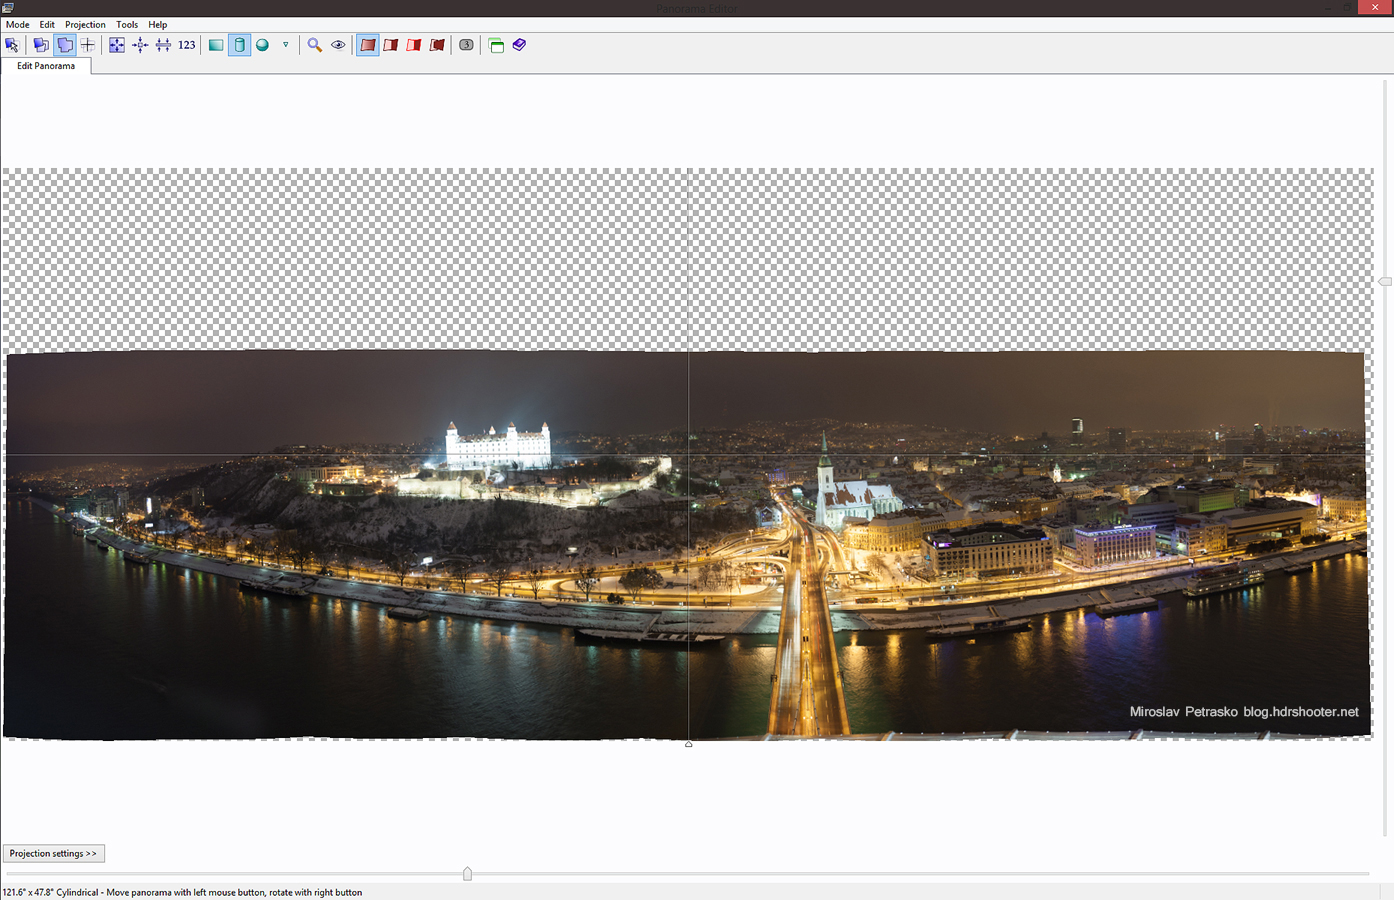
Overall I took 8 shots, all 6 bracket series. I imported them all into Lightroom, where I did few minor corrections. First of all I enabled lens correction. This is very important when doing a panorama, as it removes the vignetting from the photo and so helps it to be blended more seamlessly. I also removed the chromatic aberrations and corrected white balance in Lightroom.
big-one-lightroom

After that I exported all the 48 images as 16bit Tiff files and loaded them into PTgui. I merged them into a panorama and saved as their separate blended planes (check out my HDR panoramas tutorial for a more detailed explanation)
big-one-ptgui

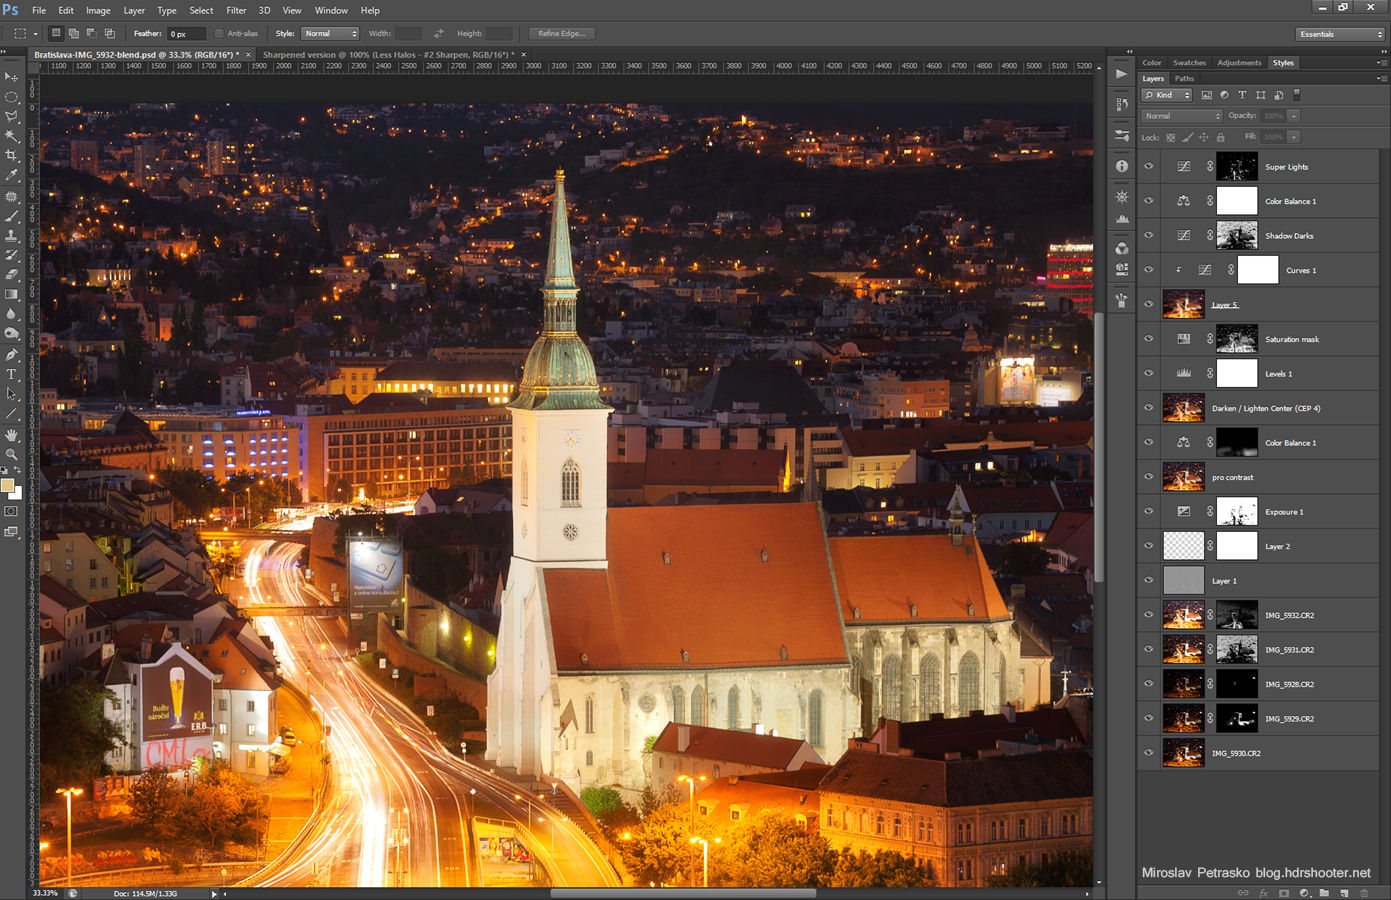
After that I used Bridge to load all the files into one Photoshop file as separate layers. You can do this also manually, file by file, but using Bridge is much faster.
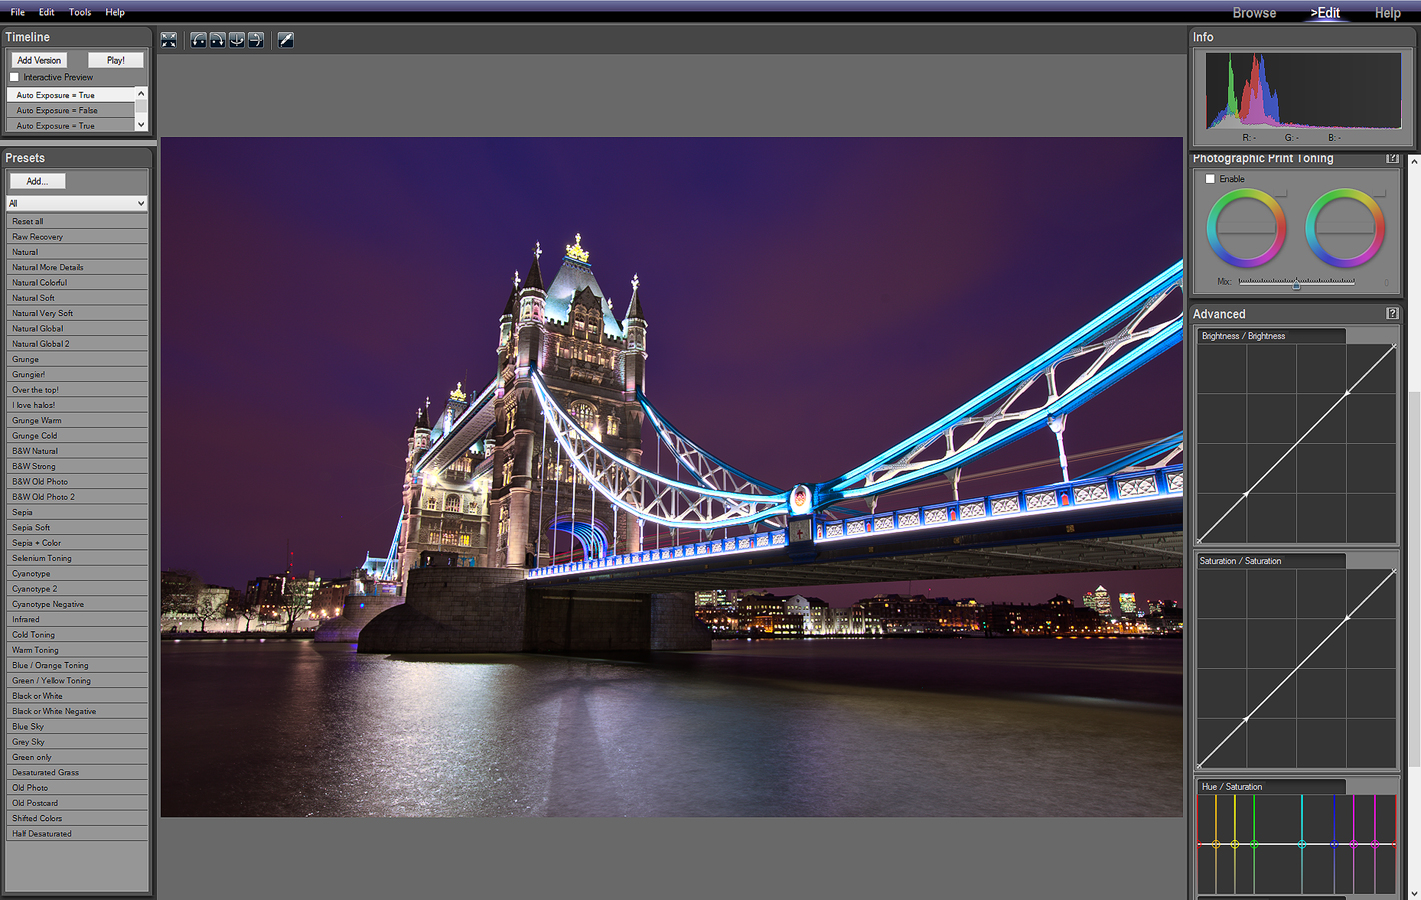
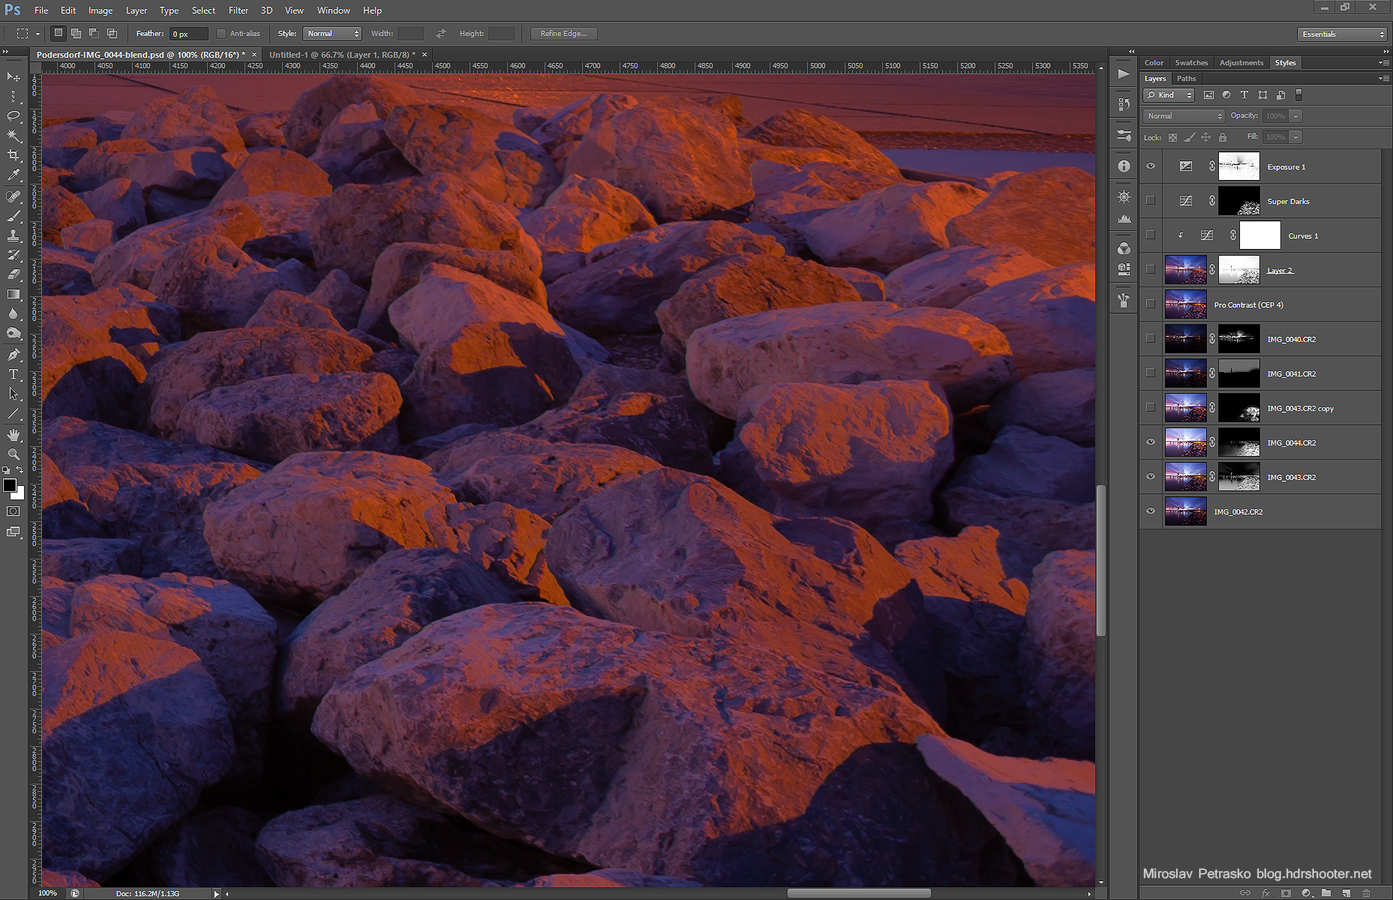
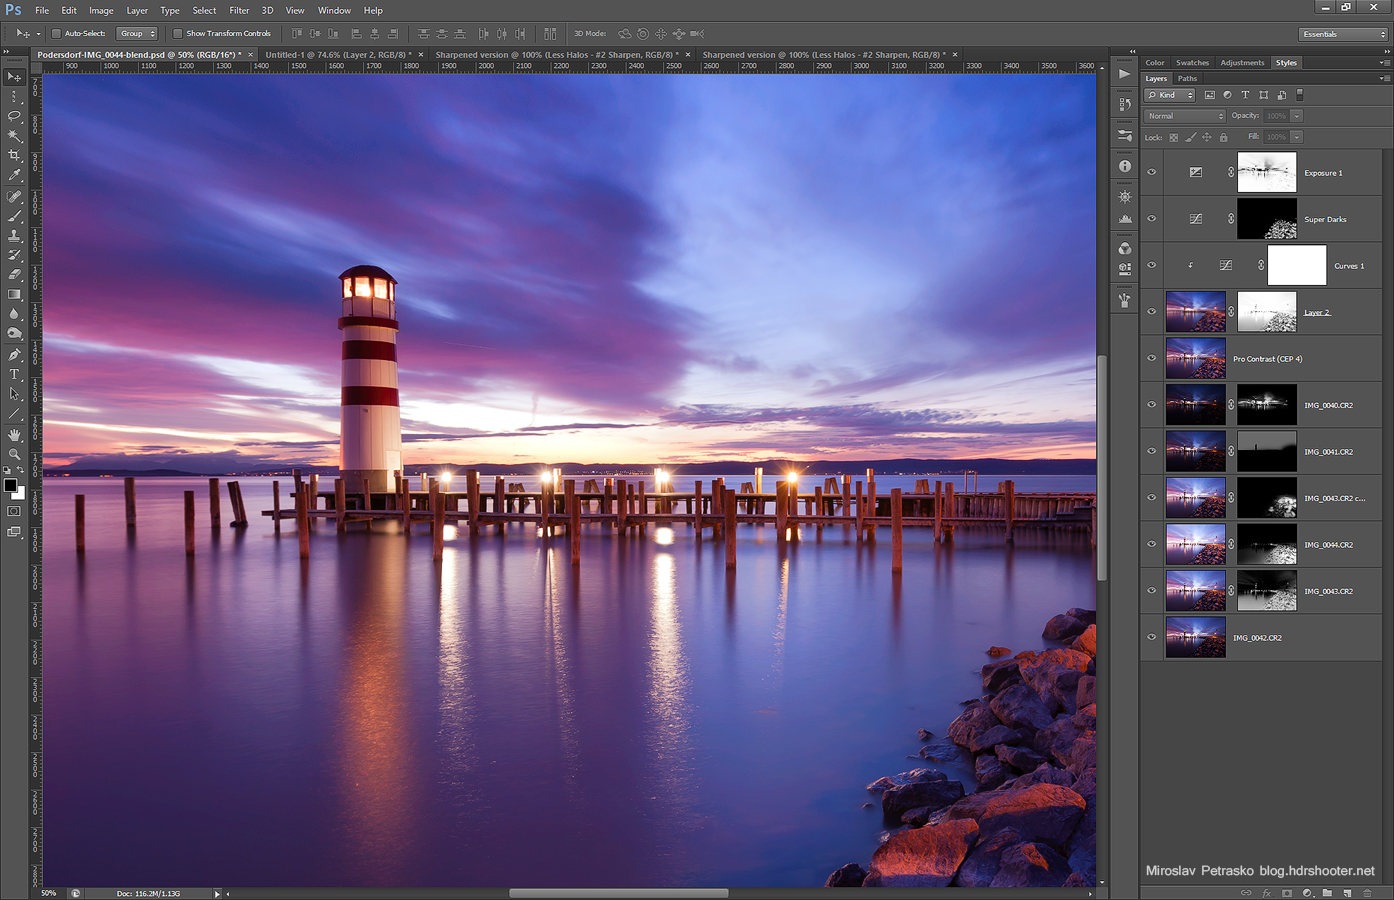
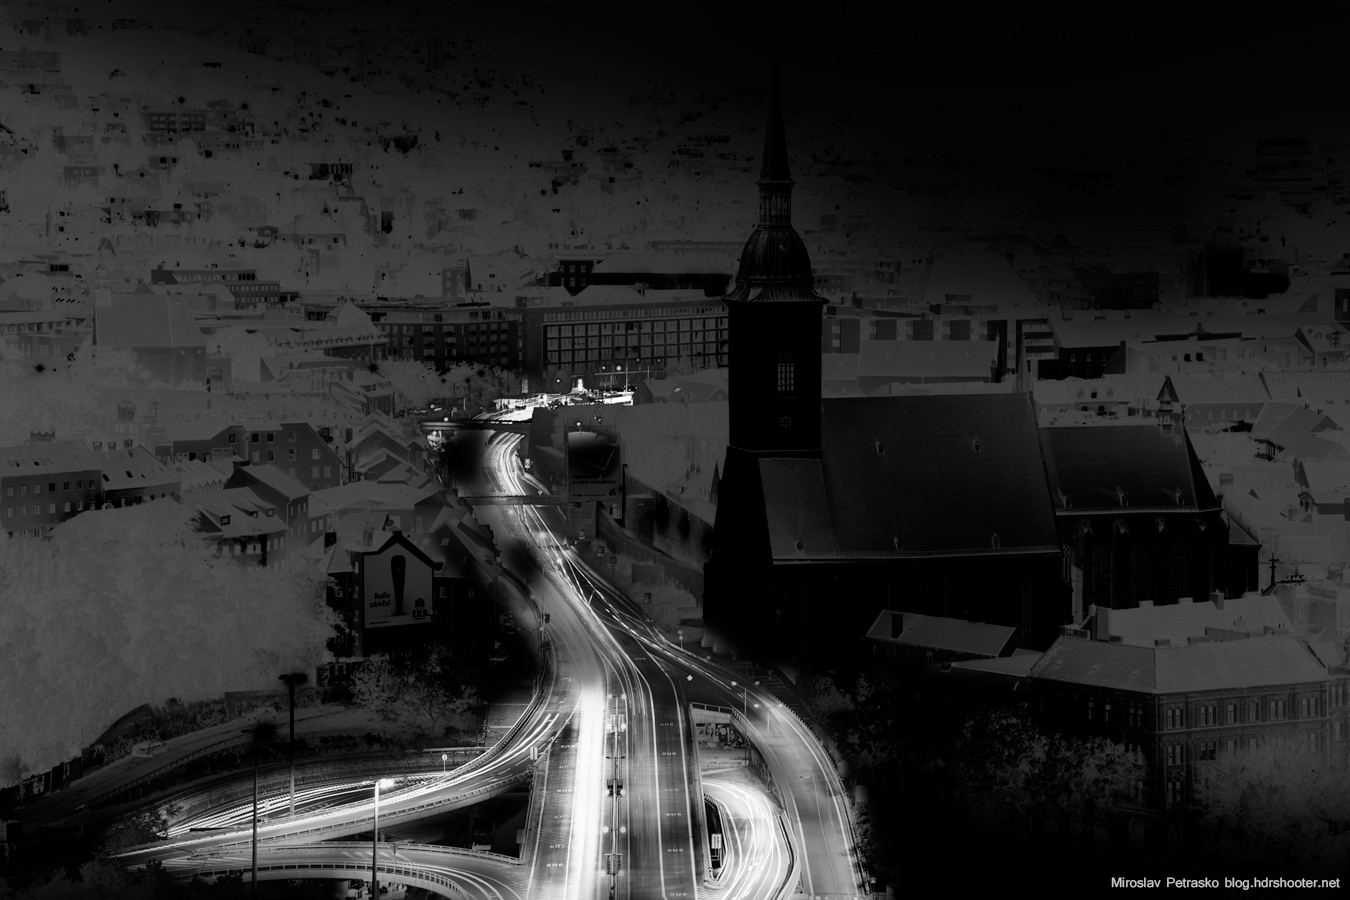
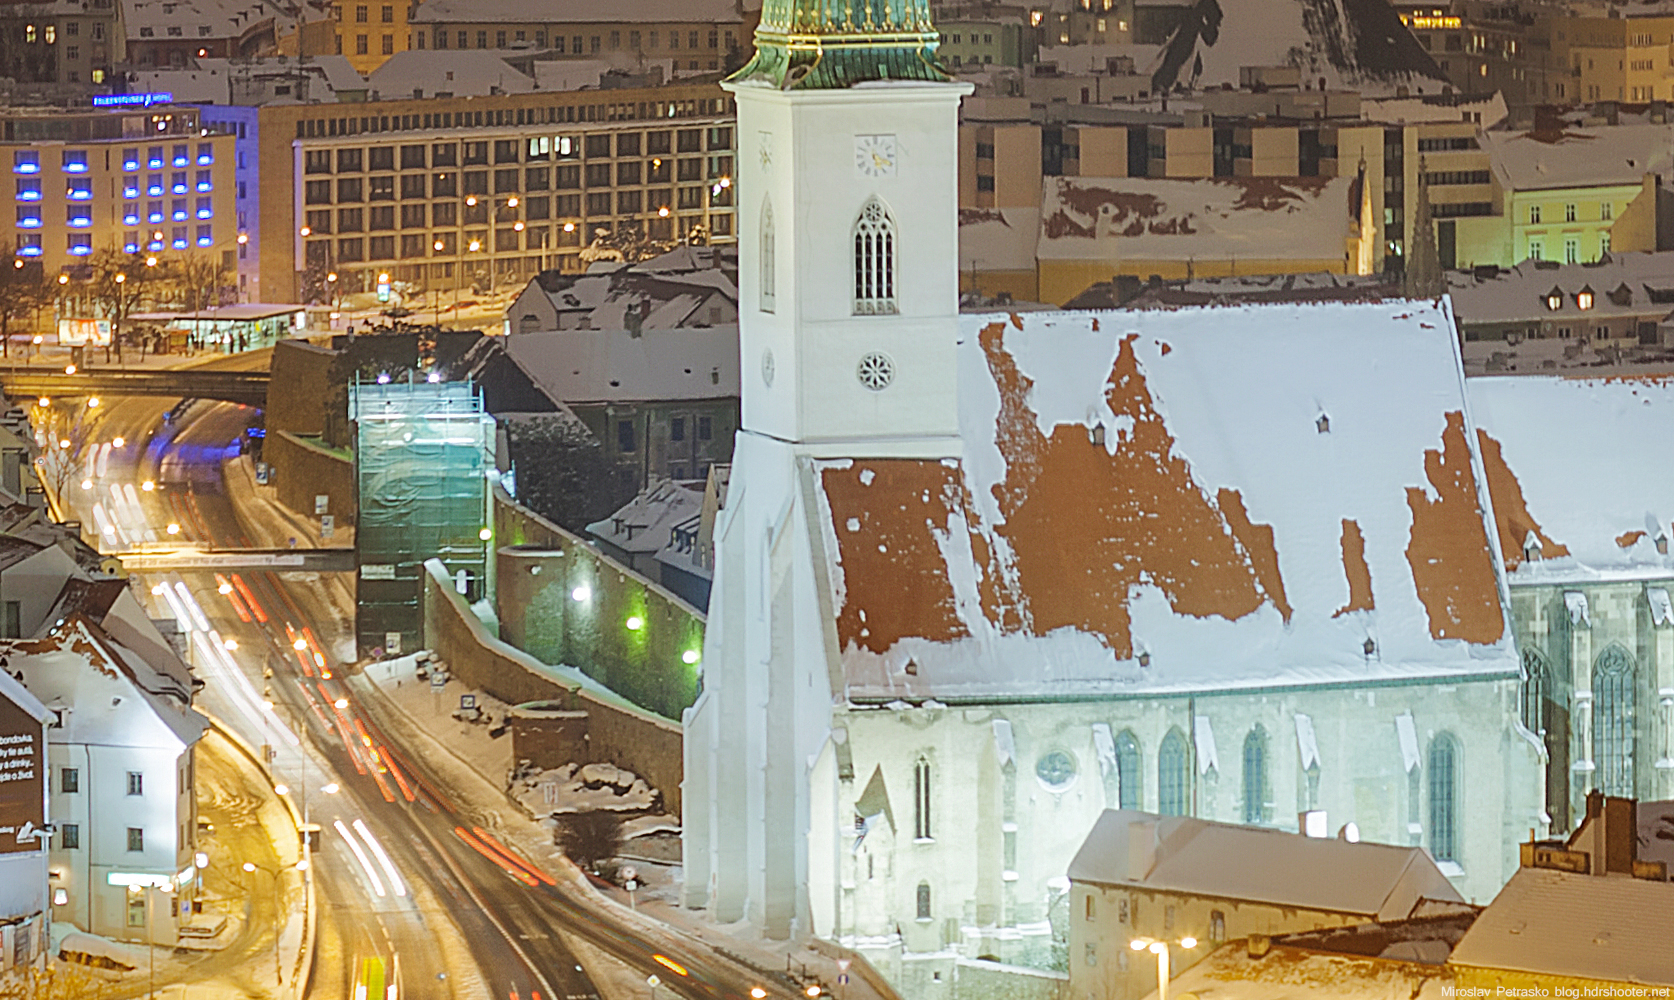
In Photoshop I blended the images, and corrected the angle. As I said, I haven’t saved the file, so no screenshot here, but instead here is a piece of the panorama taken from the 50% zoom
big-one-50
and from a 100% zoom.
big-one-100

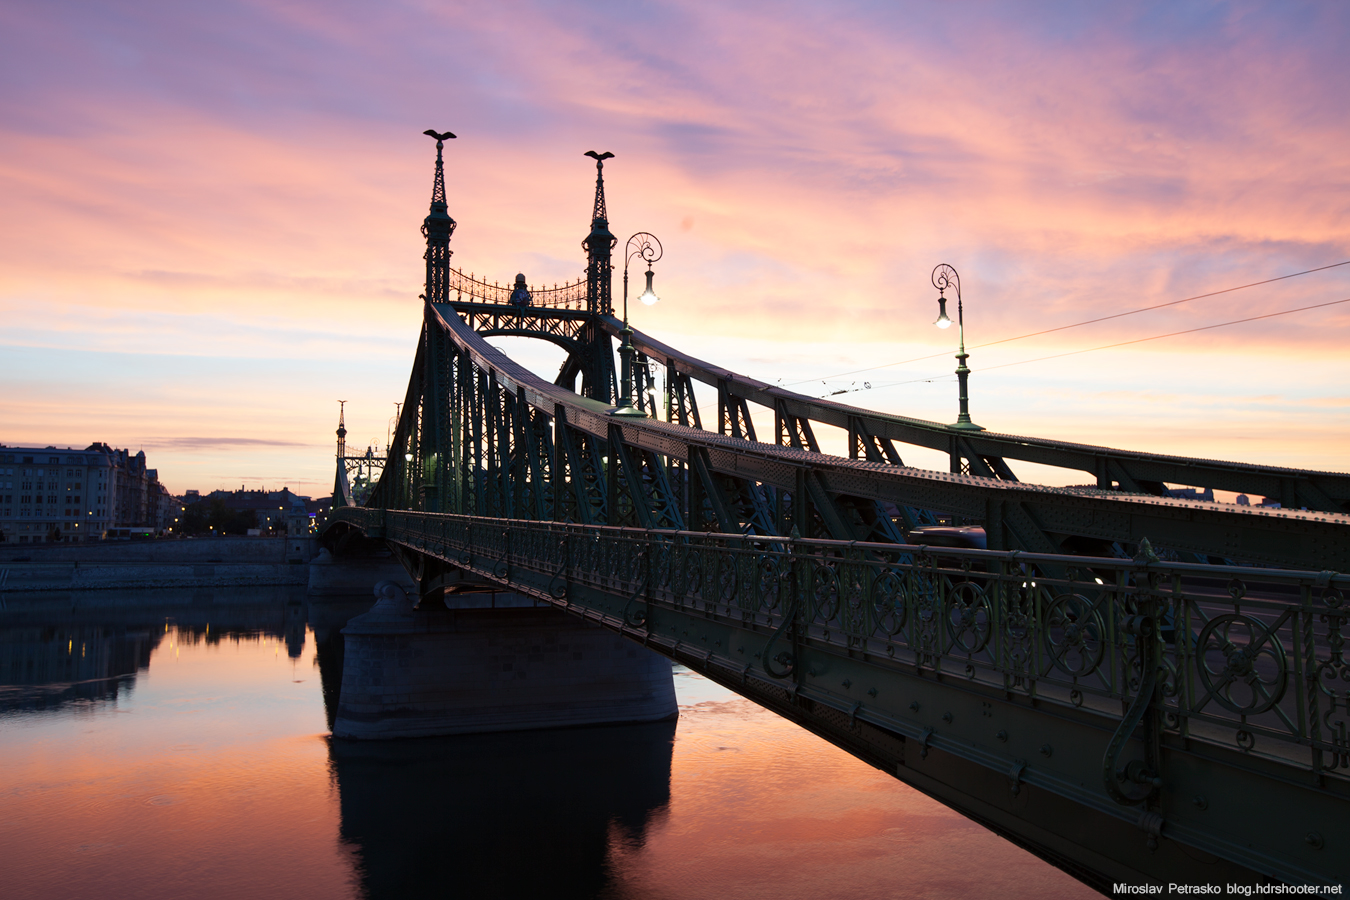
Continue to the full post to see two of the original 0EV exposures.

The contest and the giveaway is over, you can view the winners page later today.

Thanks to Oloneo software I have for you another round of my editing contest. Again you get a chance to win a copy of their great HDR editing program Oloneo Photoengine. If you don’t know Photoengine, I really suggest you try it out, as it’s one of the simplest and best HDR editing programs available. You can also see in a lot of my recent photos, that I used it to create the initial blended images, as it creates a very natural look.

You can find all the information on Oloneo and their products here: http://www.oloneo.com/en/page/home.html
and you can find a trial version you can try right away here: http://www.oloneo.com/en/page/download_form.html?product_id=pe1&type=trial
(there is no Mac version available, but you can run it in a virtual machine)

contest-name

So when you are done playing with it, here is how you can enter the contest:

How to join the contest

1. read the complete rules first :)
2. download the provided series of brackets showing the Tower bridge in London from here https://www.dropbox.com/sh/ouao6bfobixehg2/diwbjyEIze
3. edit them into a final HDR photo (you can use any software and any technique, tone-mapping, blending, exposure fusion, black&white version)
4. join the contest event here http://www.facebook.com/events/387337638066274/ and post your photo into the event or send the final edit to me, under miroslav.petrasko@gmail.com with the subject “HDRshooter contest”

contest-all

Only one entry per person is permitted. Please don’t use parts of any other than the provided photos. If you post your photo to the event page, you can delete your submission and upload a new one. If there is more than one from a person, the last one is entered, all other will be deleted.

There will be two winners in this contest, booth of them receiving a download copy of Oloneo Photoengine.

1st winner will be selected by a jury of great HDR photographers, Jimmy Mcintyre from ThroughStrangeLens, Daniel Cheong from Daniel Cheong photography and Anthony Gelot from A.G. Photographe.

2nd winner will be selected by fans on Facebook, where everyone can vote for their favorites, once all the entries have been submitted. This voting is not in the event.  Sharing of your entries further to promote them is permitted, but entries with fake likes will be disqualified.

The latest time to submit you entry is 1st December 2013 at midnight. The voting on the winner will be held during the week from 2nd to 8th December on the HDRshooter facebook page.
I hope you will all have fun editing and good luck to you all :)

contest-raffle

Join the raffle

And a little surprise :). For all those of you, who don’t have time to edit, or just don’t have the software, and still would like to win a copy of the Photoengine, there is an option for you. Just join the raffle (you need to enter a name and an email address for that) and fulfill any of the conditions. If you want to have a bigger chance, you can fulfill them all :). The raffle ends at the same time as the editing competition.

a Rafflecopter giveaway

I reserve the right to change or amend the competition rules at any time without prior notice. By entering the competition, entrants agree to be bound by these rules. All participants can’t use the final photo for any commercial use and have to give credit to me as the original author, also I will not use their versions for any purposes other than promotion of this competition. Participants can share the photo on their FB, blog, flickr or other accounts, but still have to give me credit as the author and link back to the contest.

And a little something to inspire you :). This is a version created only in Oloneo Photoengine. Took me about 3 minutes to get it to this stage. You can try it yourself in the Trial version.
contest-oloneo

How the week passed quickly. And again we have here another Tuesday and another process post. Today I chosen a very recent photos, as a lot of people liked it. So here goes.

To get this photo
The perfect sunset

I started as always in Lightroom, where I applied lens correction, removed chromatic abberations and applied a little noise reduction.
The-perfect-sunset-lightroom

After that I loaded all the brackets into layers in Photoshop. I used the following layers (numbered from bottom up):
1. 0EV exposure
2. +1EV exposure to brighten the foreground
3. +2EV exposure to brighten the foreground even more
4. +1EV exposure once more, to recover few areas. I’m including here a screenshot of what I had to correct. Blending can make colors look grey, and this has to be corrected.
The-perfect-sunset-process-2

5. -1EV to darken the sky
6. -2EV to darken the brigtest parts of the sunset
7. Color Efex Pro contrast to add more structure and local contrast to the photo
8+9. aded glow (check out my tutorial on this) but I removed it from the darkest parts of the image, as they got too dark
10. brightened the darkest spots on the rocks
11. brightened the whole photo by adding a little bit of exposure

The-perfect-sunset-process

And that was all.
Please continue to the full post to see the original 0EV shot.

And another week passed and again I’m have for you another process post. For today I chosen this view of the St. Martins cathedral in Bratislava. So lets get started.

My goal in this photo was to open up the surrounding of the cathedral, so it’s not just black and you see some detail there. So to get this final result:
Bratislava-IMG_5932-blend-sharpen
I first corrected the lens distortion and chromatic abberations in ligtrom. Then I exported all the 5 exposures as layers into Photoshop and continued from there. The layers I used vere (numbered from bottom up):

1. 0EV exposure used as base
2. -1EV exposure used to bring down the overexposed areas of the cathedral (I’m inluding here how the mask looks, so you can see what effect it has, if you don’t understand layer masks, check out this guide I written about them)
Bratislava-light-mask1
3. -2EV exposure, to correct few more overexposed areas
4. +1EV exposure, to brighten the overall image
5. +2EV exposure, to brigten few more parts and to add light trails to the road (again I’m including an image here, so you see how it looks)
Bratislava-light-mask2
6. added more detail using a high pass layer
7. I reouched out the small piece of the sky visible in the right corner, it just bothered me there
8. added 0.5 exposure to the whole image, except the brightest parts
9. Color efex pro contrast to add more local contrast to the image
10. color balance for the trees in the foreground as they were too red
11. Color efex Darkne/Lighten center to add a vignete to the photo
12. levels to add a little contrast
13. desaturated the oversaturated yellows
14. added glow (check out my tutorial on this)
15. brightened the shadow darks
16. made the image a little colder
17. darkened the extreme highlights

Bratislava-light-process
And that was all. I actually stopped after step 11 at first, but that added the few more tweaks, as I was not completly sattisfied with the result.

Please continue to the full post to see the original 0EV exposure.

As usually, another Tuesday, another process post. For today I chosen a sunrise photo of the Liberty bridge in Budapest. So let’s get to it :)

To get this final result
Burning sky

I first corrected the lens distortion and white balance in Ligtroom and exported all the files as 16bit tiff image. I loaded them into Oloneo photoengine and merged them. As always, I only change the strength, nothing else. I saved the result as another 16bit tiff file. After that I loaded all the files into Photoshop.

There I did the following (numbered from bottom up):

1. Oloneo result
2. +1EV exposure to get rid of the car in the shot
3+4. +2EV exposure and a exposure layer that darkens it by one stop, which I used to get rid of another part of a car
5+6. 0EV exposure and a exposure layer that brightens it by one stop, which I used to get rid of the rest of the car
7+8. -1EV that has been brightened by 2 stop, to correct a very small part in the image
9. darkened the sky from the -2EV exposure
10+11. added contrast to the basic mid-tones, and then the layer was put into a folder, so I can create a secondary mask, and remove it from the bridge
12. darkened the brightest light
13. brightened the bottom part of the bridge
14. a little bit of noise reduction
15. Color effex Darken/Lighten center to create a vignette
16. toned down the overall saturation of the image

Burning-sky-process

And that’s all. Feel free to ask any question and here is the oloneo result and the original 0EV exposure.

Burning-sky-oloneo
Burning-sky-original

FREE EBOOK!!!
Subscribe to my newsletter and get a free Capturing fireworks ebook. 
Subscribe